|
|
|||||||||||||||||||||||||||||||||||||||||||||||||
|
Airplanes |
|
||||||||||||||||||||||||||||||||||||||||||||||||
|
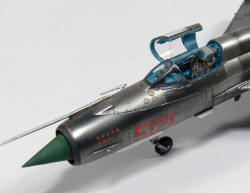
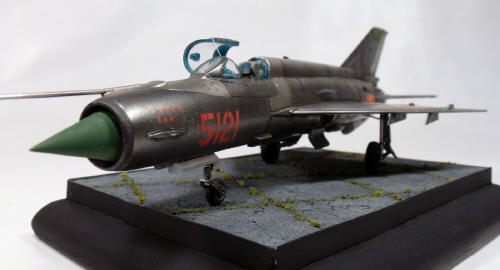
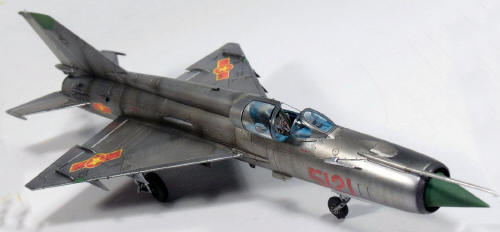
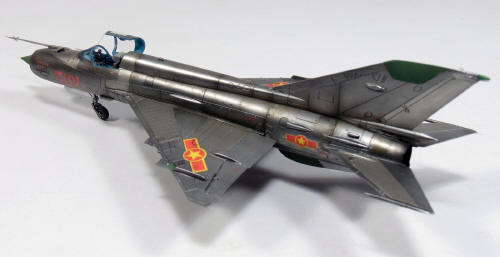
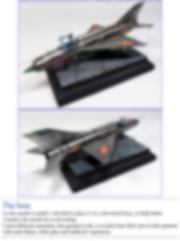
Building the Eduard MIG 21MPF for novices 1/72 scale |
|||||||||||||||||||||||||||||||||||||||||||||||||
|
by David Guardia © Modeler Site |
|||||||||||||||||||||||||||||||||||||||||||||||||
|
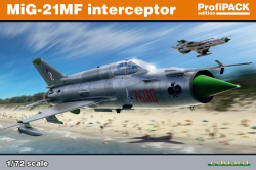
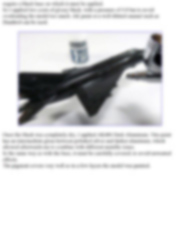
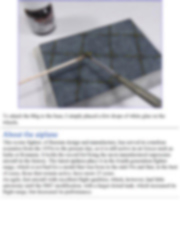
Legal Notice No material from Modeler Site any may be copied, reproduced, republished, uploaded, posted, transmitted, or distributed in any way, except that you may download one copy of the materials on any single computer for your personal, non-commercial home use only, provided you keep intact all copyright and other proprietary notices. Modification of the materials or use of the materials for any other purpose is a violation of copyright and other proprietary rights. Read More here > Legal notice Eduard is characterized by making authentic jewels, both in aftermarkets and full kits. The 1/72 scale is being seen often, benefited with the appearance of models like this one. Inside the boxes called "profipack", which include masks and photo etches, we find kits with some exquisite pieces.
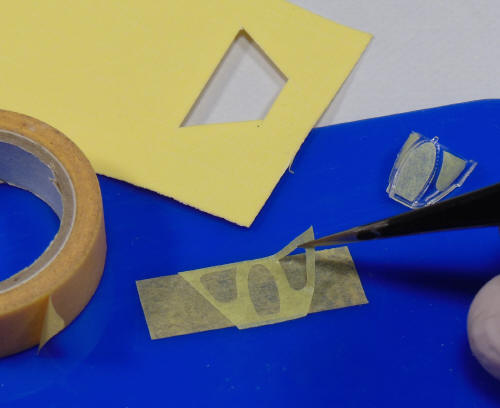
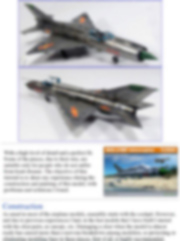
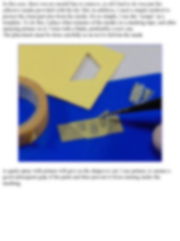
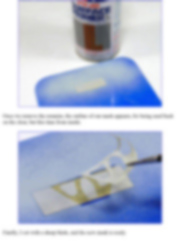
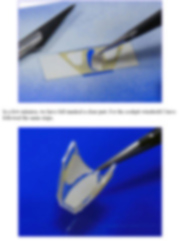
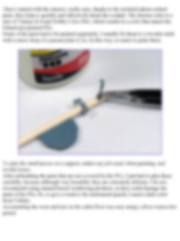
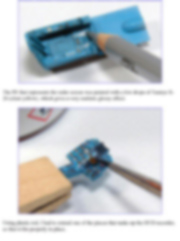
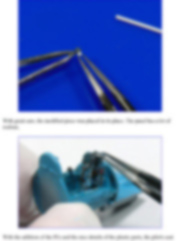
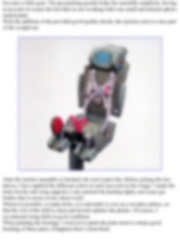
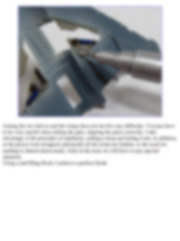
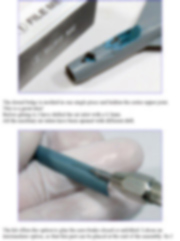
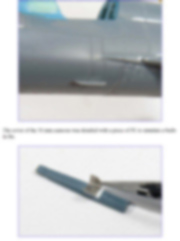
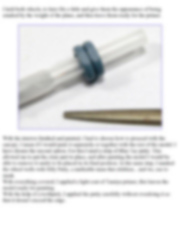
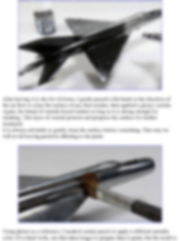
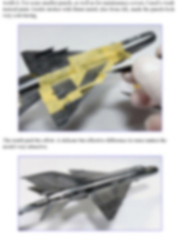
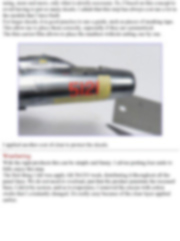
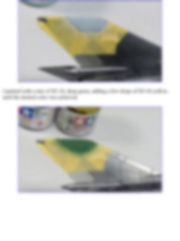
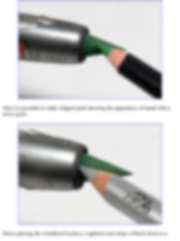
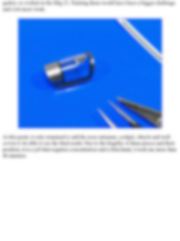
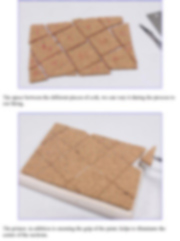
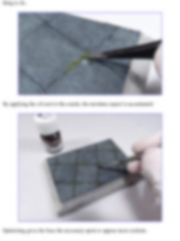
Construction As usual in most of the airplane models, assembly starts with the cockpit. However, and due to previous experiences I had, in the last models that I have built I started with the clear parts, as canopy, etc. Damaging a clear when the model is almost ready has caused more than a nervous breakdown among modelers, so protecting or eliminating moulding lines in these pieces, first of all, is highly recommended. In this case, there was no mould line to remove, so all I had to do was put the adhesive masks provided with the kit. But, in addition, I used a simple method to protect the clear part also from the inside. It's so simple, I use the "scraps" as a template. To do this, I place what remains of the masks on a masking tape, and after spraying primer on it, I trim with a blade, preferably a new one. The placement must be done carefully so as not to deform the mask.
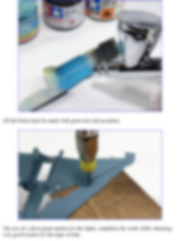
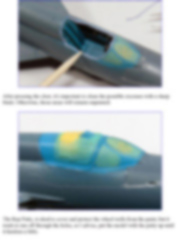
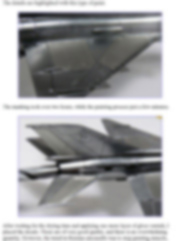
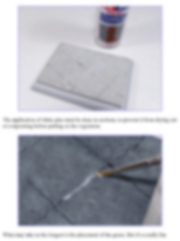
A quick spray with primer will give us the shapes to cut. I use primer, to ensure a good subsequent grip of the paint and thus prevent it from running under the masking. This tutorial is offered in PDF format to be read or printed using Acrobat reader, contact our webmaster > Here Includes more than 69 pics, here we show only the text pages.
Esta Nota es ofrecida en formato PDF, el cual puede ser leído o impreso usando el Acrobat reader, contacte a nuestro webmaster > Aquí Incluye más de 69 imágenes, aquí solo mostramos las paginas de texto.
Big size photos are only available in our PDF format. Support us ordering our notes in PDF > Here |
|||||||||||||||||||||||||||||||||||||||||||||||||