|
|
|||||||||||||||||||||||||||||||||||||||||||||||||||||||||||||||||||||||||||||||||||||||||||||||||||||||||||||||||||||||||||||||||||||||||||||||||
|
Formula one |
|
||||||||||||||||||||||||||||||||||||||||||||||||||||||||||||||||||||||||||||||||||||||||||||||||||||||||||||||||||||||||||||||||||||||||||||||||
|
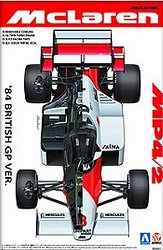
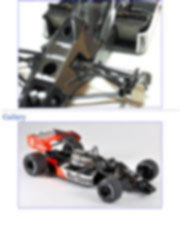
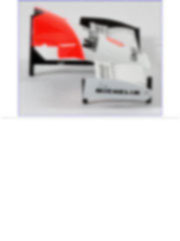
Superdetailing the Aoshima / Beemax McLaren MP4/2 1/20 scale |
|||||||||||||||||||||||||||||||||||||||||||||||||||||||||||||||||||||||||||||||||||||||||||||||||||||||||||||||||||||||||||||||||||||||||||||||||
|
by Antonio Busciglio © Modeler Site |
|||||||||||||||||||||||||||||||||||||||||||||||||||||||||||||||||||||||||||||||||||||||||||||||||||||||||||||||||||||||||||||||||||||||||||||||||
|
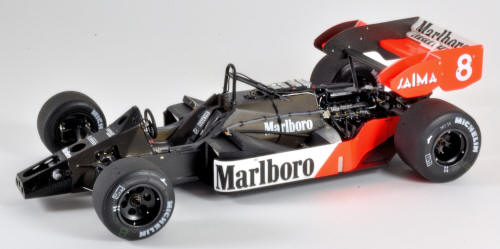
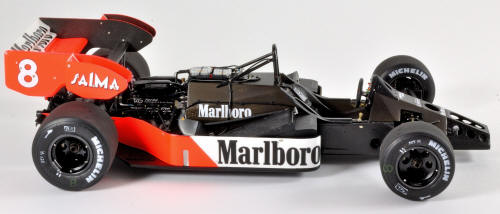
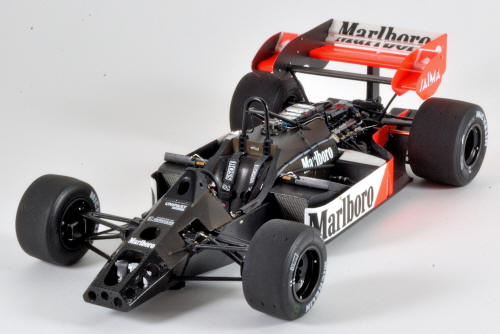
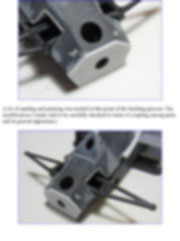
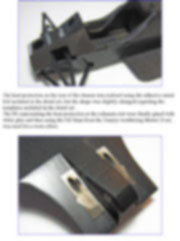
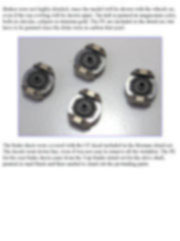
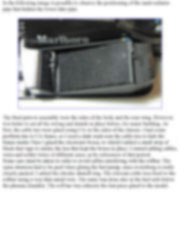
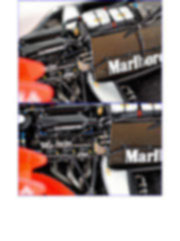
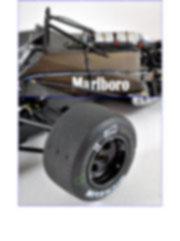
Legal Notice No material from Modeler Site any Web site may be copied, reproduced, republished, uploaded, posted, transmitted, or distributed in any way, except that you may download one copy of the materials on any single computer for your personal, non-commercial home use only, provided you keep intact all copyright and other proprietary notices. Modification of the materials or use of the materials for any other purpose is a violation of copyright and other proprietary rights. Read More here > Legal notice In this article, I want to share how I detailed the 1/20 McLaren MP4/2 as ran (and won) the 1984 F1 championship. The car I wanted to reproduce is the Lauda’s, only driver to have won the championship after a retirement and a subsequent coming back to the races (notably, Lauda is also the only driver that won a world championship after receiving the last rites, after its terrible accident in 1976).
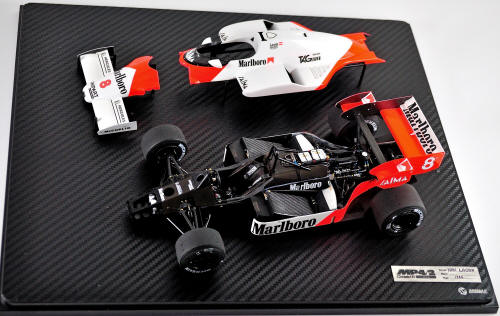
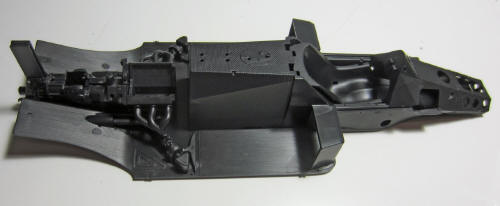
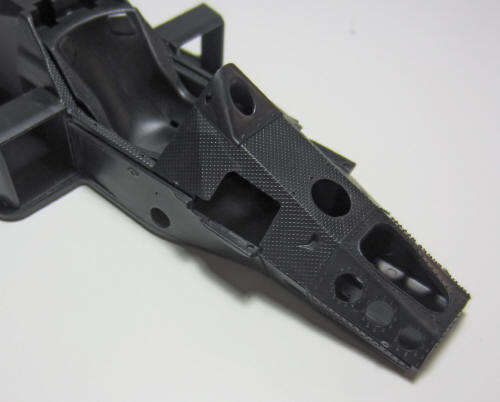
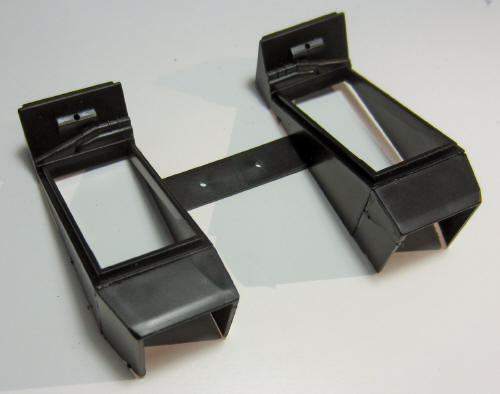
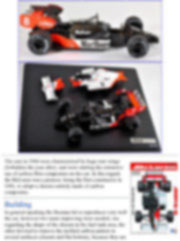
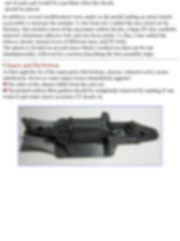
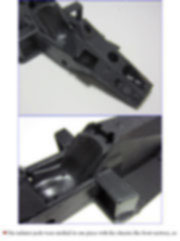
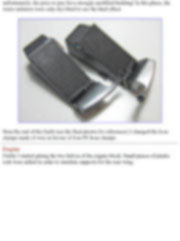
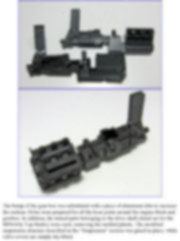
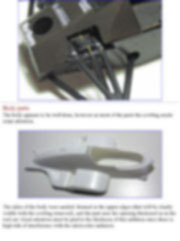
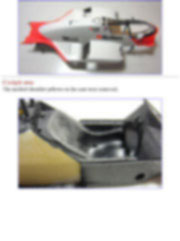
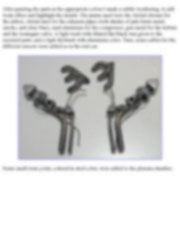
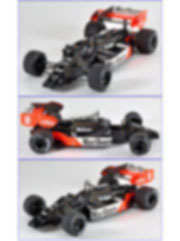
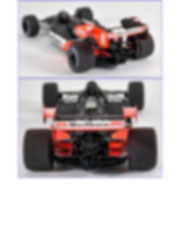
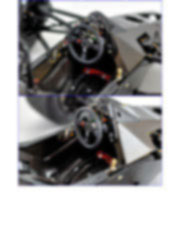
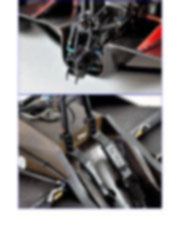
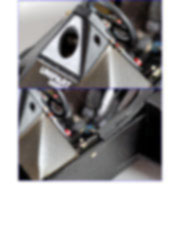
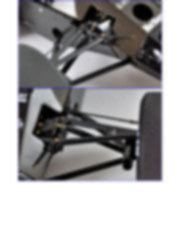
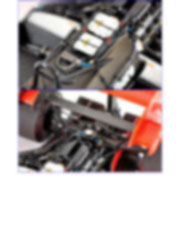
In addition, several modifications were made on the model adding as much details as possible to increase the realism. To the basic kit, I added the nice detail set by Beemax, that includes most of the necessary carbon decals, a large PE fret, seatbelts material, aluminum adhesive foil, and nice hose joints. To this, I also added the tobacco decals, turned rivets of different sizes, and PE bolts. The article is divided in several areas which I worked on (that can be run simultaneously), followed by a section describing the last assembly steps. Chassis and flat bottom At first sight the fit of the main parts (flat bottom, chassis, exhausts exits) seems satisfactory, however some major issues immediately appears:
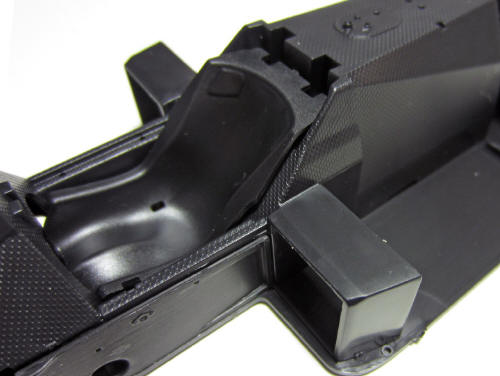
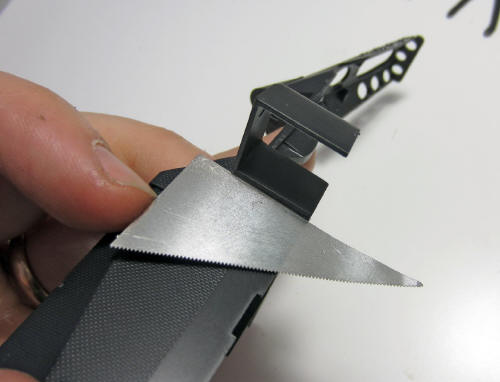
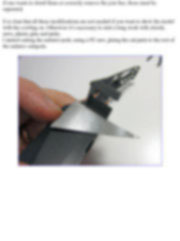
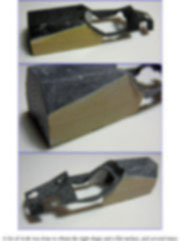
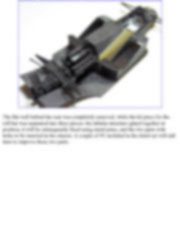
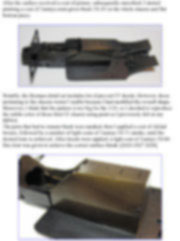
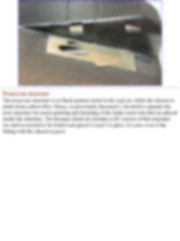
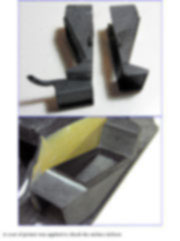
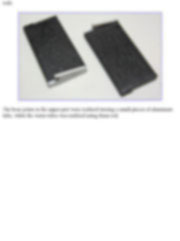
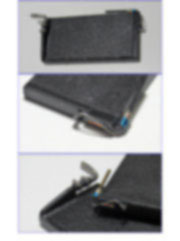
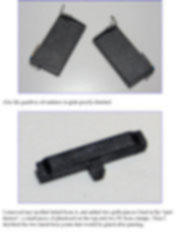
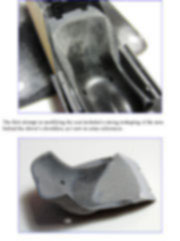
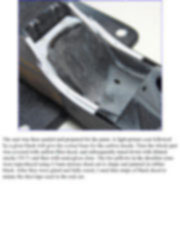
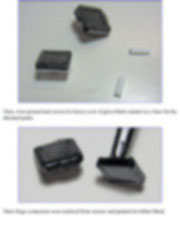
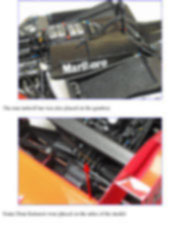
It is clear that all these modifications are not needed if you want to show the model with the cowling on. Otherwise it’s necessary to start a long work with chisels, saws, plastic glue and putty. I started cutting the radiator pods, using a PE saw, gluing the cut parts to the rest of the radiator sidepods.
This tutorial is offered in PDF format to be read or printed using Acrobat reader, contact our webmaster > Here Includes more than 230 pics, here we show only the text pages.
Esta Nota es ofrecida en formato PDF, el cual puede ser leído o impreso usando el Acrobat reader, contacte a nuestro webmaster > Aquí Incluye más de 230 imágenes, aquí solo mostramos las paginas de texto.
Big size photos are only available in our PDF format. Support us ordering our notes in PDF > Here |
|||||||||||||||||||||||||||||||||||||||||||||||||||||||||||||||||||||||||||||||||||||||||||||||||||||||||||||||||||||||||||||||||||||||||||||||||