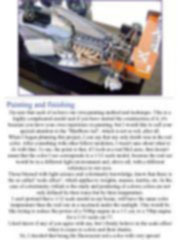
Legal Notice No material from Modeler Site any Web site owned, operated, licensed, or controlled by Mario Covalski & Associated may be copied, reproduced, republished, uploaded, posted, transmitted, or distributed in any way, except that you may download one copy of the materials on any single computer for your personal, non-commercial home use only, provided you keep intact all copyright and other proprietary notices. Modification of the materials or use of the materials for any other purpose is a violation of Mario Covalski & Associated's copyright and other proprietary rights. Read More here > Legal notice When I built my first Tamiya's McLaren MP4/6 in 1992, I thought it was the most advanced kit of its time, with an amazing level of details which I could barely follow, and very complex in its building process. Today, after not many years, we have a great realm of information on this car through a lot of pictures, and the Internet.
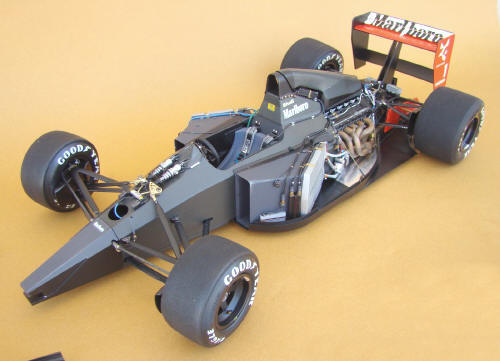
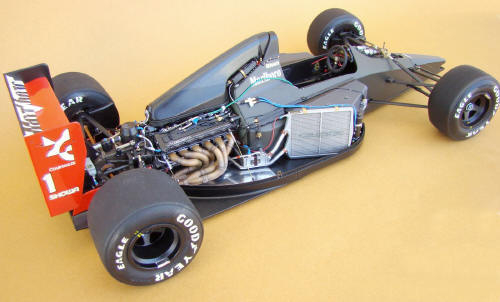
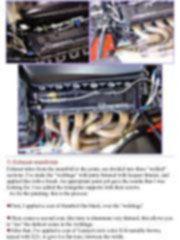
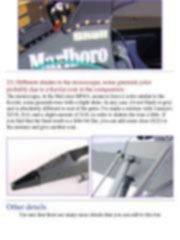
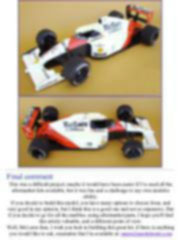
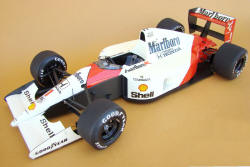
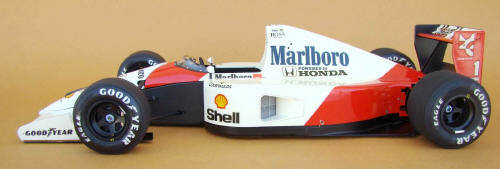
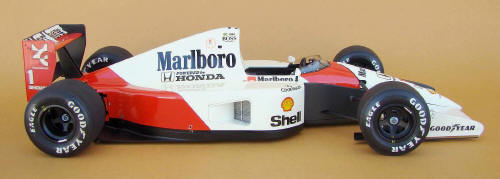
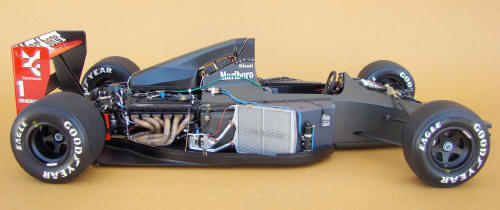
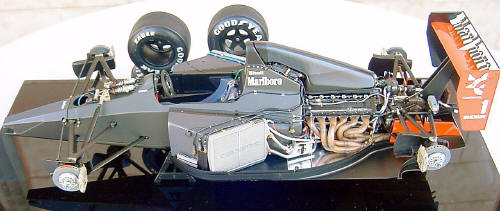
All this pictures shows us that the kit is very well engineered and it has a high quality; but, if you are looking for realism, then there are some missing details, which are very noticeable in the pictures.
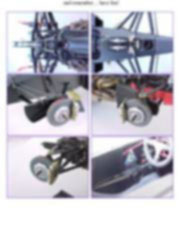
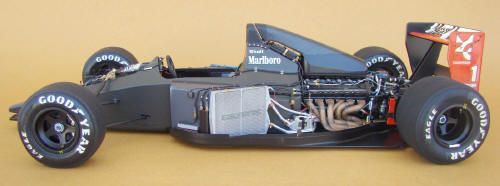
Another point is the great amount of super detailing parts (both PE and resin) available for this car. In this article we will deal with all the extra details that I've added to my model, and the colors I've used to paint it. I'm not going to extent myself in the construction details, because these are well known to most of us.
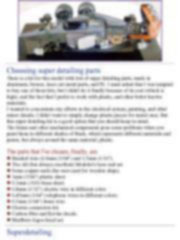
Choosing super detailing parts
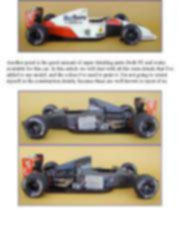
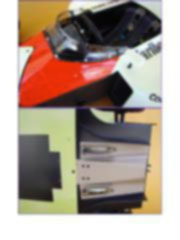
There is a kit for this model with lots of super detailing parts, made in aluminum, bronze, laser cut metal parts, and PE. I must admit that I was tempted to buy one of those kits, but I didn't do it finally because of its cost (which is high), and the fact that I prefer to work with plastic, and other better known materials. I wanted to concentrate my efforts in the electrical system, painting, and other minor details, I didn't want to simply change plastic pieces for metal ones. But this super detailing kit is a good option that you should keep in mind.
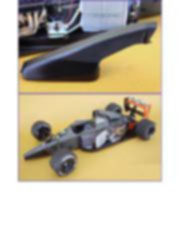
The parts that I've chosen, finally, are: This tutorial is offered in PDF format to be read or printed using Acrobat reader, contact our webmaster > Here Includes more than 106 pics, here we show only the text pages.
Esta Nota es ofrecida en formato PDF, el cual puede ser leído o impreso usando el Acrobat reader, contacte a nuestro webmaster > Aquí Incluye más de 106 imágenes, aquí solo mostramos las paginas de texto.
Big size photos are only available in our PDF format. Support us ordering our notes in PDF > Here |
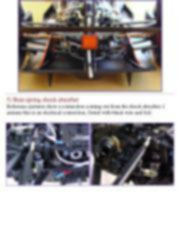
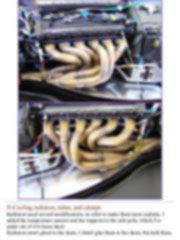
 Braided wire (0,9mm (3/64") and 1,5mm (1/16").