|
|
|||||||||||||||||||||||||||||||||||||||||||||||||||||||||||||||||||||||||||
|
Formula one |
|
||||||||||||||||||||||||||||||||||||||||||||||||||||||||||||||||||||||||||
|
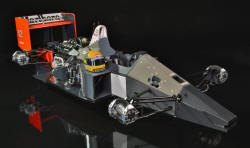
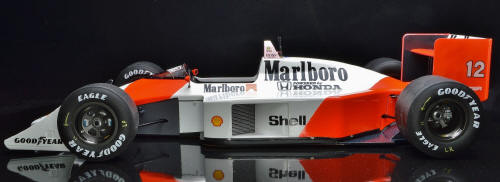
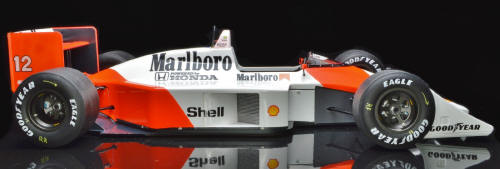
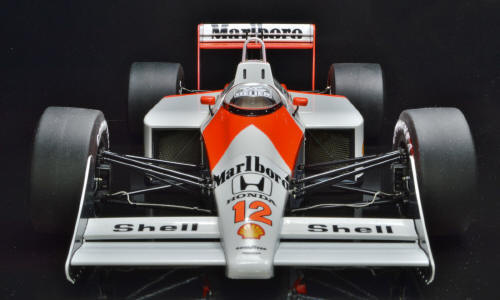
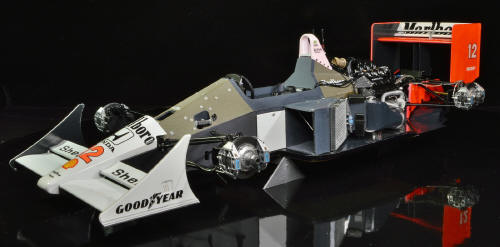
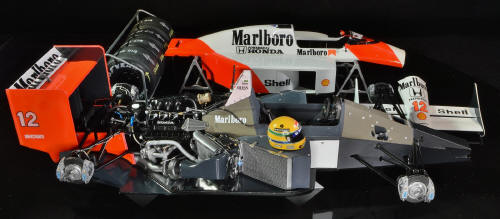
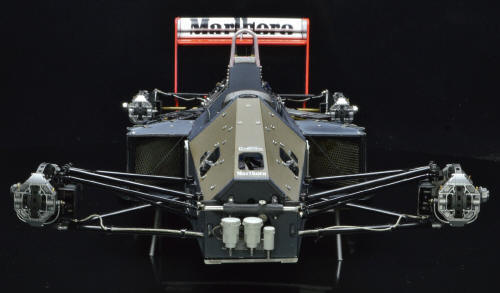
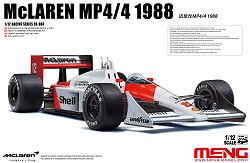
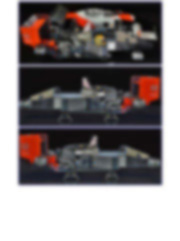
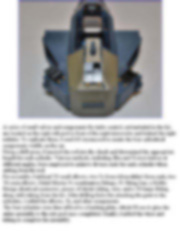
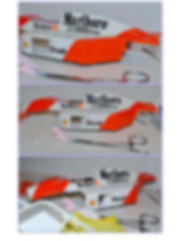
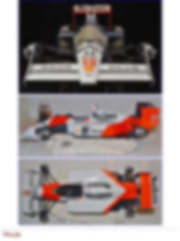
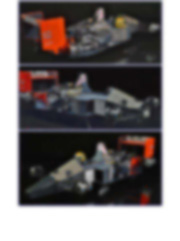
Building and detailing the Meng McLaren MP 4/4 1/12 scale |
|||||||||||||||||||||||||||||||||||||||||||||||||||||||||||||||||||||||||||
|
by Mark Laird © Modeler Site |
|||||||||||||||||||||||||||||||||||||||||||||||||||||||||||||||||||||||||||
|
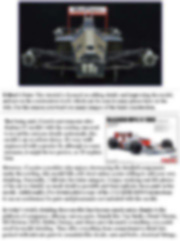
Legal Notice No material from Modeler Site any may be copied, reproduced, republished, uploaded, posted, transmitted, or distributed in any way, except that you may download one copy of the materials on any single computer for your personal, non-commercial home use only, provided you keep intact all copyright and other proprietary notices. Modification of the materials or use of the materials for any other purpose is a violation of copyright and other proprietary rights. Read More here > Legal notice I have seen many people building the 1/12 scale Meng MP4/4. Since this car held the record for the most wins in F1 until the end of the 2023 season, when the Red Bull RB19 claimed that title, it's a car I've always been interested in building. After admiring the work of others on their models, I decided to take the plunge and purchase one myself. With over 50 years of experience building models, I couldn’t resist the urge to customize it rather than assembling it straight out of the box.
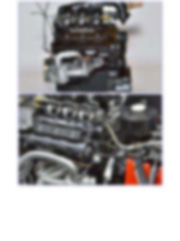
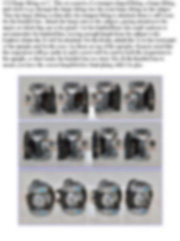
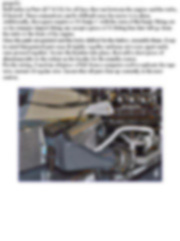
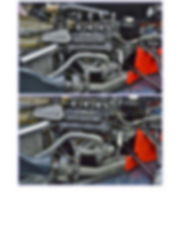
Editor's Note: This tutorial is focused on adding details and improving the model, and not on the construction itself, which can be seen in many places here on the web. For this reason you won't see many images of the basic construction.
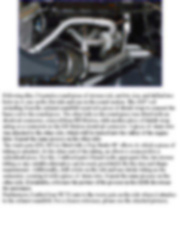
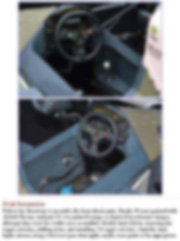
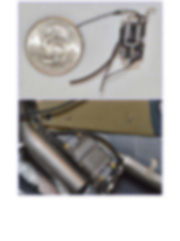
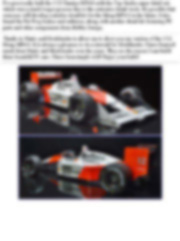
However, if you're a modeler who enjoys showcasing the detailed components under the cowling, this
model falls a bit short unless you're willing to add your own detailing.
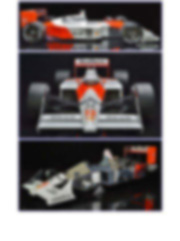
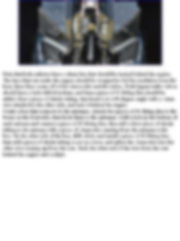
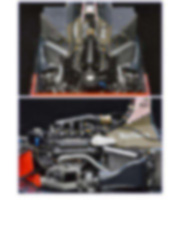
Personally, I fall into the latter category. I enjoy studying real-life photos
of the car to identify as much detail as possible and then replicate those parts
in the model. Additionally, I've downloaded a copy of the 1/12 MFH MP4/4
instructions to use as a reference for parts and placements not included with
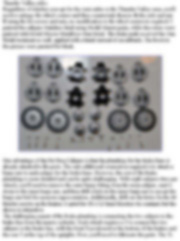
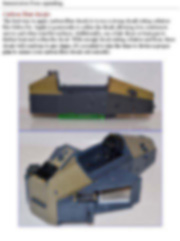
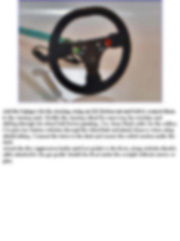
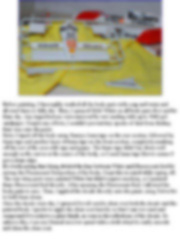
this model. In today’s world, detailing these models has become much easier, thanks to the plethora of companies offering various parts. Brands like Top Studio, Detail Master, RB Motion, MFH, Hobby Design, and others provide nearly everything you could need for model detailing. They offer everything from comprehensive detail kits packed with intricate parts to essentials like decals, nuts and bolts, electrical fittings, PE parts, 3D resin parts, wiring, tubing, and more. If you can't find what you need, you have the option to hone your skills and make it yourself. Whether you utilize mechanical tools such as a lathe, mill, or 3D printer, or employ basic scratch-building techniques, you can incorporate the details you find in your reference pictures into your model. Practice makes perfect; the more you engage in scratch building, the more proficient you become. One aspect that many modelers may lack experience or practice in is the application of carbon fiber decals. Fortunately, this kit includes very nice pre-cut carbon fiber decals. I'll delve into some tips for applying these decals later on. As mentioned earlier, there are multiple companies offering parts to enhance your model. I have amassed quite an inventory of parts from previous builds and have purchased many different items to incorporate into this model. I prefer to sit down with the instructions and my reference photos to create a list of the aftermarket parts I intend to use for the build. By procuring them before I start the build, I can focus solely on the construction process without any interruptions. For this particular build, it was evident right from the start that there were no tobacco company sponsor decals included in the kit, as model companies are prohibited from including them due to classification as toys. Therefore, at the top of my list was a set of Marlboro decals, as these cars were famously adorned with the Marlboro livery. Many companies produce Marlboro decals, but they vary significantly in price. Over the past couple of years, I've been using Decalpool decals for my models. While they have a limited selection of vehicle decals, they do offer ones for the MP4/4. These decals are of good quality, featuring professional waterslide application, and each decal has a definitive border around it, eliminating the need for precise cutting from full sheets. This border allows for rough cutting, after which you can handle the decals with tweezers without directly touching them, only handling the backing. Here is a listing of the extras used to build this model
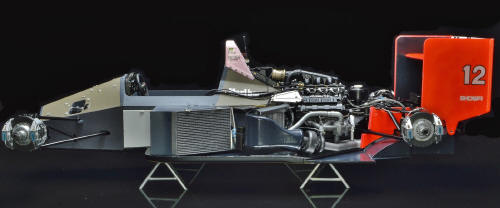
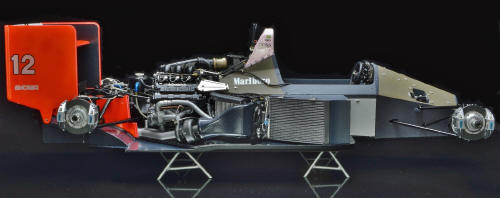
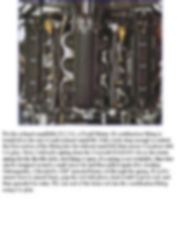
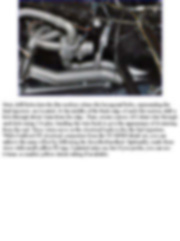
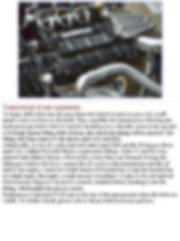
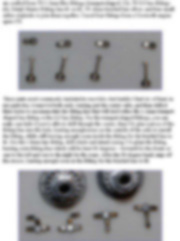
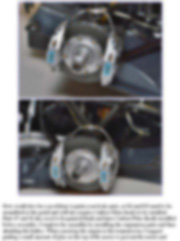
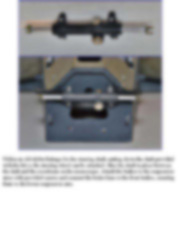
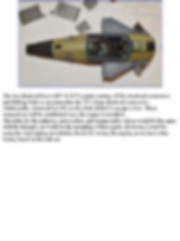
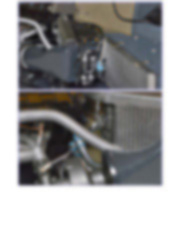
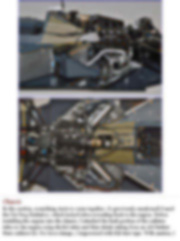
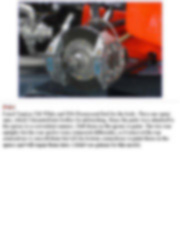
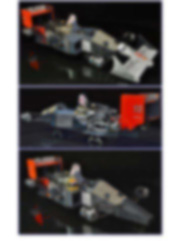
Building As mentioned earlier, this model is exceptionally well-engineered. One notable aspect is the unique way the parts are attached to the sprues. While some parts attach conventionally, many connect from the underside, where they will be glued or matched to another surface. This design facilitates painting with the parts still on the sprues. After painting, you simply use your sprue cutter to remove the piece, then file down any leftover sprue material on the edge or side that won't be displayed, without affecting the visible part of the piece. Another distinctive feature of this Meng model is the tight tolerances
between the parts that need to fit together. They fit snugly right out of the
box, but when painted, the additional thickness from the paint can sometimes
prevent the parts from fitting together properly or make them so snug that
separating them without damaging the part becomes a challenge. Consequently,
quite a few parts weren't glued due to this issue. If separation of the parts
was necessary, it required filing, sanding, or drilling the paint off the parts
before attempting to assemble them. Additionally, the plastic used in this model
seems slightly softer than that of other styrene models I've built in the past,
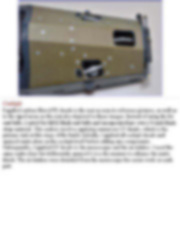
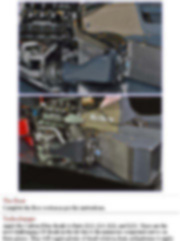
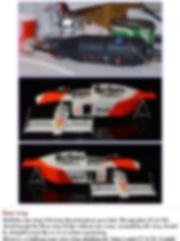
which may contribute to the tightness of the parts. The model as an out of the box kit is simple and straight forward. To find detail items I use reference pics, plus 1/12 scale MFH MP4/4 instructions for additional references. This tutorial is offered in PDF format to be read or printed using Acrobat reader, contact our webmaster > Here Includes more than 90 pics, here we show only the text pages.
Esta Nota es ofrecida en formato PDF, el cual puede ser leído o impreso usando el Acrobat reader, contacte a nuestro webmaster > Aquí Incluye más de 90 imágenes, aquí solo mostramos las paginas de texto.
Big size photos are only available in our PDF format. Support us ordering our notes in PDF > Here |
|||||||||||||||||||||||||||||||||||||||||||||||||||||||||||||||||||||||||||