|
|
||||||||||||||||||||||||||||||||||||||||||||||||||||||||||||||||||||||||||||||||||||||||||||
|
Motorcycles |
|
|||||||||||||||||||||||||||||||||||||||||||||||||||||||||||||||||||||||||||||||||||||||||||
|
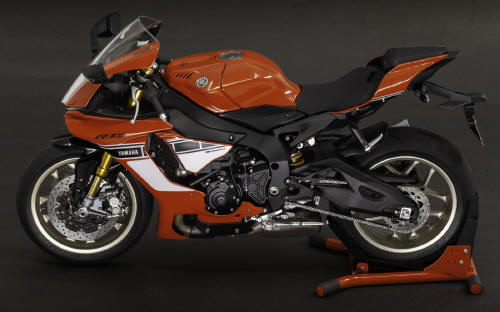
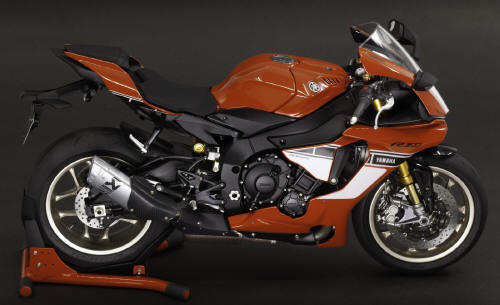
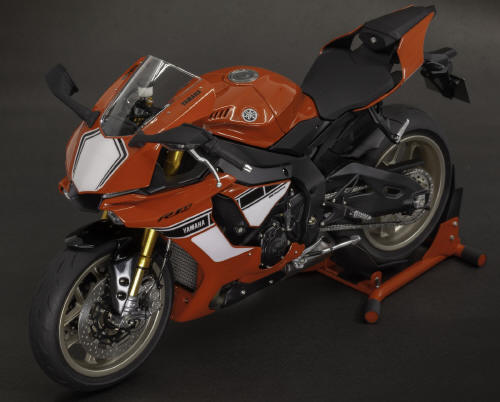
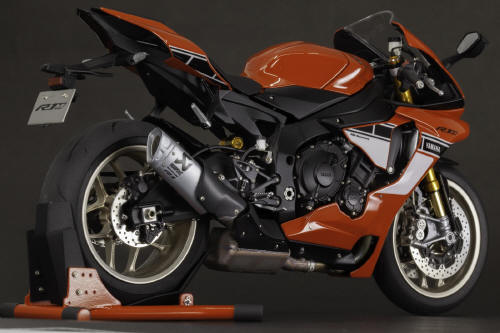
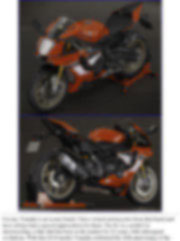
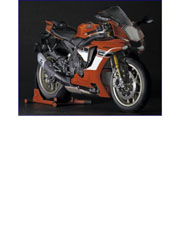
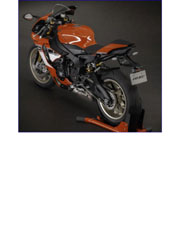
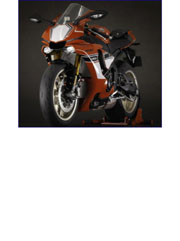
Ultimate guide to super detailing the Tamiya Yamaha YZF-R1M #14133 step by step, 1/12 scale |
||||||||||||||||||||||||||||||||||||||||||||||||||||||||||||||||||||||||||||||||||||||||||||
|
by Ricardo Gonzalez © Modeler Site |
||||||||||||||||||||||||||||||||||||||||||||||||||||||||||||||||||||||||||||||||||||||||||||
|
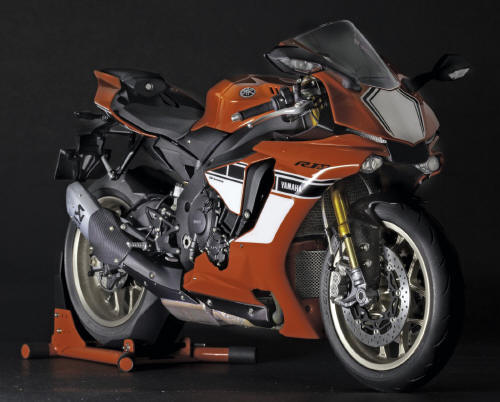
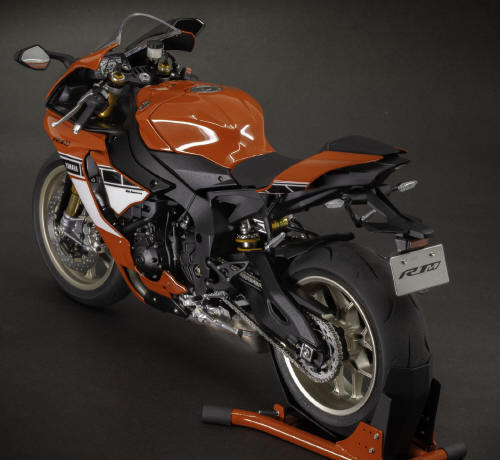
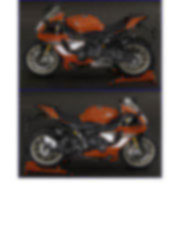
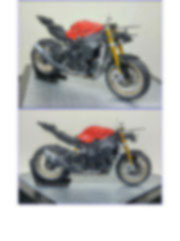
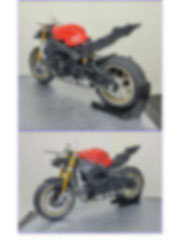
Legal Notice No material from Modeler Site any may be copied, reproduced, republished, uploaded, posted, transmitted, or distributed in any way, except that you may download one copy of the materials on any single computer for your personal, non-commercial home use only, provided you keep intact all copyright and other proprietary notices. Modification of the materials or use of the materials for any other purpose is a violation of copyright and other proprietary rights. Read More here > Legal notice When I saw this Tamiya kit, I felt like I could do something special by adding aftermarket detail sets and doing a bit of scratch-building. My goal in writing this tutorial is to share with the reader the work I've done, not only in assembling and super-detailing the model but also in showcasing a customization by changing the look proposed by Tamiya.
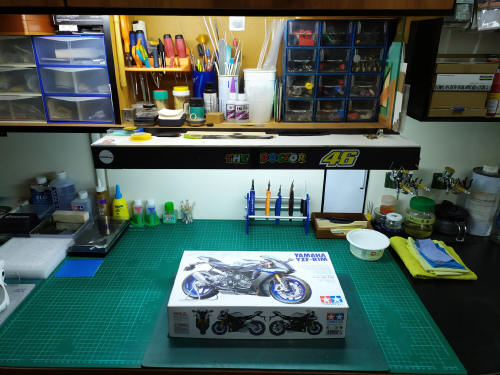
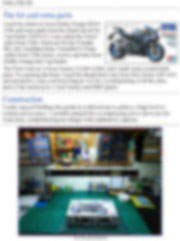
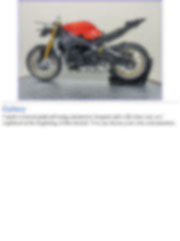
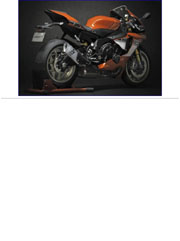
For me, Yamaha is an iconic brand. I have owned motorcycles from that brand and have always had a special appreciation for them. The R1 is a symbol in motorcycling, a bike that has been in the market for 25 years, with subsequent evolutions. With this 2018 model, Yamaha celebrated the 20th anniversary of the birth of the R1. The kit and extra parts
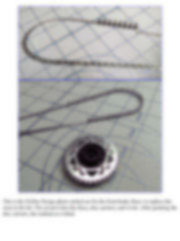
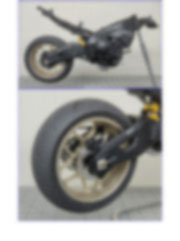
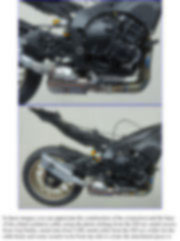
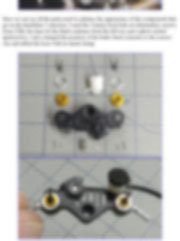
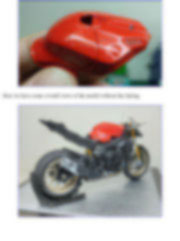
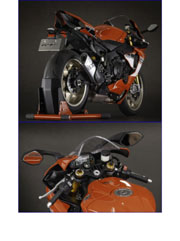
The Front Fork set is from Tamiya #TAM-12684, and I made some scratch-built parts. For painting the body, I used the Bright Red color from Zero Paints #ZP-1003 and automotive clear coat from Dupont. For the overall painting of all the other parts of the motorcycle, I used Tamiya and MRP paints. Construction I really enjoyed building this model as it allowed me to achieve a high level of realism and accuracy. I carefully planned the accompanying text to showcase the work done, complementing the images with explanatory captions.
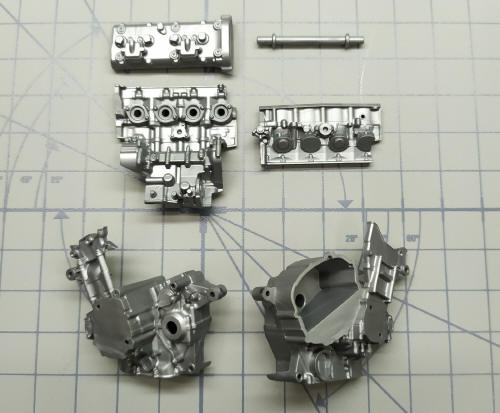
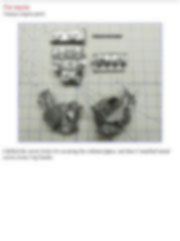
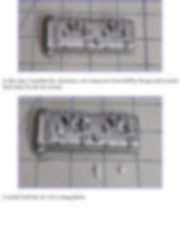
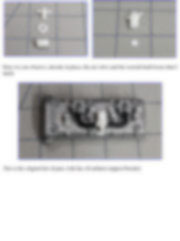
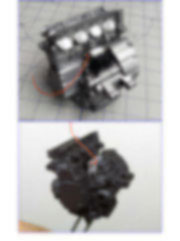
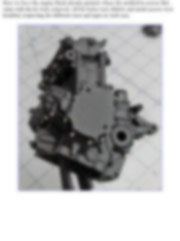
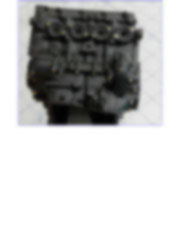
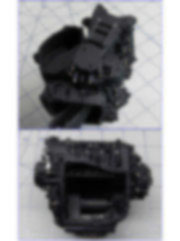
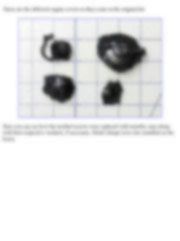
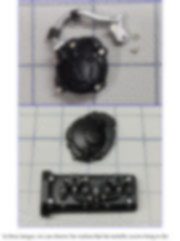
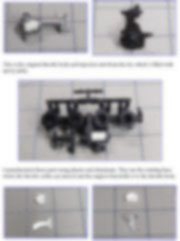
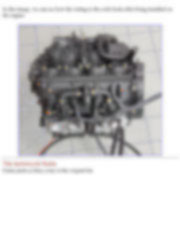
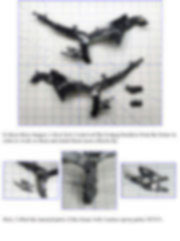
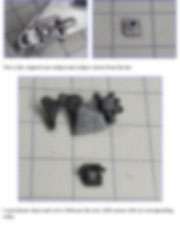
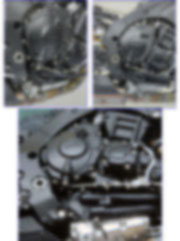
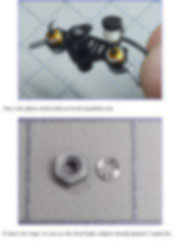
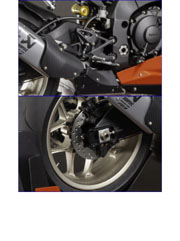
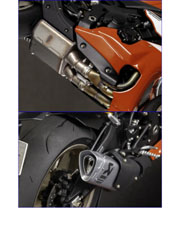
The engine Tamiya engine parts
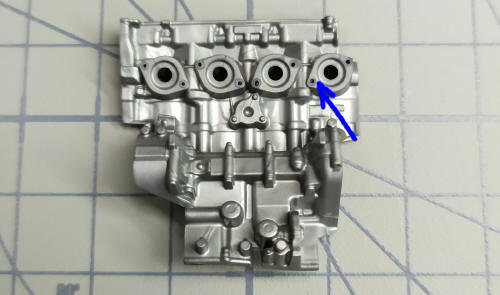
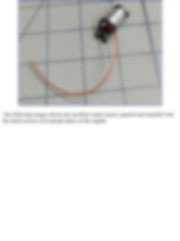
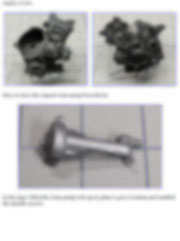
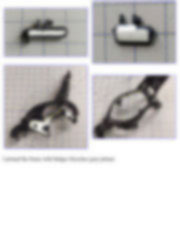
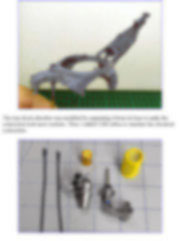
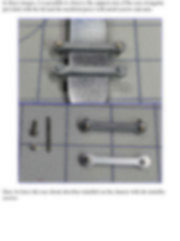
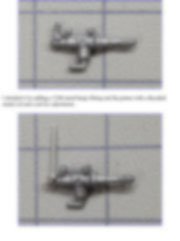
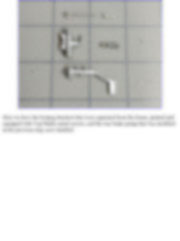
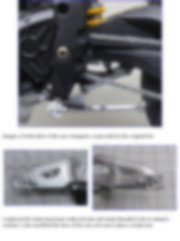
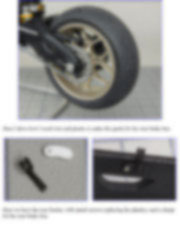
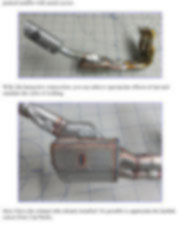
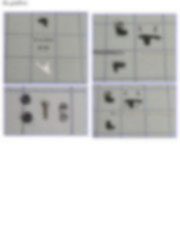
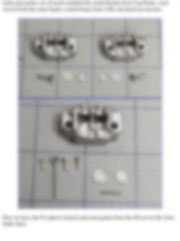
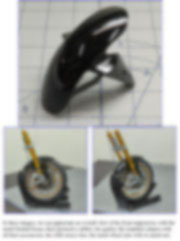
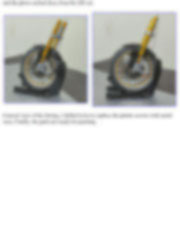
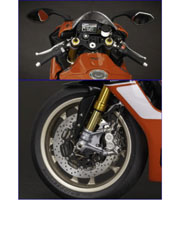
I drilled the screw holes for securing the exhaust pipes, and then I installed metal screws from Top Studio.
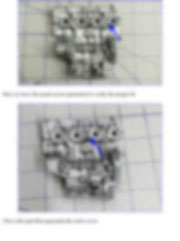
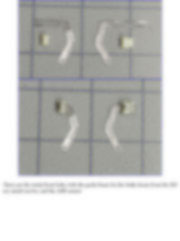
Here we have the metal screws presented to verify the proper fit
This tutorial is offered in PDF format to be read or printed using Acrobat reader, contact our webmaster > Here Includes more than 150 pics, here we show only the text pages.
Esta Nota es ofrecida en formato PDF, el cual puede ser leído o impreso usando el Acrobat reader, contacte a nuestro webmaster > Aquí Incluye más de 150 imágenes, aquí solo mostramos las paginas de texto.
Big size photos are only available in our PDF format. Support us ordering our notes in PDF > Here |
||||||||||||||||||||||||||||||||||||||||||||||||||||||||||||||||||||||||||||||||||||||||||||