|
|
|||||||||||||||||||||||||||
|
Armor |
|
||||||||||||||||||||||||||
|
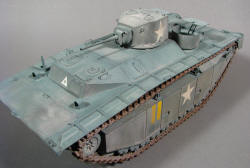
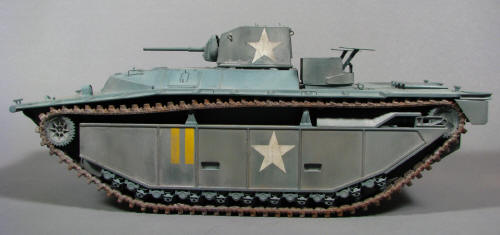
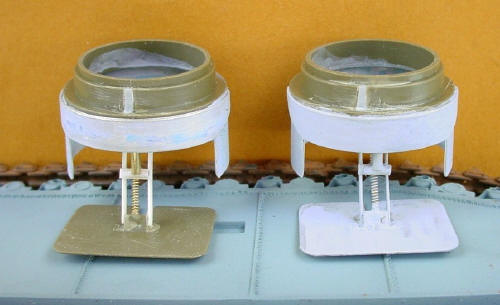
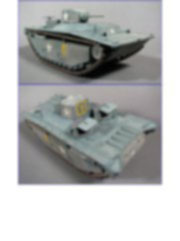
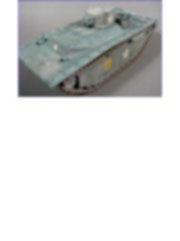
Improving the Revell WW II US amphibious LVT-(A)1 - 1/35 scale |
|||||||||||||||||||||||||||
|
by Patricio Delfosse © 2004 Modeler Site |
|||||||||||||||||||||||||||
|
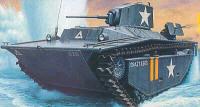
Legal Notice No material from Modeler Site any Web site owned, operated, licensed, or controlled by Mario Covalski & Associated may be copied, reproduced, republished, uploaded, posted, transmitted, or distributed in any way, except that you may download one copy of the materials on any single computer for your personal, non-commercial home use only, provided you keep intact all copyright and other proprietary notices. Modification of the materials or use of the materials for any other purpose is a violation of Mario Covalski & Associated's copyright and other proprietary rights. Read More here > Legal notice The Revell kit is a reissue of the 6384 from the Italeri, but fortunately with more attractive color schemes. While Italeri offer it in two Olive Drab schemes, Revell kit is molded in three Ocean Grey schemes and one Olive Drab, each one with different options of decals.
The complete serie of LVT(s) had a complex evolution, with many versions called in different ways. It’s essential to gather good reference material not to make mistakes; I believe this will be the key to improve your model.
So, here you have the bibliography I researched:
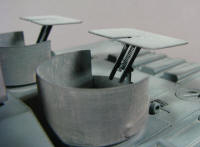
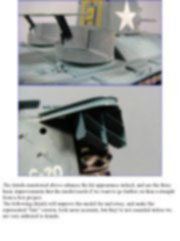
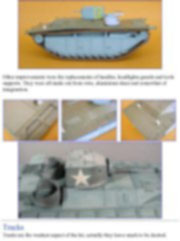
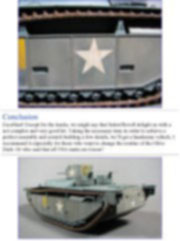
Details in the superstructure You’ll get a late model, just by making a few corrections and modifications. Main improvements
This note is offered in PDF format to be read or printed using Acrobat reader, contact our webmaster > Here Includes more than 40 pics, here we show only the text pages.
Esta Nota es ofrecida en formato PDF, el cual puede ser leído o impreso usando el Acrobat reader, contacte a nuestro webmaster > Aquí Incluye más de 40 imágenes, aquí solo mostramos las paginas de texto.
Big size photos are only available in our PDF format. Support us ordering our notes in PDF > Here |
|||||||||||||||||||||||||||