|
|
||||||||||||||||||||||||||||||||||||||||||||||||||||||||||||||||||||||||||||||||||||||||||||||||||||||||||||||||||||||||||||||||||||||||||||||||||||||||||||||||
|
Cars |
|
|||||||||||||||||||||||||||||||||||||||||||||||||||||||||||||||||||||||||||||||||||||||||||||||||||||||||||||||||||||||||||||||||||||||||||||||||||||||||||||||
|
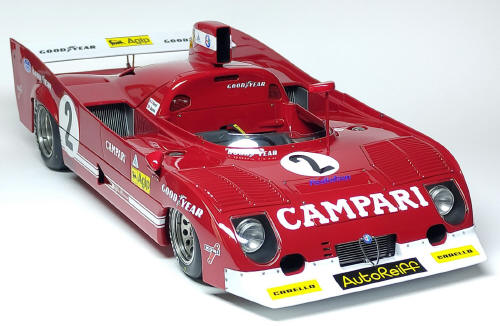
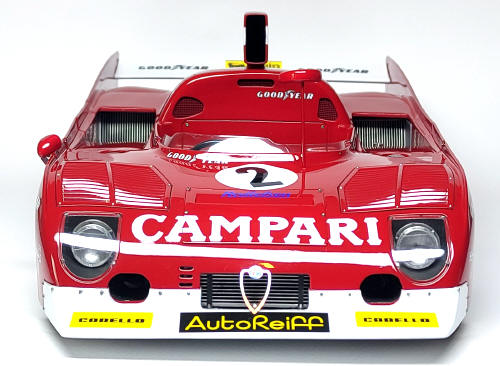
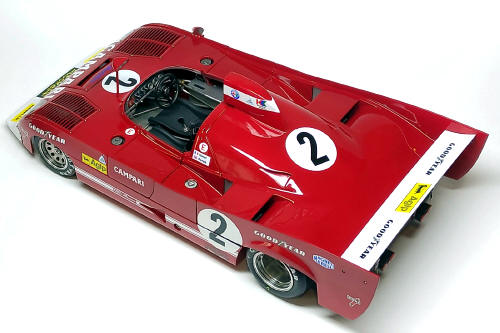
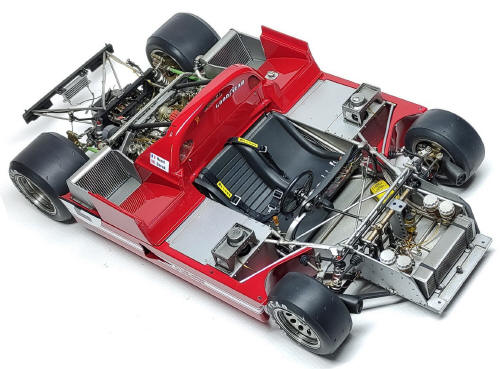
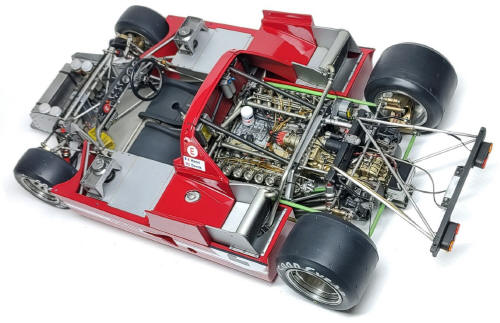
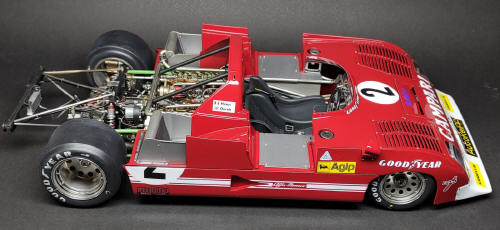
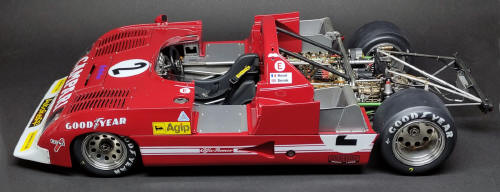
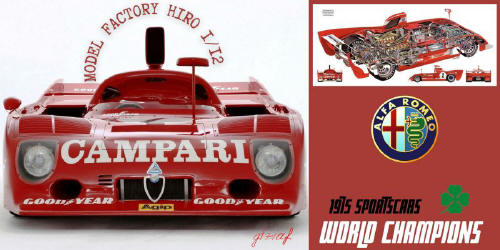
Superdetailing the MFH Alfa Romeo 33TT12 #K711, 1/12 scale |
||||||||||||||||||||||||||||||||||||||||||||||||||||||||||||||||||||||||||||||||||||||||||||||||||||||||||||||||||||||||||||||||||||||||||||||||||||||||||||||||
|
by Geo Tziafas © Modeler Site |
||||||||||||||||||||||||||||||||||||||||||||||||||||||||||||||||||||||||||||||||||||||||||||||||||||||||||||||||||||||||||||||||||||||||||||||||||||||||||||||||
|
Legal Notice No material from Modeler Site any may be copied, reproduced, republished, uploaded, posted, transmitted, or distributed in any way, except that you may download one copy of the materials on any single computer for your personal, non-commercial home use only, provided you keep intact all copyright and other proprietary notices. Modification of the materials or use of the materials for any other purpose is a violation of copyright and other proprietary rights. Read More here > Legal notice Model Factory Hiro kits have been, in recent years, best sellers for modelers who like 1/12 scale. They are multimedia kits, offering white metal, turned aluminium and resin parts as main materials, but also a number of detail parts. You practically don't need more than what the kit provides. Obviously, the most advanced modelers or those looking for more realism will always find something to improve or add. The instructions are good enough, and unlike Tamiya and other brands, many details that the modeler would normally add on their own are included. There are some pros and cons to these fantastic kits.
Due to the type of manufacturing, where mold costs are lower, it has allowed MFH to offer, almost seamlessly, several dozen F1, Le Mans cars and other classics. Something that, to put it simply, has driven many F1 fans crazy with joy. However, they are expensive kits, at least between 5 and 8 times the cost of an injected plastic kit. Building a MFH kit is not easy, and even the most expert has to work hard. White metal pieces are more difficult to work with and glue. The resin bodies need adjustment and some reports have shown that they were received with deformations, which sometimes could be fixed and others needed a replacement, to which MFH responds very well.
In general, they are for a smaller audience, with better purchasing power, and a lot of experience, they definitely surpass a plastic kit in detail, perhaps in durability, and building them out of the box obviously they also surpass any 1/12 plastic. But, they are not for beginning modelers.
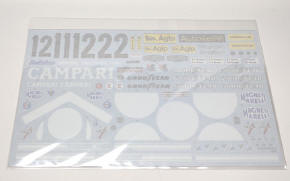
In the following tutorial I will share with the reader, many photos and explanations about the construction of the Alfa 33TT, I hope it will help and guide, for those who want to build this magnificent MFH kit, but this experience is valid for other similar kits of the same brand. Editor's note. This tutorial, very descriptive and with many good photos, can also serve as a general guide for other MFH kits in the same scale. The MFH kit #K711 - Ver.C MFH has released three versions of the kit, which include, in addition to the appropriate decals, corresponding modifications for different races. The first two refer to Monza 1974, while the third one refers to Spa 1975. This last one is the subject of this tutorial. Specifically, it is about the No.2 car that won the race in the hands of H. Pescarolo / D. Bell.
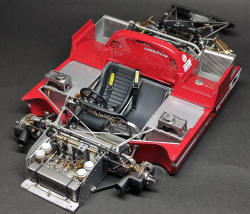
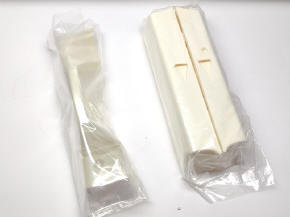
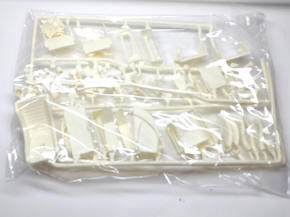
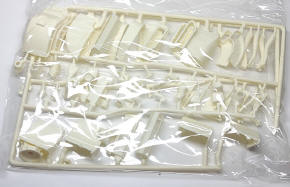
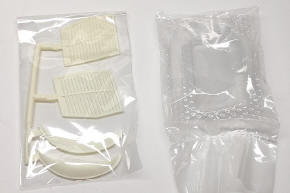
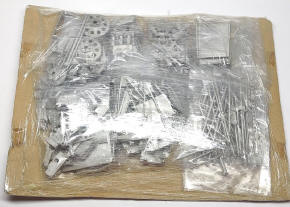
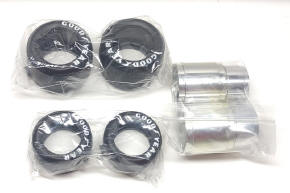
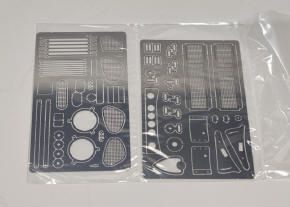
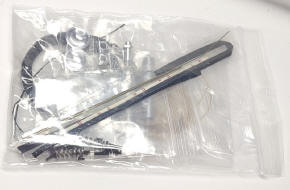
Preparation and organization of parts Upon opening the box, I found fewer parts than expected for an MFH kit in this scale, with much fewer photo-etched parts and extra pieces compared to others from the same brand. On the other hand, the actual car is relatively simple in terms of construction, and all the basic details seem to be present in the kit. On the positive side, a significant amount of wiring is provided compared to other kits, but there is a lack of color instructions, or there are very few of them.
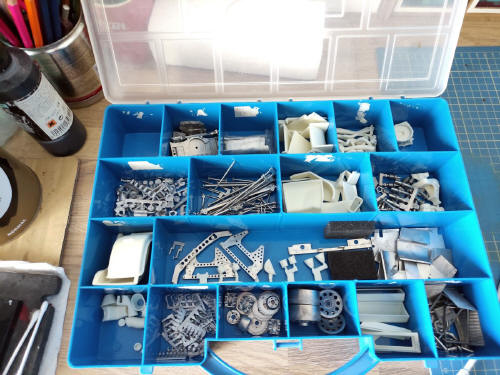
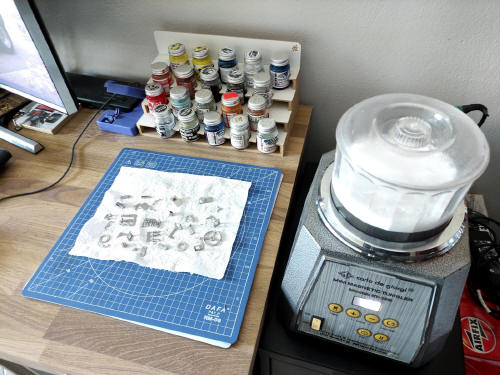
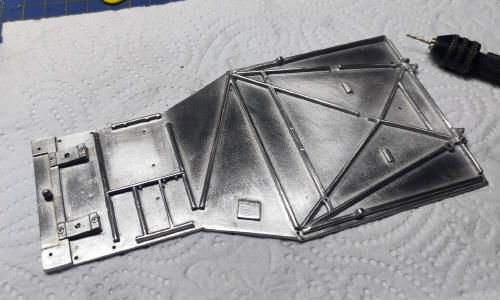
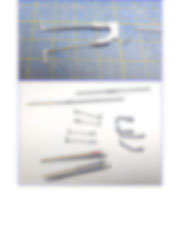
After the initial inspection of the parts, they were organized by construction stages (engine, gearbox, interior, etc.) in a box with multiple compartments. Preparation includes washing the resin parts with acetone and polishing the white metal parts. I use a jewellery magnetic tumbler, which makes the job faster and more efficient than cleaning with a Dremel rotary tool with attached metal cleaning brushes.
The magnetic tumbler is an useful tool, especially if you work with many multimedia kits, as it removes the natural opacity of the white metal parts. However, the mold lines need to be sanded, as the cleaning process in the magnetic tumbler doesn't eliminate them. Personally, I prefer to gradually immerse the parts in a solution of water-detergent-vinegar, while the process lasts for 30 minutes per group of white metal parts.
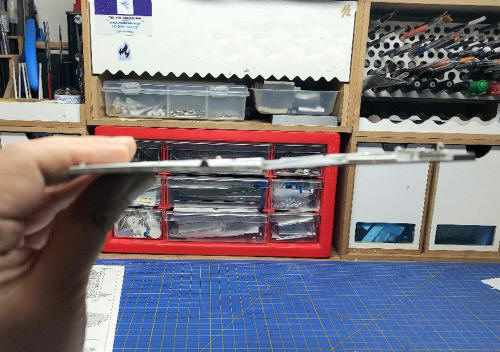
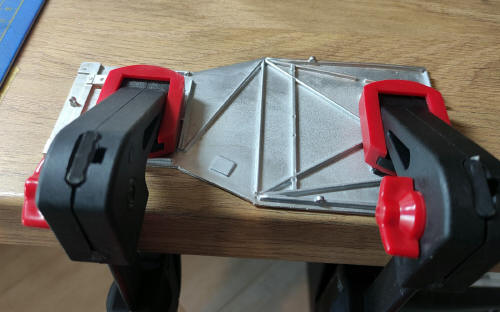
Before starting the construction, I noticed that the part representing the chassis floor was bent. Normally, I would have requested a replacement from MFH, but the eagerness to start the model led me to try fixing it using plastic clamps. After some work, the necessary shape was restored, and everything was ready to begin the dry fit tests.
This tutorial is offered in PDF format to be read or printed using Acrobat reader, contact our webmaster > Here Includes more than 250 pics, here we show only the text pages.
Esta Nota es ofrecida en formato PDF, el cual puede ser leído o impreso usando el Acrobat reader, contacte a nuestro webmaster > Aquí Incluye más de 250 imágenes, aquí solo mostramos las paginas de texto.
Big size photos are only available in our PDF format. Support us ordering our notes in PDF > Here |
||||||||||||||||||||||||||||||||||||||||||||||||||||||||||||||||||||||||||||||||||||||||||||||||||||||||||||||||||||||||||||||||||||||||||||||||||||||||||||||||