|
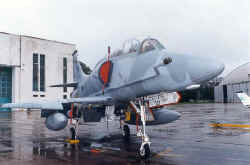
You are an airplane plastic modeler and all of a sudden you know that there is a new fighter coming into service in your country's air force; how can you avoid building a model of it!? I made myself that question back in 1996, when the FAA (Fuerza Aérea Argentina) was giving the final touches to the acquisition of 32 A-4M, and 4 OA-4M, in order to replace the already tired and worn out V Brigada Aérea, at Villa Reynols S. Luis.
At that moment almost nobody knew about that, and it was in that context that I had to gather the needed information for my project.
The kit
We all know that up to now there is no kit to build the Skyhawk A-4M in 1/48 scale, although there is an ESCI kit which is sold as an A-4N (this was an A-4M for the Israeli Air Force). This kit is nothing else but an A-4F with some "extras", this situation put some conditions on my project of building a "two seat" version of this plane.
At that time (I'm talking about the 80's) there was an excellent kit from Monogram to build an OA-4M version. The kit was very good concerning shape and scale appearance, although with the drawback that it had raised panel lines, instead on engraved ones, but it was the only alternative to build the new A-4.
The weak points in the kit were the cockpit, with a strange conception putting the eject seat and the side panel in a single part, and the well known problem of the "empty" air intakes, common to all A-4's up to now.
Accessories
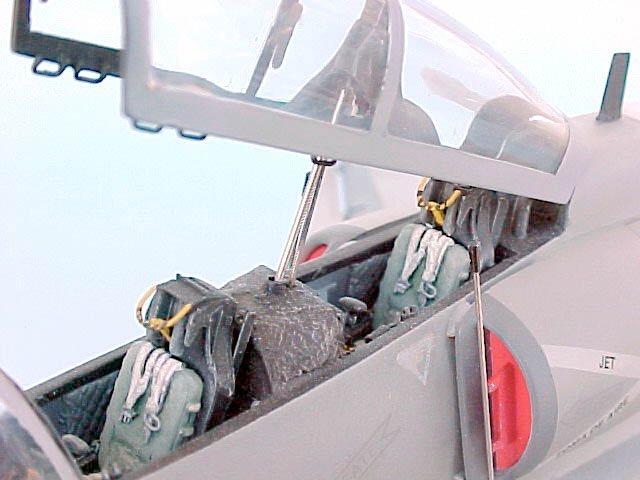
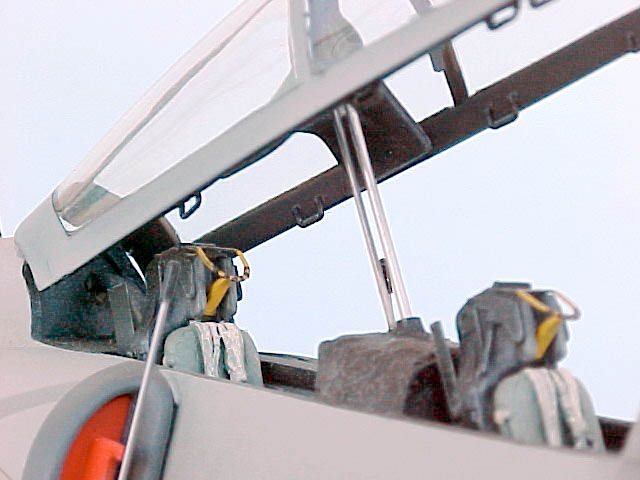
As I didn't have any other option but waiting for the arrival of the planes, end of 1997, I started gathering all the necessary "extra parts", in order to improve the kit. There are not many sources in the market for this plane, but I had the chance to get resin ejection seats from True Detail, and an excellent PE sheet from Eduard: this part was meant for the Fujimi T-4F kit, originally, but I put all these together with parts from my "spares box", and that was enough to detail this project.
Documentation
For the general assembly of the A-4 I would recommend the #32 issue of Detail & Scale, as well as other publications titled Aeroespacio, and Pista 18; I also had the chance to take several pictures of the real ship.
Currently, we can find a lot of information about this airplane in magazines and Internet. Due to some differences between our A-4's and the standard ones, I would recommend the written bibliography.
Building the TA-4AR
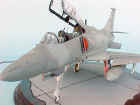
Finally, on December 18, 1997, the first 5 units arrived to Argentina (four single seat and one two seat). At that time I had the chance to clear up some doubts that I've had about the project, paint scheme, additional antennas, and some other details. The new fighters started their operations in Argentina with a new denomination A-4/TA-4AR ¨Fighting Hawks¨. Armed with all the new elements I started checking all the modifications necessary for my project.
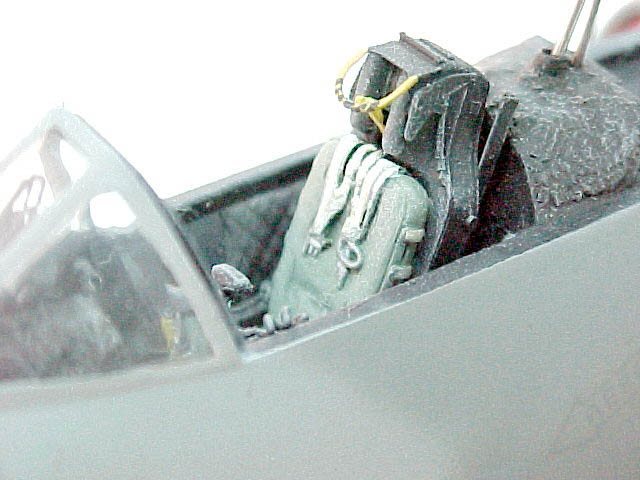
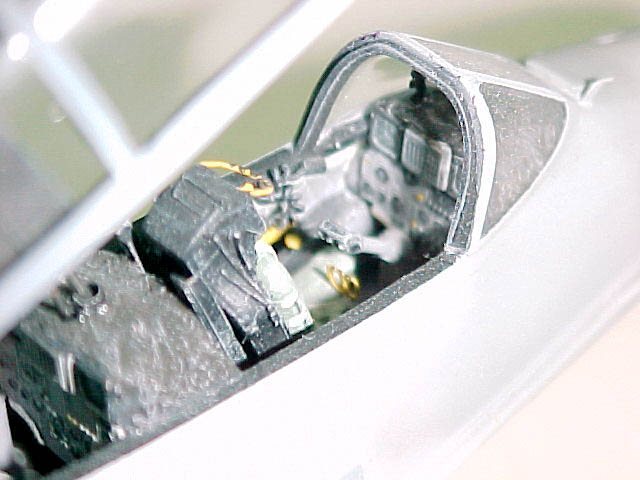
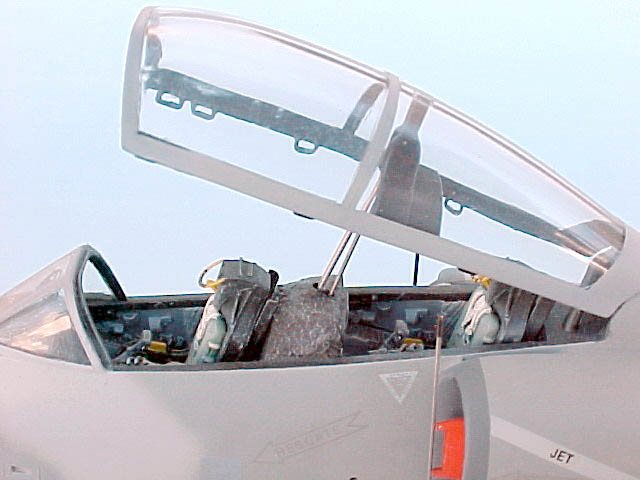
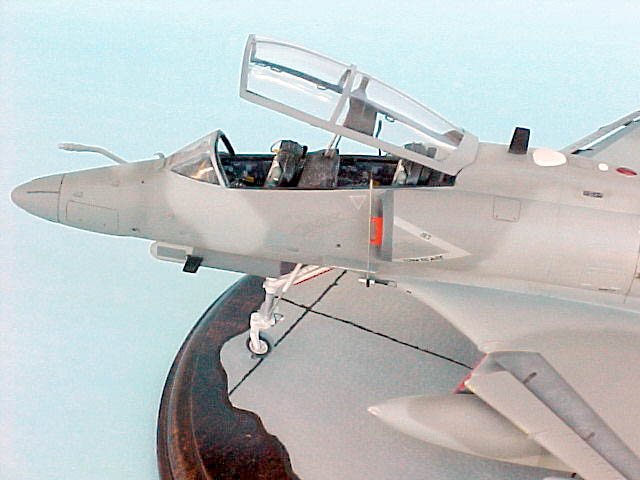
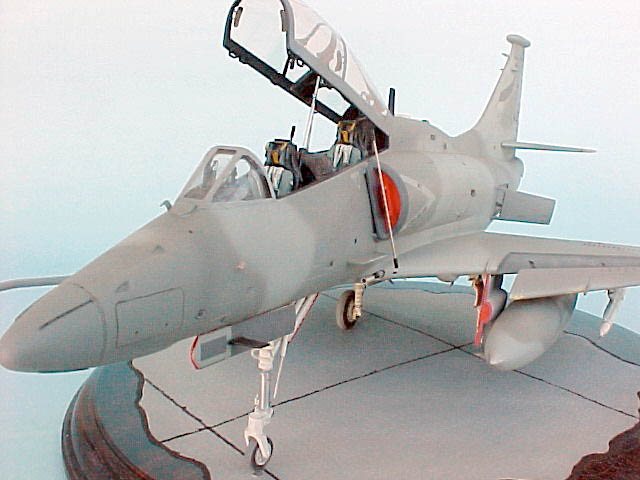
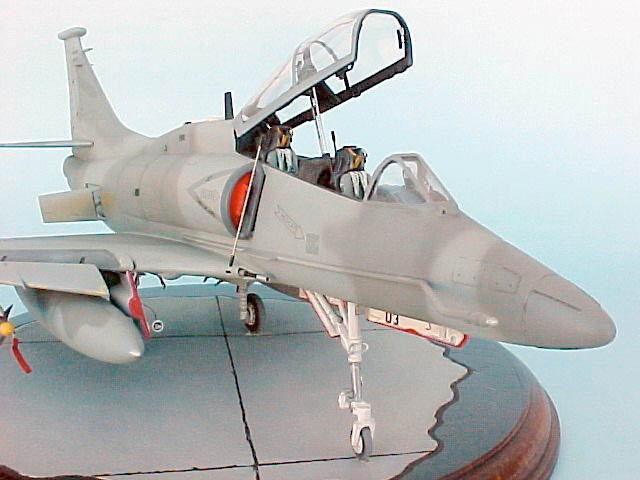
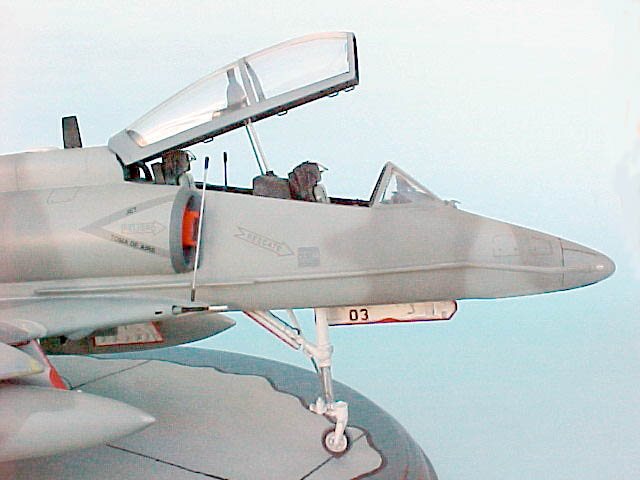
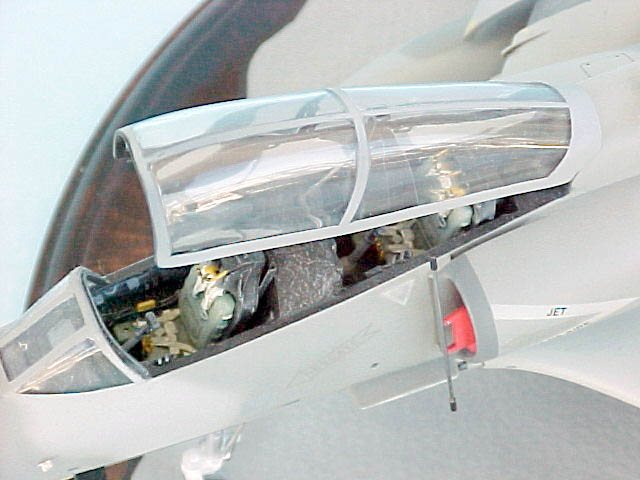
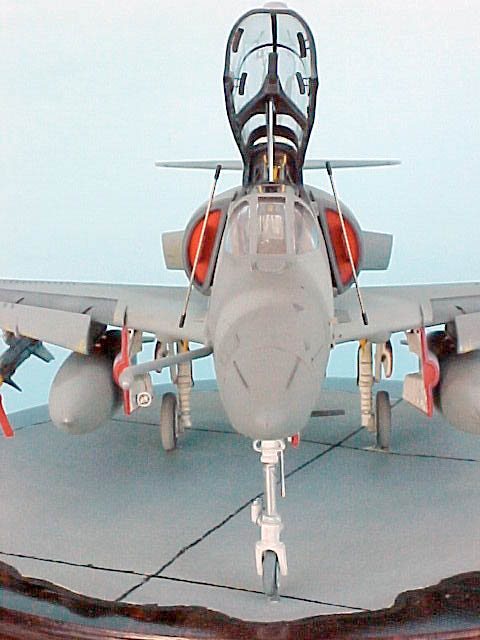
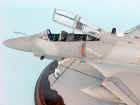
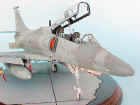
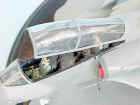
Inside cockpit
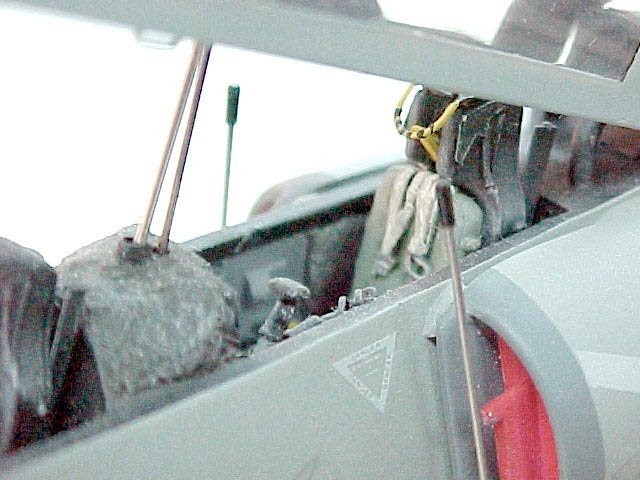
As usual, the first part was the cockpit, which I strongly recommend to build from scratch. So I made the floor pan for the seats, and the side panels, using plastic sheet. Then I added the PE details, along with the side panels. As I was going to install a pair of resin eject seats, I was very careful to give space enough in order to install the seats without any interference. I made the side detailing (including the fabric lining) with two part epoxy putty and added some levers and wires.
The instrument panel has two LCD screens. I used two spare ones from a PE set that I had for the F-16 and put them here. With these two screens, the real instrument panel "grows" considerably, so the engineers took away the rigid cover and used a fabric one instead. In order to make a replica of that, I cut the one that comes in the kit and made a new one using two part epoxy putty, you can achieve the fabric effect "pushing" the putty with a piece of coarse sandpaper, before it hardens.
Fuselage
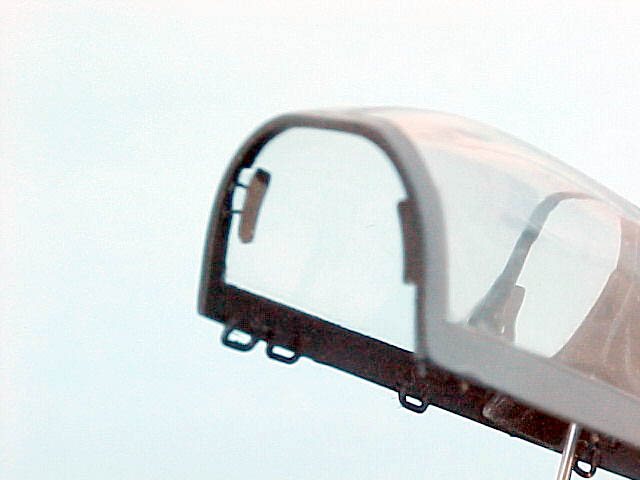
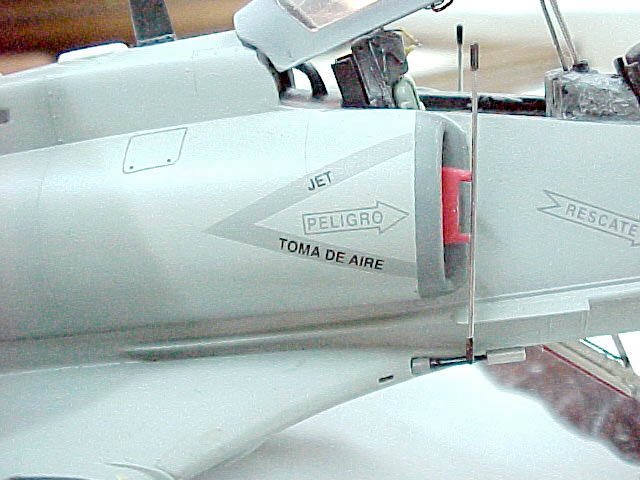
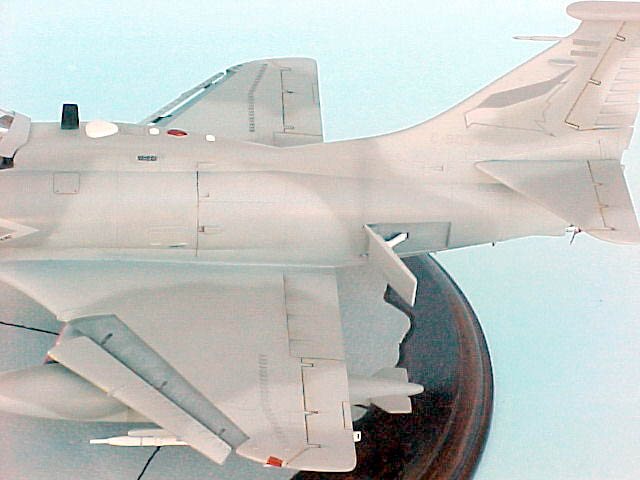
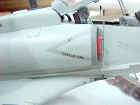
The rest of the fuselage poses no problems because all the parts fit perfectly, and they match with the Argentine version. I replaced the pitot tubes, the fuel discharge lines, and the engine bleeding lines using metallic tubing and hypodermic needles in different diameters, I also improved the fuselage with several PE parts.
|
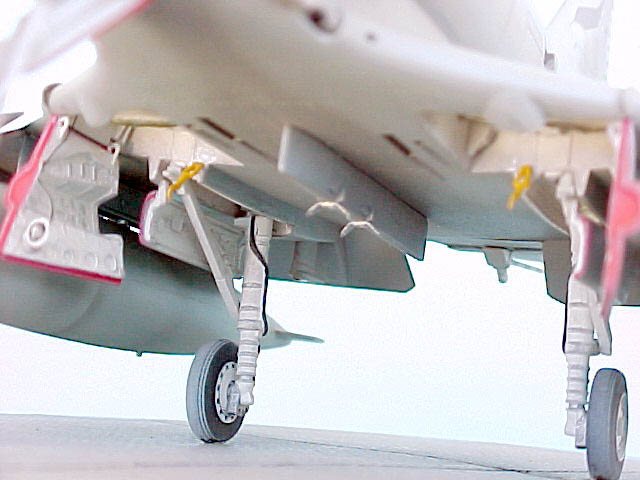
Landing gear and bays
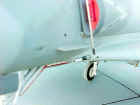
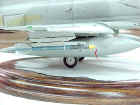
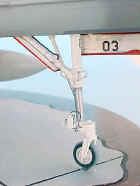
The landing gear bays are deep enough and have some details, although I had to add some wires and lines because the kit detail y scarce. For instance, I had to add the compressed air tank in the nose bay, and the landing arrest kook in the in the main landing gear, we must remember the naval origin of this aircraft; I made both from scratch.
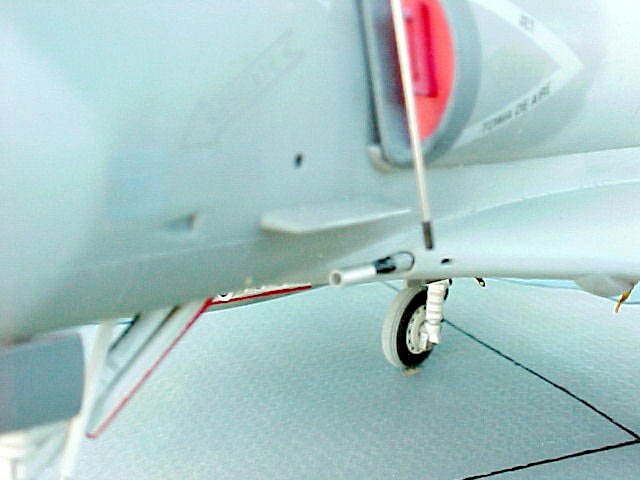
The nose wheel was improved by replacing the parts in metalized color (shock absorber and retracting scissors), with aluminum tubing, this is the best way to have a "real metal" landing strut look, which is very difficult to achieve using paints, not to mention the rounding of the parts, so hard to keep when you scrape and sand plastic pieces. The main landing gears have no major changes, besides adding the usual brake lines and a few wires in order to simulate hydraulic hoses, for this part I used wires and PE parts.
|

|
|

|
Building the Fuerza Aérea Argentina version
The differences between the A-4AR and the A-4M are not very visible, but they are significant, nevertheless.
|
Nose
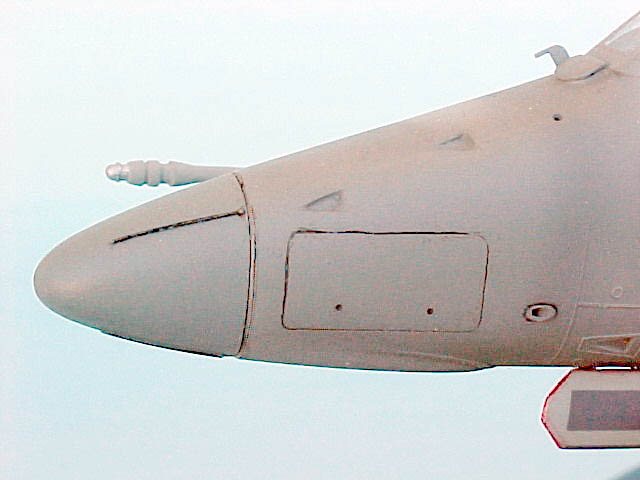
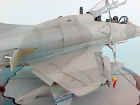
The nose is slightly bigger, in order to accommodate the APG-66AR inside, and it has a fiberglass radome. In order to change this, I had to cut the nose and made a new one using a thermovac technique, taking good care of making the new one a little larger.
|

|
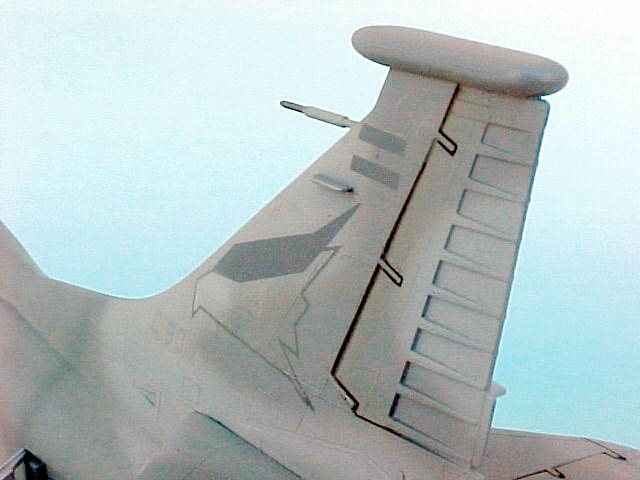
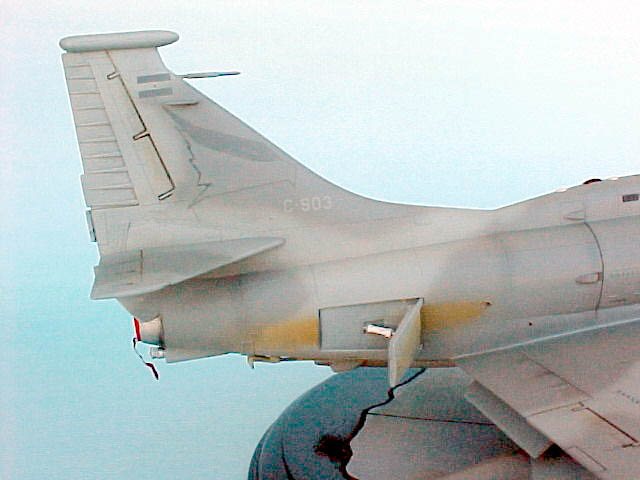
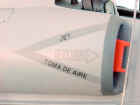
Antennas
Most of the antennas are on the "hunch", these are the communication and position devices. I first built the 2 "surface" antennas (one in the "hunch", and the other in the landing gear cover), these are black colored.
|
Behind this one is a Collins antenna, which has the shape of a water drop (similar to those installed in the A-4P/C, although this one is considerably smaller), painted in white color. Behind this are another 2 antennas for the GPS. These are nothing else but two very small white circles. All the antennas were made using plastic sheet in different thickness.
|
|
|
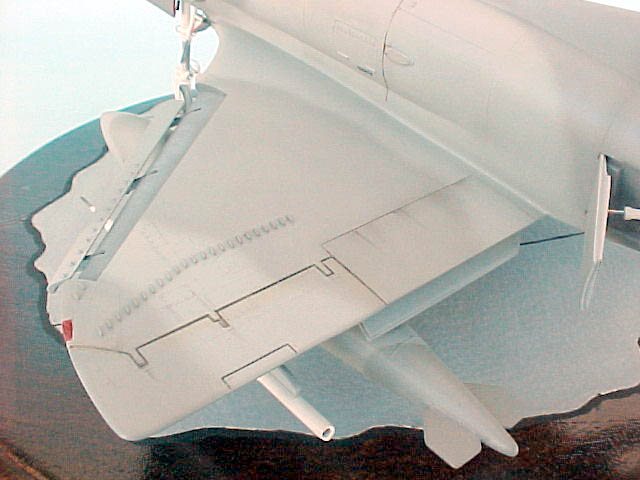
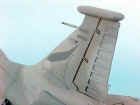
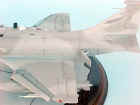
As we have a new radome nose, I had to relocate some of the ECM antennas. In the A-4AR, these antennas are located in the under wing, near the leading edge. For this purpose I've used some antennas in the kit, sanding and giving them their new shape.
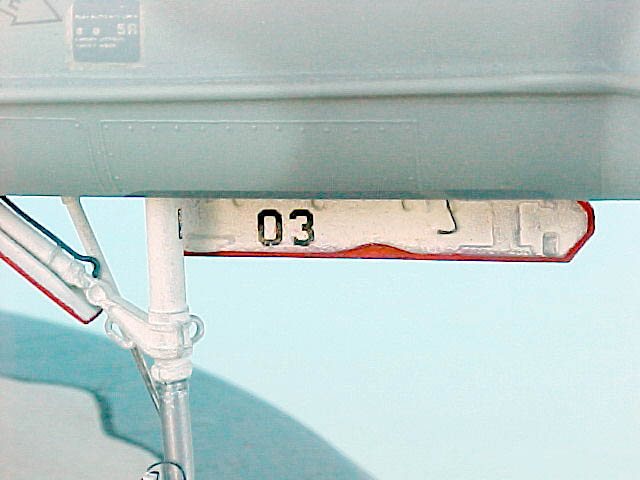
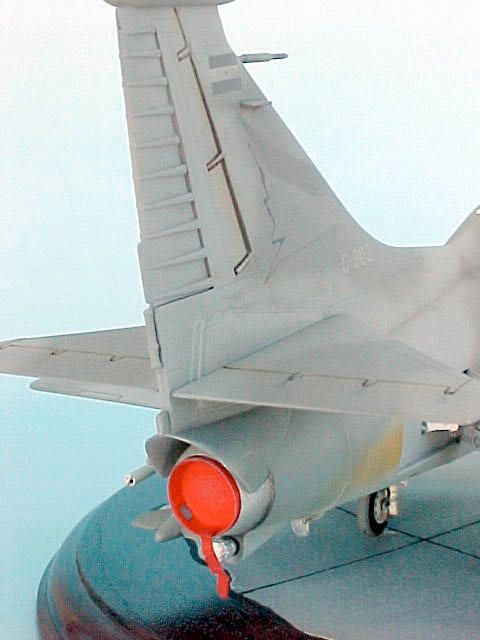
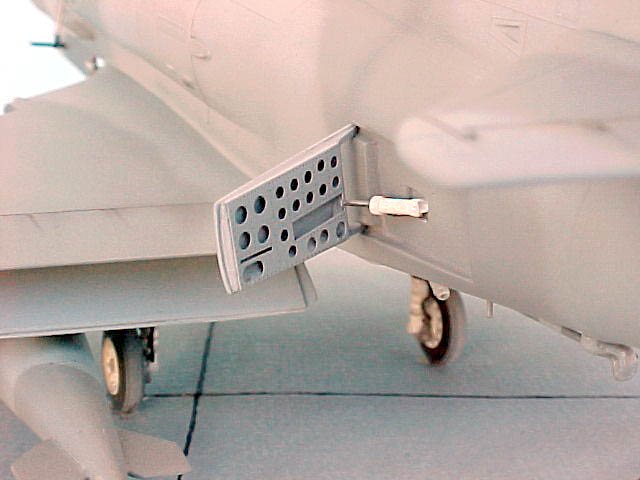
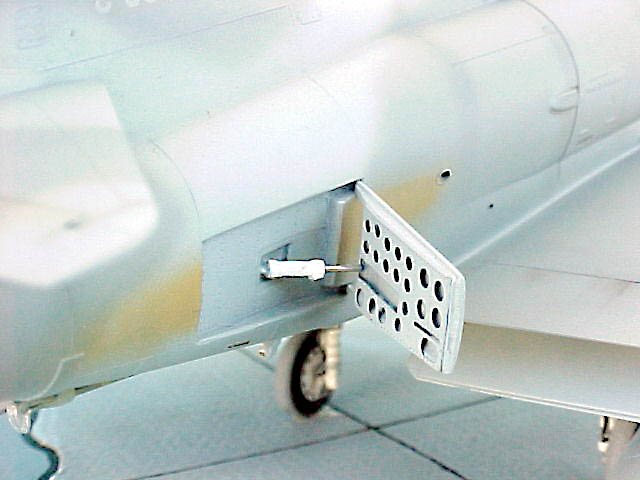
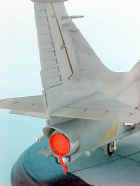
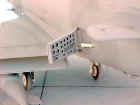
The TA-4AR is the only two seat A-4's with braking chutes, so I had to scratch build the compartment. In my particular case I used one from another A-4, and detailed it with some aluminum tubes and PE parts.
|
|
|
Accesories
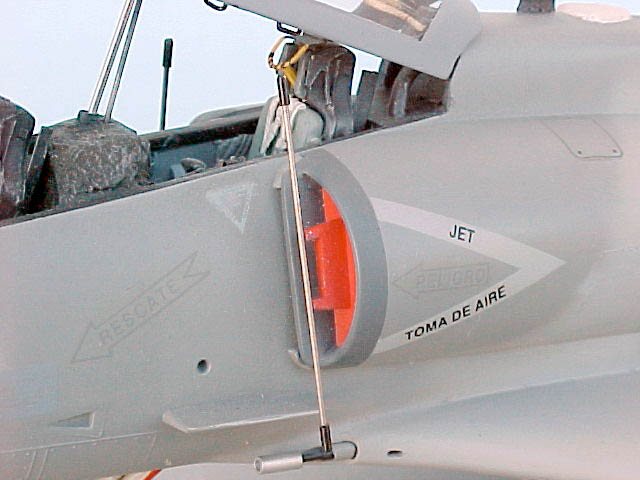
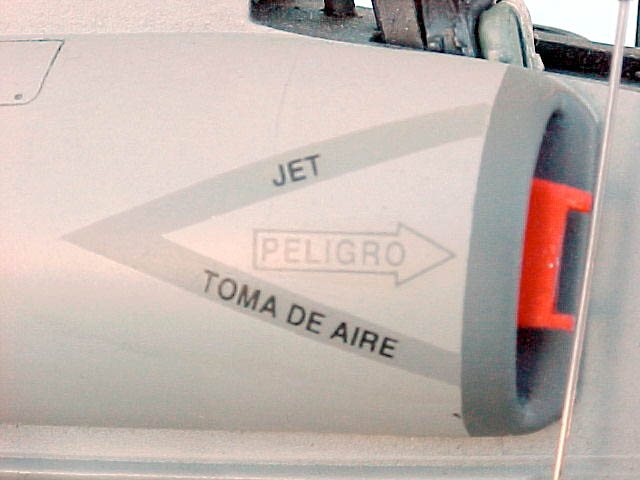
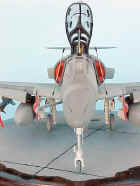
I had to make covers for the air intakes. The kit has them closed, but in the real plane, you can see the interior through these openings. I made both covers from plastic sheet. I also improved the look of the 20mm Colt cannon barrels, with metallic tubing.
|
|
|
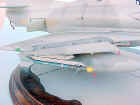
Ordnance
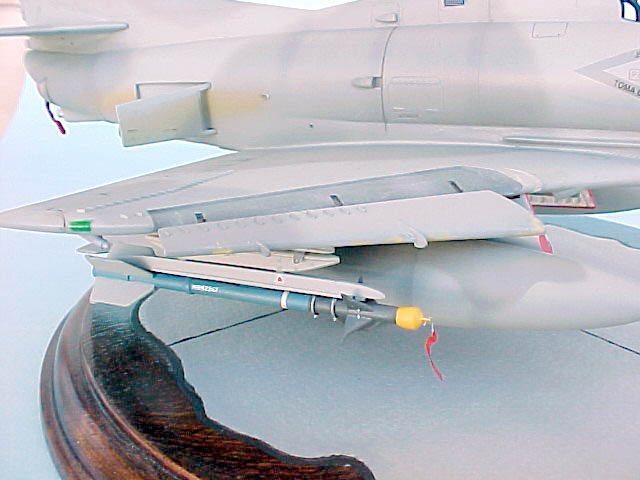
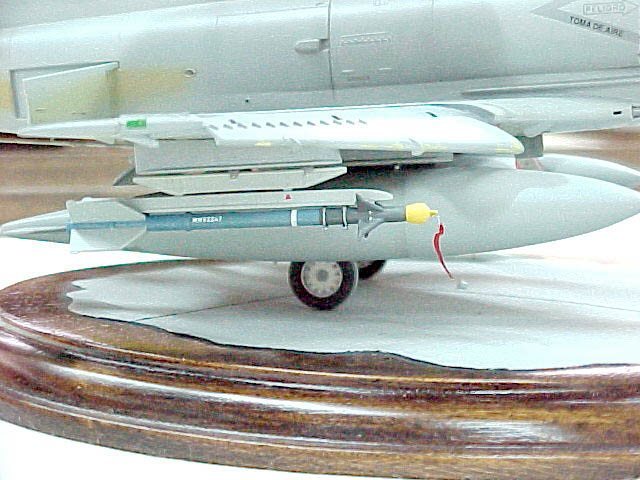
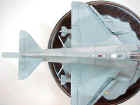
At the time when I was finishing the model, the EHUD combat simulating system, and the AIM-9M Sidewinder missiles were already operating, so I considered this alternative more interesting. The missiles come from an F-16 Hasegawa to which I added the protective cone to the Infrared Target Designator (ITD). I also added some extra touches like the "remove before flight" flags. The EHUD probe was made using aluminum tubing in different diameters, and copper wire.
I scratch built the supports for both systems, adding some metallic braces made out of a PE "fret".
|
|
|
|
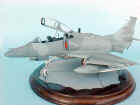
Painting the model
For the exact color combination I had to make a cross-reference table between the Federal Standard Colors and the equivalent of well known hobby paints. The approximate FS numbers for this model are 36320/36375, these are the colors used by the F-15 Eagle. For the whole plane I used Humbrol enamels 126/127, and number 125 for the air intakes.
Camouflage lines are different from one aircraft to the other, so I had to get good pictures of the real plane from different angles
After finishing with the painting, I sprayed a light coat of gloss clear enamel (Humbrol 35); I let it dry for a few days and started with the decals. For this version I used the old Calcs Argentinas, which have good quality but they tend to become yellowish quite fast.
Due to the above mentioned problem, I had to cut out the decal film very close to the design, and in some cases, I had to retouch with the airbrush. When I finished with the decals I had to apply several "washes" in the usual places (ailerons, and in the engine exhaust zone); for this purpose I used inks in sepia color. After that, I glued the main and nose landing gear, all the ordnance, and the cockpit
Personal experiences
In my particular case, the TA-4 is a model that took a lot of time and creative work. As it is usual in these cases, it is advisable to gather all the graphic information you can, before attempting the building of a particular model. The kit has good quality, although it lacks the detailing normal in Japanese kits; so, if you want to make it look real, you have to work hard. The extra parts available in the local market are sufficient for this project, but you must make some other parts from scratch. Decals are good but with a hard tendency to curling, so you must be very careful when putting them. I hope that Aztech will have the new decal set very soon.
The great realism of the finished model is a reward for all your work. Besides, I think this model is a must for every modeler who collects Argentinian aircraft.
Materials
 Monogram Kit-74020 -- OA-4M Skyhawk Monogram Kit-74020 -- OA-4M Skyhawk
Eduard 48 149, PE set for the -- TA-4F/J Skyhawk
True detail TD 48 406 - Resin ESCAPAC eject seats
Decals - "Calcas Argentinas"
|
|
|
|

|
|
|
|

|
|
|
|

|
|

|
|
|

|
|
|
|
|
|
|
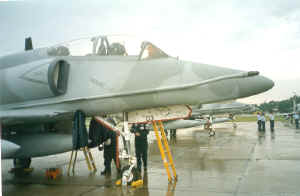
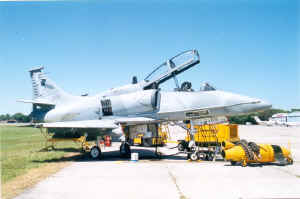
Photos gracefulness J.C. Cicalesi
|
|

|

|
|
|
|
|