|
|
|||||||||||||||||||||||||||||||||
|
Cars |
|
||||||||||||||||||||||||||||||||
|
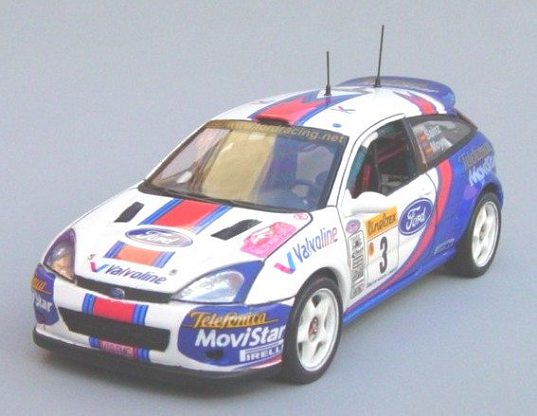
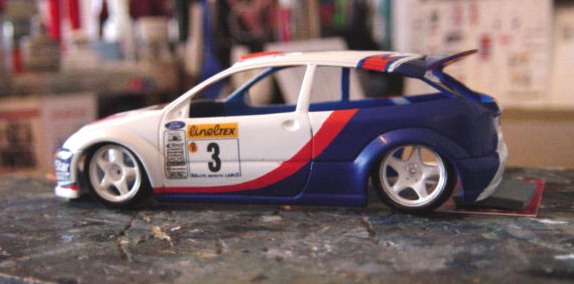
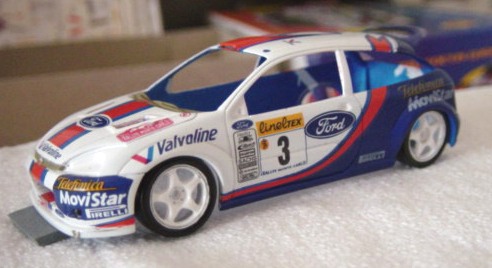
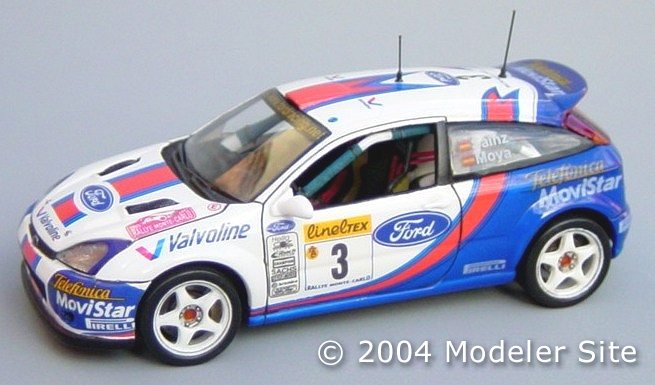
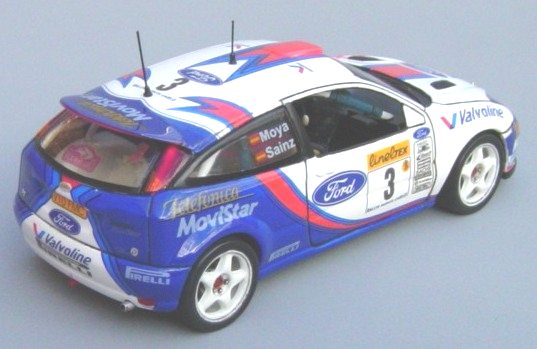
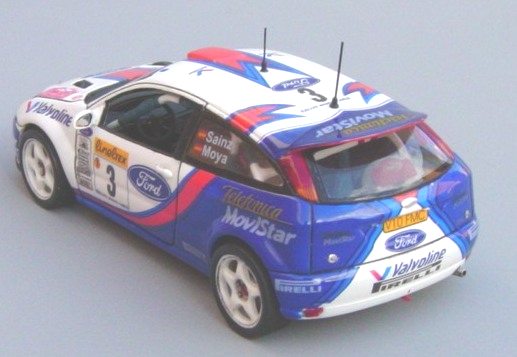
Ford Focus WRC 2001 Airfix 1/43 scale |
|||||||||||||||||||||||||||||||||
|
by Alfredo Molina Reynoso © 2003 MS |
|||||||||||||||||||||||||||||||||
|
Legal Notice No material from Modeler Site any Web site owned, operated, licensed, or controlled by Mario Covalski & Associated may be copied, reproduced, republished, uploaded, posted, transmitted, or distributed in any way, except that you may download one copy of the materials on any single computer for your personal, non-commercial home use only, provided you keep intact all copyright and other proprietary notices. Modification of the materials or use of the materials for any other purpose is a violation of Mario Covalski & Associated's copyright and other proprietary rights. Read More here > Legal notice After I had read about how attractive was this scale, the idea of building a 1/43 kit excited me very much. A friend of mine told me that a local hobby store was on bargain sale and, thinking I could get them there, I decided to go……and bought two, the Ford Focus WRC and the Peugeot 206; both of them were from Airfix (Heller). A modelling contest was about to start, so considering, that building one of these, would not be difficult, I set to work at once. This note aims at letting you know my experience as a beginner to this scale, with my first 1/43 kit.
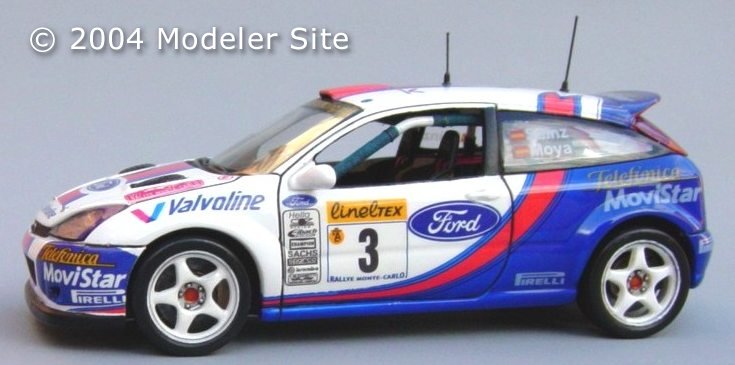
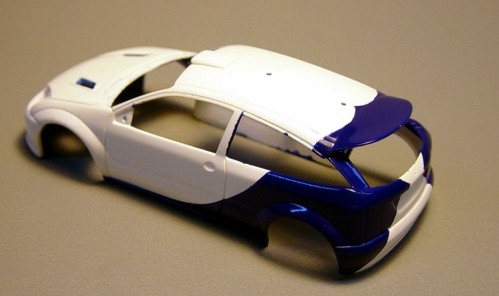
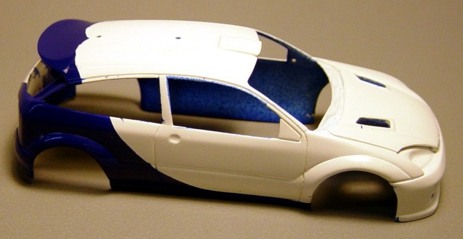
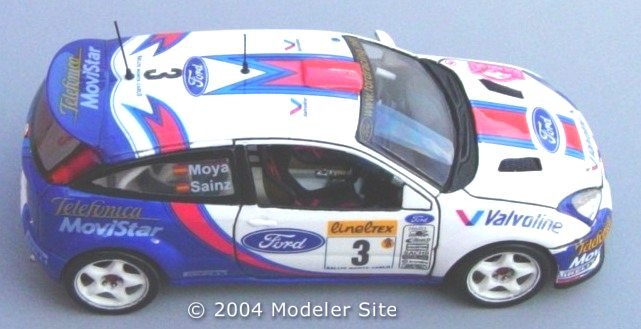
In some areas the blue spread itself over the white, probably owing to a masking failure but a smooth sanding was enough to correct it. I let the blue drying during 7 days, to give a sanding with #2000 until getting a smooth surface, ready to receive the decals..
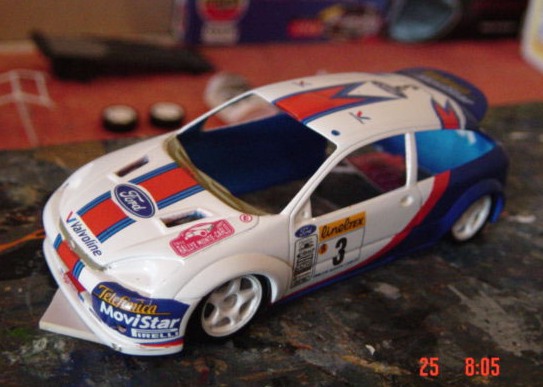
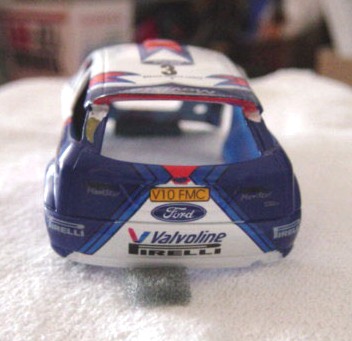
Once this time-consuming process finished, I went on applying the decals. Then, I waited a couple of days to wash all the body up to varnish it, letting it dry during one week
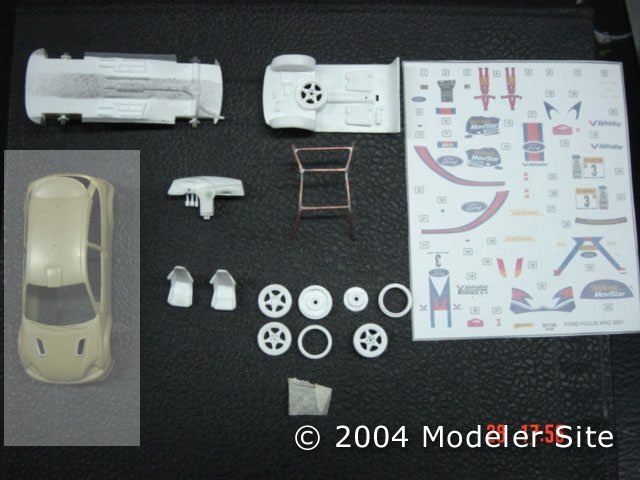
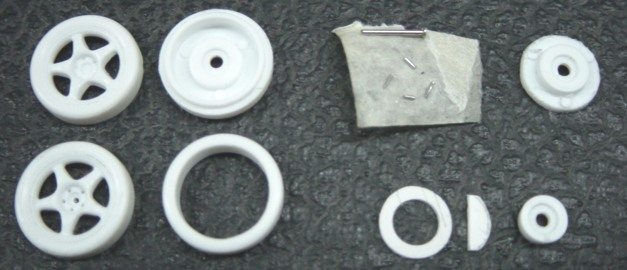
The wheels
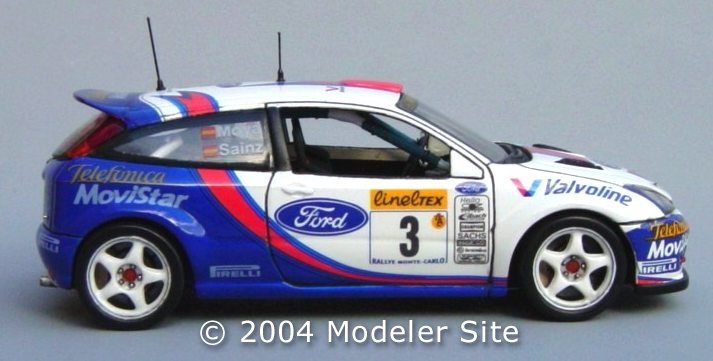
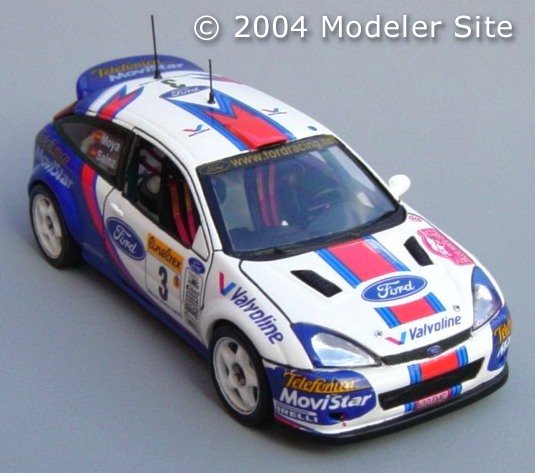
The tires were painted Tamiya gloss black, and once the paint was dry I applied the “Pzero” decals. Finally, several layers of matt varnish were given, placing then, the five nuts and the centre, applying a smooth wash and…..the wheels were ready.
The spare wheel was painted like the others, and all the tools with Humbrol polish steel, and were slightly dry brushed with gold color.
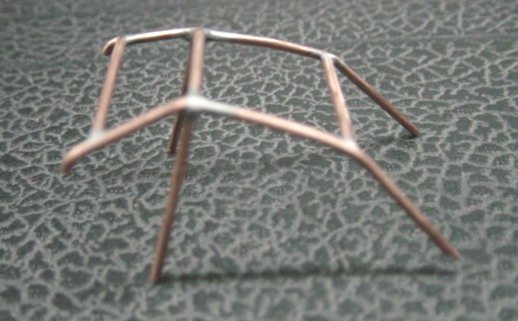
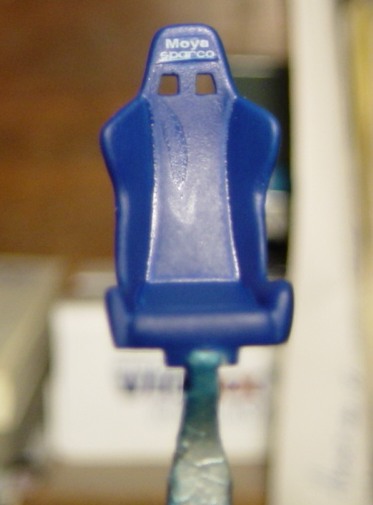
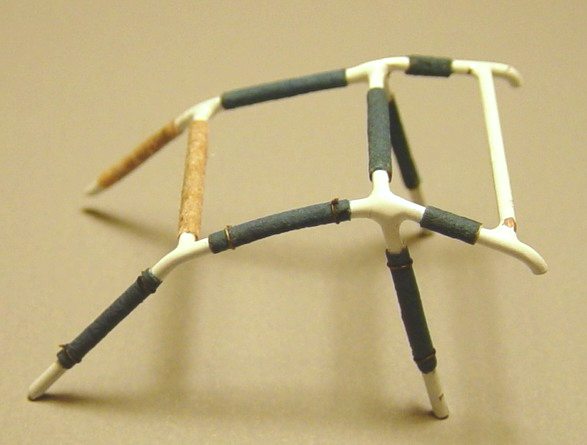
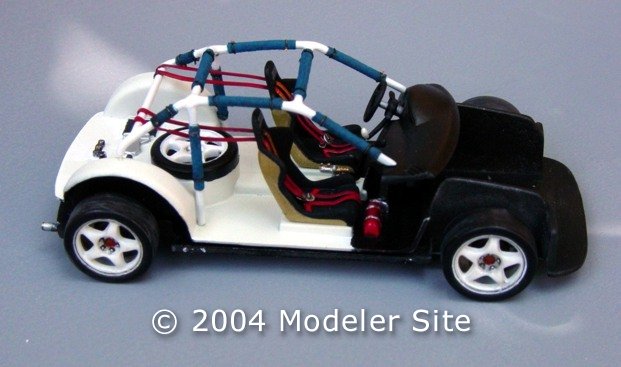
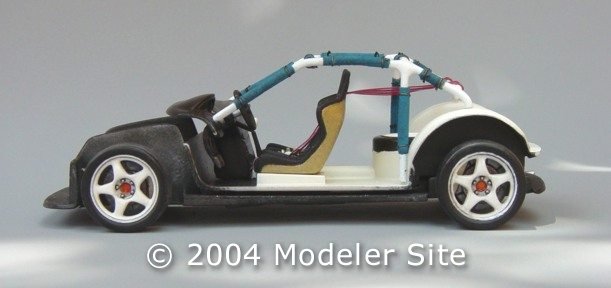
Once finished and glued the rollbar, went on placing the seat belts. As this kit doesen´t provides them, I cut two strips (from tin foil) as wide as the seats holes, next they were primed and painted gloss red, applied decals and some matt varnish coats. I added pieces of wire as to show that the belts were fastened (a friend of mine remarked me that the seat belts should end “Y” shaped, thank you Javi).
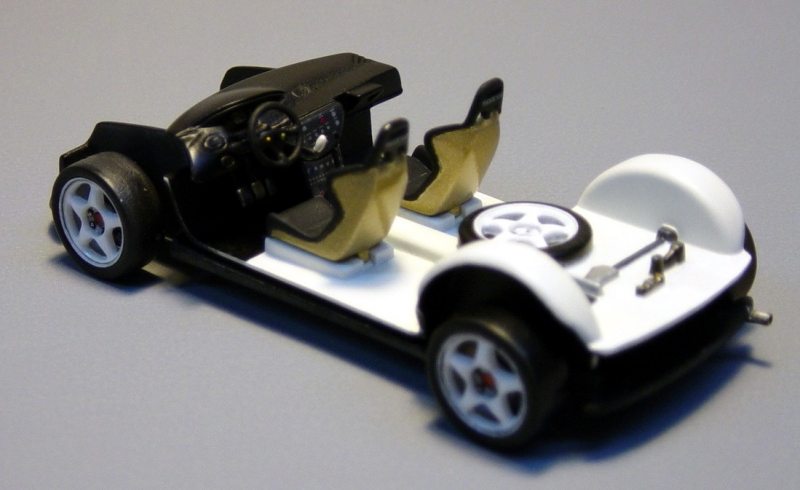
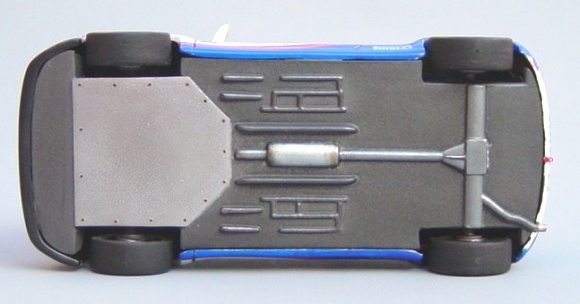
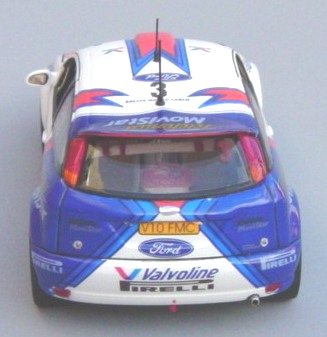
The chassis To give a more realistic look, I started by cutting away the oil pan guard plate, to be replaced. I made a cardboard template to cut a thin part of plasticard which was drilled where the rivets should have to be applied, sanding then with #500, to paint finally in Humbrol chrome plate, but actually, this result didin´t satisfy me. Next step was to mask the gear box and exhaust tube and paint in Humbrol matt black, airbrushing then, matt varnish. I sanded a piece of plastic which had previously been painted in aluminium, letting this “dust” falling on the paint, and with the help of a cotton swab, I spread the dust all over the chassis until it was wholly impregnated. I applied Humbrol polish steel, to the gear box and exhaust tubes, polishing them very smoothly. All these stages mean a hard work of masking….that makes lose anybody´s patience.
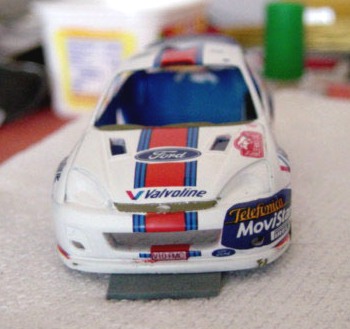
Finishing I sanded the chassis with #2000 sand paper, polishing with Novus 3, and after all the lines the sand paper had left, were removed, I applied several coats of Novus 2 until getting a bright surface. Finally, a coat of 3M wax to get a deeper brightness. Conclusion As it was plainly shown along this text, this kit takes many hours of hard work if we want to get a good result, however it was a pleasing experience as the kit gave me the chance to test the 1/43 scale. Although at times, small details take us on edge, I consider to build in future a higher quality one of this pretty scale…..
Support us ordering our notes in PDF > Here |
|||||||||||||||||||||||||||||||||