|
|
||||||||||||||||||||||||||||||||||||||||||||||||||||||||||||||||||||||||||||
|
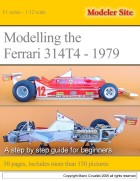
Formula one |
|
|||||||||||||||||||||||||||||||||||||||||||||||||||||||||||||||||||||||||||
|
Building the Tamiya Ferrari 312T4 1/12 scale: A step by step for newcomers |
||||||||||||||||||||||||||||||||||||||||||||||||||||||||||||||||||||||||||||
|
by Mario Covalski © 2003 - 2016 |
||||||||||||||||||||||||||||||||||||||||||||||||||||||||||||||||||||||||||||
|
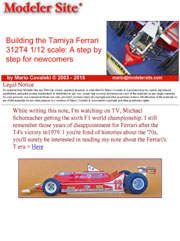
Legal Notice No material from Modeler Site any Web site owned, operated, licensed, or controlled by Mario Covalski & Associated may be copied, reproduced, republished, uploaded, posted, transmitted, or distributed in any way, except that you may download one copy of the materials on any single computer for your personal, non-commercial home use only, provided you keep intact all copyright and other proprietary notices. Modification of the materials or use of the materials for any other purpose is a violation of Mario Covalski & Associated's copyright and other proprietary rights. Read More here > Legal notice While writing this note, I'm watching on TV, Michael Schumacher getting the sixth F1 world championship. I still remember those years of disappointment for Ferrari after the T4's victory in1979. I you're fond of histories about the '70s, you'll surely be interested in reading my note about the Ferrari's T era > Here
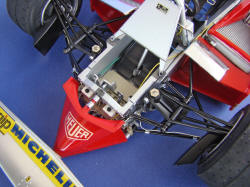
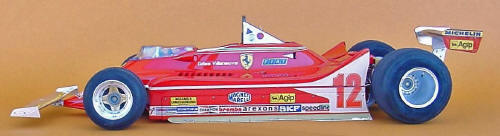
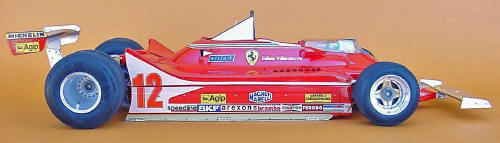
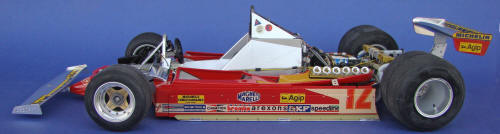
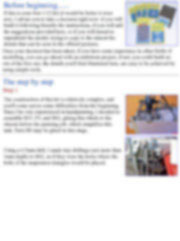
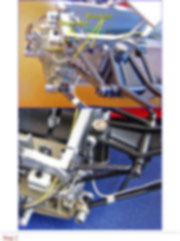
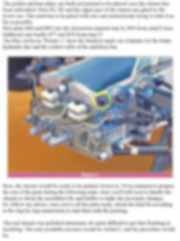
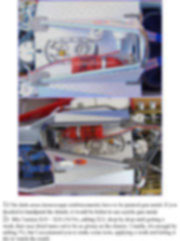
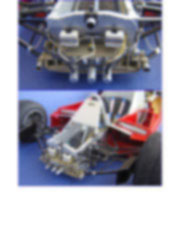
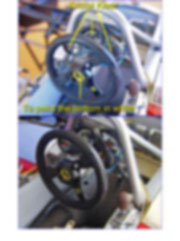
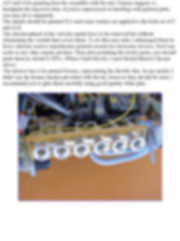
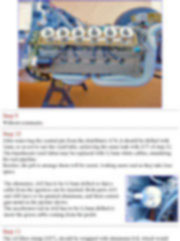
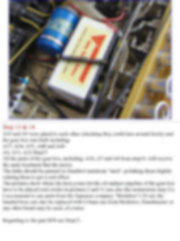
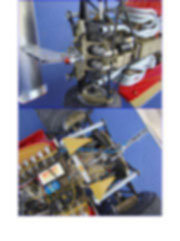
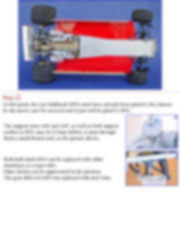
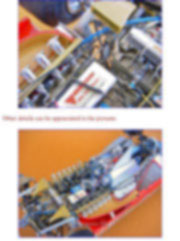
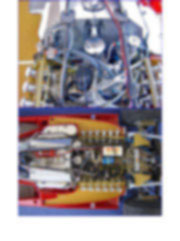
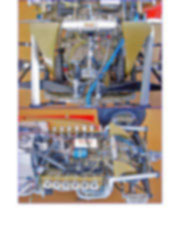
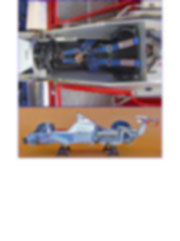
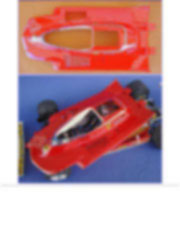
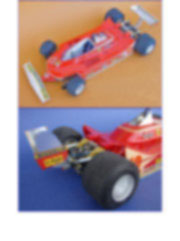
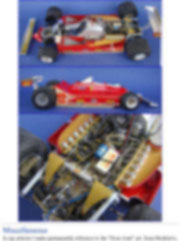
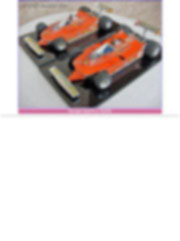
The Ferrari T4 was also one of the latest 1/12th kits that Tamiya released before 10 years without manufacturing these kind of models, from1981 (when the Renult Turbo was offered) to 1991 with the 641/2 Ferrari. Ten years in which F1 lovers missed the opportunity of building new high quality models. I built this model several times. First, when it appeared in 1980, then in 1991, and finally in 1998, which is the one shown here. So, along this note, I'll make comments about the different changes I would achieve nowadays, or about the paints or materials I'd use, if I decided to construct a T4 again. The chassis and body are provided separately, this makes the job easier and the modeller will be able to concentrate in other tasks such as detailing and painting the monocoque, as well as getting and acceptable paint for the body.
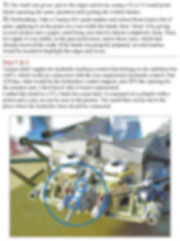
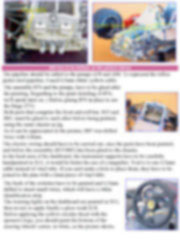
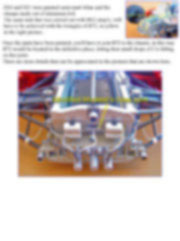
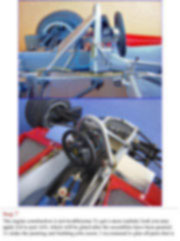
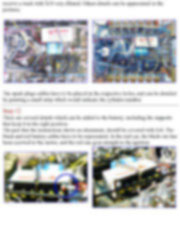
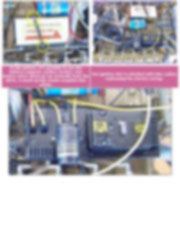
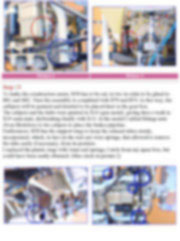
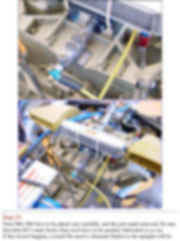
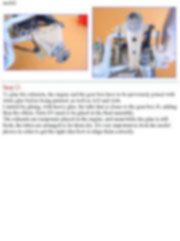
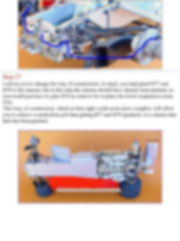
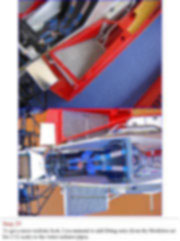
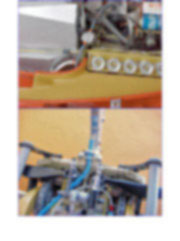
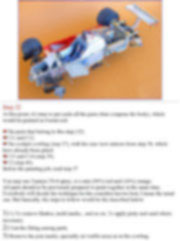
Once your decision has been taken; if you have some experience in other fields of modelling, you can go ahead with an ambitious project, if not, you could build an out of the box one, the details you'll find illustrated here, are easy to be achieved by using simple tools. The step by step Step 1
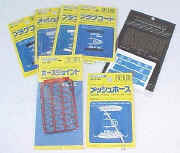
This article is offered in PDF format to be read or printed using Acrobat reader, contact our webmaster > Here Includes more than 130 pics, here we show only the text pages.
Esta Nota es ofrecida en formato PDF, el cual puede ser leído o impreso usando el Acrobat reader, contacte a nuestro webmaster > Aquí Incluye más de 130 imágenes, aquí solo mostramos las paginas de texto.
|
||||||||||||||||||||||||||||||||||||||||||||||||||||||||||||||||||||||||||||