|
|
||||||||||||||||||||||||||||||||||||||||||||
|
Formula one |
|
|||||||||||||||||||||||||||||||||||||||||||
|
Modelling the Tamiya Lotus 78 a step by step guide for beginners 1/12 scale |
||||||||||||||||||||||||||||||||||||||||||||
|
by Mario Covalski © Modeler Site |
||||||||||||||||||||||||||||||||||||||||||||
|
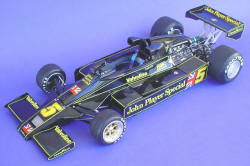
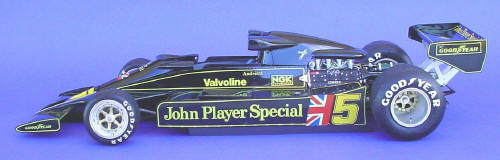
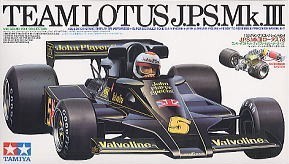
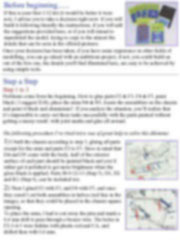
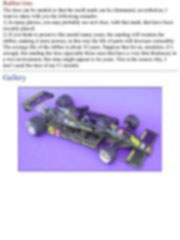
Legal Notice No material from Modeler Site any Web site owned, operated, licensed, or controlled by Damian Covalski may be copied, reproduced, republished, uploaded, posted, transmitted, or distributed in any way, except that you may download one copy of the materials on any single computer for your personal, non-commercial home use only, provided you keep intact all copyright and other proprietary notices. Modification of the materials or use of the materials for any other purpose is a violation of Damian Covalski's copyright and other proprietary rights. Read More here > Legal notice If you have some Tamiya’s catalogue of the early ’90s, you’ll notice they showed four 1/12 F1 kits, the six-wheeler Tyrrell, the Ferrari T4, the Renault Turbo …and the Lotus 78 from John Player Special team, a tobacco company which had been sponsoring Chapman’s cars for some years. The Lotus 78 was the first car with ground effect, very successful in 1977, and like all the Colin’s products…a masterpiece, in regard to design and technological advance..
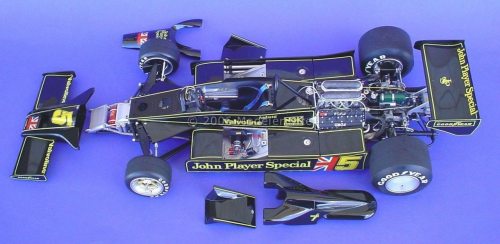
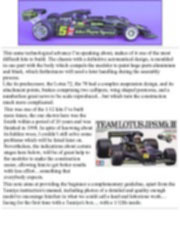
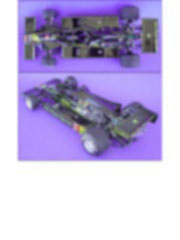
This same technological advance I’m speaking about, makes of it one of the most difficult kits to build. The chassis with a definitive aeronautical design, is moulded in one part with the body which compels the modeler to paint huge parts aluminium and black, which furthermore will need a later handling during the assembly process. Like its predecessor, the Lotus 72, the 78 had a complex suspension design, and its attachment points, brakes comprising two callipers, wing shaped pontoons, and a numberless great news to be scale reproduced…but which turn the construction much more complicated.
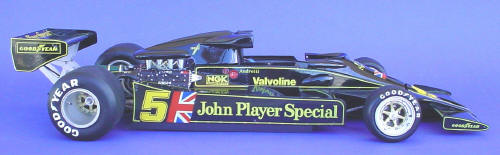
This note aims at providing the beginner a complementary guideline, apart from the Tamiya instruction's manual, including photos of a detailed and quality enough model to encourage him/her in what we could call a hard and laborious work.... facing for the first time with a Tamiya's box.....with a 1/12th inside.
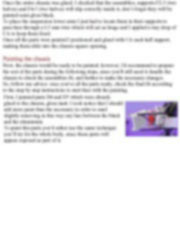
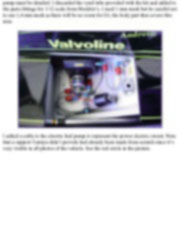
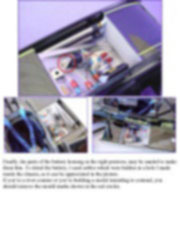
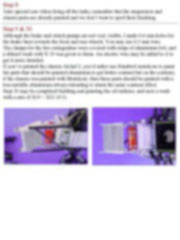
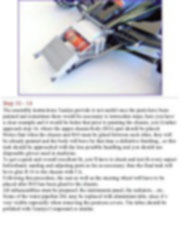
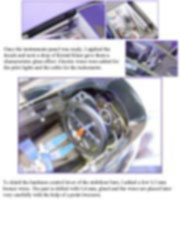
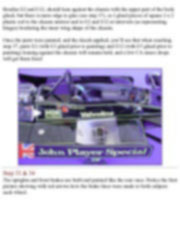
Once your decision has been taken; if you have some experience in other fields of modelling, you can go ahead with an ambitious project, if not, you could build an out of the box one, the details you'll find illustrated here, are easy to be achieved by using simple tools. Step by Step Step 1 to 3 Problems come from the beginning. How to glue parts F2 & F3, F4 & F5, paint black ( I suggest X18), place the arms N4 & N5, locate the assemblies on the chassis and paint it black and aluminium?. If you analyze the situation, you’ll realize that it’s impossible to carry out these tasks successfully with the parts painted without getting a messy result: with joint marks and glue all around. This special issue is only available in pdf format. This is a technical article of 35 pages. Includes more than 85 high res pictures. > Here
Support us ordering our notes in PDF > Here |
||||||||||||||||||||||||||||||||||||||||||||