|
Airplanes/Gallery |
|
||||||||
|
Spitfire MKI Tamiya 1/48 |
|||||||||
|
by Rino Righi |
|
||||||||
|
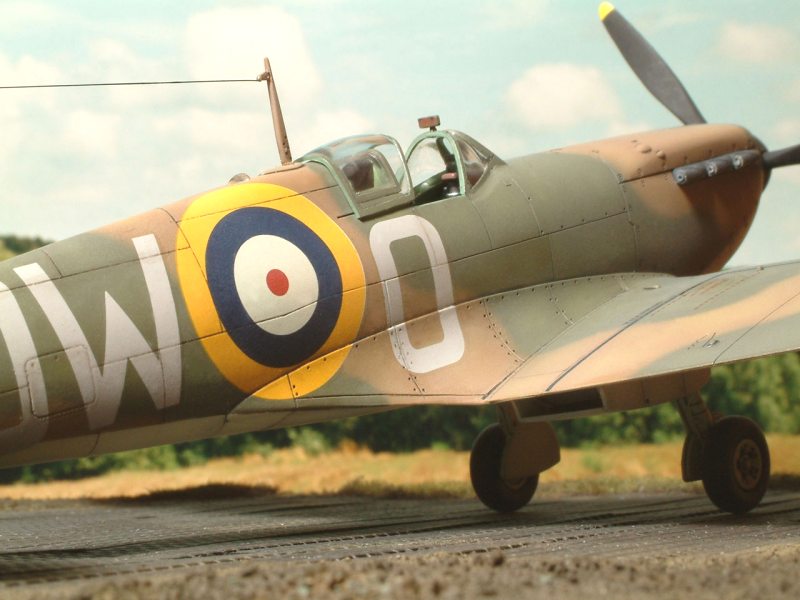
The Tamiya "Spit" dated 1993, does not betray age signs and confirm the elevated standard of the Japanese brand, thanks to that it has been asserted in the course of the years. By the way, dimensions of the kit have been put to comparison with the profiles of the book "The great book of WORD WAR II AIRPLANES" turned out almost perfect.
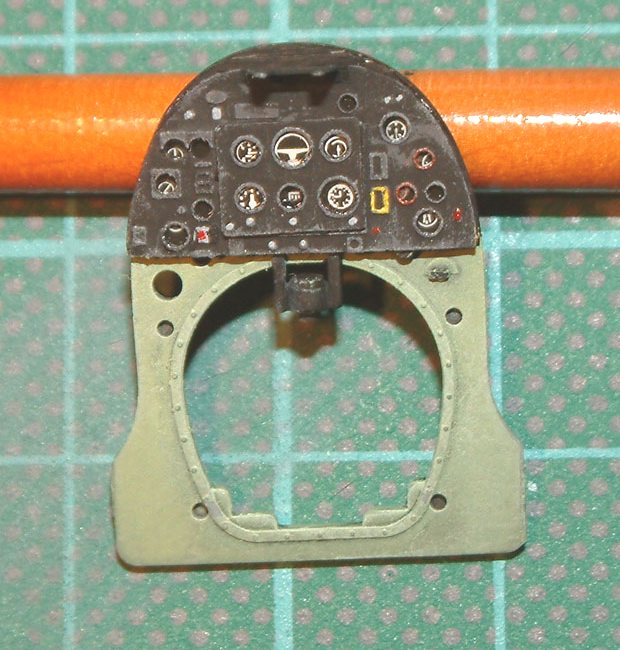
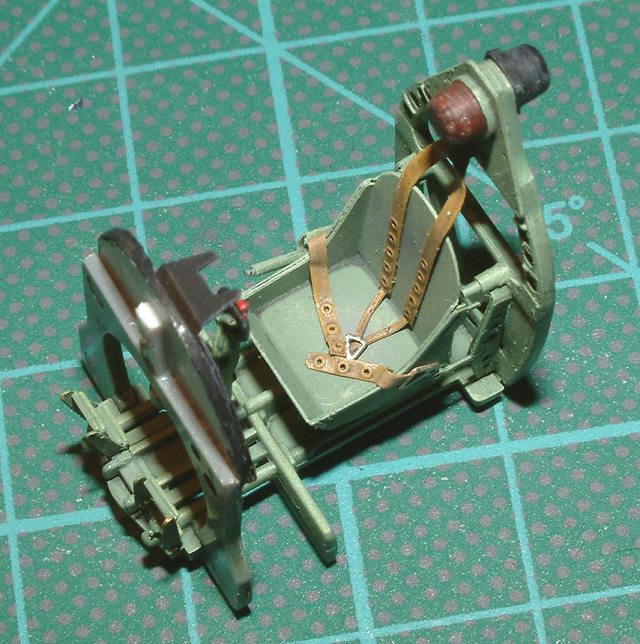
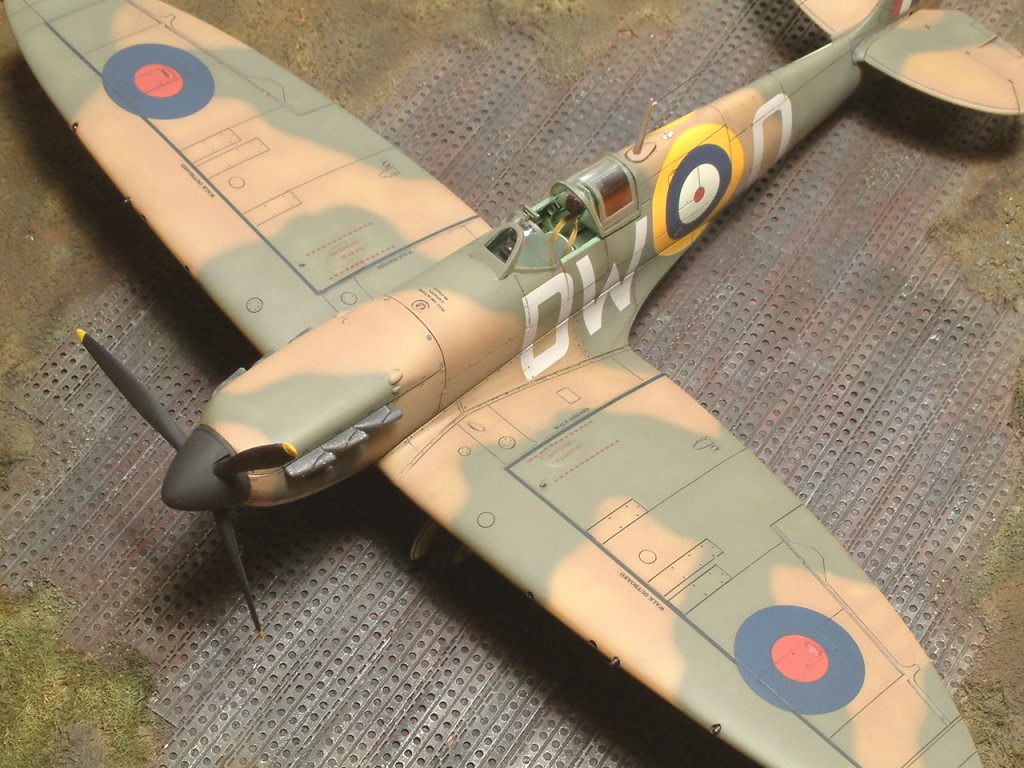
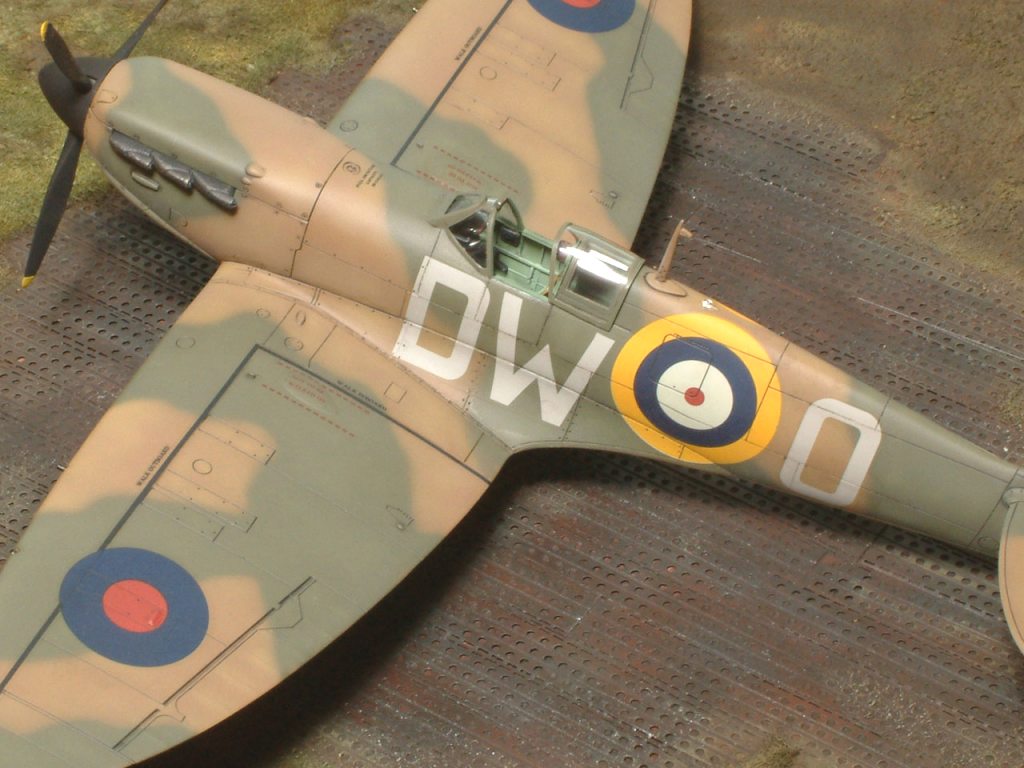
The pieces are fifty in total, but not the particularly elevated pieces number, could make to think to a not satisfactory detail on the finished model, but who knows politics of this company knows that is due to an engineering of the plan that it does not have equal in the immense general view of the specialist Companies. That means excellent realism with less amount of pieces respect to the average of the kit of the same subject, to all advantage of an easily assembly. The construction begins from the cockpit. I used Eduard N° 48-106 to replaced the panel instruments and the consoles, also the seat and the buckles came from the same sheet. The Aero Master N°1120 was used for the interior that well reproduces the real gray green. At this point, with the two semi fuselages already joined, we can insert the cockpit from underside, Tamiya often uses this method for its kits. Attention to glue the cockpit in too rear position, otherwise you'll not be able to place the transparent behind the canopy, in the own position. I advised to try more times before glue definitively. The join of the wings to the fuselage does not make particular problems limiting the putty use on the tip wings join supplied separately for who decided to represent the plane with elliptic wings.
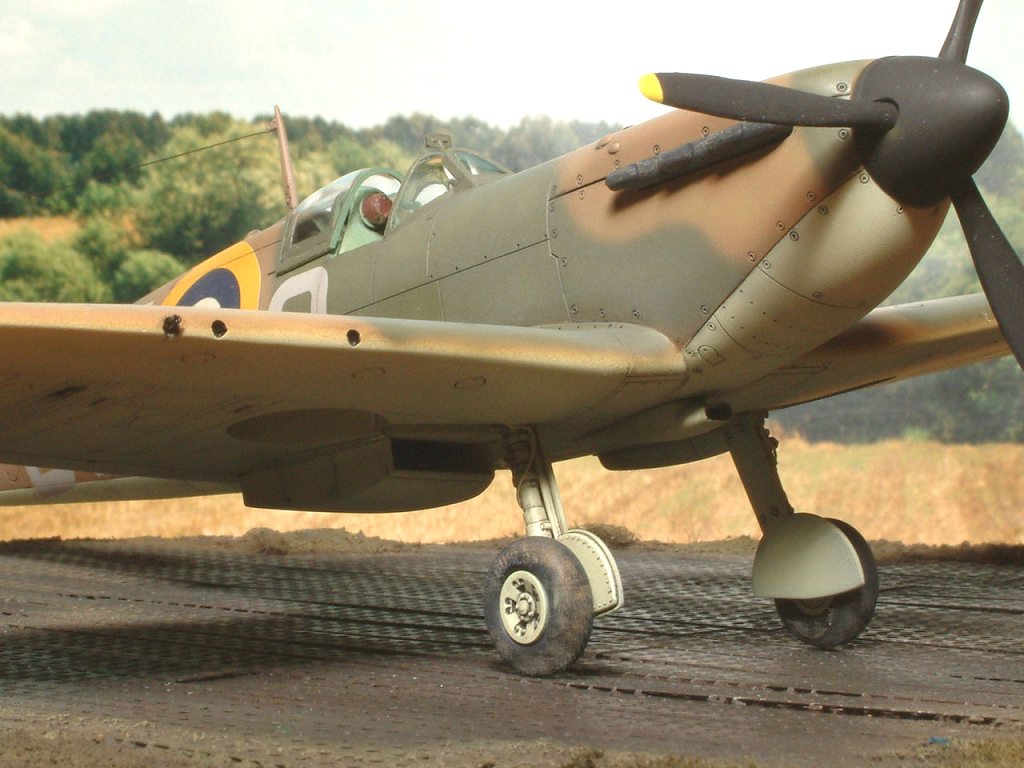
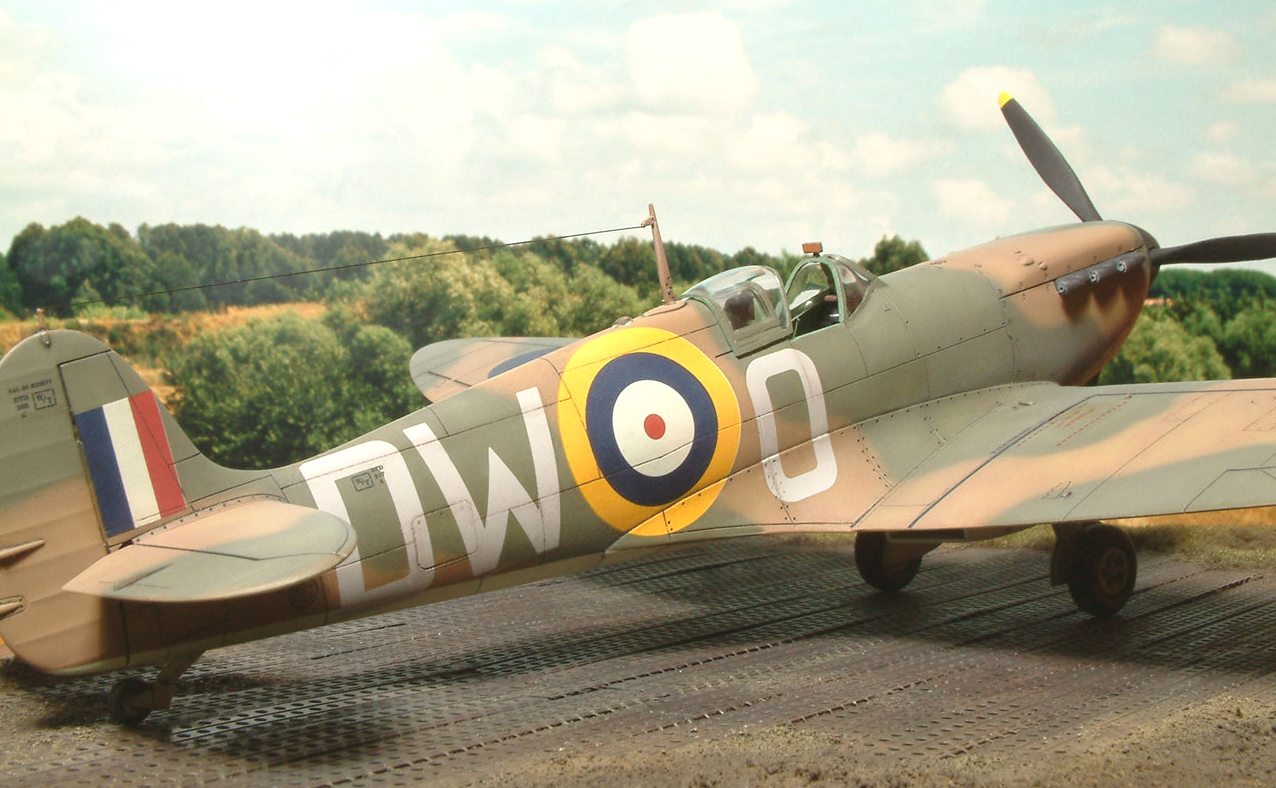
The only kit option is the cockpit access door on the left side of the fuselage, if you want it open than you have to cut it on fuselage and replace with the access door supplied separate. I added the brakes pipe to the landing gear legs from brass wire before painting them. When the assembly was completed, I started the paint job. I used acrylic colors from Gunze range, Dark Earth H72 and Dark Green H73 for the upper surface and Sky for underside. A very useful sheet supplied from the box shows the camouflage in the same scale of the kit, with very visible demarcation line between the colors. After a couple of Future coat I applied the decals provided with the box that represent a plane belongs to 610° Squadron. The decals are very thick so I used an improved technique that made a better adhesion than the usual method.
After removed the decal from water (better warm water), and placed it on the model, with a cotton swab roll with decision from the center of the decal towards the outside in order to eliminate the water below. It is advised to execute this procedure with much calm, to conform better the decal on engraved panel lines trying to eliminate also the air bubbles. The adhesion could be improved ulteriorly addressing the warm air jet of a hairdryer on decal to adequate distance. To happened drying, I proceeded to emphasize the panel lines and the recesses with diluted oil color. At last a matt transparent coat from Vallejo range was used to red-establish the just brilliance degree. By the way I painted the position lights with acrylic transparent Tamiya colors and glue the antenna obtained with stretching sprue. In conclusion, an easy assembly kit with only a lacking point, the excessive thickness of the decals.
|
|||||||||