|
|
|||||||||||||||||||||||||||||||||||||
|
Airplanes |
|
||||||||||||||||||||||||||||||||||||
|
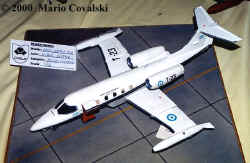
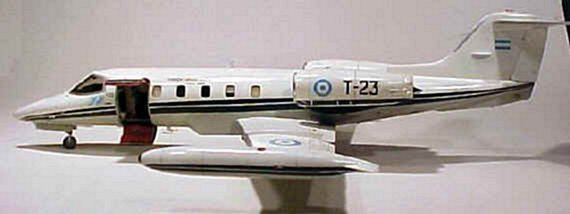
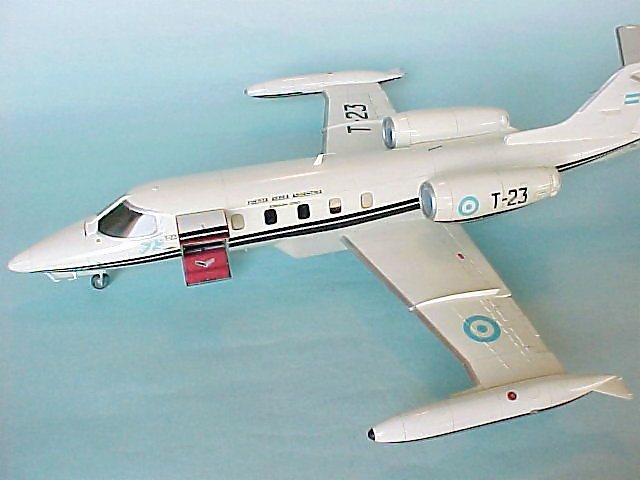
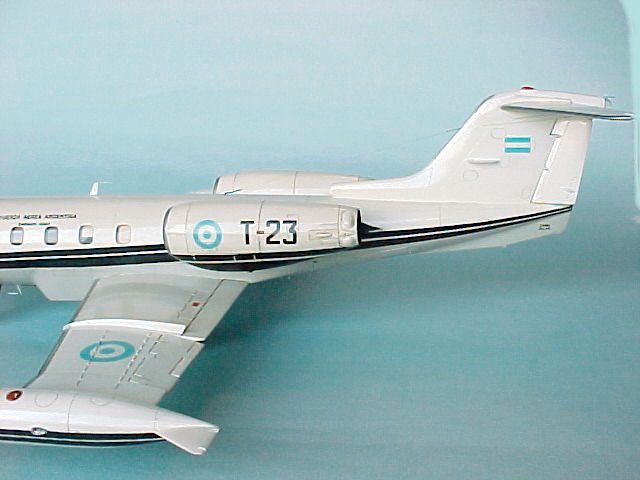
Argentine Air Force Learjet 35A319 T-23 Hasegawa, 1/48 scale |
|||||||||||||||||||||||||||||||||||||
|
by Gustavo Nuñez © 2000 Modeler Site |
|||||||||||||||||||||||||||||||||||||
|
Legal Notice No material from Modeler Site any Web site owned, operated, licensed, or controlled by Damian Covalski may be copied, reproduced, republished, uploaded, posted, transmitted, or distributed in any way, except that you may download one copy of the materials on any single computer for your personal, non-commercial home use only, provided you keep intact all copyright and other proprietary notices. Modification of the materials or use of the materials for any other purpose is a violation of Damian Covalski's copyright and other proprietary rights. Read More here > Legal notice The model I built corresponds to the Learjet T-23 Airphoto Group First, that belongs to the Second Air Brigade placed in Paraná, Entre Rios, Argentina.
It must be noticed that the model was built based on pictures took in 1996/97.
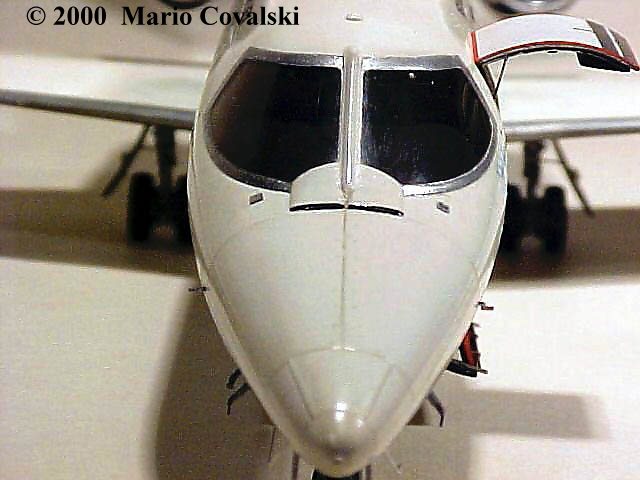
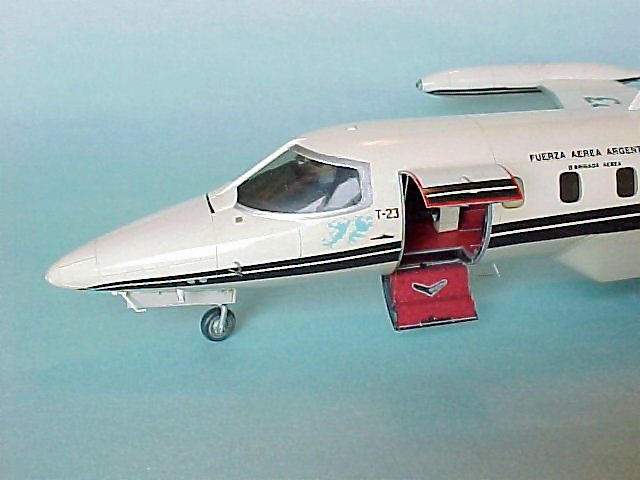
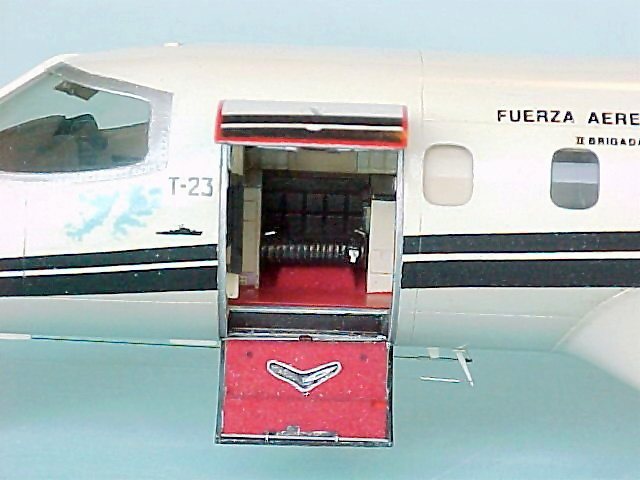
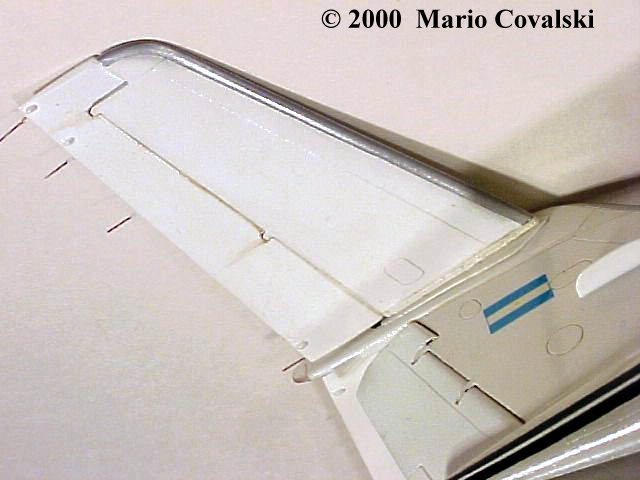
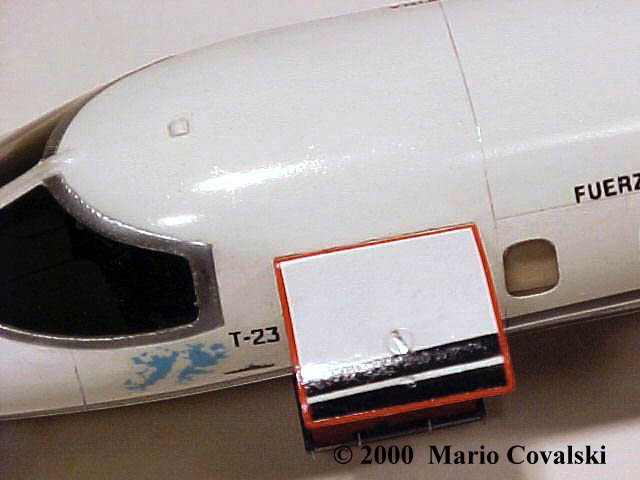
The Kit I used the Hasegawa's kit that represents the Learjet 35-36, it's a good beginning. Due to this I had to make several modifications to adjust to the Learjet 35 in question, which are detailed below. Inside For the cockpit I used the board and the consoles provided by the kit, adding others details like levers and throttle control. I scratch built the seats and seat belts, oxygen masks, mirrors, parasols, roof and floor. The passengers cabin was built using, the floor the kit provided and adding seats with their belts, furniture, carpets, roof panels and upholstered, included the darkening panels for the windows, as well as other things, like fire extinguisher, first-aid kits, and so, everything scratch built. I also detailed both parts of the entrance door, adding levers and locks. Fuselage The Hasegawa's kit has on each side a window less than the real T23, so I made a cut on fuselage halves to glue to it a color smoke transparent plastic part (similar to the windshield). After putting and sanding the join between this part and the fuselage I carved the windows. The kit has raised panel lines, for this reason I sanded them and marked new ones recessed. Wings and control Surfaces Ailerons, compensators, rudder and T tail stabilizers were cut to give them movement.
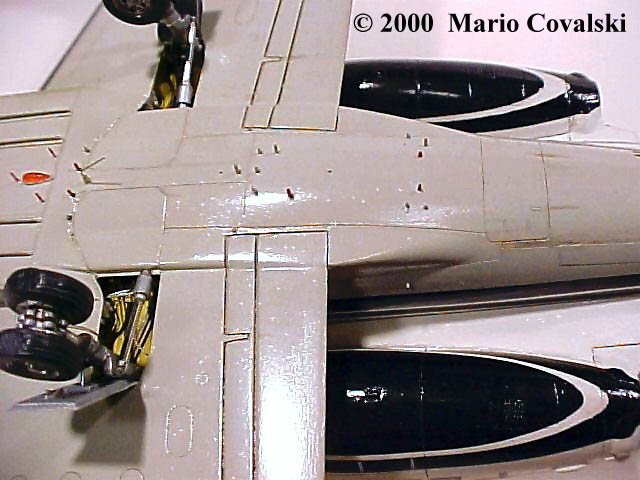
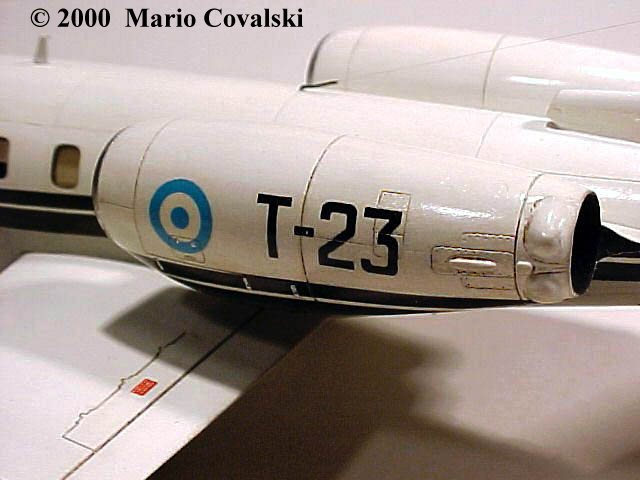
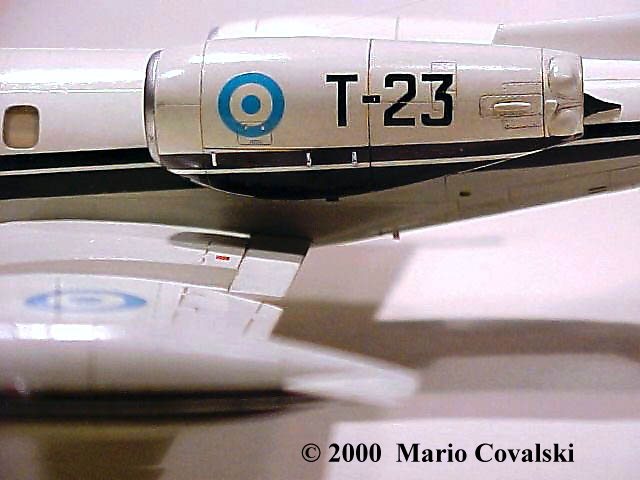
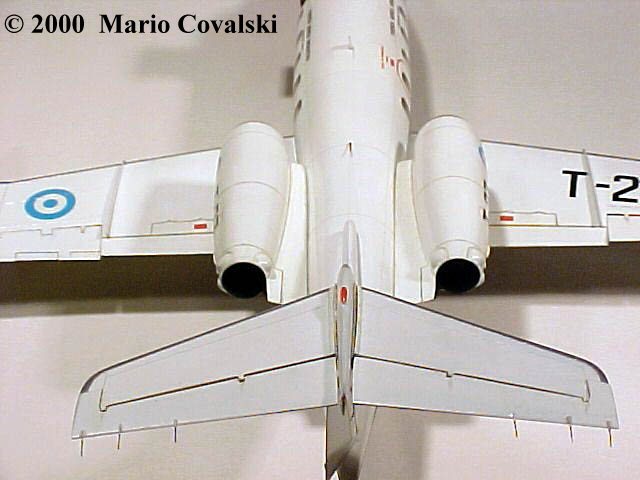
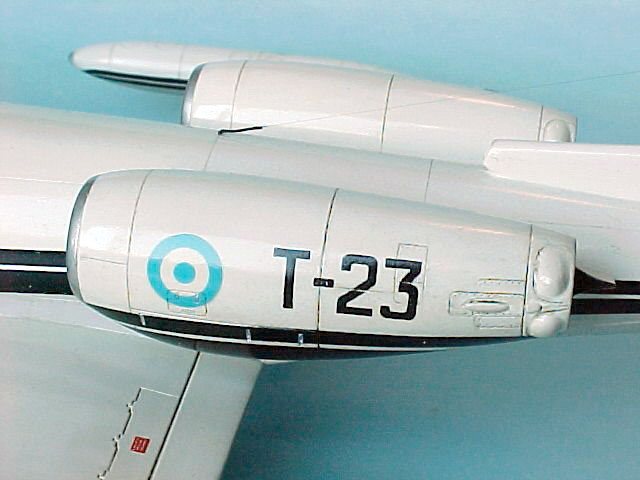
Engines The gondolas the kit provides correspond to the engine that doesn't have thrust reverse, so I had to modify, lengthening and building the swollen parts that distinguished them. I also added in scratch the intakes, exhausts, the air intakes and fluids exit too.
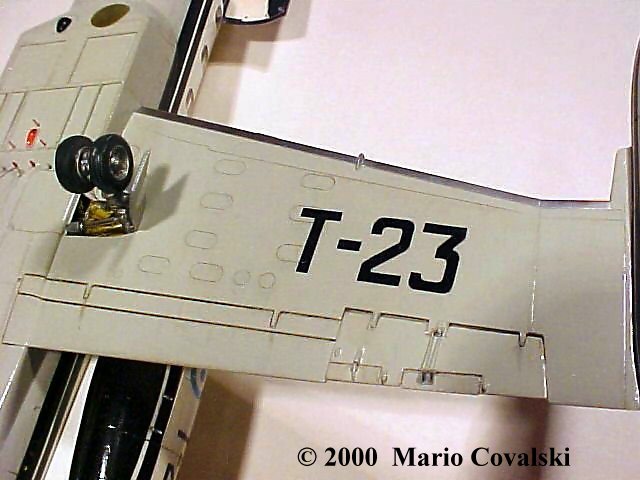
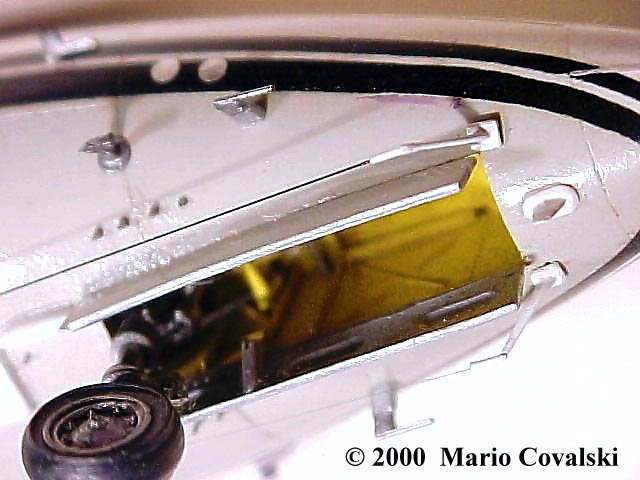
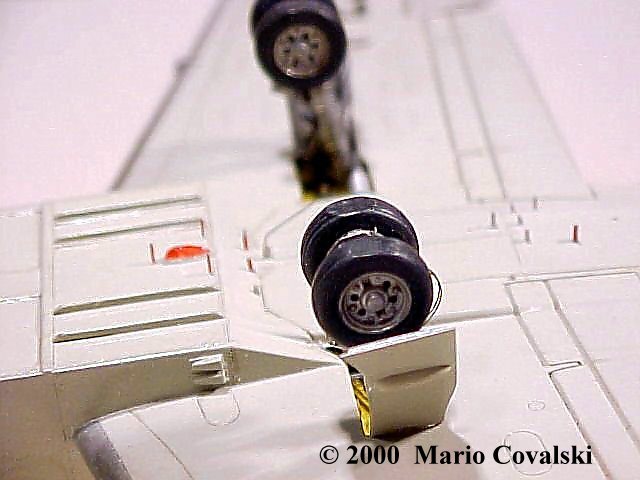
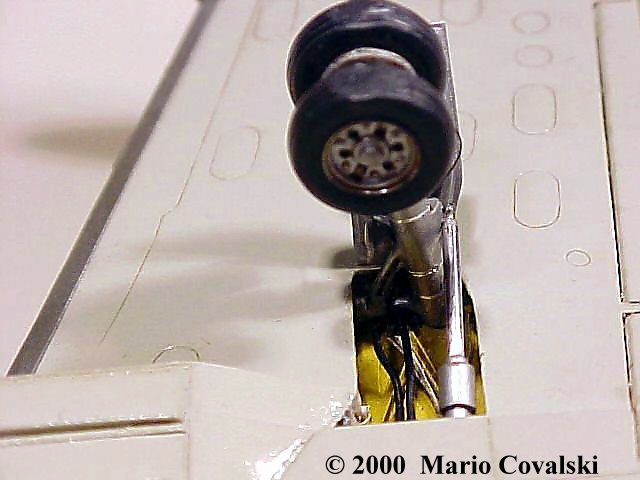
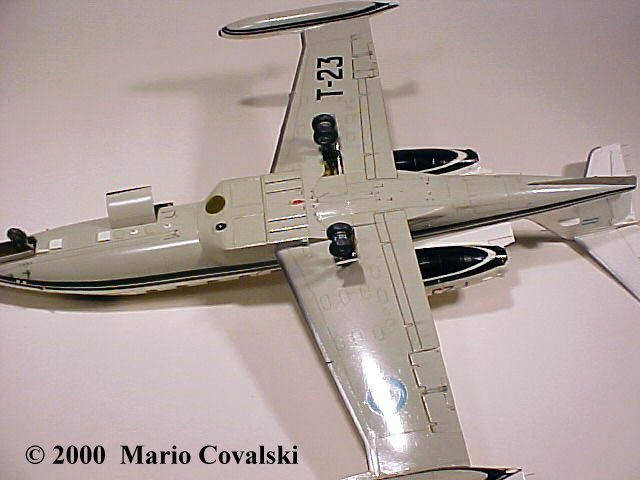
Landing gear I discarded entirely the pits and trains the provides, scratch building new ones, with the depth, shape and adequate reinforcements. The covers were also made new, as well as actuators, lights and cables.
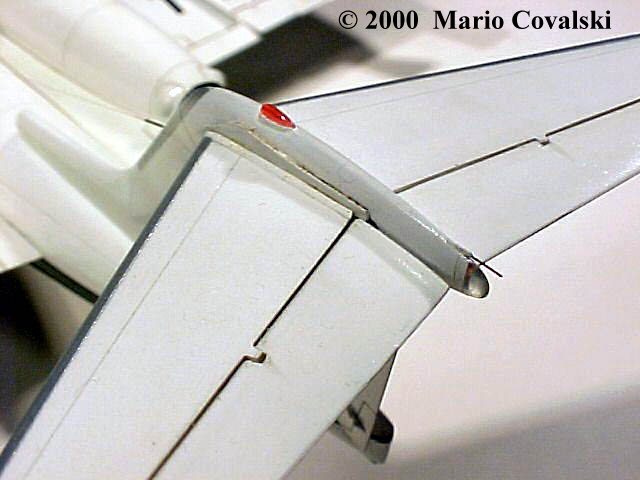
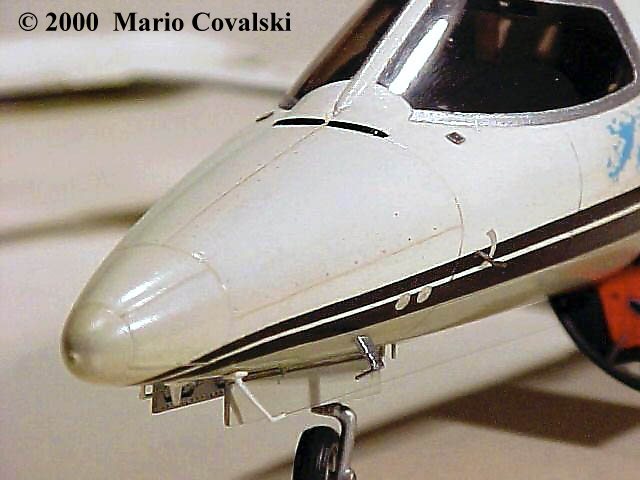
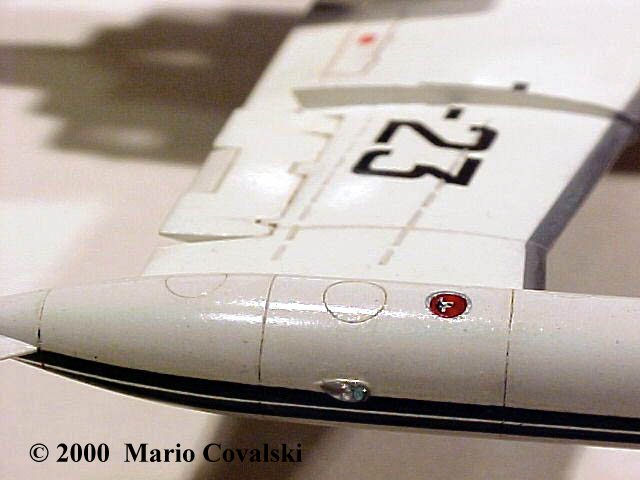
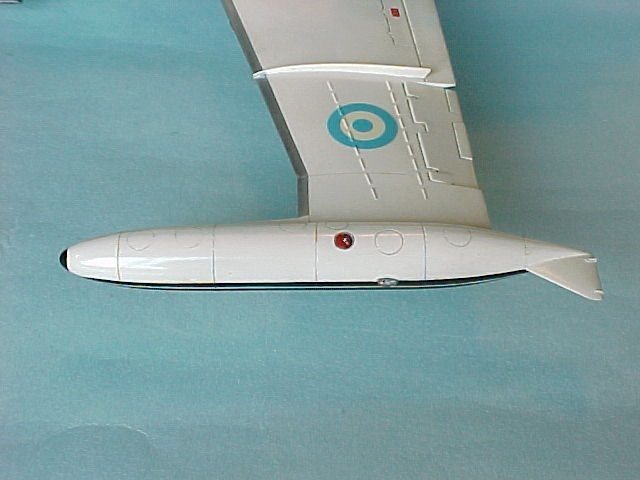
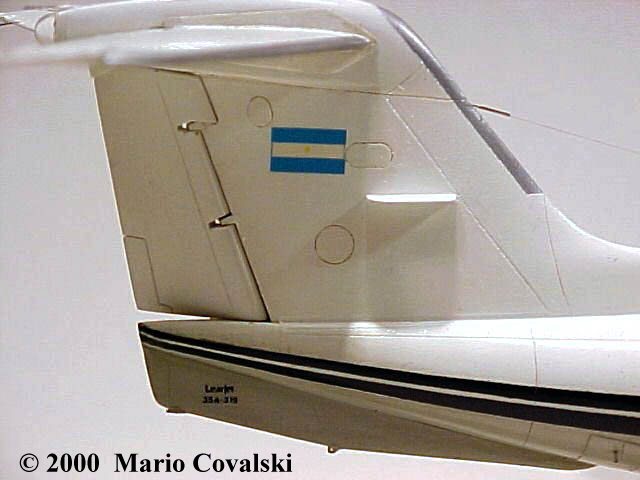
Photographic gondola The version I built corresponds to a photographic report airplane, so I scratch built the whole gondola using metal and plastic. I also added air intakes, structural reinforcements, lights and transparent finders for cameras. Other added things Antennas located on upper and lower part the airplane with their corresponding wiring. Several venting on the lower part. Acrylic lights on tail, aircraft fin, tanks and on the lower fuselage part. Pitots tubes Antistatic discharges Fuel tanks venting. Landing light on the right tank tip. Painting Due to the complexity of this project, the painting steps were alternated with those of building and finishing. I used enamels for the whole model and I applied washes with oil on lines panel, pits and landing gears. Decaling Only the badges and flags are commercial decal, the other ones were manufactured by painting or black and white photocopied on transparent decal sheet. The fuselage and tanks black lines were drawn and after several tests were also copied on transparent decal. After applying the decals and retouching the black parts I varnished until eliminating marks and ghosts. Conclusion I built this model during a two years period, it was really very difficult, but also an interesting and funny challenge. It was gratifying because of the recognition received from modelers and Argentine institutions as the CMA and the IPMS.
|
|||||||||||||||||||||||||||||||||||||