|
|
||||||||||||||||||||||||||||||||||||||||||||||||||||||
|
Cars |
|
|||||||||||||||||||||||||||||||||||||||||||||||||||||
|
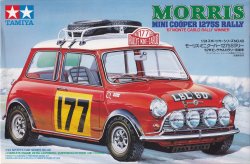
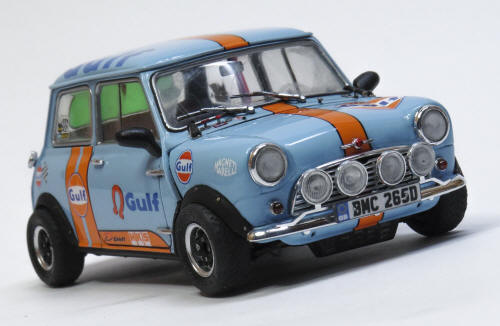
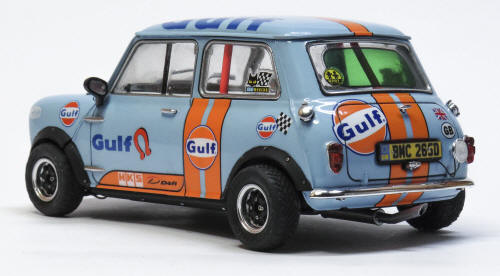
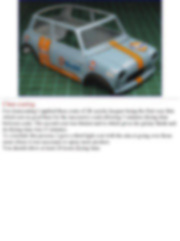
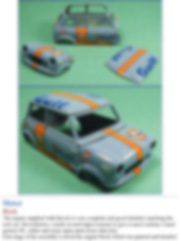
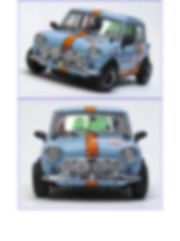
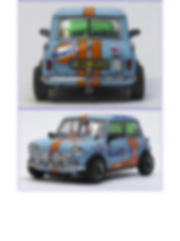
Customizing and improving the Tamiya Morris Mini Cooper Mk.1 1966 "Gulf" #24048 1/24 scale |
||||||||||||||||||||||||||||||||||||||||||||||||||||||
|
by Edwing Merlo Paredes © Modeler Site |
||||||||||||||||||||||||||||||||||||||||||||||||||||||
|
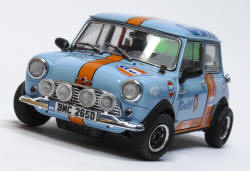
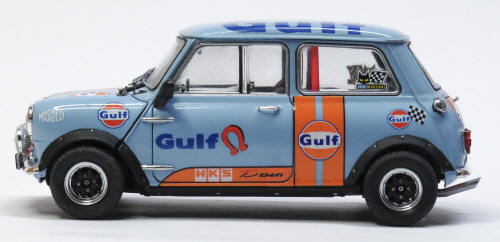
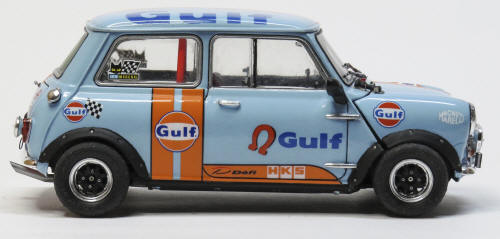
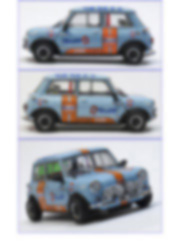
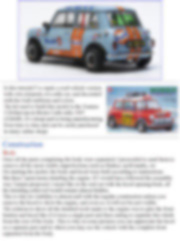
Legal Notice No material from Modeler Site any Web site may be copied, reproduced, republished, uploaded, posted, transmitted, or distributed in any way, except that you may download one copy of the materials on any single computer for your personal, non-commercial home use only, provided you keep intact all copyright and other proprietary notices. Modification of the materials or use of the materials for any other purpose is a violation of copyright and other proprietary rights. Read More here > Legal notice No doubt, one of the icon cars in 1960s pop culture desired and adored by a lot of people was and still is the classic Mini, the original was designed by Sir Alec Issigonis and receiving then the magic touch from John Cooper who added to the tiny vehicle an engine with excellent performances, leaving it ready to compete with the most famous and legendary competitions of the 60’, a legend was born, thus it was named Mini Cooper and still is to the present day.
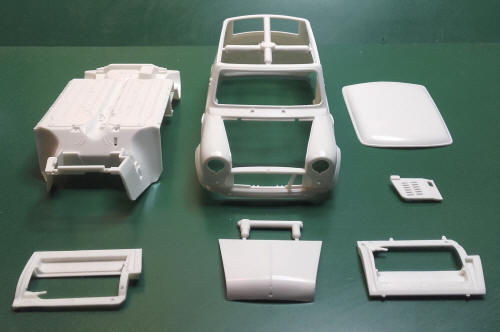
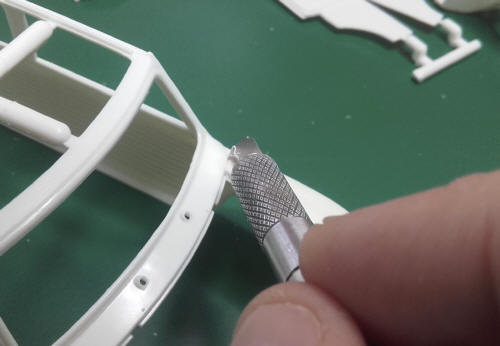
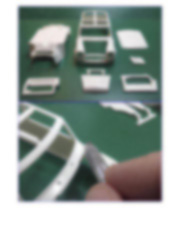
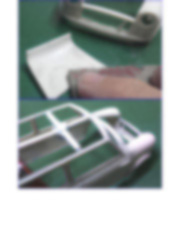
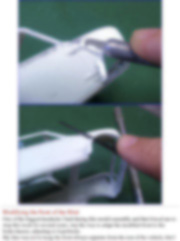
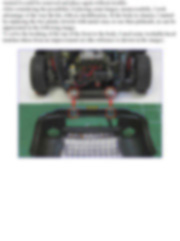
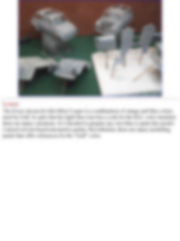
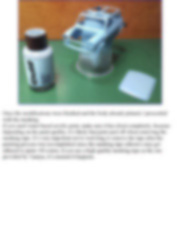
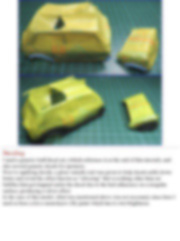
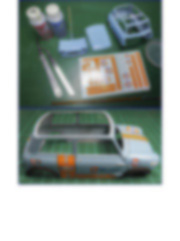
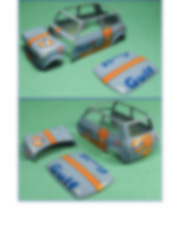
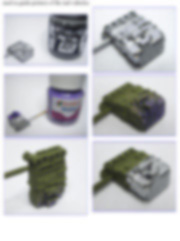
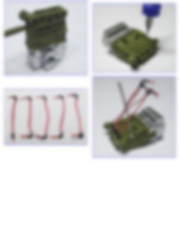
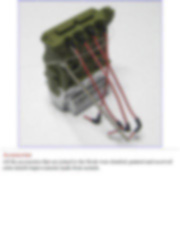
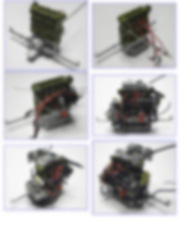
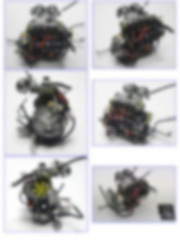
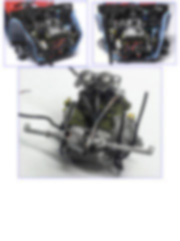
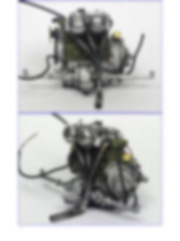
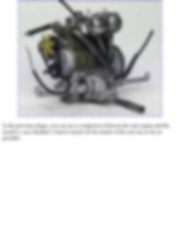
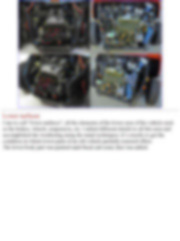
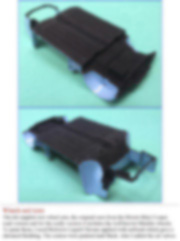
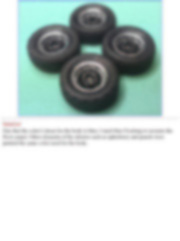
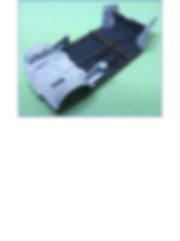
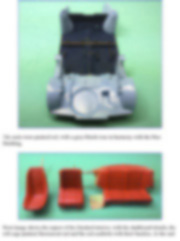
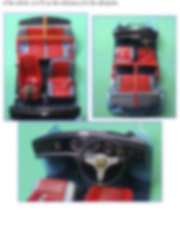
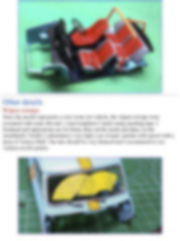
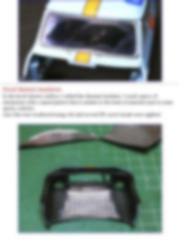
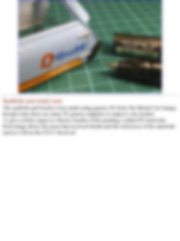
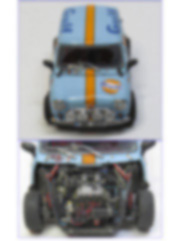
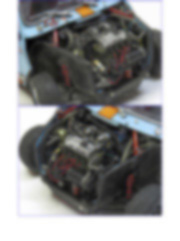
Construction Body Once all the parts comprising the body were separated, I proceeded to sand them to remove all the most visible imperfections such as flashes, mold marks, etc On starting the model, the body and hood were built according to instructions. But then I spent hours detailing the engine. If I would have followed the assembly way Tamiya proposed, I mean like in the real car with the hood opening back, all the detailing achieved would remain almost hidden. This is why its visibility is almost null with the regular construction unless you remove the hood to show the engine, and even so, it will not be not visible. The solution to show all the detailed work made to the engine was to glue the front fenders and hood like if it were a single part and then cutting to separate this whole from the rest of the body. This is why in some pictures you can appreciate the hood as a separate part and in others you may see the vehicle with the complete front separated from the body.
This tutorial is offered in PDF format to be read or printed using Acrobat reader, contact our webmaster > Here Includes more than 96 pics, here we show only the text pages.
Esta Nota es ofrecida en formato PDF, el cual puede ser leído o impreso usando el Acrobat reader, contacte a nuestro webmaster > Aquí Incluye más de 96 imágenes, aquí solo mostramos las paginas de texto.
Big size photos are only available in our PDF format. Support us ordering our notes in PDF > Here |
||||||||||||||||||||||||||||||||||||||||||||||||||||||