|
|
|||||||||||||||||||||||||||||||||||||||||||||||||||||||||||||||||||||||||||||||||||||||||||||||||||||
|
Cars |
|
||||||||||||||||||||||||||||||||||||||||||||||||||||||||||||||||||||||||||||||||||||||||||||||||||||
|
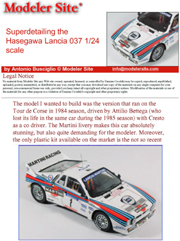
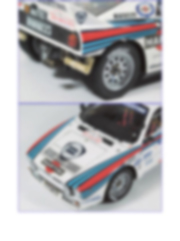
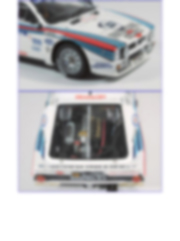
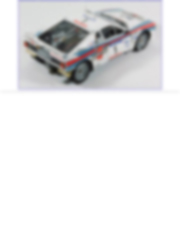
Superdetailing the Hasegawa Lancia 037 1/24 scale |
|||||||||||||||||||||||||||||||||||||||||||||||||||||||||||||||||||||||||||||||||||||||||||||||||||||
|
by Antonio Busciglio © Modeler Site |
|||||||||||||||||||||||||||||||||||||||||||||||||||||||||||||||||||||||||||||||||||||||||||||||||||||
|
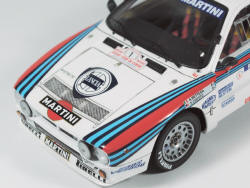
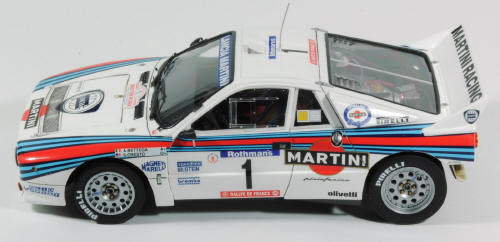
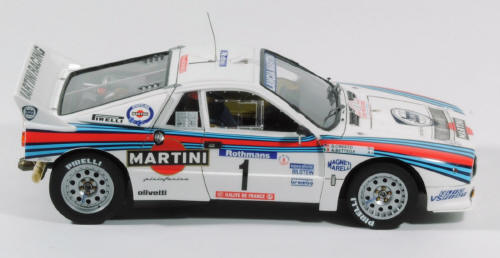
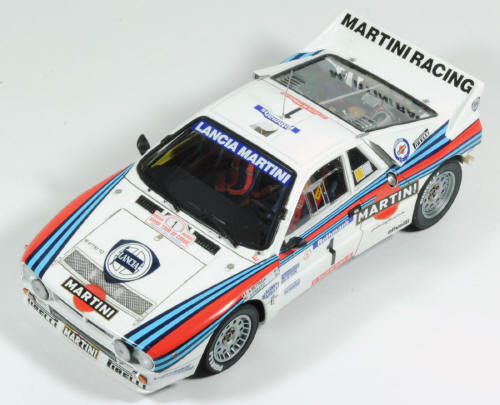
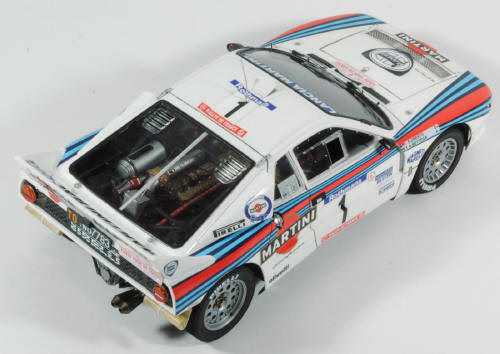
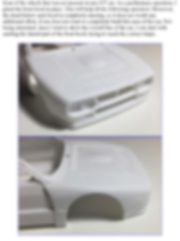
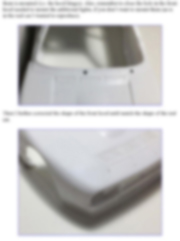
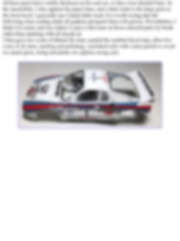
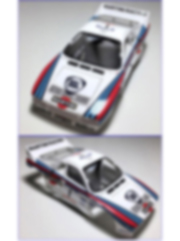
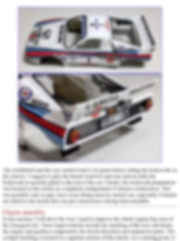
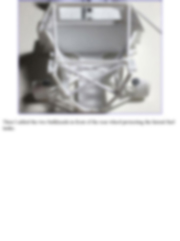
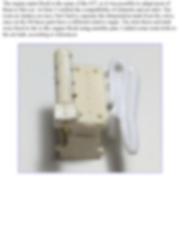
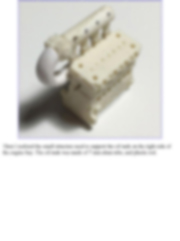
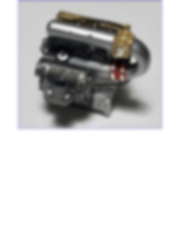
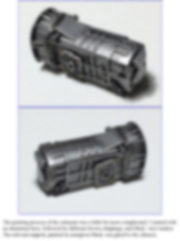
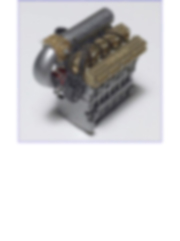
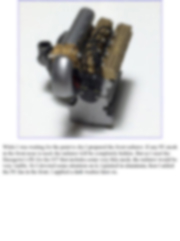
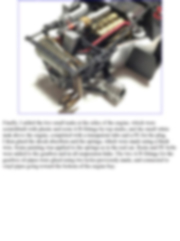
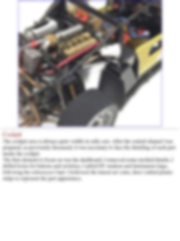
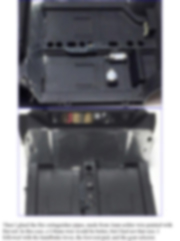
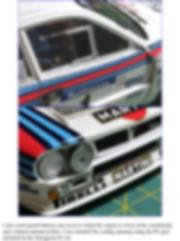
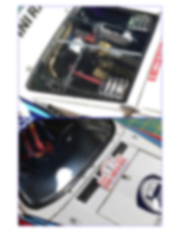
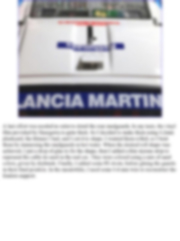
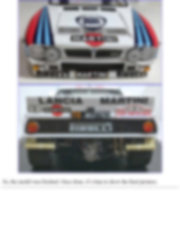
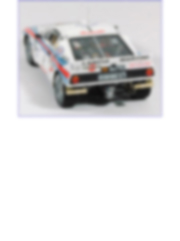
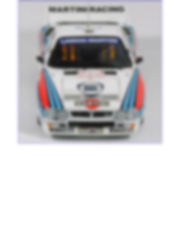
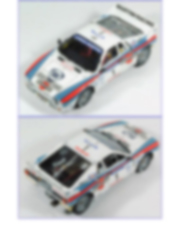
Legal Notice No material from Modeler Site any Web site may be copied, reproduced, republished, uploaded, posted, transmitted, or distributed in any way, except that you may download one copy of the materials on any single computer for your personal, non-commercial home use only, provided you keep intact all copyright and other proprietary notices. Modification of the materials or use of the materials for any other purpose is a violation of copyright and other proprietary rights. Read More here > Legal notice The model I wanted to build was the version that ran on the Tour de Corse in 1984 season, driven by Attilio Bettega (who lost its life in the same car during the 1985 season) with Cresto as a co driver. The Martini livery makes this car absolutely stunning, but also quite demanding for the modeler. Moreover, the only plastic kit available on the market is the not so recent Hasegawa kit. In my opinion It’s quite well designed, easy to assemble parts, good general fitting, good materials quality. However, there are two main problems if one wants a well detailed model: the whole engine bay area is oversimplified and in some areas simply incorrect, so it had to be completely re-built, especially because the engine is very visible. Also I had to rework the shape of the front hood, which is wrong for the 1984 car.
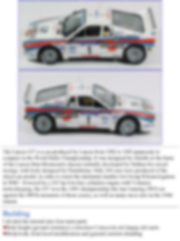
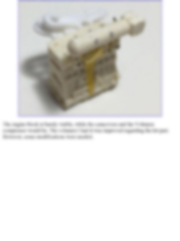
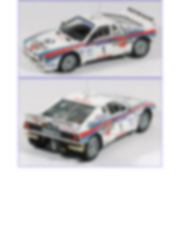
The Lancia 037 is a car produced by Lancia from 1982 to 1983 purposely to compete in the World Rally Championship. It was designed by Abarth on the basis of the Lancia Beta Montecarlo chassis (initially developed by Dallara for circuit racing), with body designed by Pininfarina. Only 200 cars were produced of the street-car model, in order to reach the minimum number for Group B homologation in WRC. Powered by a 205 hp 4-in-line cylinders engine with Volumex turbocharging, the 037 won the 1983 championship (the last winning 2WD car against the 4WDs monsters of those years), as well as many races also in the 1984 season. Building I divided the tutorial into four main parts
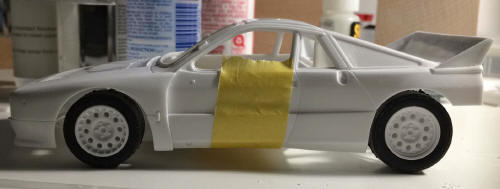
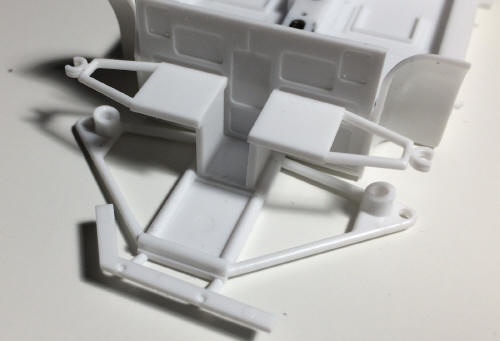
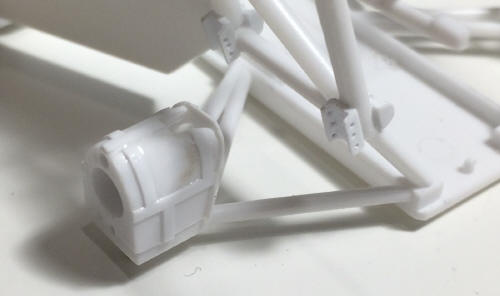
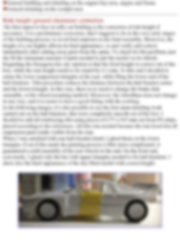
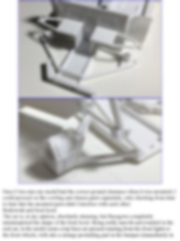
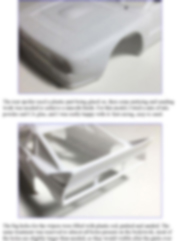
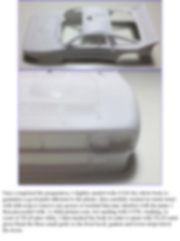
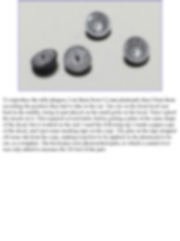
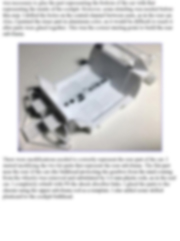
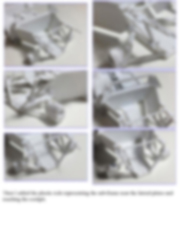
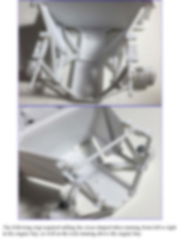
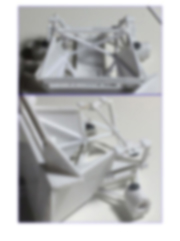
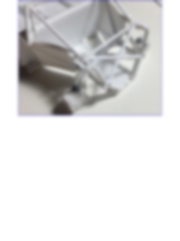
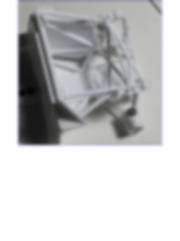
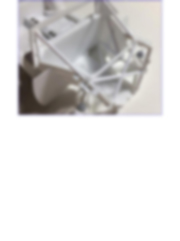
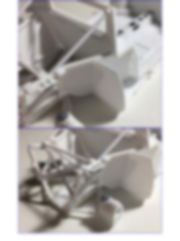
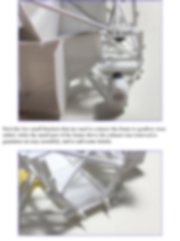
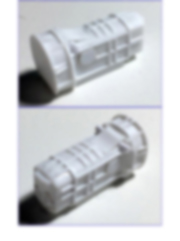
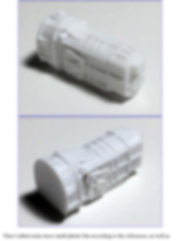
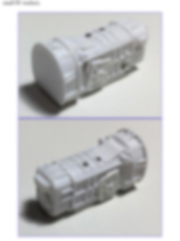
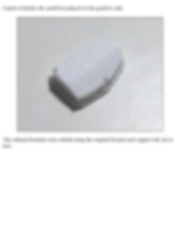
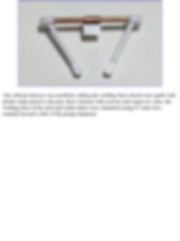
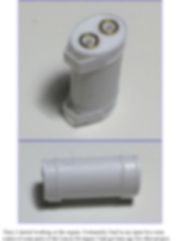
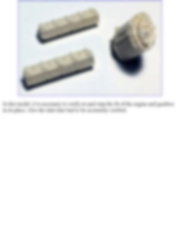
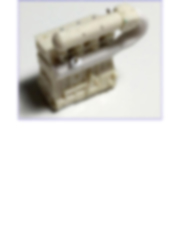
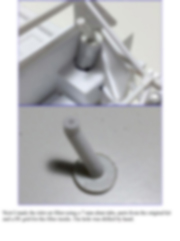
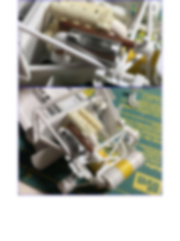
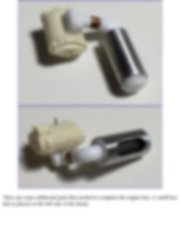
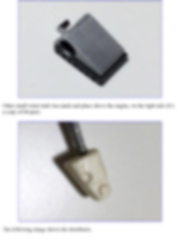
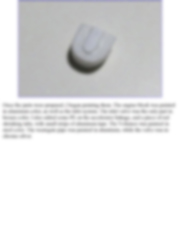
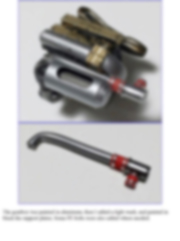
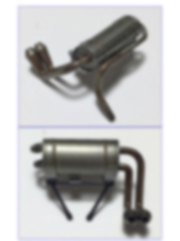
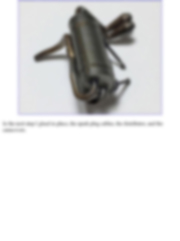
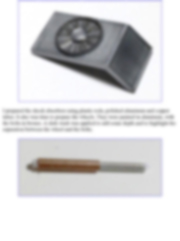
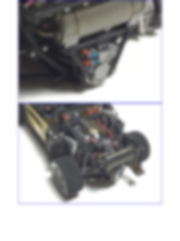
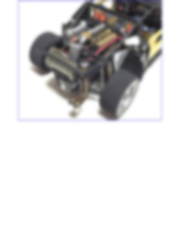
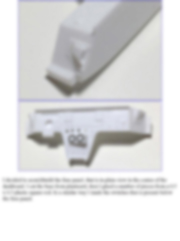
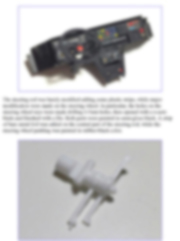
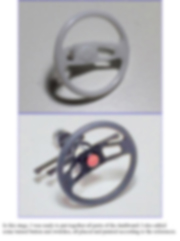
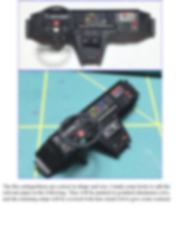
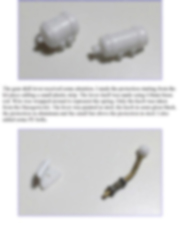
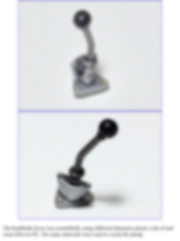
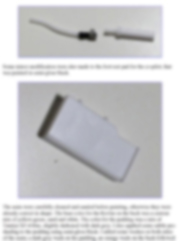
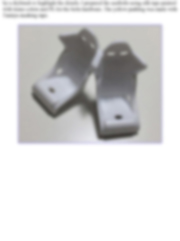
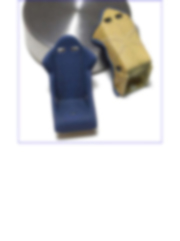
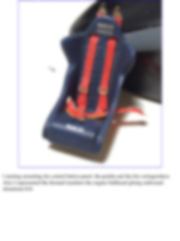
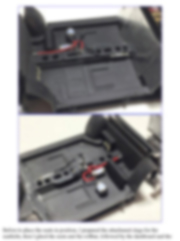
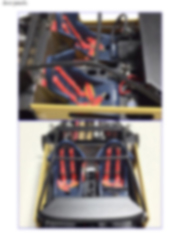
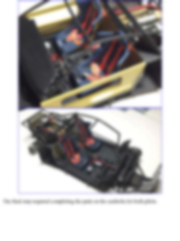
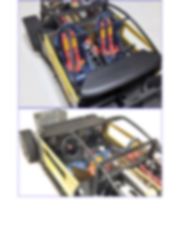
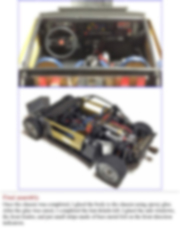
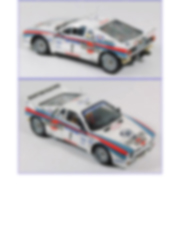
Ride height (ground clearance) correction The first aspect to face in rally car building is the correction of ride height if necessary. It is a preliminary correction, that I suggest to do in the very early stages of the building process, to avoid bad surprises in the final assembly. Moreover, the height of a car highly affects its final appearance, so just verify and correct immediately after cutting away parts from the sprue. To check for this problem, just dry fit the minimum amount of parts needed to put the model on its wheels. Regarding the Hasegawa kit, my opinion is that the front height is correct out of the box, while the rear height needs to be raised by 2-3 mm. To this end I decided to retain the lower suspension triangles at the rear, while filing the lower end of the hub brackets. Tthis procedure reduces the distance between the hub bracket center and the lower triangle. In this way, there is no need to change the brake disk assembly, or the wheel mounting method. Moreover, the wheelbase does not change in any way, and it is easier to have a good fitting with the cowling. In the following images, it’s also possible to see the first main detailing work carried out on the hub brackets, that were completely smooth out of the box. I decided to add all reinforcing ribs using pieces of 0.75 x 025 mm cut from PS strips, placed according to the references. All this was needed because the rear hood lets all suspension parts really visible from the rear. When I was satisfied with rear hub bracket detail, I glued them on the lower triangles. Even if this made the painting process a little more complicated, it guaranteed a solid assembly of the rear wheels in the end. On the front end, conversely, I glued only the bar with upper triangles needed to fix hub brackets. I show also the final appearance of the dry-fitted model with correct height.
This tutorial is offered in PDF format to be read or printed using Acrobat reader, contact our webmaster > Here Includes more than 148 pics, here we show only the text pages.
Esta Nota es ofrecida en formato PDF, el cual puede ser leído o impreso usando el Acrobat reader, contacte a nuestro webmaster > Aquí Incluye más de 148 imágenes, aquí solo mostramos las paginas de texto.
Big size photos are only available in our PDF format. Support us ordering our notes in PDF > Here |
|||||||||||||||||||||||||||||||||||||||||||||||||||||||||||||||||||||||||||||||||||||||||||||||||||||