|
|
|||||||||||||||||||||||||||||||||||||||||||||||||||||
|
Armor |
|
||||||||||||||||||||||||||||||||||||||||||||||||||||
|
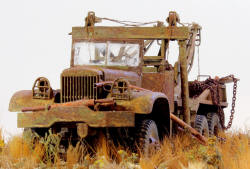
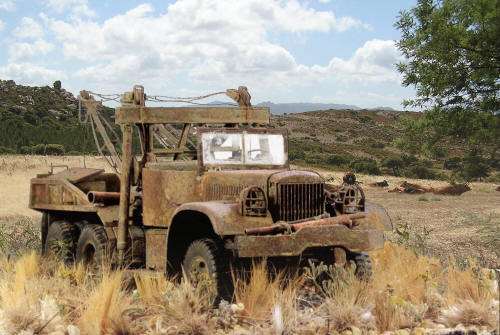
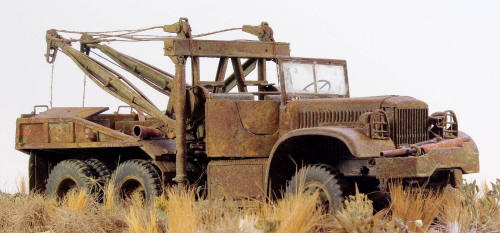
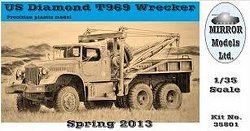
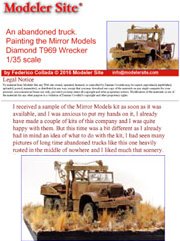
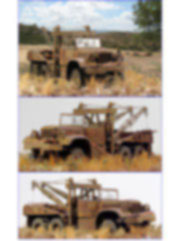
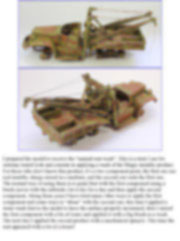
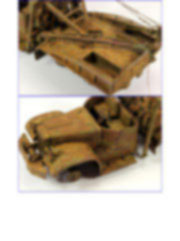
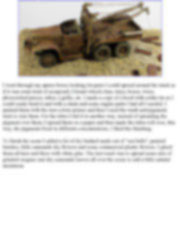
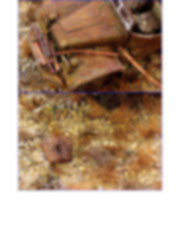
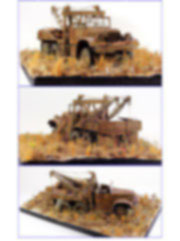
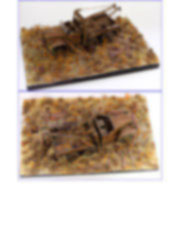
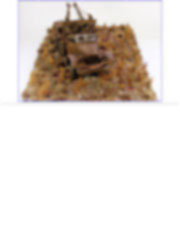
An abandoned truck. Painting the Mirror Models Diamond T969 Wrecker 1/35 scale |
|||||||||||||||||||||||||||||||||||||||||||||||||||||
|
by Federico Collada © Modeler Site |
|||||||||||||||||||||||||||||||||||||||||||||||||||||
|
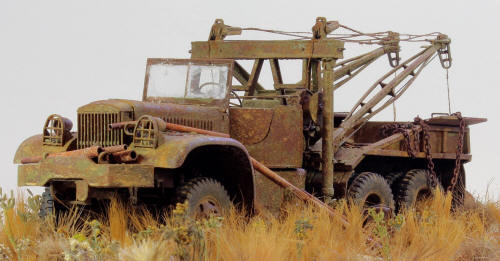
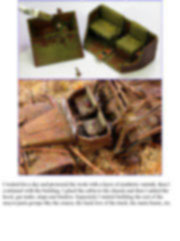
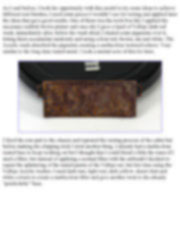
Legal Notice No material from Modeler Site any Web site may be copied, reproduced, republished, uploaded, posted, transmitted, or distributed in any way, except that you may download one copy of the materials on any single computer for your personal, non-commercial home use only, provided you keep intact all copyright and other proprietary notices. Modification of the materials or use of the materials for any other purpose is a violation of copyright and other proprietary rights. Read More here > Legal notice I received a sample of the Mirror Models kit as soon as it was available, and I was anxious to put my hands on it, I already have made a couple of kits of this company and I was quite happy with them. But this time was a bit different as I already had in mind an idea of what to do with the kit, I had seen many pictures of long time abandoned trucks like this one heavily rusted in the middle of nowhere and I liked much that scenery. So when the model got home I put aside other projects I had running and I started with it immediately.
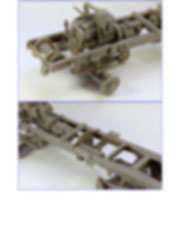
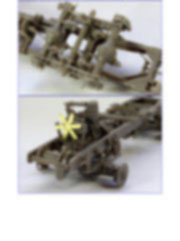
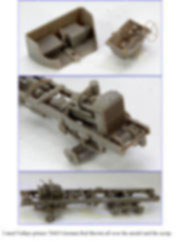
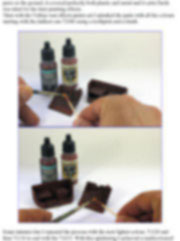
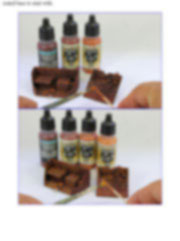
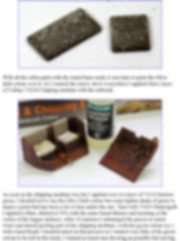
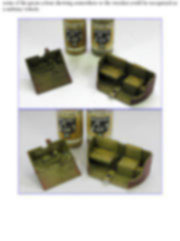
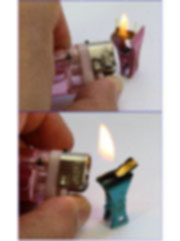
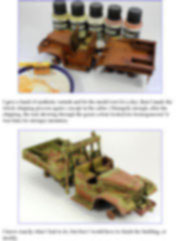
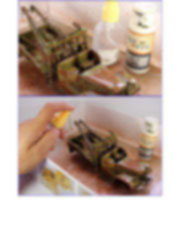
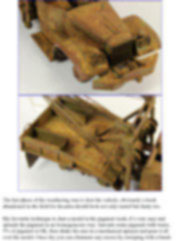
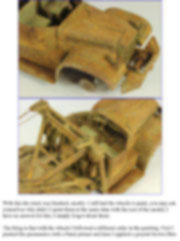
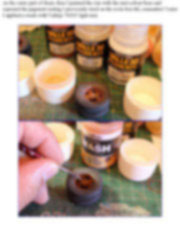
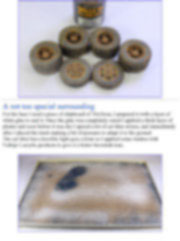
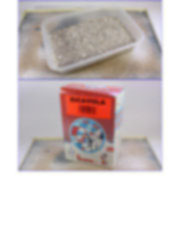
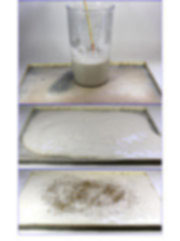
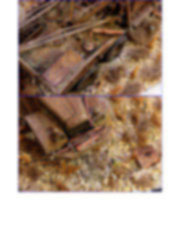
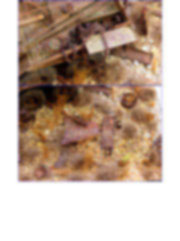
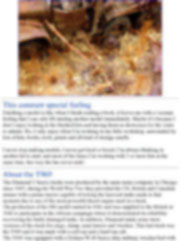
As I wanted to depict and abandoned vehicle I disregarded some parts like the tools, gas tanks and the compressor. A very special painting Since the very beginning I knew I would have to use mostly every technique I know for painting the wide variety of rust effects I wanted to show in the model, in fact I tested a couple of new tricks in some parts and I liked the result so much that I’m willing to have another opportunity to try them again. I can’t paint my models the same way again and again, for me 75% of the fun is trying something new and every time I have the opportunity to do so is when I feel more excited. Ever since I started with this hobby 30 years ago never doubted in experimenting every new trick I found in the modelling magazines, art books and some more that occurred to me, from the classic drybrush to the washes, filters and the too aesthetic colour modulation. But the thing is that lately I’m insisting much on the use of veils and pigments, they’re a couple of things too versatile and may produce a wide variety of effects.
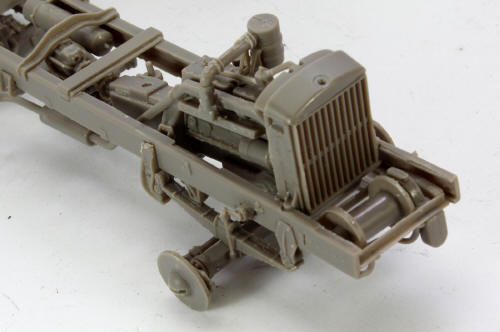
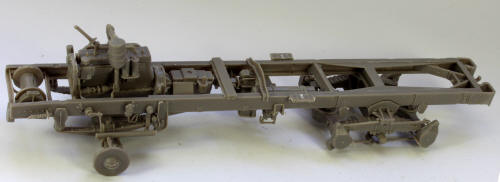
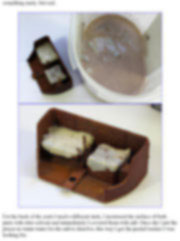
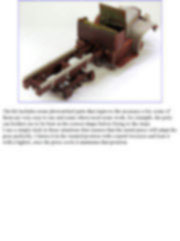
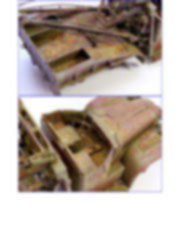
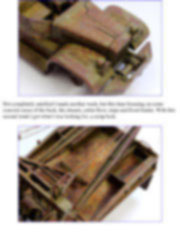
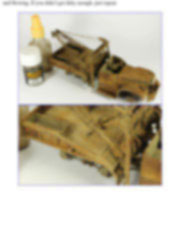
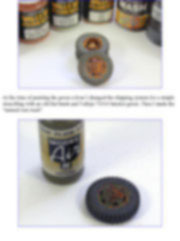
So I started building the model as the instructions suggest, with the wheels, soon I discovered that the usual glue I use (nitro solvent) didn’t work too well with the plastic this time so I changed to the Revell pin glue. I built the engine even when I knew that I would not leave the hood open so it wouldn’t be seen. I finished the axels and chassis, suspension, transmission and when I glued the first parts of the cabin I started painting.
This tutorial is offered in PDF format to be read or printed using Acrobat reader, contact our webmaster > Here Includes more than 85 pics, here we show only the text pages.
Esta Nota es ofrecida en formato PDF, el cual puede ser leído o impreso usando el Acrobat reader, contacte a nuestro webmaster > Aquí Incluye más de 85 imágenes, aquí solo mostramos las paginas de texto.
Big size photos are only available in our PDF format. Support us ordering our notes in PDF > Here |
|||||||||||||||||||||||||||||||||||||||||||||||||||||