|
|
|||||||||||||||||||||||||||||||||||||||||||||||||||||||||||||||||||||||||
|
Airplanes |
|
||||||||||||||||||||||||||||||||||||||||||||||||||||||||||||||||||||||||
|
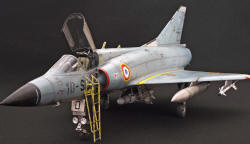
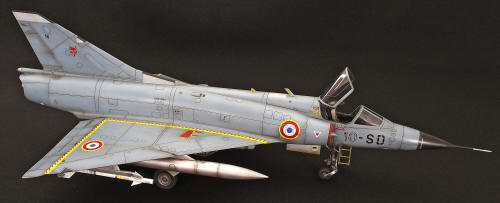
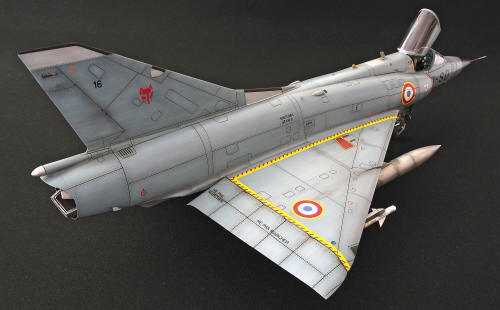
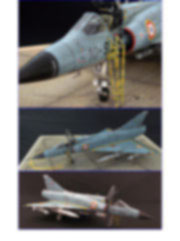
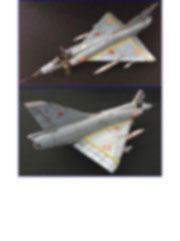
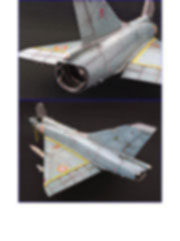
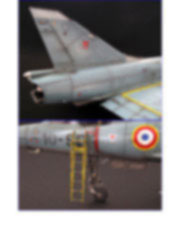
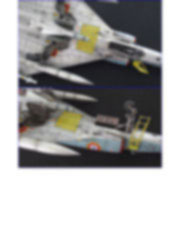
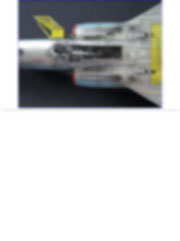
Building the Italeri Mirage IIIC #I2505 1/32 scale |
|||||||||||||||||||||||||||||||||||||||||||||||||||||||||||||||||||||||||
|
by Fabrice Marechal © Modeler Site |
|||||||||||||||||||||||||||||||||||||||||||||||||||||||||||||||||||||||||
|
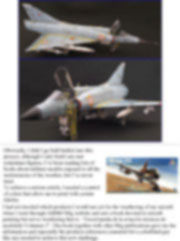
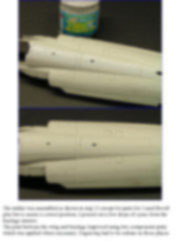
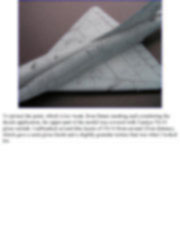
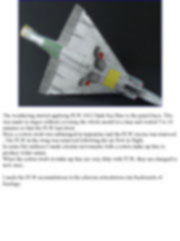
Legal Notice No material from Modeler Site any Web site may be copied, reproduced, republished, uploaded, posted, transmitted, or distributed in any way, except that you may download one copy of the materials on any single computer for your personal, non-commercial home use only, provided you keep intact all copyright and other proprietary notices. Modification of the materials or use of the materials for any other purpose is a violation of copyright and other proprietary rights. Read More here > Legal notice When I was asked to build the Italeri Mirage, I was really excited. I had dreamed since long ago with building and representing the weathering using new technologies on an aircraft. As some friends know, I’m colorblind and never could realize about the colors of an aircraft weathering. I used to build a lot of 1/72 Matchbox kits (some military vehicles) as a child , sometimes painting them. Anyway, nothing to do with the new techniques and besides, since the age of twelve, I’ve not touched a military kit.
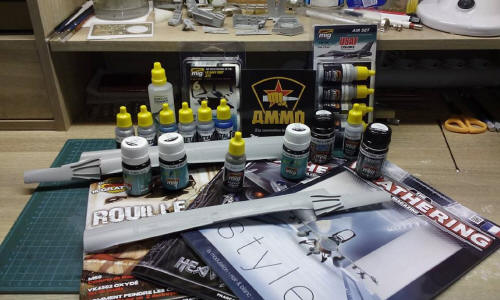
I had not decided which products I would use yet for the weathering of my aircraft when I went through AMMO Mig website and saw a book devoted to aircraft painting but not to weathering that is : "Enciclopedia de la aviación técnicas de modelado Volumen 3”. This book together with other Mig publications gave me the information and especially the products references (essential for a colorblind guy like me) needed to achieve this new challenge.
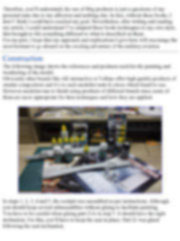
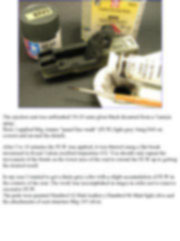
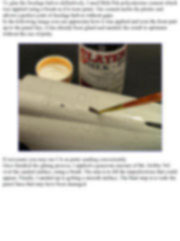
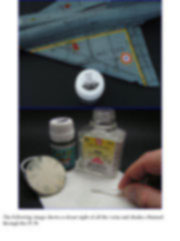
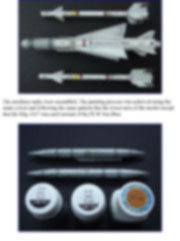
Therefore, you’ll understand, the use of Mig products is just a questions of my personal taste due to my affection and nothing else. In fact, without these books, I don’t’ think I could have reached my goal. Nevertheless, after writing and reading my article, I could understand I’ve adapted these books techniques to my own style, that brought to life something different to what is described on them. For my part, I hope that my approach and explications I give here will encourage the most hesitant to go aboard on the exciting adventure of the military aviation. Construction The following image shows the references and products used for the painting and weathering of the model. Obviously other brands like AK interactive or Vallejo offer high quality products of similar composition and it’s to each modeller taste to chose which brand to use. However modelers use to finish using products of different brands since some of them are more appropriate for their techniques and how they are applied.
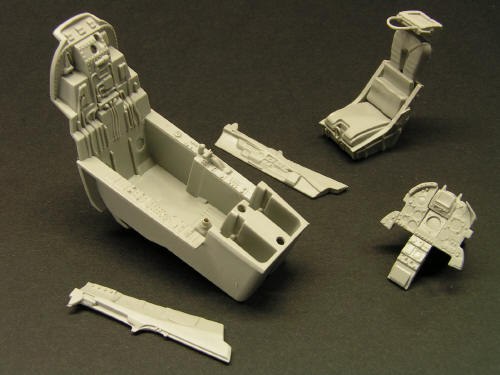
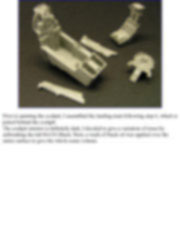
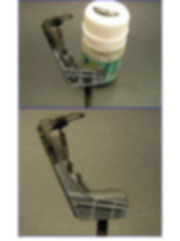
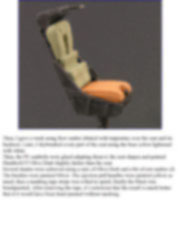
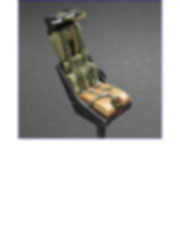
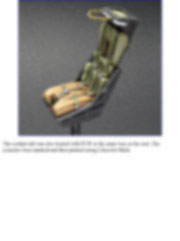
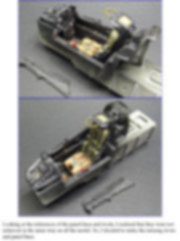
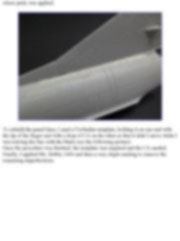
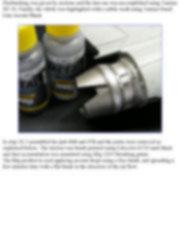
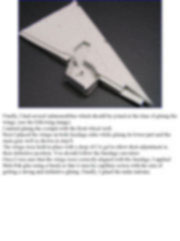
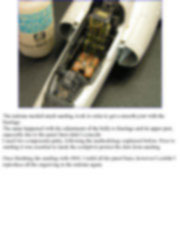
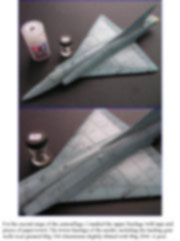
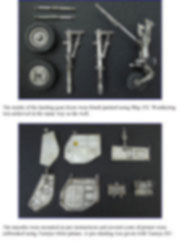
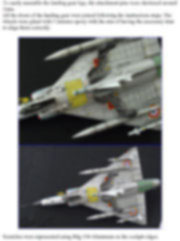
In steps 1, 2, 3, 4 and 5, the cockpit was assembled as per instructions. Although you should keep several subassemblies without gluing to facilitate painting. You have to be careful when gluing part 21A in step 5. It should have the right inclination. For this, you’ll have to keep the seat in place. Part 21 was glued following the seat inclination.
This tutorial is offered in PDF format to be read or printed using Acrobat reader, contact our webmaster > Here Includes more than 90 pics, here we show only the text pages.
Esta Nota es ofrecida en formato PDF, el cual puede ser leído o impreso usando el Acrobat reader, contacte a nuestro webmaster > Aquí Incluye más de 90 imágenes, aquí solo mostramos las paginas de texto.
Big size photos are only available in our PDF format. Support us ordering our notes in PDF > Here |
|||||||||||||||||||||||||||||||||||||||||||||||||||||||||||||||||||||||||