|
|
|||||||||||||||||||||||||||||||||||||||||||||||||||||||||||||||||||||||||||||||||||||||||||||||||||||||||||||||||||||||||||||||||||||||||||||||||||||||||||||||||||||||||
|
Cars |
|
||||||||||||||||||||||||||||||||||||||||||||||||||||||||||||||||||||||||||||||||||||||||||||||||||||||||||||||||||||||||||||||||||||||||||||||||||||||||||||||||||||||||
|
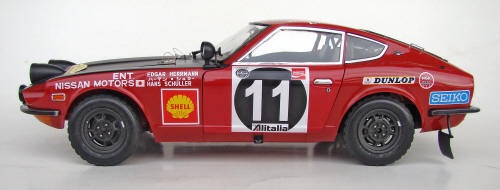
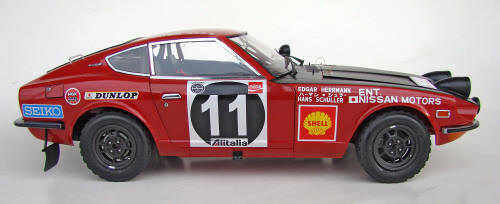
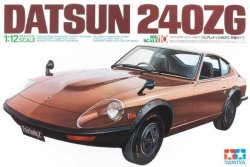
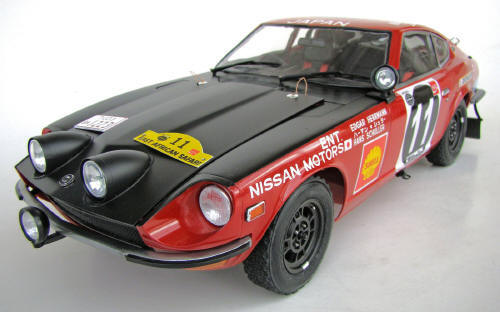
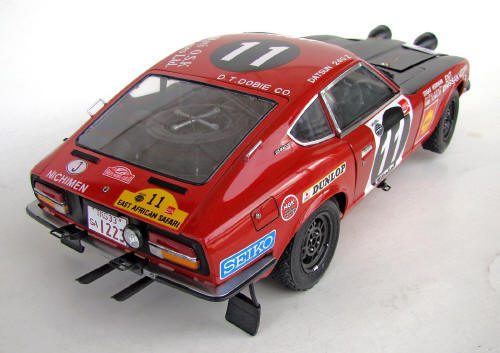
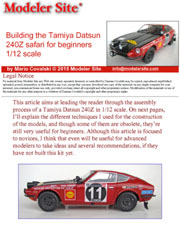
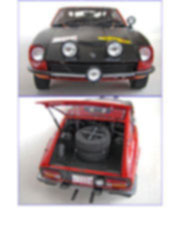
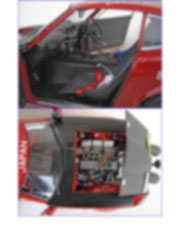
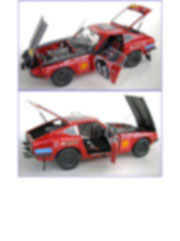
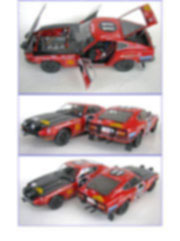
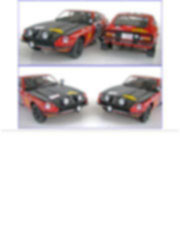
Building the Tamiya Datsun 240Z safari for beginners 1/12 scale |
|||||||||||||||||||||||||||||||||||||||||||||||||||||||||||||||||||||||||||||||||||||||||||||||||||||||||||||||||||||||||||||||||||||||||||||||||||||||||||||||||||||||||
|
by Mario Covalski © Modeler Site |
|||||||||||||||||||||||||||||||||||||||||||||||||||||||||||||||||||||||||||||||||||||||||||||||||||||||||||||||||||||||||||||||||||||||||||||||||||||||||||||||||||||||||
|
Legal Notice No material from Modeler Site any Web site may be copied, reproduced, republished, uploaded, posted, transmitted, or distributed in any way, except that you may download one copy of the materials on any single computer for your personal, non-commercial home use only, provided you keep intact all copyright and other proprietary notices. Modification of the materials or use of the materials for any other purpose is a violation of copyright and other proprietary rights. Read More here > Legal notice This article aims at leading the reader through the assembly process of a Tamiya Datsun 240Z in 1/12 scale. On next pages, I’ll explain the different techniques I used for the construction of the models, and though some of them are obsolete, they’re still very useful for beginners. Although this article is focused to novices, I think that even will be useful for advanced modelers to take ideas and several recommendations, if they have not built this kit yet.
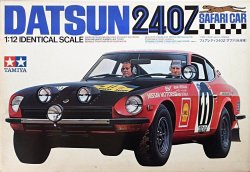
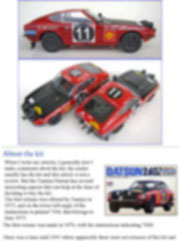
About the kit
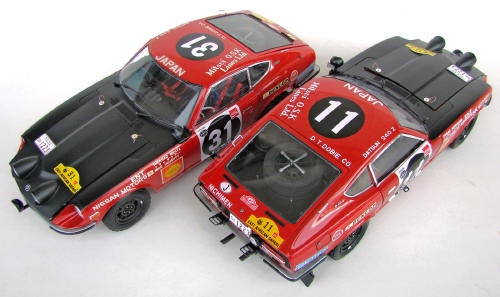
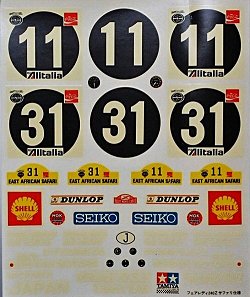
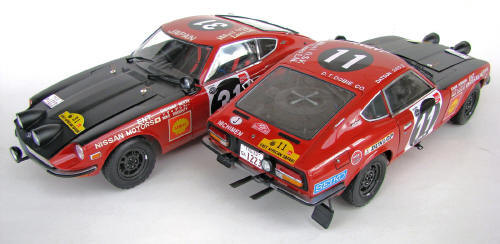
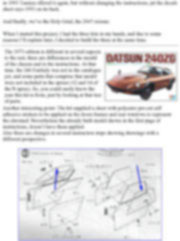
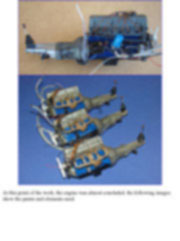
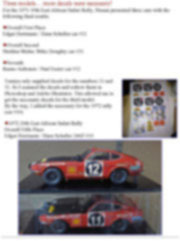
The first reissue was made in 1976, with the instructions indicating 7608. There was a time until 1993 where apparently there were not reissues of this kit and in 1993 Tamiya offered it again, but without changing the instructions, jut the decals sheet says 1993 on its back. And finally, we’ve the Holy Grial, the 2005 reissue. When I started this project, I had the three kits in my hands, and due to some reasons I’ll explain later, I decided to build the three at the same time.
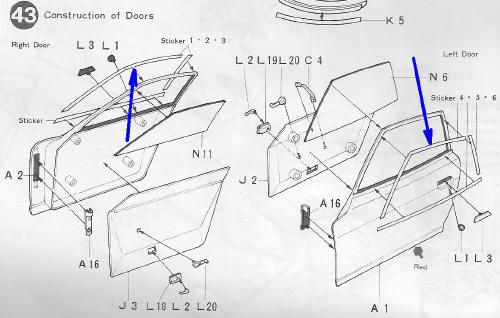
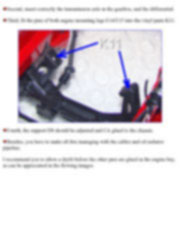
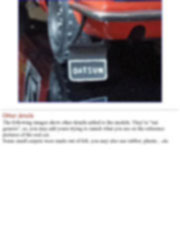
Another interesting point: The kit supplied a sheet with polyester pre-cut self adhesive stickers to be applied on the doors frames and rear windows to represent the chromed. Nevertheless the already built model shown in the first page of instructions, doesn’t have them applied. Also there are changes in several instruction steps showing drawings with a different perspective.
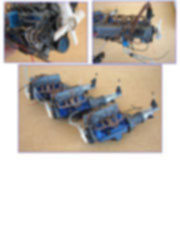
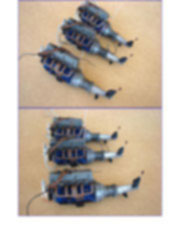
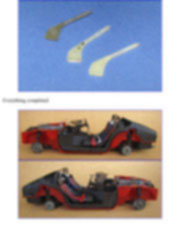
The sprues J and K are made from a vinyl material that can’t be glued either with the glue for plastic or with CA. Anyway, the design of these parts didn’t need glue to be assembled. Nevertheless, in the 2005 kit, the material of the sprue K changed, now is soft, easily deformable, I think that is some kind of plastic. It would have been useful if the design of the kit took advantage of these features but as there were no changes to that respect, the new material is counteractive and in some cases the function of the part is lost. I have doubts about its long term life. In 1973 and 76 kit, the plastic is also different, weak and fragile. The 1973 kit I have had streaks in all the body surface, these ones stand out if you apply paint with a strong solvent. It’s noticeable the old engineering in the kit development, the joint with the sprues are nearly always in areas difficult to hide. The clear parts have usually veins, and though the 2005 kit is better to this respect, is still deficit due to a problem of the original design, plastic is very thick for these parts. Kit contains rubber tires, rubber has a medium life in good storage conditions, of 30 years, so the 1973 kit will have tires completely decomposed, it means rotten. Rubber melts like if it were jelly. In the 1976 kit they will be soft, in doubtful condition. Later, I’ll explain how to recover them if they are not completely deformed due to decomposition. If you want to get a safari to build, you should try to purchase a 2005 reissue, from time to time, they may appear on eBay where I got mine from, a couple of years ago. If you are a collector, perhaps you wish to get the original one from 1973. A last curiosity, the 1973 kit has the original address (Oshika) where Tamiya was founded, while the rest have the new one where it is established today in Shizuoka, Japan. If you are a collector, perhaps you look for this instead of a fresh kit to build. Construction I’ll not write an introduction about the real car, cause it’s very well known. The Datsun was the first kit of a road car in 1/12 scale that Tamiya manufactured and for its period, it was a marvel of scale modelling. Let’s suppose in 1973, finding a box of a Safari, still today, it surprises and attracts me how the kit reproduces several details of the car. Think that it dated from a period where there were not personal computers or CAD, laser.. etc, incredible.
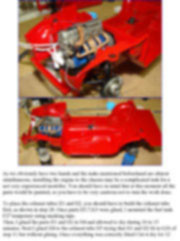
I met with this kit when a local importer offered it in 1977, obviously it was the 1976 reissue and I was a young boy eager to build scale models. By that time, I built four, brush-painted in different Humbrol colors including the body! with the original decals. There were no references or aftermarket and neither did I need them…if finally the kit was excellent, why I would need them for. So the vinyl tubes for the spark plugs or the oil hoses were the most wonderful I had seen. Old, old story.
When I started with this project, the first Safari kit I got was a 1973 one, sometimes you don’t know very well what you’re buying on eBay. So, I decided to purchase a 1993 reissue. When I was almost satisfied, appeared the 2005, closed in thermo shrinkable plastic and immaculate. So, I had three of these babies, one with ruined decals and rotten tires, other with decals that could be recovered and other fresh. Every kit offers two spare tires, and there I had the four ones for the 1973 kit. Besides, I bought a decal sheet from Japan thanks to a friend of mine assistance no more and nor less than Scott T. Hards founder/CEO of HobbyLink Japan.
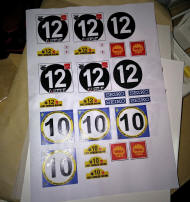
This tutorial is offered in PDF format to be read or printed using Acrobat reader, contact our webmaster > Here Includes more than 320 pics, here we show only the text pages. Includes a Adobe ilustrator file (Ai) to print decal for car #12
Esta Nota es ofrecida en formato PDF, el cual puede ser leído o impreso usando el Acrobat reader, contacte a nuestro webmaster > Aquí Incluye más de 320 imágenes, aquí solo mostramos las paginas de texto. Incluye un archivo de Adobe ilustrator (Ai) para imprimir calcas para el auto #12
Big size photos are only available in our PDF format. Support us ordering our notes in PDF > Here |
|||||||||||||||||||||||||||||||||||||||||||||||||||||||||||||||||||||||||||||||||||||||||||||||||||||||||||||||||||||||||||||||||||||||||||||||||||||||||||||||||||||||||