|
|
||||||||||||||||||||||||||||||||||||||||||||||||||||
|
Formula one |
|
|||||||||||||||||||||||||||||||||||||||||||||||||||
|
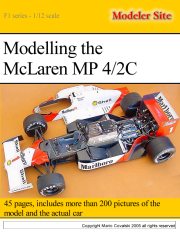
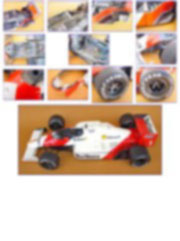
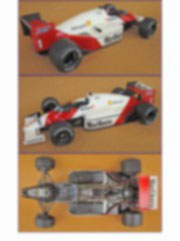
Building an improving the Protar Mclaren MP 4/2C 1/12 scale |
||||||||||||||||||||||||||||||||||||||||||||||||||||
|
by Mario Covalski © Modeler Site |
||||||||||||||||||||||||||||||||||||||||||||||||||||
|
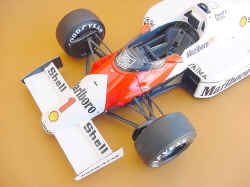
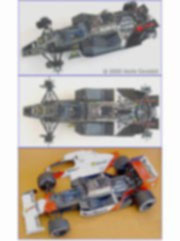
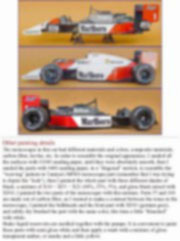
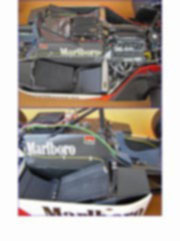
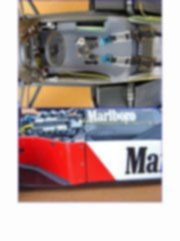
Legal Notice No material from Modeler Site any Web site owned, operated, licensed, or controlled by Mario Covalski & Associated may be copied, reproduced, republished, uploaded, posted, transmitted, or distributed in any way, except that you may download one copy of the materials on any single computer for your personal, non-commercial home use only, provided you keep intact all copyright and other proprietary notices. Modification of the materials or use of the materials for any other purpose is a violation of Mario Covalski & Associated's copyright and other proprietary rights. Read More here > Legal notice In 1981 McLaren presented what would be one of its most successful series of racing cars: the MP4. The most important feature was the monocoque construction, there was no more aluminum in it; instead of that, it became a solid tub made out of compound materials, such a carbon fiber, etc. 1984 was the beginning of the turbo era for the MP4 series with a six cylinder Porsche Tag turbo engine; this power plant would take Niki Lauda to his third world championship that same year, and Alain Prost would do the same in 1985/86. Protar choose the 1986 model for their kit but the 1985 was very much alike, so it would not be very difficult to build this version. In fact, I have seen some pictures of very good examples on this conversion.
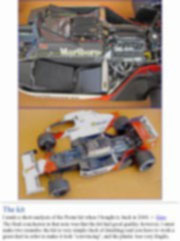
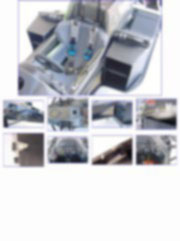
The kit I made a short analysis of the Protar kit when I bought it, back in 2000. > Here Where do I begin? Opening a kit box for the first time and looking at all its contents, even try to fix a couple of parts, is always wonderful. But believe me, beginning to build a kit like this poses a great amount of questions.
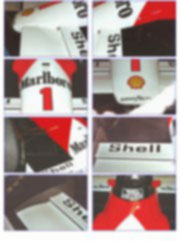
Generally speaking, building a Tamiya kit in this scale is something quite clear. You can build it "out of the box", or superdetailed, but you will always know where to begin, no matter the experience you have. First of all try to get as many pictures as you can from the real car, even if you are not planning on superdetail the model; building an out of the box model does not imply that you have to use all the parts that come in the box, there are several parts that could be unusable. When you open a kit like this, you have to make a previous analysis of each part, followed by a visual inspection and then, you have to determine three basic things:
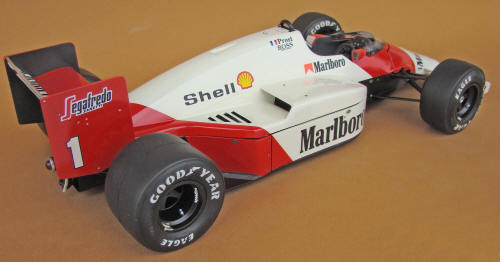
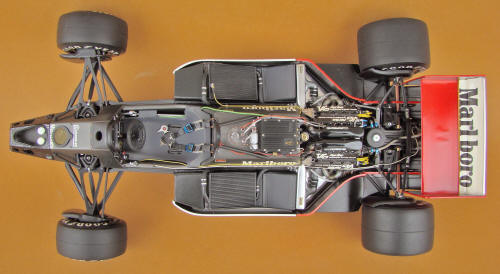
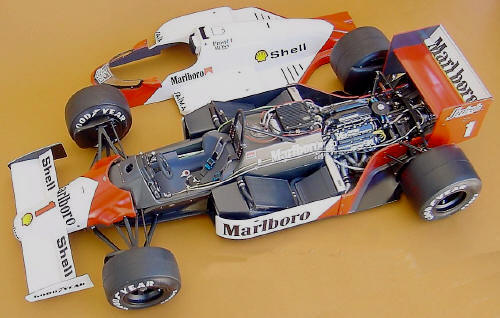
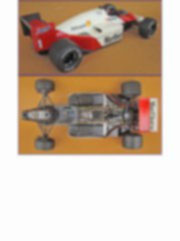
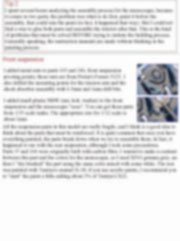
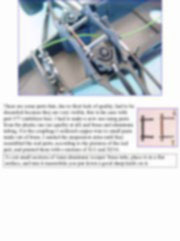
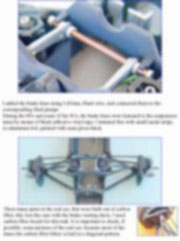
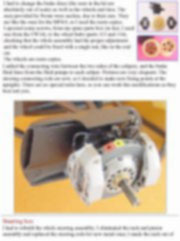
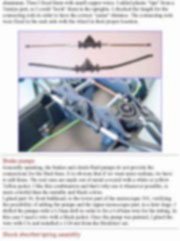
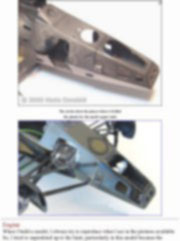
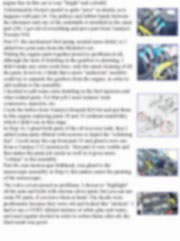
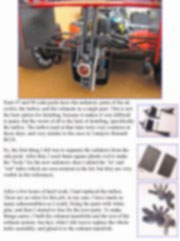
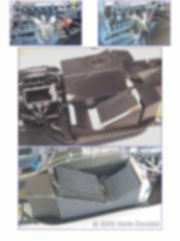
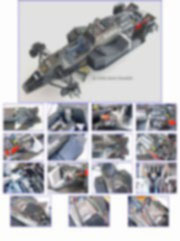
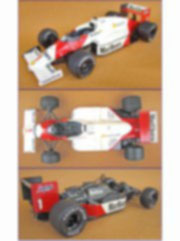
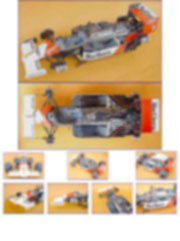
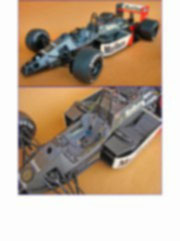
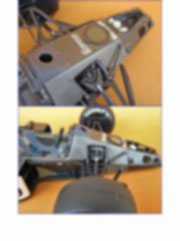
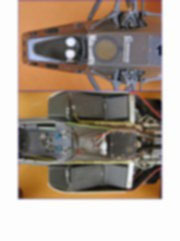
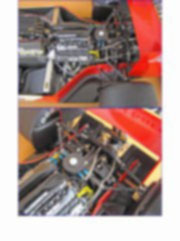
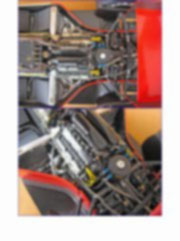
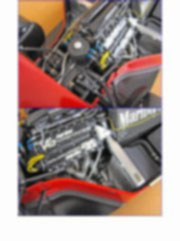
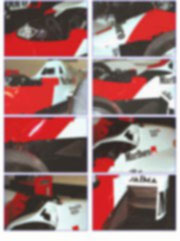
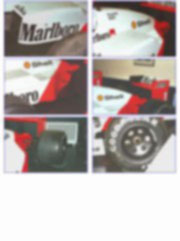
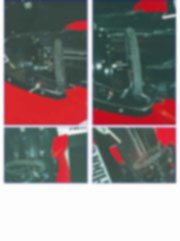
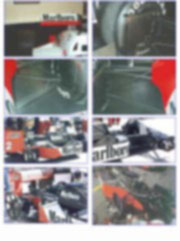
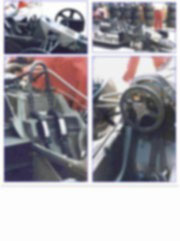
The above steps imply a lot of time, with this kind of kits you must be some kind of an engineer in order to solve the problems that arise at each step of the building process. In order to ease the building and detailing process of a model like this, I will explain each step, providing copies of the building instructions, as well as suggestions on how to detail and paint the parts. Building process One of the most important, and visible, part of a formula one car is the chassis, because there is the cockpit, the front suspension components and the engine with the transmission and the rear suspension; moreover, this section of the model must depict metal and composite parts. According to that, we will have to decide which parts are very visible and which ones are not, and decide if a certain part is worth an extra detailing work.
This note is offered in PDF format to be read or printed using Acrobat reader, contact our webmaster > Here Includes more than 140 pics, here we show only the text pages.
Esta Nota es ofrecida en formato PDF, el cual puede ser leído o impreso usando el Acrobat reader, contacte a nuestro webmaster > Aquí Incluye más de 140 imágenes, aquí solo mostramos las paginas de texto.
Big size photos are only available in our PDF format. Support us ordering our notes in PDF > Here |
||||||||||||||||||||||||||||||||||||||||||||||||||||