|
|
|||||||||||||||||||
|
Airplanes |
|
||||||||||||||||||
|
Mig 21MF Cuban Airforce Academy 1/48 scale |
|||||||||||||||||||
|
by Mike Parr © 2007 Modeler Site |
|||||||||||||||||||
|
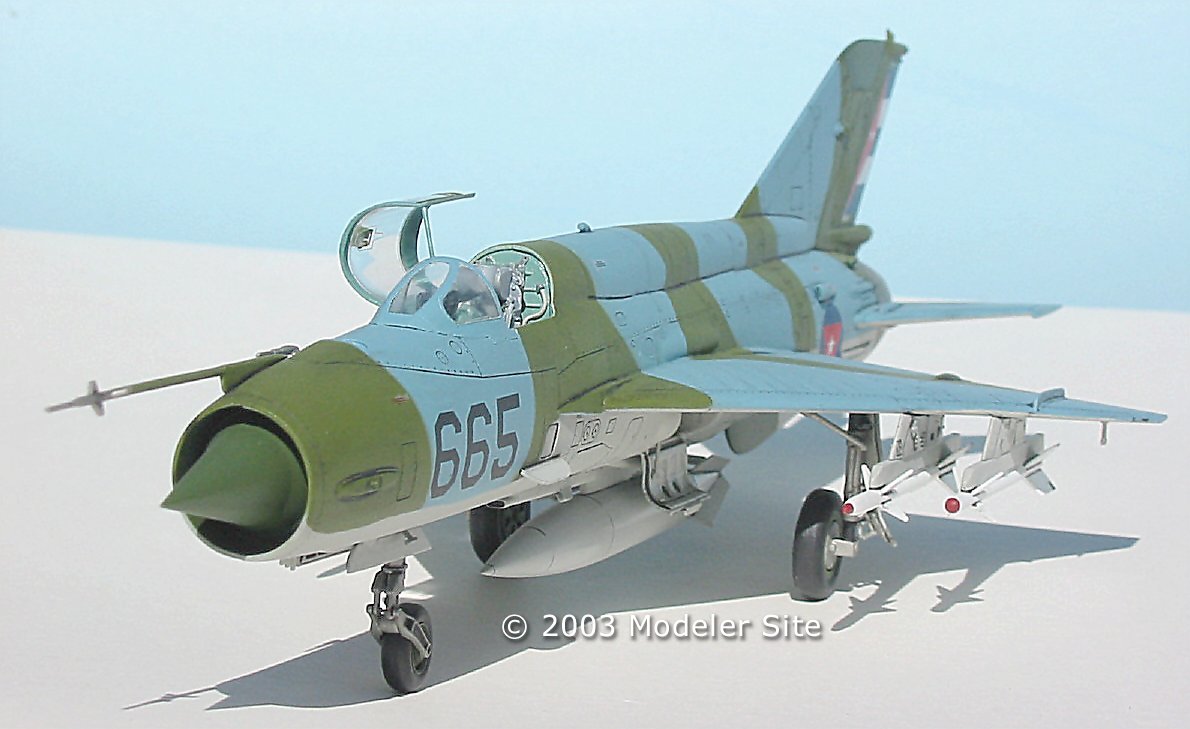
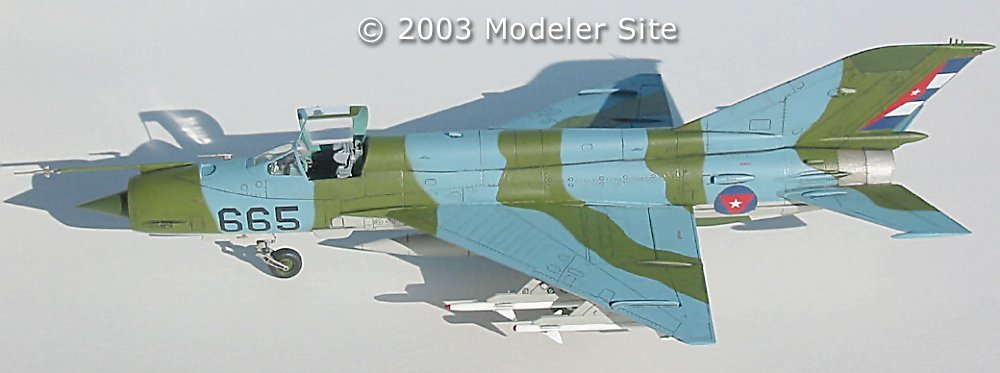
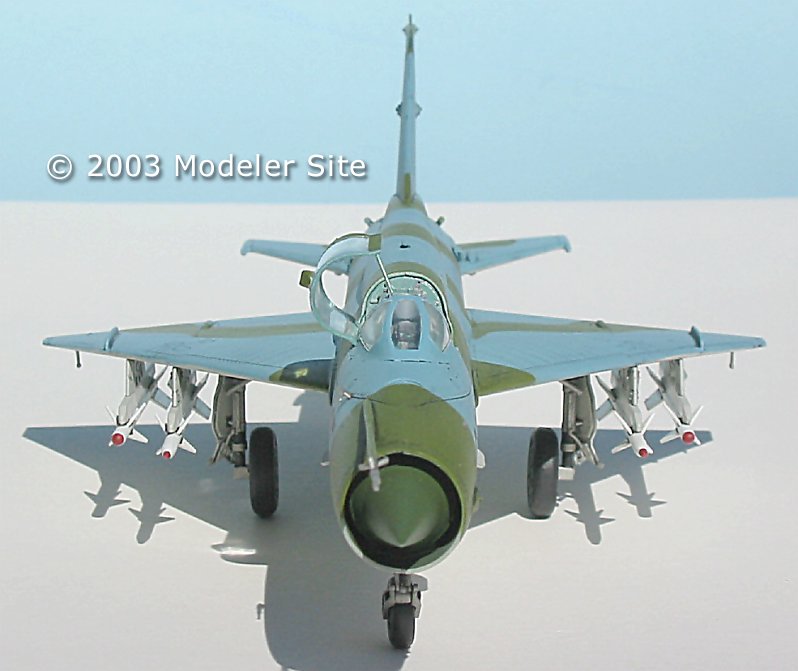
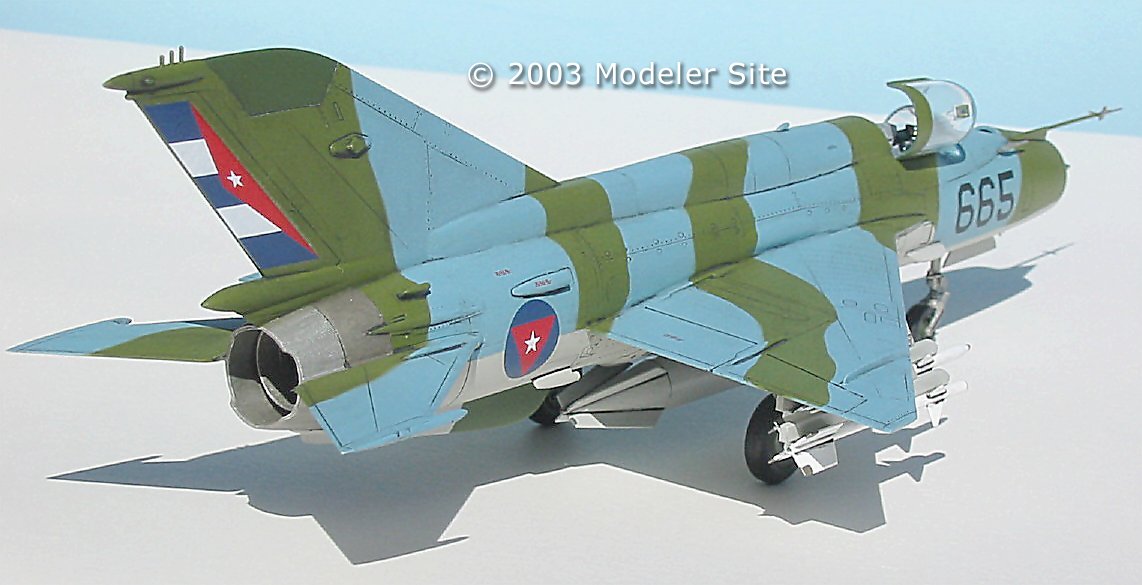
Legal Notice No material from Modeler Site any Web site owned, operated, licensed, or controlled by Mario Covalski & Associated may be copied, reproduced, republished, uploaded, posted, transmitted, or distributed in any way, except that you may download one copy of the materials on any single computer for your personal, non-commercial home use only, provided you keep intact all copyright and other proprietary notices. Modification of the materials or use of the materials for any other purpose is a violation of Mario Covalski & Associated's copyright and other proprietary rights. Read More here > Legal notice I decided to take a brief break from the Argentine Navy series I have been doing and delve into another Latin Air Force machine, namely the Mig 21. The Fishbed as it is commonly known was one of, if not the most produced jet fighter in history and was flown by most of the Soviet backed airforces in the world including Cuba. The Mig 21 has been the mainstay of the "Fuerza Aereas Revolucionaria" since the 1970's and all major versions have been operated, the MF giving the Cuban's limited all weather capability for the first time. This model depicts an aircraft based at San Antonio de Los Barlos airbase in 1993.
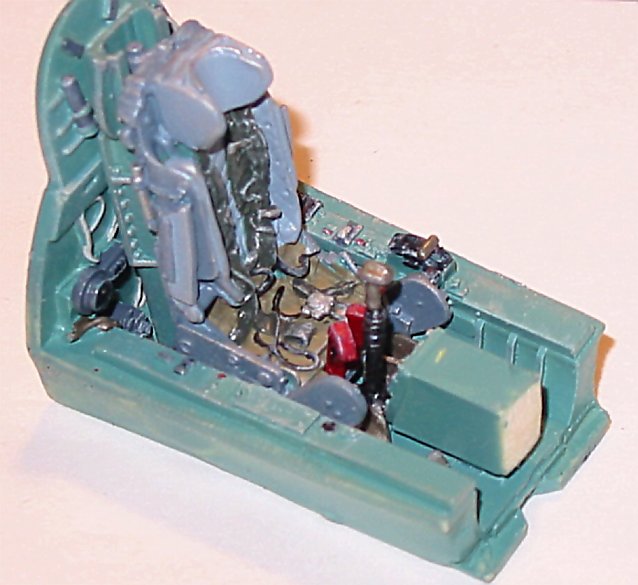
The Kit It's the Academy 1-48 Mig 21MF, a really nice kit and the first Academy kit I have built. I was really impressed with the fit and the finely engraved panel lines. The overall detail level is excellent and building this kit was a real pleasure. Construction The Black Box set came first of course and went together as most of them do, which is to say you spend a lot of time cleaning up the resin and painting and fitting. There were no special fit problems encountered. There is nearly always some surgery required on the kit parts to remove the detail they have provided. I have found a Dremel type motor tool to be invaluable in cleaning up the resin parts and getting rid of the unwanted kit supplied details.
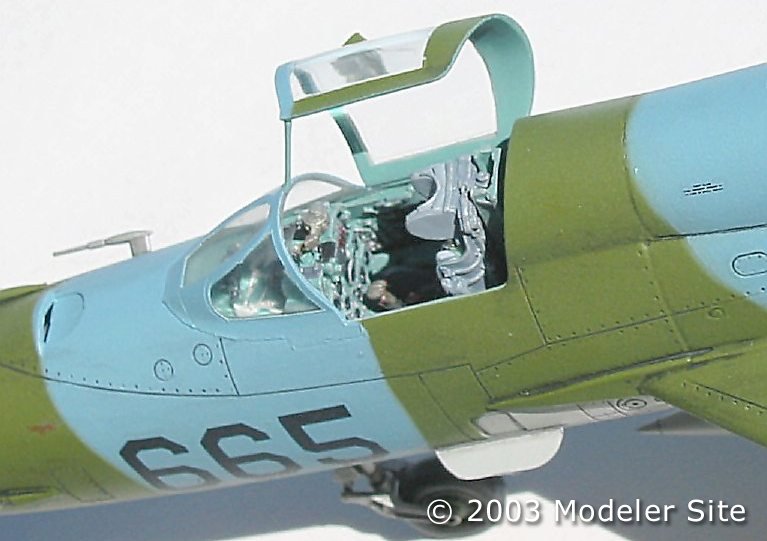
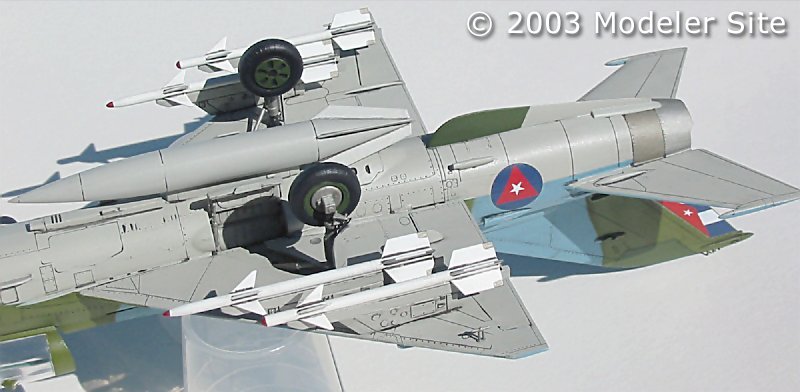
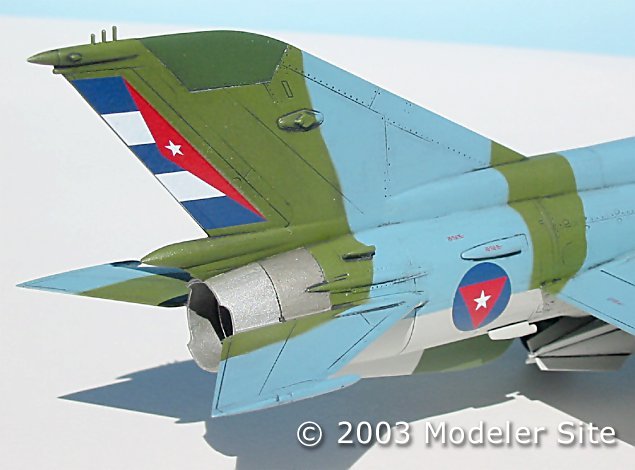
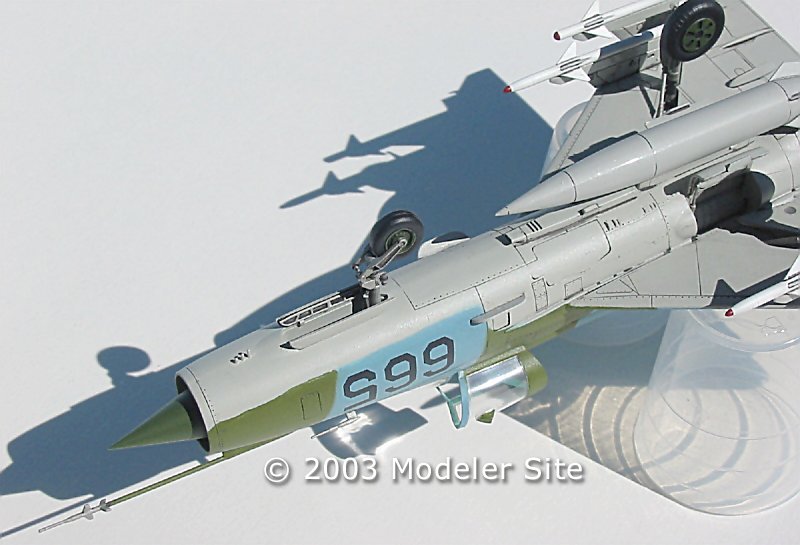
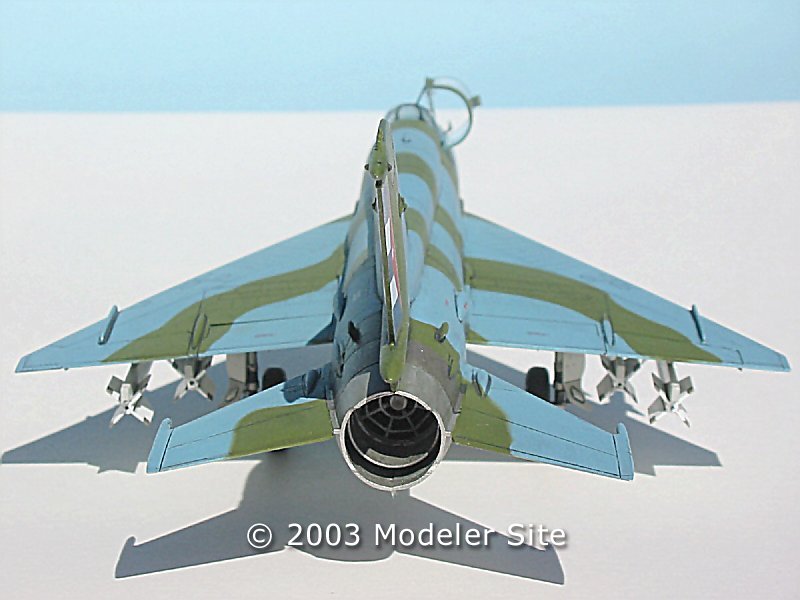
Once the cockpit was finished basic construction proceeded fairly quickly with very few fit problems. I painted the intake cone and the green panels on the tail and underside strake prior to closing the fuselage.
The only putty needed was on the wing roots and a little around the airbrake on the belly, and I used my usual trick of removing excess putty with nail polish remover on a cotton swab instead of sand paper and files. Give this a try if you haven't, you will save a lot of the surrounding detail and time. Just apply the putty as normal, then once it has had a few minutes to dry, dip a cotton swab into nail polish remover and wipe away the excess putty. Keep wiping until you are left with only the putty that's filling the crack.
Painting
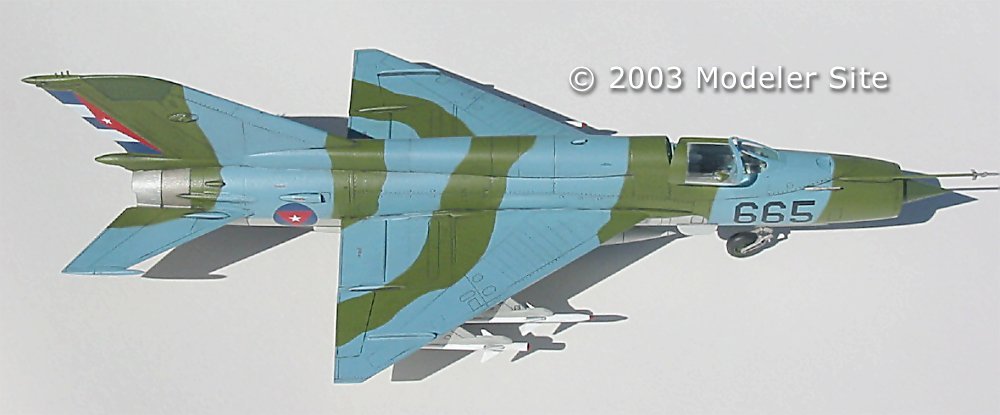
Unfortunately the color I had chosen was more of a turquoise green than blue and I knew right away that I had the wrong color.
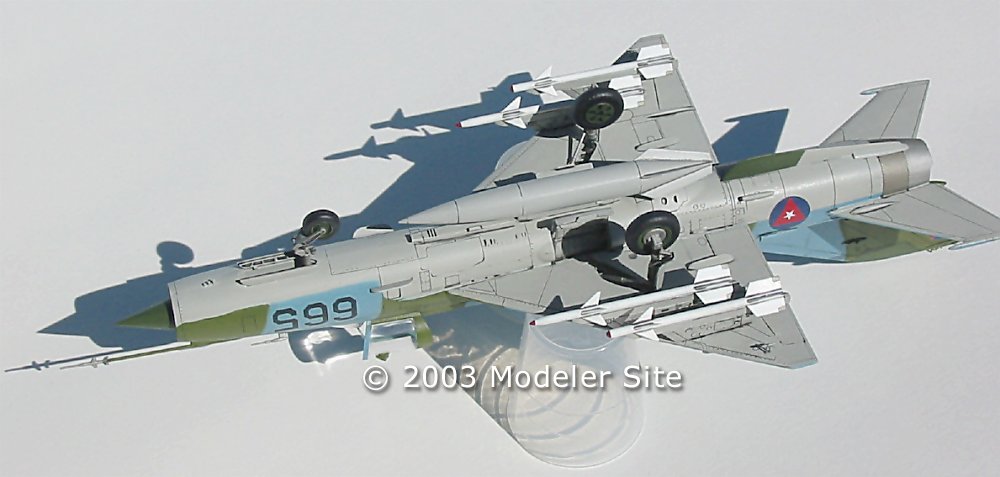
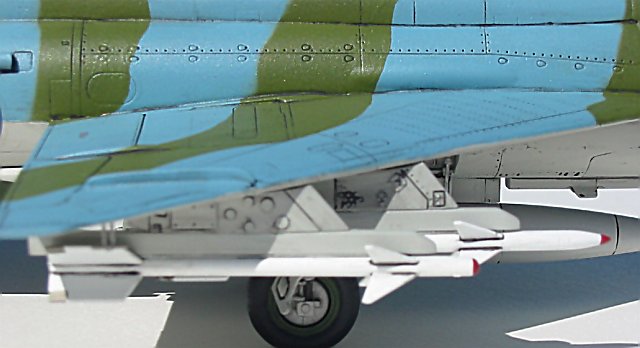
Decals The kits decals were made by Albatros and as you can see from the photos are few in number. They were applied with micro sol and set products and went on fine, although I did get a bit of silvering which required me to poke some very small holes through the decals and re-apply micro set with a small brush. I also used a few of the kit supplied decal stencils. Weathering The kits panel lines were the perfect depth for a watercolor wash of black applied with a small brush. I prefer this to using oils because of the easy cleanup and if you put too much on or make a mess it's very easy to get rid of the excess. All panel lines top and bottom were treated in this way and I was pleased with the final result. Summing up... Landing gear, doors, missiles etc were all weathered in the same way and then added to the model. I built the Mig in the standard interceptor loadout of centerline drop tank, and four Atoll missiles, two heat seekers and two radar guided. After all the parts were attached and the final paint touch ups were done the model was over spayed in Model Master flat. Lastly the cockpit canopy was unmasked and attached and a small brace was built from stretched sprue to support it. Color chart
Support us ordering our notes in PDF > Here |
|||||||||||||||||||