|
|
|||||||||||||||||||||||||
|
Airplanes |
|
||||||||||||||||||||||||
|
Argentine Navy MB-326 Low Viz 1/48 scale |
|||||||||||||||||||||||||
|
by Mike Parr |
|||||||||||||||||||||||||
|
Legal Notice No material from Modeler Site any Web site owned, operated, licensed, or controlled by Mario Covalski & Associated may be copied, reproduced, republished, uploaded, posted, transmitted, or distributed in any way, except that you may download one copy of the materials on any single computer for your personal, non-commercial home use only, provided you keep intact all copyright and other proprietary notices. Modification of the materials or use of the materials for any other purpose is a violation of Mario Covalski & Associated's copyright and other proprietary rights. Read More here > Legal notice The Aermacchi MB-326 entered Navy service in 1969, as an advanced trainer and light attack aircraft. The aircraft were ordered new from Italy and were assigned to the First Fighter and Attack Squadron of C.A.N.A.
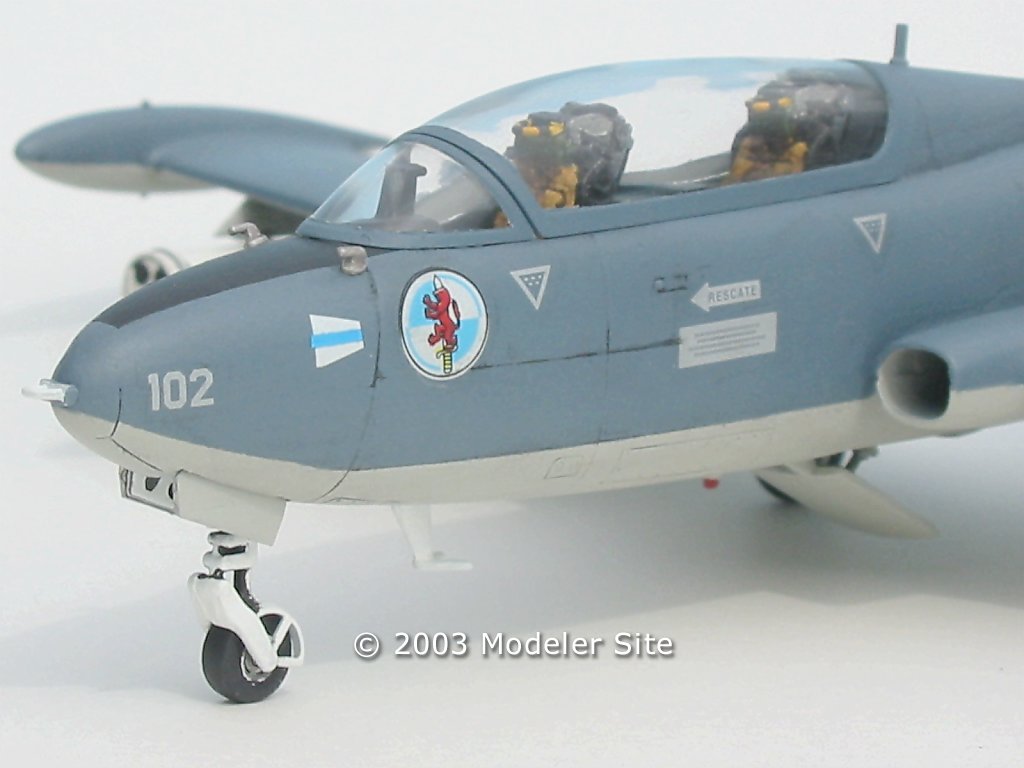
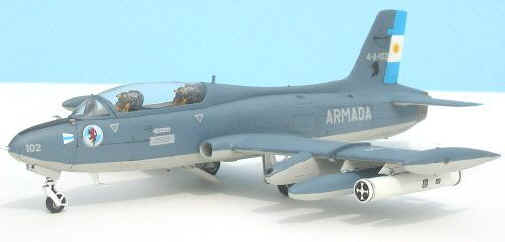
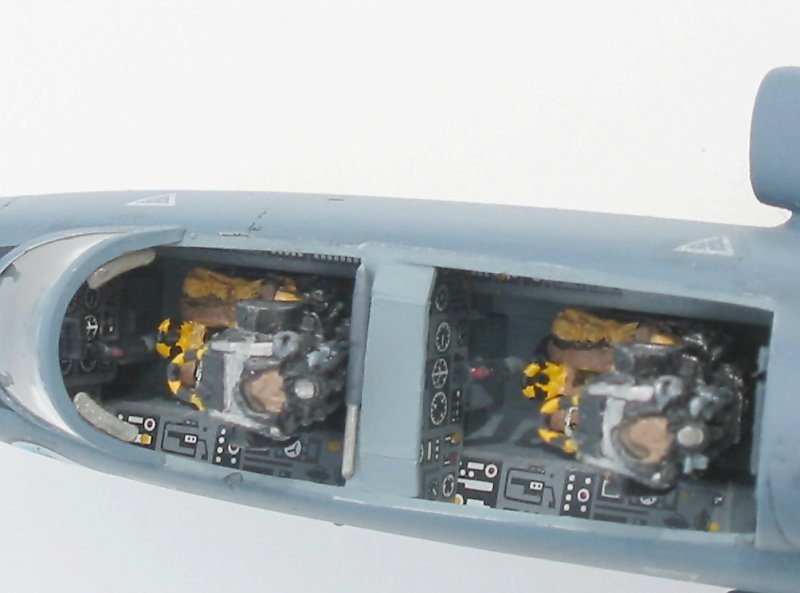
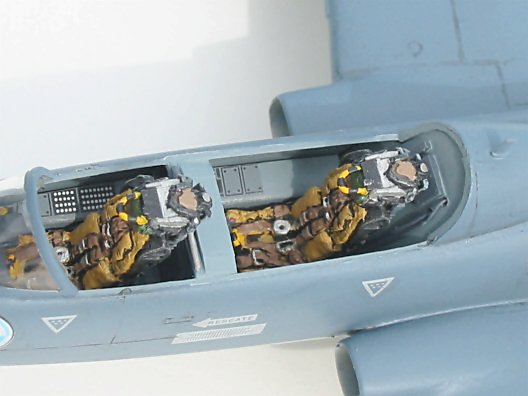
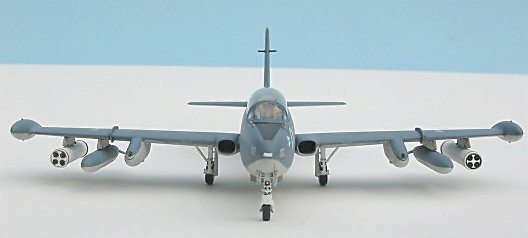
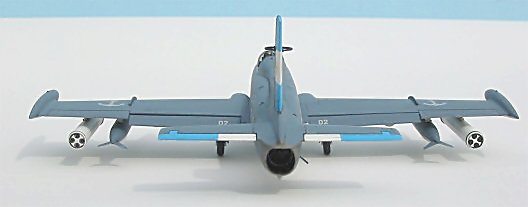
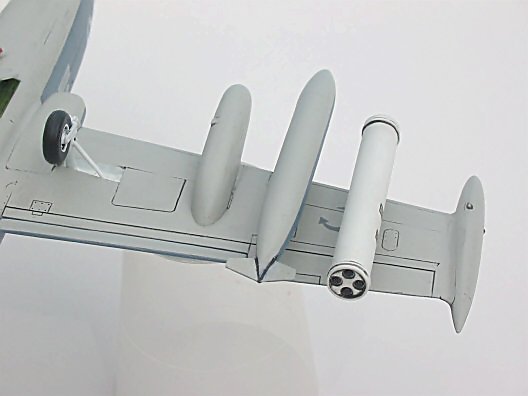
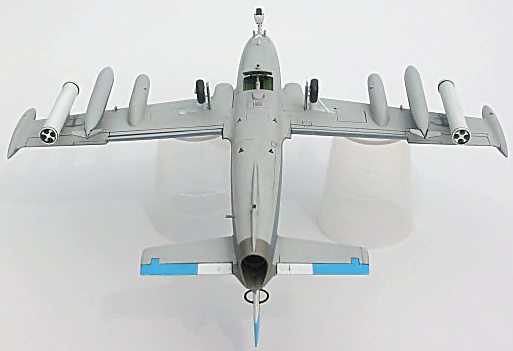
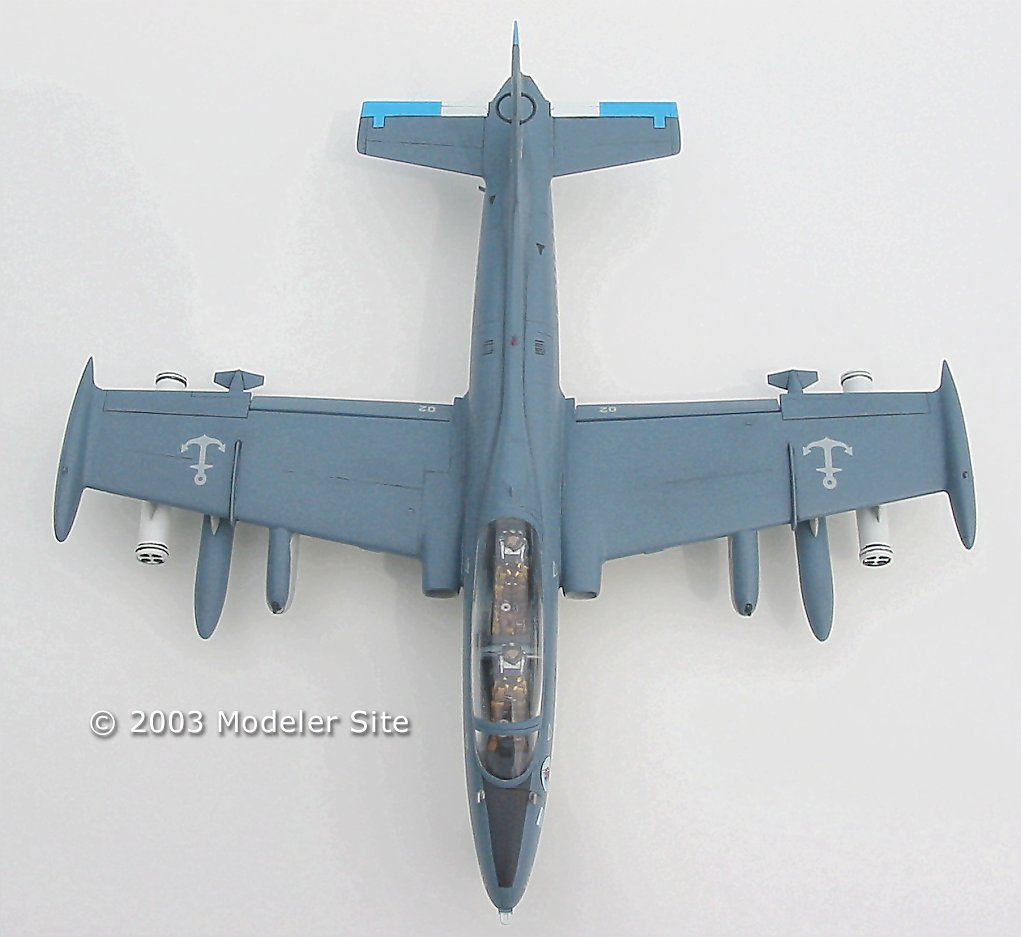
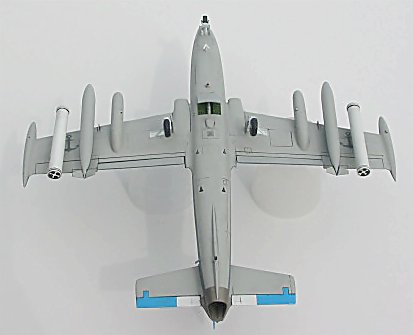
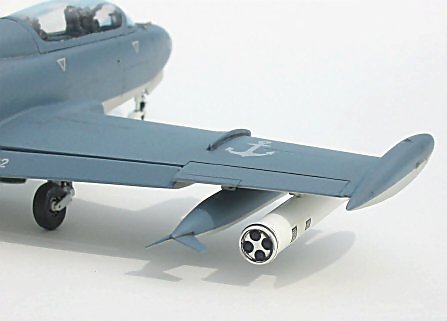
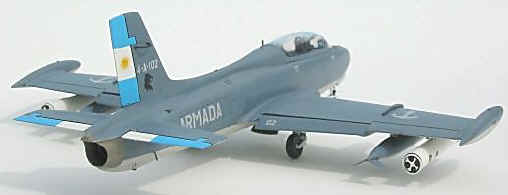
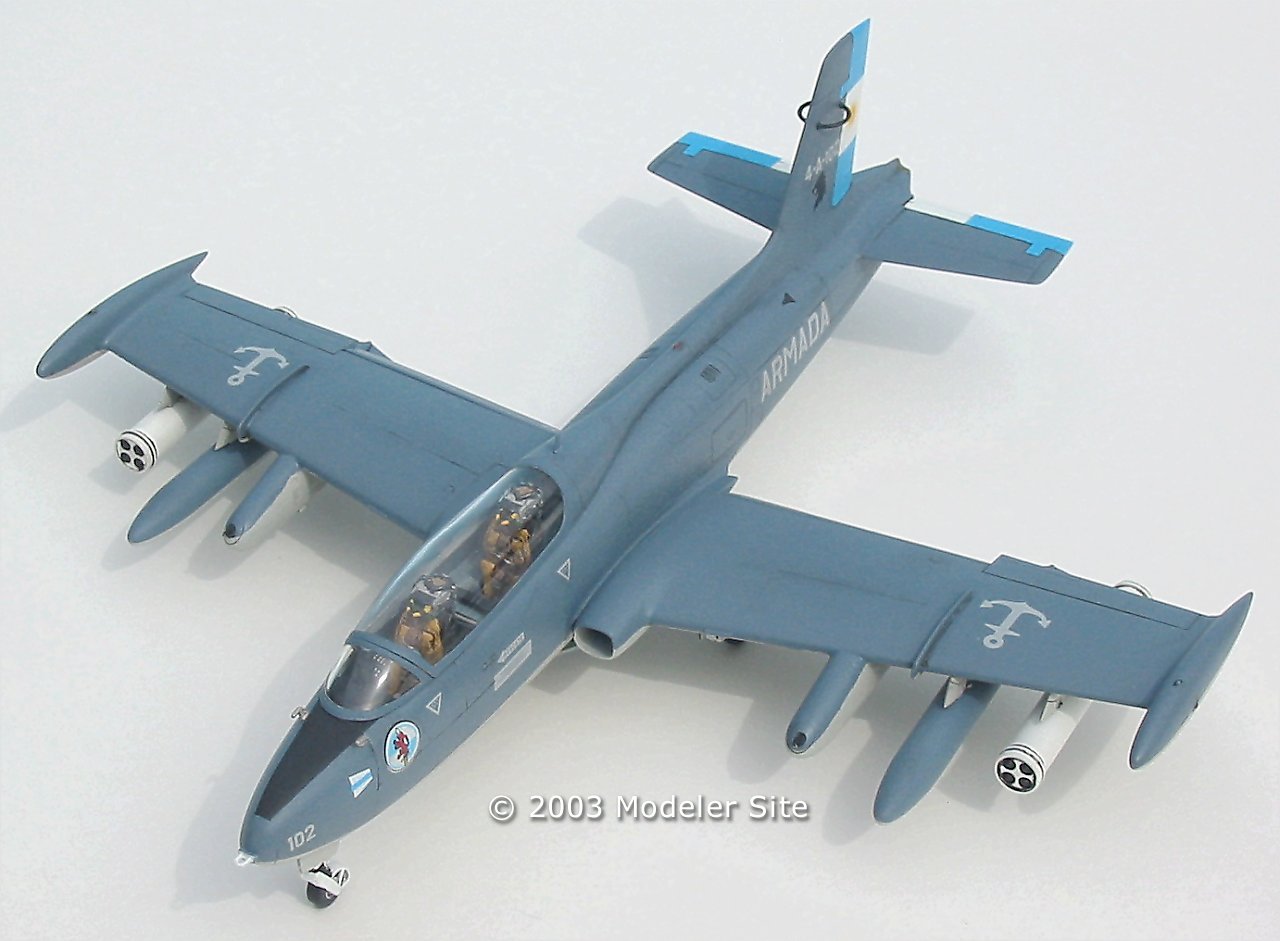
The MB's have seen at least three different paint schemes in their service with the Navy; the original delivery scheme was light gray over white. Just before the Malvinas conflict of 1982 the MB's were repainted in a tan/green over white scheme and finally after the war and in keeping with the general navy theme of low viz paint jobs the MB's were repainted like the Skyhawks, T-34 Turbo Mentors, etc, in a dark gray over light gray. The MB's continue with this gray on gray to this day. The kit The MB-326 was released by ESCI and I got mine second hand on EBAY ,but Italeri recently added it to its catalog for reissue, so it should be available again soon. The kit comes as a trainer only with no under wing stores. I really wanted to have my MB armed so I went on the Internet with a call to purchase the old ESCI Impala, which was the single seat MB. The kit included full armament options. Although I wasn't able to get the full impala kit I found an owner that planed to build his Impala "clean" and was willing to part with the entire armament sprue! So I acquired the weapons and now had my armed MB! The MB kit was one of, if not the last releases from ESCI and as such has finely engraved panel lines and some cockpit detail although not a lot. The kit doesn't provide the panel that separates front from real cockpit so that was added from plastic sheet. Construction
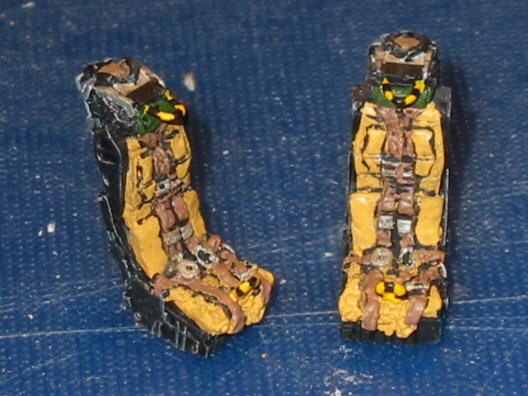
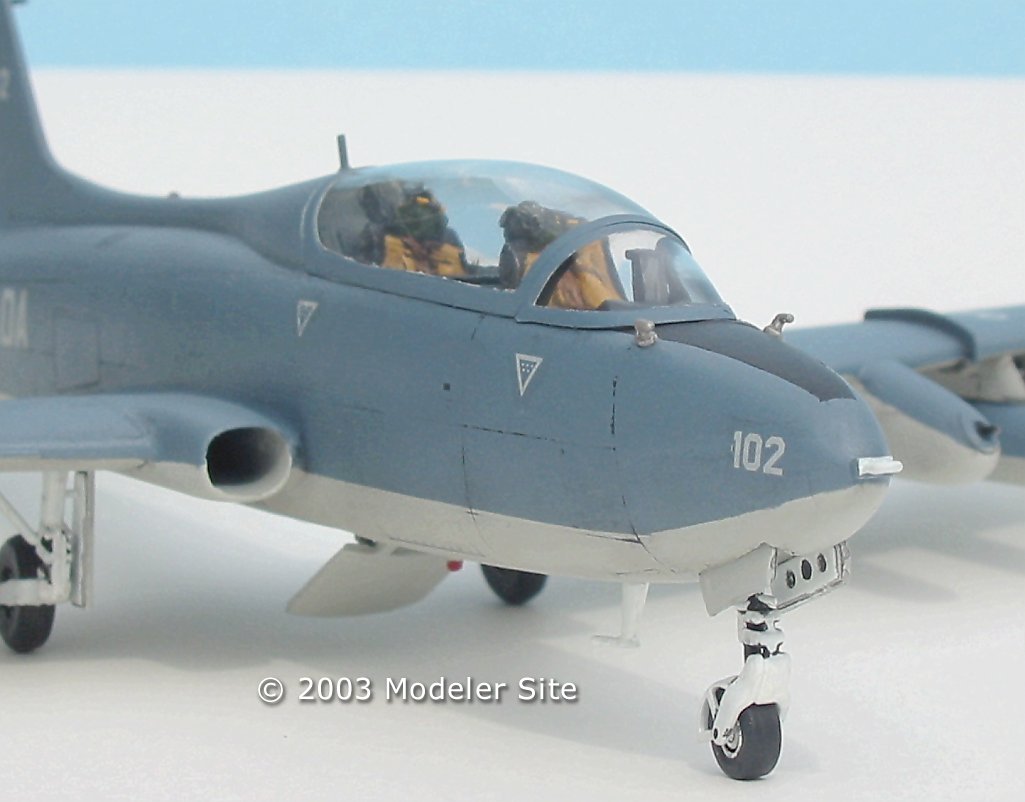
I had decided to have the canopy closed so I didn't spend a huge amount of time on the cockpit interior, as once the seats were in and with the usual dry-brushing accomplished the interior looked okay with the canopy down.
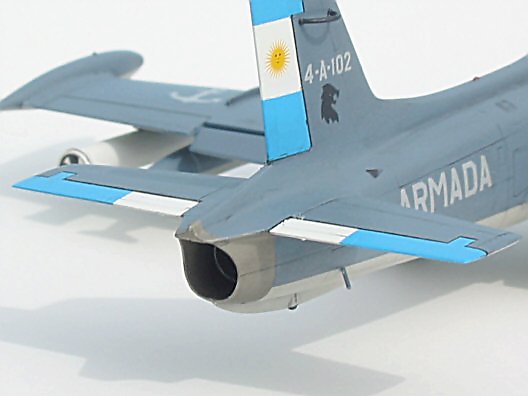
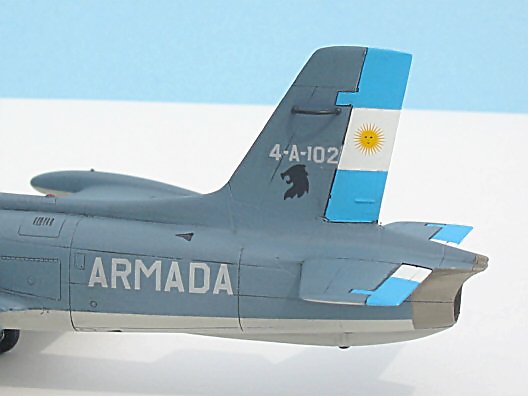
Once the tail is dry I mask off the white leaving the area exposed for the sky blue, once this is sprayed and dry I mask the tail off and get ready for the major colors.
Decals and Weathering Once the paint was dry I sprayed micro-satin to seal and prepare the kit for decaling.
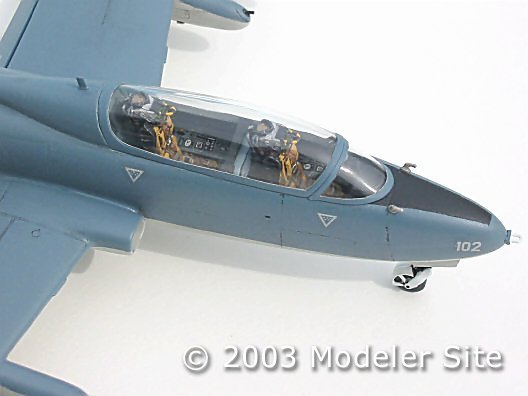
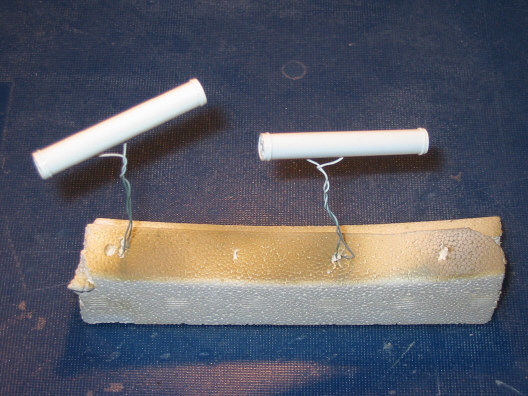
Final Assembly With the weathering done, all the landing gear, pylons, weapons etc were added, I always suspend my models on a rod or wire, in this case wire inserted into the air-intakes, this keeps my hands off the model as much as possible. Construction went smoothly with speed brake left open, and all the little antennas etc added now. Finally I sprayed the whole model with model master flat. Then I added the seats to the cockpit, installed two mirrors on the front canopy frame, and unmasked the canopy. I left the main part of the canopy loose so I can display the cockpit better. Conclusion This was a fun little plane to build and is the ninth in my 1-48 Navy collection, next up will be the T-28 Fennec done from the old Monogram kit with the addition of a black box cockpit set. I would like to take time to thank all my friends in Argentina that provide me with the necessary references, photos, and decals that allow me to build this collection of kits and to Modeler Site for providing a place to display them.
Support us ordering our notes in PDF > Here |
|||||||||||||||||||||||||