|
"When Herman Goering saw the Mustangs escorting the allied bombers on German territory he realized that the war was lost"
This is perhaps the best description we can make of this plane, in addition to the fact that just a few planes can be recognized so easily as a Mustang and there is nothing to say that it hasn't been already said about it.
Here is where all discussions or opinions usually begin about which was the best or most beautiful piston-engine powered plane of WWII. I personally consider this plane one of the two most beautiful planes (my other favorite is the FW-190 Dora)
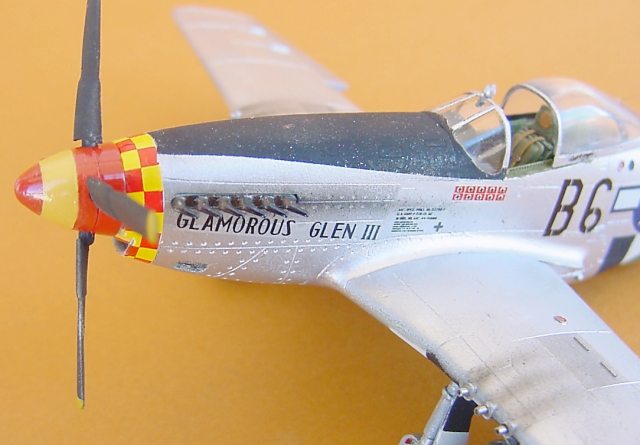
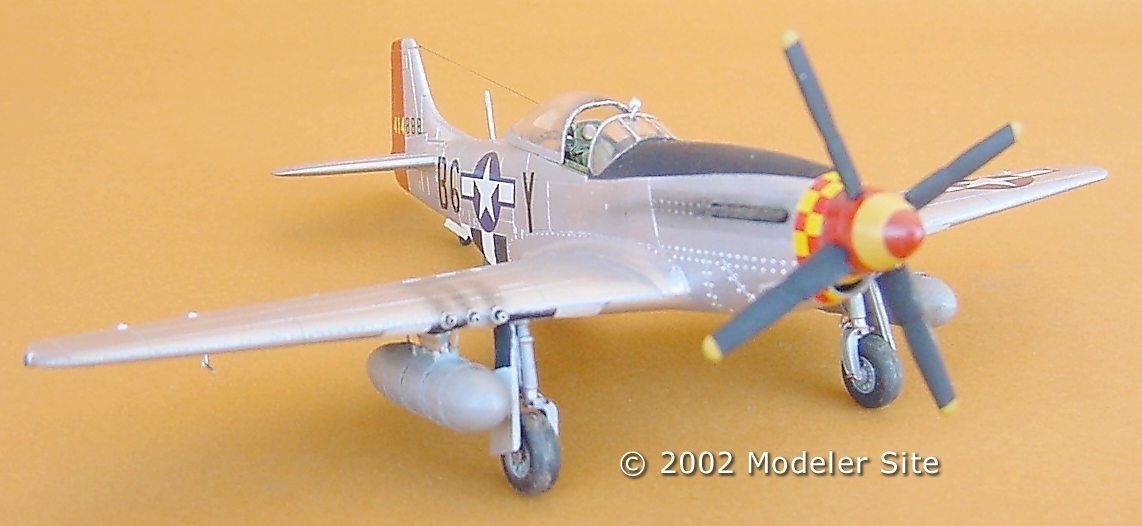
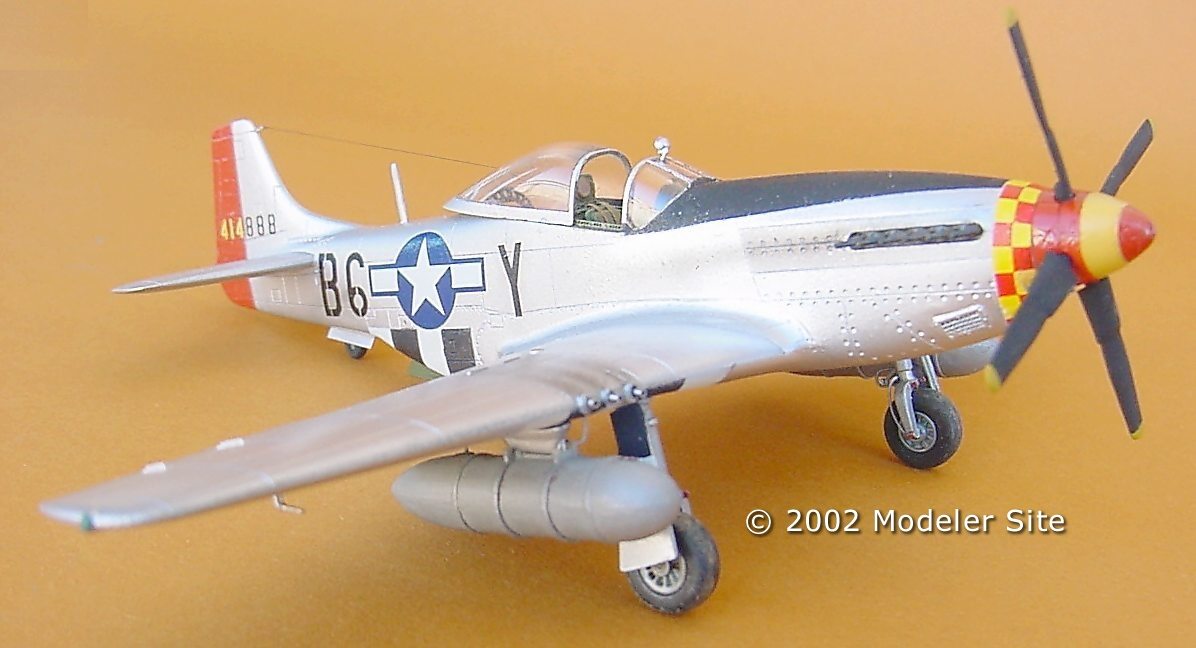
The plane presented here belonged to Chuch Yeager, who was not an outstanding pilot but ended the war with 11,5 victories, two of them when facing a Me 262 (the best fighter of the war) and survived a shot down without being captured. Thanks to his wide experience he became a test pilot and gained world fame when he broke the sound barrier for the fist time.
The kit
This Academy kit is probably so well known as the Mustang itself, as well as its defects and virtues; my intention here is not to show the "best" or most complete Mustang in 1/72, but how you can obtain a good result with just a few improvements.
|
Assembly and detailing
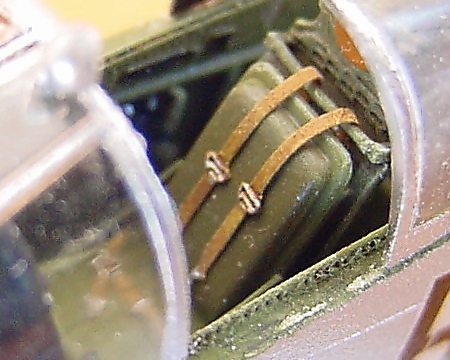
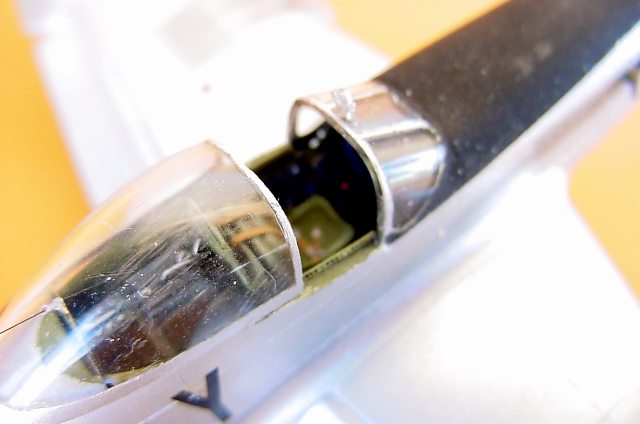
For the assembly I used the seat, the undertray and the radio provided by the Tamiya kit (to which I will adapt in the future a resin interior). Although the most important improvement is the addition of the photoetched set from Part, recommended for the Hasegawa kit and a decal set from Aeromaster.
I started by applying the photoetched parts that go on the lateral panels, just letting some of them aside (47, 48, 49, 50, 51, 52, 55, 59, 62 and 61) mainly because the Academy kit brings these details in relief, the oxygen hose was produced with copper wire wrapped around another one, a little bit thicker.
|
|
|
Generally speaking, the photoetched parts are complete and correct with a very good detail and there are no assembly problems (as usual, when we use the kit recommended by the manufacturer), the instrument panel and the rest of the photoetched parts can easily be applied and give the model a realistic look.
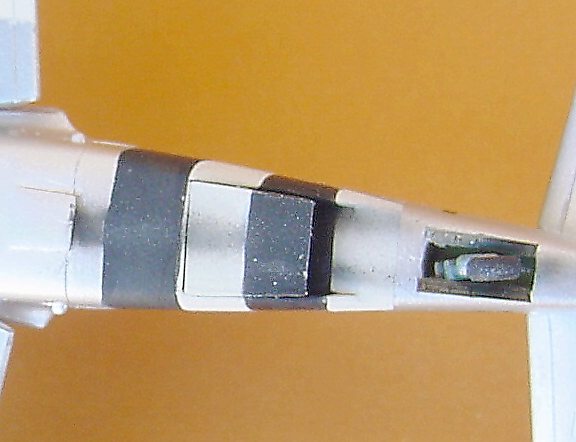
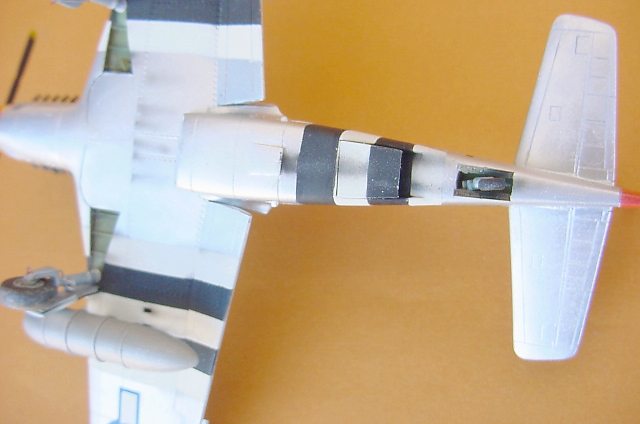
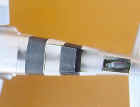
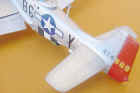
A very distinctive feature of this version are the exhausts. I could see on the only picture I could get from the original plane, as well as in the drawings, that the exhausts don't have their distinctive shroud, for which reason I had to use the ones supplied by the P-51B kit manufactured by the same company.
These had to be adjusted since their "support" is longer that the space provided by version "D" (although the manufacturer is the same, we can notice the difference between both kits as regards time and quality).
The flaps are provided separately but need to be improved since they have a "step" which is very unpleasant to the sight and very inaccurate. I personally decided to add a strip of plasticard having the same thickness of said "step" only in the upper part and give it a curved shape with a filer.
It was also necessary to make the inner part of the wing thinner so that it could be inserted into it. The lower "step" was left as it was since this makes it easier the subsequent insertion of the flap.
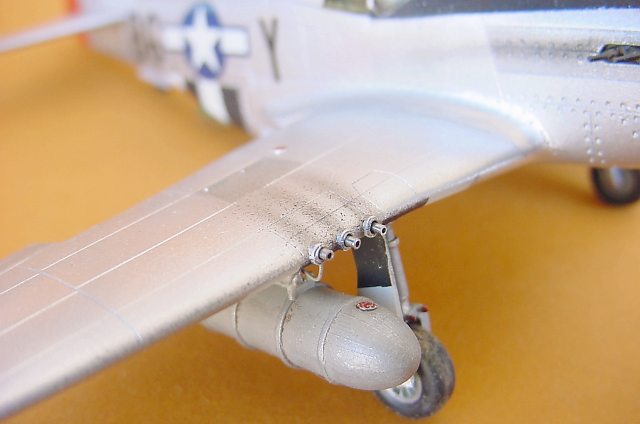
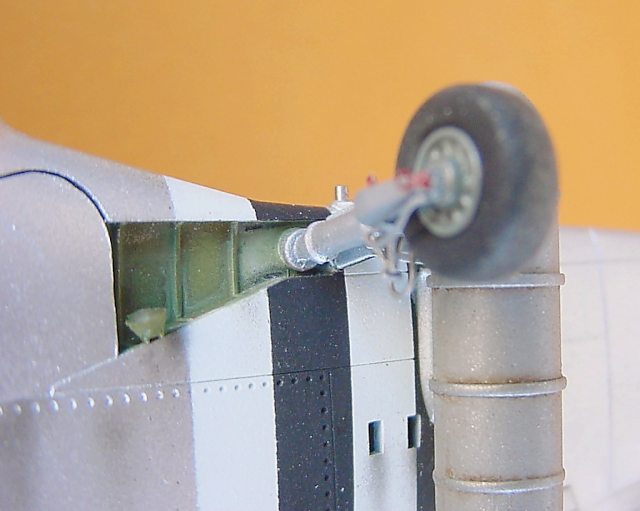
The undercarriages were detailed with the corresponding photoetched parts, in addition to the copper wire to simulate the break wire.
On the left undercarriage well we have to add the landing light, which is not provided by the kit. I produced this part by trimming a piece of the clear sprue and filing and polishing it to shape.
The guns were trimmed from the wings, keeping their shrouds, and were replaced with hypodermic syringes.
|
The support of the SCR-247N antenna (a piece of wire going from the tail to the cockpit) was produced with silver copper wire while the antenna was produced with hair. This goes through the cockpit through a very small hole drilled with a 0,2 mm drill bit. The VHF antenna supplied by the photoetched set (part # 22) was not used since it is flat while the one on the original plane shows some volume.
The general assembly of the kit offers no problems, I have never used filler, which is an advantage that has made the addition of improvements to the model much easier.
|

|
|

|
|
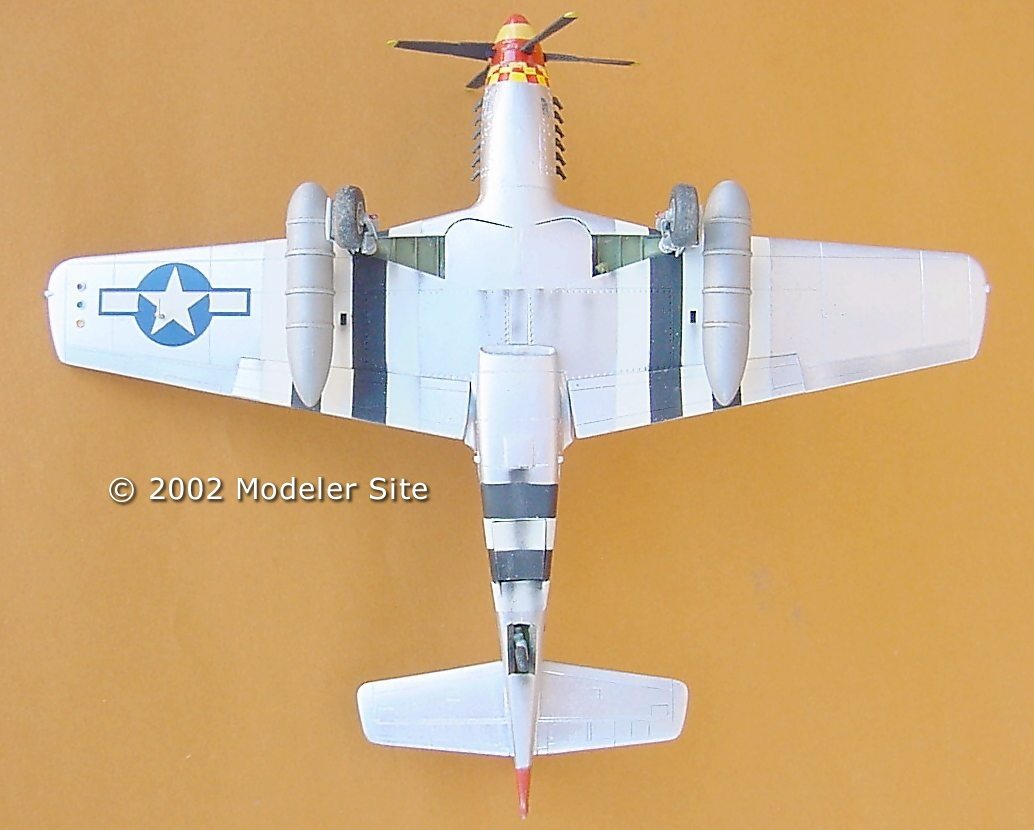
The most complicated task was the modification of the rear lower area of the radiator. In the Academy kit, it is represented incorrectly. In order to build it and be able to use the photoetched set I trimmed the simulated cover on the fuselage, filed the inner side and built the continuation of the fuselage towards the radiator with plasticard, to which I gave the appropriate curved shape.
|
|
Then I produced the cover with thin plasticard to which I also gave a curved shape. The laterals are the photoetched parts # 7 and # 8 and the interior bar a piece of stretched plastic.
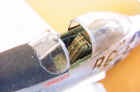
The air filters located in the front part of the fuselage were also improved. I removed the molded ones and carved and simulated them with some remains of the photoetched parts. Unfortunately, when the covers (parts # 5 and 6) were inserted all these additions were hidden, for which reason I decided to remove one of them (thus simulating maintenance) in order to allow the improvements to be seen.
Decoration
|
For decoration I used one of the versions of the Aero Master # 72-006 decal sheet, after comparing it with some video-documentaries and other bibliography.
The interior of the cockpit, as well as that of the undercarriage wells, were painted with "interior green " by "Life color" while some touches of color were given with different inks, based on the color pictures I had obtained.
|
|
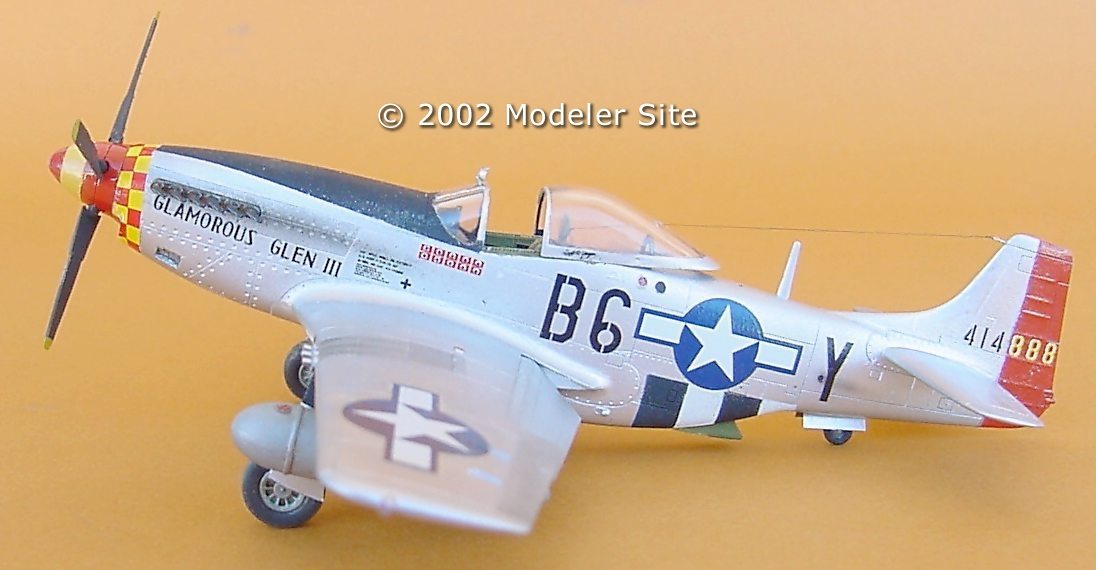
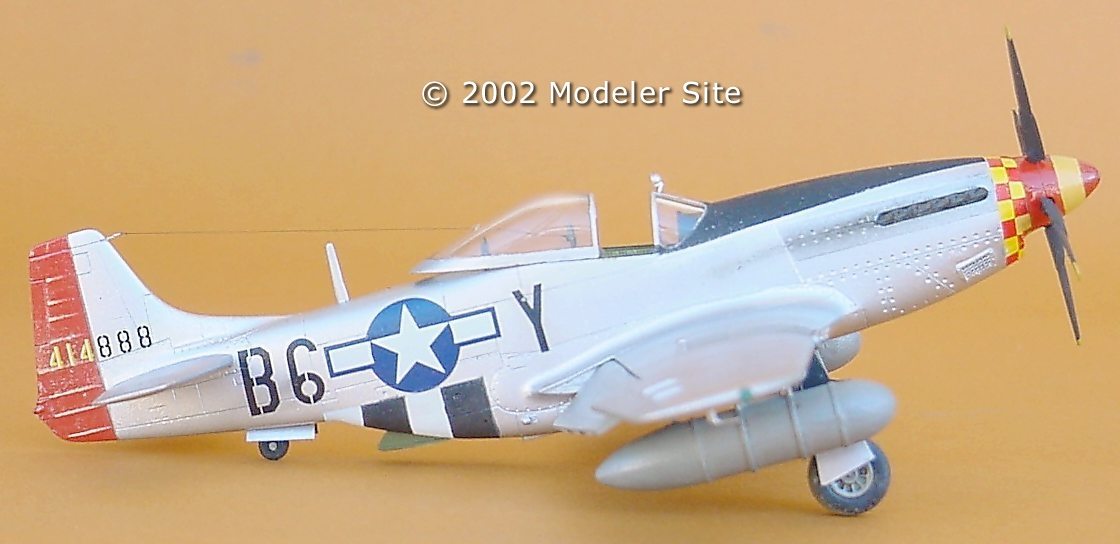
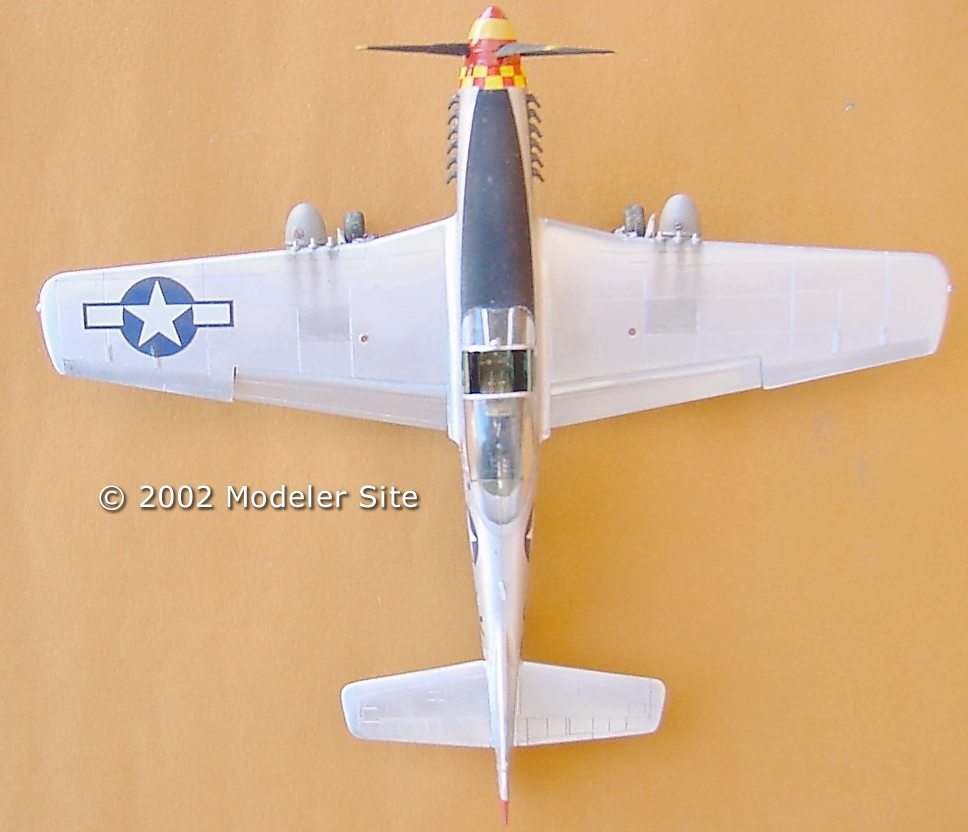
The external surface was painted with Humbrol "Silver" # 11 and the red "mark" on the tail, which indicates that it belongs to the 363º FS, was made with Humbrol red #19 like those of the "cowl" of the propeller. The yellow area is Humbrol "Lufthansa Yellow" 197. The invasion bands were painted with Humbrol white and matt black, as well as the antireflex panel.
Varnish was only applied on the decals to give them an even shine but keeping the matt finish of the other areas.
The decal sheet brings all the basic marks of the plane as well as all national badges. Its quality is good but it is slightly out of register in the case of the damero (pattern imitating a chess board) of the nose and the tail number. The biggest problem with the decals was their stiffness. I applied Microsol and Microset, which did not work. I also noticed that when the decals got dry they tended to detach from the curved areas.
Therefore, I decided to use pure acetic acid for this task (taking the risk of damaging the paint), which had a very positive effect and helped adjust the decals to the contour of the surface.
At last, I slightly highlighted all panel lines with an airbrush, with glossy black very (very) thinned on some areas and on the ailerons using tape with irregular borders for masking. The smoke coming from the exhausts was represented with matt black applied with an airbrush.
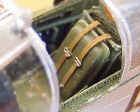
Fuel tanks were painted with grey 64, and the exhausts with brass 171 and matt black very well thinned (they were inserted once painted), all from Humbrol.
Bibliography and other sources of information
 "P-51 Mustang in Action - Squadron/signal publications" Nº 45. "P-51 Mustang in Action - Squadron/signal publications" Nº 45.
"P-51 D Walk Around - Squadron/signal publications" Nº 7.
"Ases del Mustang de la Octava Fuerza Aérea - Osprey Aviation (Ediciones del Prado)" Nº 3.
"Alas P-51 Mustang " The Discovery Channel.
|