|
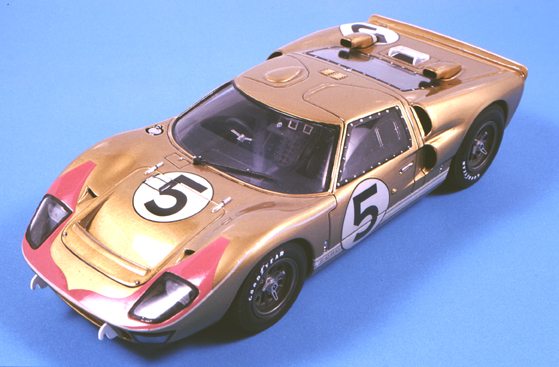
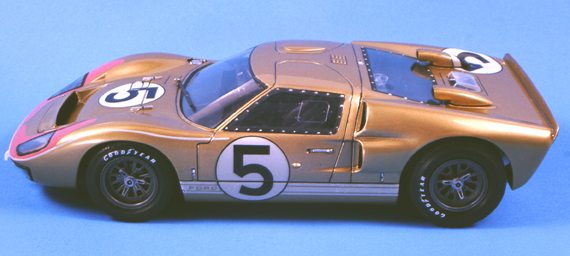
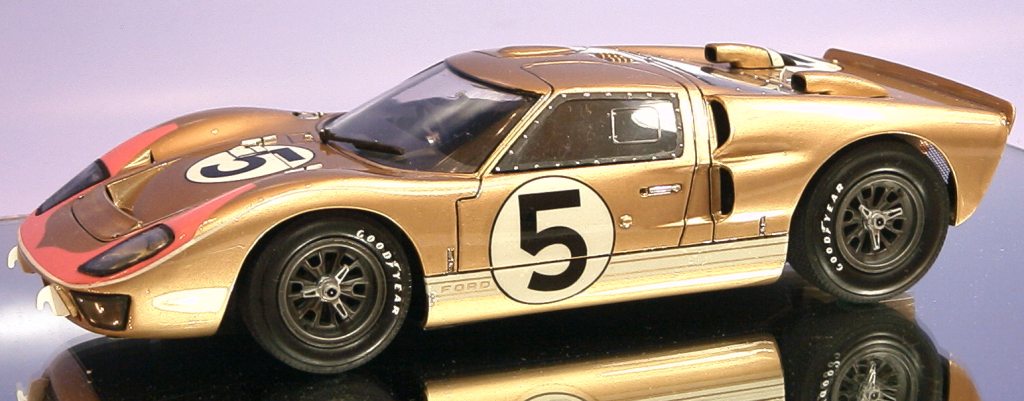
This is a wonderful kit that Fujimi re-releases from time to time together with other two versions of this model, which compose the winning trio of Le Mans 1966. That same year, the American giant Ford, invested a great amount of money in order to defeat the European teams represented mainly by Ferrari and Porsche.
This is a fine kit - although the mold is somewhat old - which also brings good quality decals and a photoetched sheet for the rear screen and the belt buckles. This particular detail is very important since other brands, like Tamiya, generally considered higher quality, do not offer decals for the seat belts which forces us to spend some extra money to buy other brands like Studio 27, Modelers and Scale Motorsport.
Out of the three kits, this one is undoubtedly the most difficult one, due to its details in gold paint which is not easy to handle. But this fact should not dissuade us from building this model.
|
Assembly
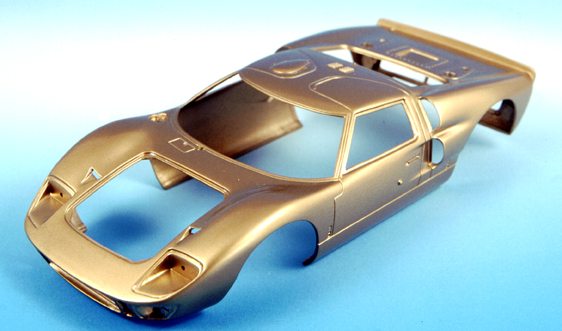
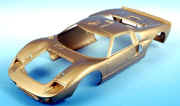
First thing to do is remove all mould lines; there are no flashes. Next step will be to sand it smoothly with a # 1200 sandpaper under running water in order not to scratch the plastic surface and prepare it for subsequent painting.
|
|
As regards painting, there are two alternatives: apply a base coat of primer in white or matte gray, or directly paint the kit gold.
I chose the second alternative since, after carefully reviewing all parts, I considered that they were ready to be painted. A basecoat of primer makes it easier for the paint to adhere to the surface and is always necessary whenever we use automotive lacquers; in addition, it allows us to see and correct all possible flaws before applying the final paint coat.
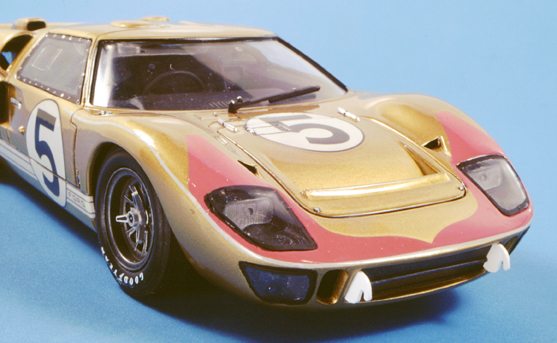
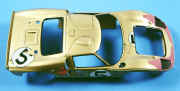
The body was oversprayed with Tamiya's acrylics (TS 21 Gold). I consider this to be the best option, even better that the more expensive automotive lacquers, due to its pigment size, which really makes the model look more realistic.
|
Painting with a spray can may become a difficult task for some modelers because, at the beginning, it is impossible to control the outlet of paint but once you are acquainted with this job it is really simple to paint the body of a model in just 15 minutes. In the case of small parts, it will be necessary to carefully mount them on a toothpick or anything similar in order to avoid bleeding of the paint which would damage details.
It would be advisable to spray the model from a 15 cm distance and moving your hand constantly in order to avoid accumulation and bleeding of the paint.
|
It would advise on applying several thin coats instead of one thick coat. This particular model has 4 thin coats and a final thick one. It is necessary to apply so many coats since, in the subsequent polishing process, we are going to remove a couple of coats at least. This polishing process will leave the surface smooth and eliminate any flaws.
To tell the truth, we are going to be in trouble here, because although all the Tamiya spray acrylics can be polished, the metal colors won´t allow us to do so. Therefore, we should be very careful.
|
For polishing, we can use Tamiya's compound, applied in circles with a soft cotton cloth without making too much pressure. We will notice that the cloth becomes black, that's because we are practically polishing the paint. As some particles still remain attached to the surface, it will be necessary to wash it with distilled water. If we apply too much pressure we could scratch the paint, in which case we should apply new paint coats.
|
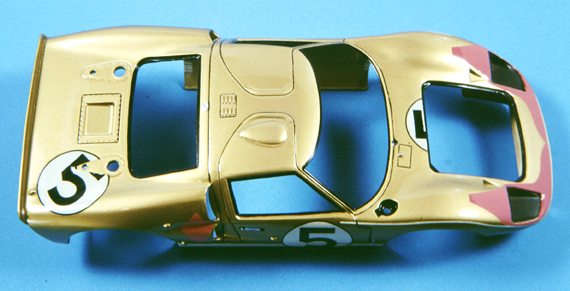
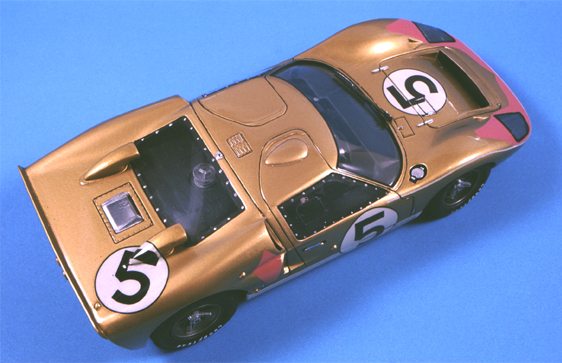
The next step is the paneling of the body, a really hard task for many people. Since my idea was to varnish the assembled set, it is not important to apply on our gold paint, something that doesn't fit appropriately.
We are going to use here a fine brush and Vallejo's black 950. Whenever we go beyond the lines, we will use a toothpick to remove excess paint. In this way, with much patience and with some finishing touches, we will obtain a good paneling.
|
The decals
Now, let's go to the decals. We will have to cut out to size the lateral white strips, since if we follow the instructions provided by the kit and apply the decal with the # 5 on the strip, this will show through the decal.
|
|
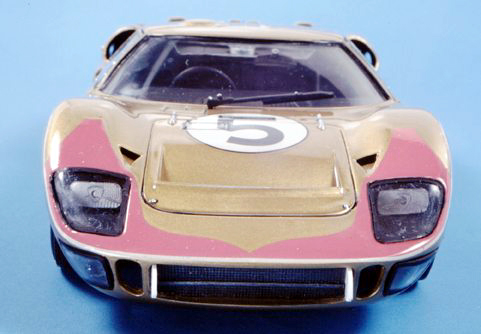
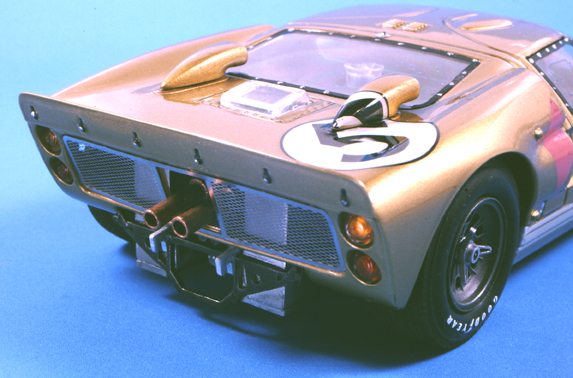
The most difficult task is certainly the application of the decals on the rear panel, above the engine, mounted on the air intake. You will have to add them both at a time although we are not going to add the air intake until the end of the assembly process, otherwise, we will not be able to add the rear glass.
On the front bonnet, you will notice some panels corresponding to a small door, so it will be necessary to apply the decal and then trim it with a cutter so that it can adapt to the panel. We will then have to apply some Vallejo, but bear in mind that once this varnish gets dry it will not be possible to make any changes. It can only be removed with ethanol or methanol, and in doing so we will probably damage the decals. If we fail to do so, we will have to use some water, then strip, and try again.
Finishing
Now it's time to apply varnish to the chassis. Although there are really many options, I would only recommend two coats of varnish with an airbrush. Why? Because this material does not turn yellow over the time, and it lasts long and is very resistant. But, on the other side, it is really hard to handle it and we should be very careful. There are many brands and different thinners available on the market. Please do not take into account the references and proportions that I personally used on this model, since every brand has its own mixture ratio. Even this reference won´t be useful for us since we are going to use an airbrush, not a pistol, with different pressures and from different distances. My personal recommendation is to get some varnish and try it on an old kit for example until you get the right mixture, airbrush aperture and
appropriate distance.
|
ICI AUTOCOLOR ZK P-190-596 6 parts
Cathalizer 2 parts
Thinner (P850-1493) 4 parts
|
It is important to use a slow thinner because a slow dry will always assure a good glossy finish. You will probably need to apply 3 or 4 thin layers, and even sand between layers if necessary, and then apply a final thick coat.
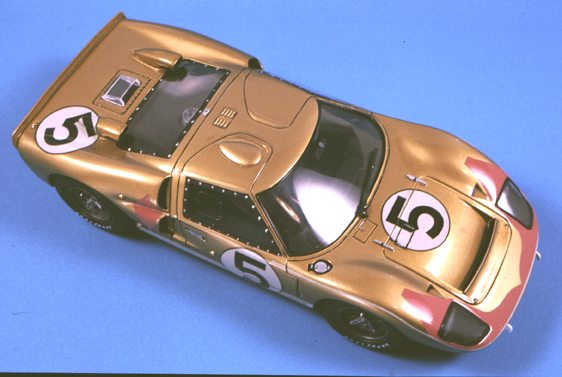
The final result will be an incredible glossy finish with integrated and well protected decals.
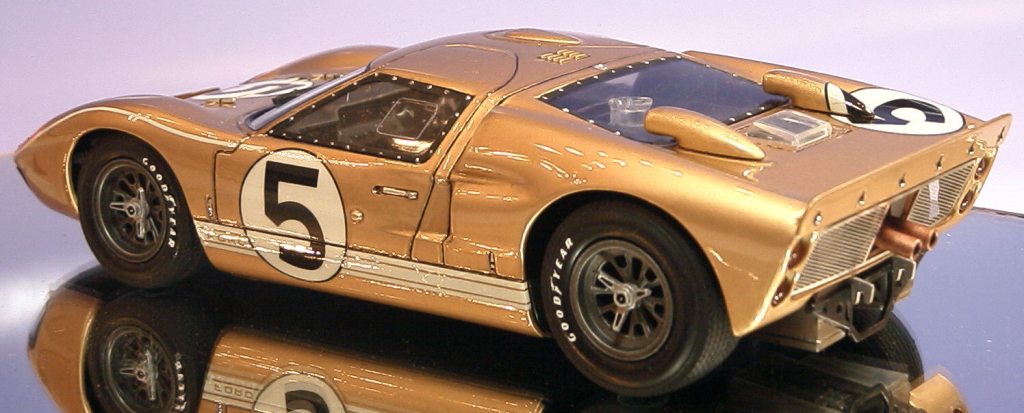
Chassis motor interior
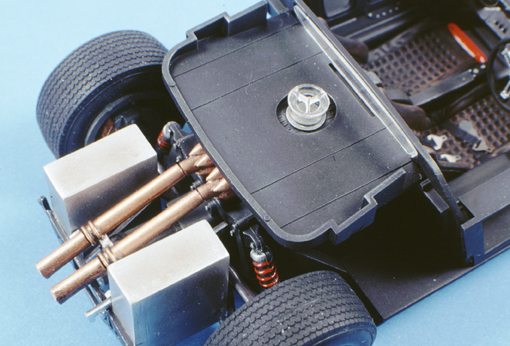
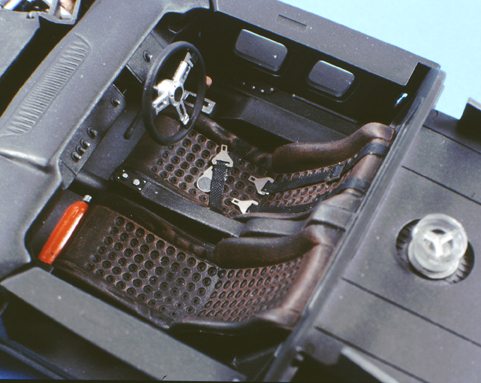
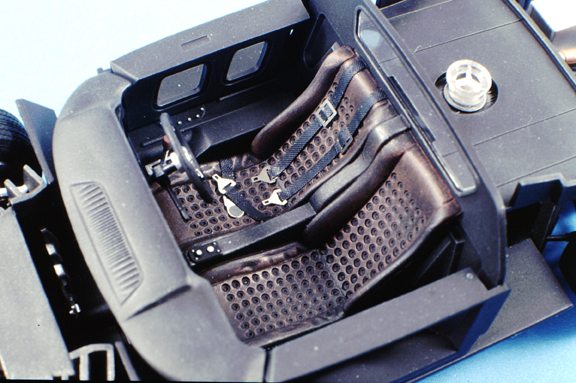
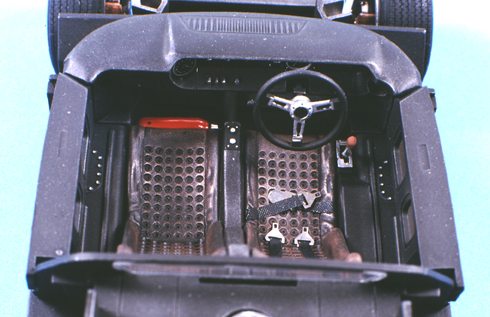
I painted the chassis and interior with satin black, Humbrol #85 with an airbrush. This part has been previously weathered using dry brush with gun metal, specially to highlight corners.
All dashboard details were painted with Testors chrome silver while the "weathering" of the leather seat was obtained with dry brush and Vallejo's 982 red brown and washes in black. Maybe the weathering is somewhat exaggerated, but it is he only way to see it through the font windscreen.
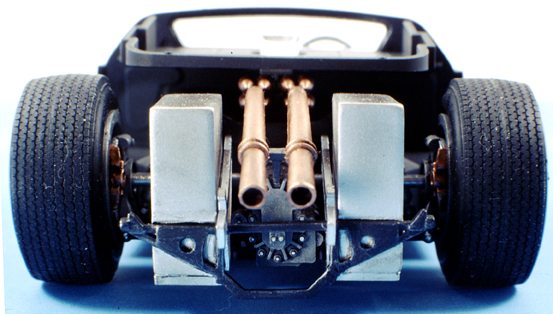
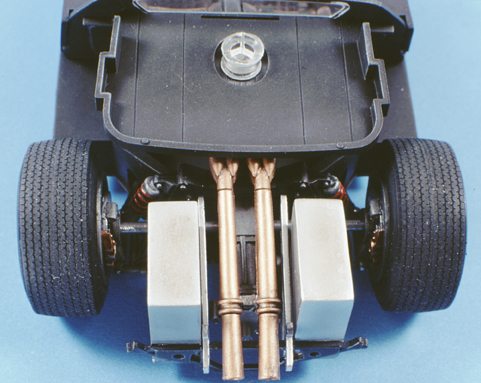
The engine displays only those details that can be seen: the gear box and the exhausts.
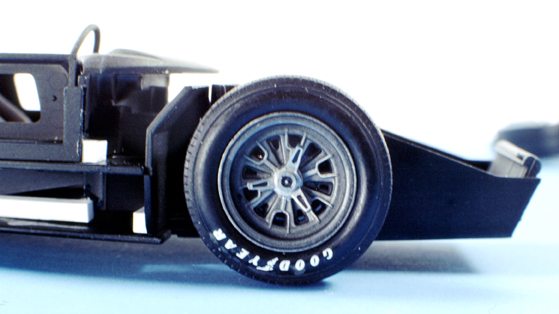
The gear box was painted with Humbrol Gun Metal. Several washes of black oil thinned down with heptane were applied, as well as dry brush with Gun Metal and Humbrol Aluminum 56 and Testors chrome silver.
I highlighted all screws with silver paint and painted the exhausts with Testors Gold 1744, then washed with black oil and dry brushed with the base gold paint.
I applied the same techniques used for the gear box to the wheels, but in this case I applied more dry brush with white paint to highlight volumes.
The tyres are very good quality; it will just be necessary to remove the central flash with a #1000 sandpaper.
Conclusion
After the addition of all glasses, air intakes, lights and other details, there comes a difficult time. You will need to literally "force" the chassis in order to be able to set some interior parts that are wider in their inferior part
|