|
|||||||||||||||
|
It is said that men always learn things the hard way, and this is particularly true when it comes to modeling. I think that all of us have built a model some time, whose decals had been in the box for more than ten years. Generally speaking, the final result in these cases is disastrous because decals did not adhere with the well known "silvering" effect. It is obvious that there is no way to solve the problem, and when we try to do it, applying clear varnish over them, we "mess up" everything. Besides, the ones that go over matt surfaces are "shiny", and even though you apply flat clear varnish over them, they will keep shining. As a result, we ruin a model that will keep reminding us all of our mistakes. The main objective when we wrote this note, was to pass our experience to the novice modeler about how and why we should use the different techniques when it comes to decal applying, whether it is in a car, a plane, or an armored vehicle; what materials must we use; how to recognize those difficult situations; some tricks in order to solve the difficult cases, and/or improve our final results.
So, here we go with our first advise, "what's good for you, is not always good for me", these are our words and, believe me, this is a great truth. Whenever you read techniques and ways to perform all the modeling tasks, remember that you must "adapt" them to your own personal characteristics, and even to the size of your hands. We have seen people with small hands doing things that otherwise couldn't have been done with bigger hands, even though they would have a lot of practice. Vision is another important factor to consider when it comes to scales and techniques. As we don't want to extent too much in this, we'll assume that you all know the structure of a decal sheet.
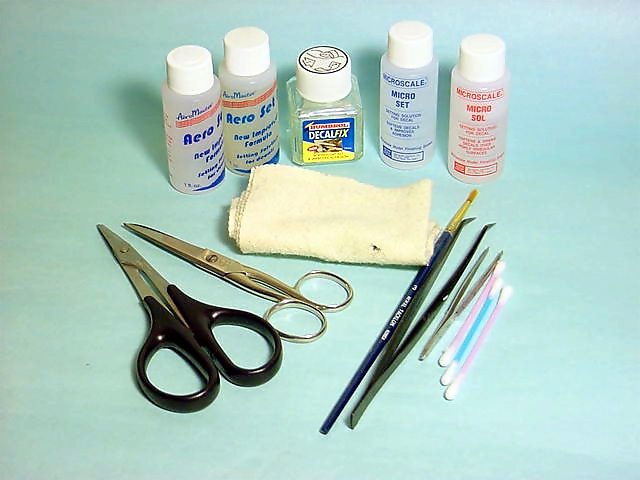
Basic tools and accessories for this job, are:
After many hours of hard work, our model is finished and the time comes for the decal applying process but, how could we avoid the risk of ruining an excellent paint job? Applying decals over shiny surfaces, cars and motorcycles First of all, we must determine the quality of the decals we are going to apply, the brand is an important clue. Then we will check if they have a shiny or flat finish; we can even make a test with a spare design in order to check how they behave once they are wet, we can check if they curl, wrinkle, break, and finally if they "stick" well. Thickness is another point to consider; too thin means they are very fragile, whereas too thick means they have too much "relief" on its surface.
After studying the instruction manual, we will begin cutting and applying the decals in the right places. It is advisable to work in "zones", we begin in the center and continue towards the outer surfaces of the model, and remember to apply the bigger ones first, whenever it is feasible.
We use scissors for cutting them one at a time, cut as close as you can to the design, but leaving at least 0,5mm of clear film; if we have to cut a design in the center of the decal sheet, then we'll use the X-acto and after that we'll finish cutting with the scissors. For curved designs we must use the curved scissors. It is very important to use a new blade in the X-acto because, otherwise, we can "break" the edges of the decal in small scales, remember that we are working with paint film.
Too thick decals, or old, or from a dubious manufacturer; or if they go over an irregular or curved surface, we'll have to make some changes to the above technique.
This is due to the fact that there tiny air bubbles trapped under the film and they are "refracting", not reflecting, taking away the transparency. If we are the decals over a shiny surface it obvious that the silvering is due to the poor quality of the decal, its glue, or its condition. Maybe the film is too hardened and that doesn't allow it to conform to the surface.
Most of the times we can spot the problem before it shows, because we've already watched the silvering without wetting the decal, or we are suspicious about the brand, or we've made a test before, and had seen the effect. We can have the same effect, even though the decal is of good quality, but too thick.
In order to avoid this problem and get e perfect job, we must use some "magical" solutions. Most of the times there are two different ones, with different functions.
How to apply difficult decals over curved surfaces If we suspect that the decal we are about to apply is going to pose some problems, due to its "age" or quality, or the surface characteristics, we must use decal fixatives and softeners. There are several brands, and some of them have two different compounds, for two different purposes.
So, we have:
Humbrol's Decalfix
Aeromaster's Aero sol
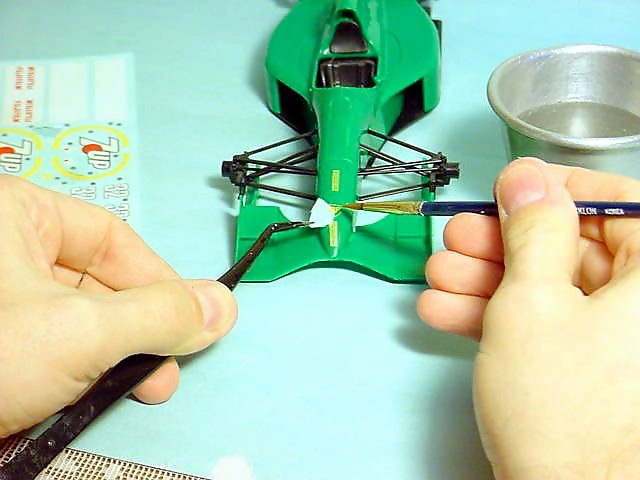
There are many other products from different brands (Gunze, Modeler's, etc.), but these are the best known. Moreover, there are some "home made" concoctions that may do their job, We'll talk about them in the third, and last part of this note. How to apply them The application process is the same as above, but if we use the Aero Set, Micro set, or Decalfix, we'll first apply a light coat of these liquids, with a brush, then we'll lay the decal and the more liquid; remember to do this always with a clean brush.
Generally speaking, none of these products will have a harmful effect on the painted surface, but it is advisable to make a test in an innocuous painted place. We apply the liquid and let it dry, if a halo develops, or a change in the paint color, or if it softens the painted surface, discard the use of these liquids over that brand of paint.
We've had the chance to verify that if the Decalfix is not eliminated quickly, it leaves aureoles over Tamiya paints.
If decals are of good quality, and you apply them over flat surfaces, this process will give you a well fixed decal and a surface ready for the clear varnish, or any other finishing method you are used to.
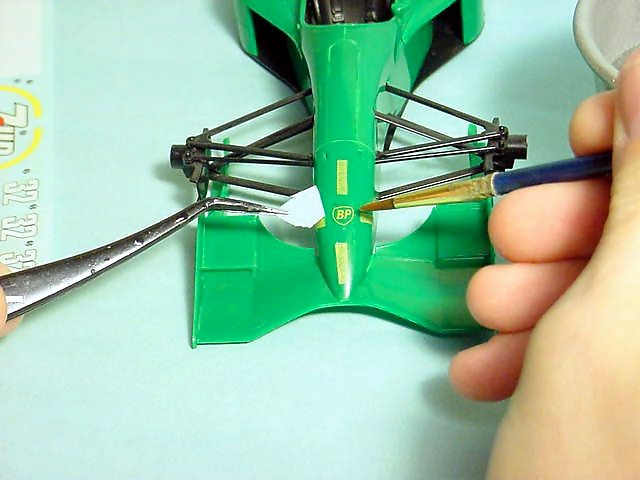
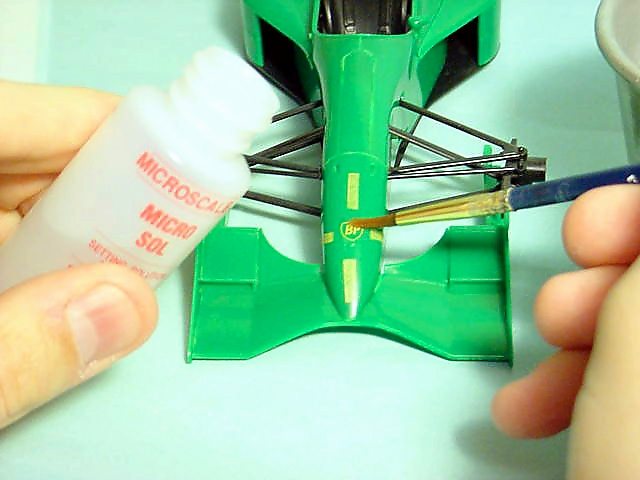
However, if the decal is very hard, or it's going to be applied over a curved surface, then we'll have to use the Micro sol, or any other similar product for the decal adapt to the surface. Applying the decal softener
We repeat the above steps, but once we soak up the liquid, we apply the Micro Sol setting solution. After a few minutes you will see that the decal gets "lumpy or wrinkled". During this stage, the decal is very fragile and we SHALL NOT touch it.
This process works perfectly well, although some decal films are very hard and "stubborn", and they need several applications. If you can't make them lay flat over the surface, or there are air bubbles trapped under the decal, then we'll have to use more extreme methods, which we'll cover in detail in the third part of this article. |