|
|
|||||||||||||||||||||||||||||||||
|
Armor |
|
||||||||||||||||||||||||||||||||
|
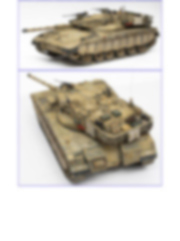
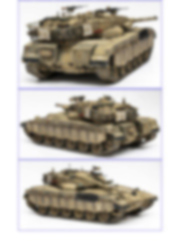
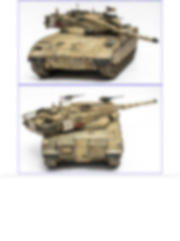
Painting the Takom Merkava Mk. 2B for novices 1/35 scale |
|||||||||||||||||||||||||||||||||
|
by Allon Kira © Modeler Site |
|||||||||||||||||||||||||||||||||
|
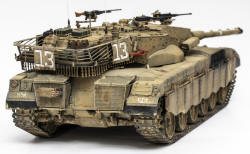
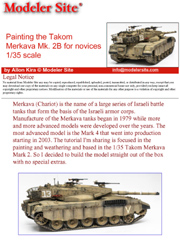
Legal Notice No material from Modeler Site any may be copied, reproduced, republished, uploaded, posted, transmitted, or distributed in any way, except that you may download one copy of the materials on any single computer for your personal, non-commercial home use only, provided you keep intact all copyright and other proprietary notices. Modification of the materials or use of the materials for any other purpose is a violation of copyright and other proprietary rights. Read More here > Legal notice Merkava (Chariot) is the name of a large series of Israeli battle tanks that form the basis of the Israeli armor corps. Manufacture of the Merkava tanks began in 1979 while more and more advanced models were developed over the years. The most advanced model is the Mark 4 that went into production starting in 2003. The tutorial I'm sharing is focused in the painting and weathering and based in the 1/35 Takom Merkava Mark 2. So I decided to build the model straight out of the box with no special extras.
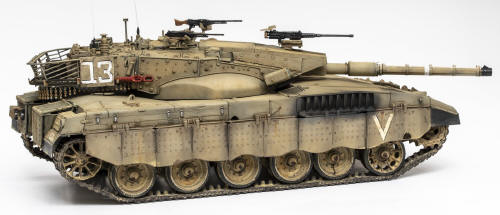
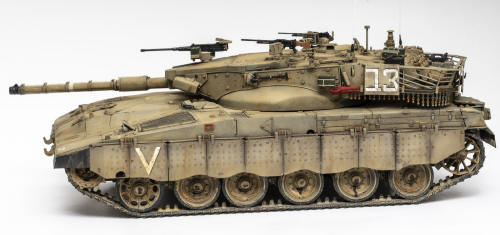
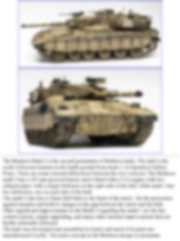
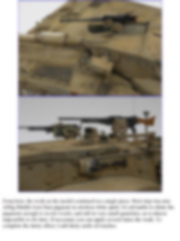
The Merkava Mark 2 is the second generation of Merkava tanks. The tank is the result of lessons learned on the battle ground from mark 1, in Operation Galilee Peace. There are some external differences between the two versions: The Merkava mark 2 has a 105 mm grooved barrel, and is fitted with a V12 engine with two exhaust pipes; with a single deflector on the right side of the hull, while mark 1 has two deflectors, one on each side of the hull. The mark 2 also has a Chain Ball Skirt to the back of the turret - for the protection against missiles and hollow charges in the gap between the turret and the hull. Other significant improvements in the Mark 2 regarding the mark 1 are the fire control system, engine upgrading, and many other internal improvements that are hardly externally reflected. The tank was developed and assembled in Israel, and most of its parts are manufactured locally. The main concept in the Merkava design is maximum protection for the crew and therefore the front armor is thick and unlike the design of the better main battle tanks, the engine is placed at the front of the tank. The space vacated at the back of the tank, allowed the addition of a rear entryway used to carry troopers and, when necessary, fast unloading of the tank crew. The model
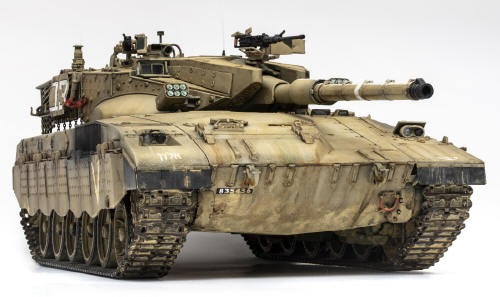
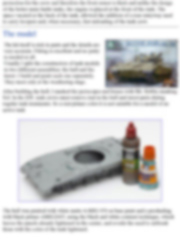
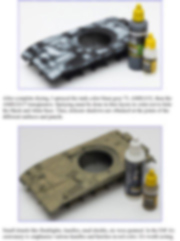
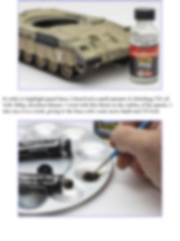
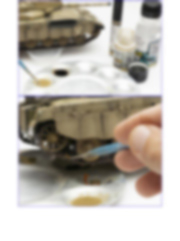
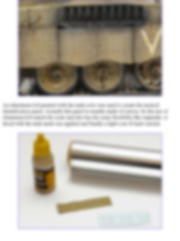
After building the hull, I masked the periscopes and lenses with Mr. Hobby masking Sol. In the IDF, tank crews must remove rust in the hull and turret parts during regular tank treatments. So a rust primer color it is not suitable for a model of an active tank Esta Nota es ofrecida en formato PDF, el cual puede ser leído o impreso usando el Acrobat reader, contacte a nuestro webmaster > Aquí Incluye más de 51 imágenes, aquí solo mostramos las paginas de texto.
This tutorial is offered in PDF format to be read or printed using Acrobat reader, contact our webmaster > Here Includes more than 51 pics, here we show only the text pages.
Big size photos are only available in our PDF format. Support us ordering our notes in PDF > Here |
|||||||||||||||||||||||||||||||||