|
|
|||||||||||||||||||||||||||||||||||||||||||||||||||||
|
Cars |
|
||||||||||||||||||||||||||||||||||||||||||||||||||||
|
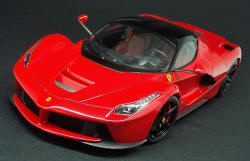
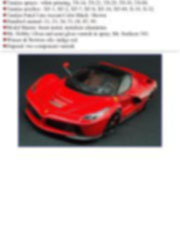
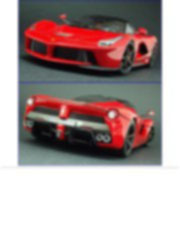
Building the Tamiya LaFerrari #24333 1/24 scale |
|||||||||||||||||||||||||||||||||||||||||||||||||||||
|
by Fabrice Marechal © Modeler Site |
|||||||||||||||||||||||||||||||||||||||||||||||||||||
|
Legal Notice No material from Modeler Site any Web site owned, operated, licensed, or controlled by Damian Covalski may be copied, reproduced, republished, uploaded, posted, transmitted, or distributed in any way, except that you may download one copy of the materials on any single computer for your personal, non-commercial home use only, provided you keep intact all copyright and other proprietary notices. Modification of the materials or use of the materials for any other purpose is a violation of Damian Covalski's copyright and other proprietary rights. Read More here > Legal notice For the first time in years, Ferrari didn’t call Pininfarina to design the body of the new model. Flavio Manzoni and his team were responsible for the shape of the new supercar, based on the experience with the F1 aerodynamics. The new Ferrari gem was presented at the Geneva International Motor Show on March 5th 2013. On that occasion, they let everybody know all the specifications of the car.
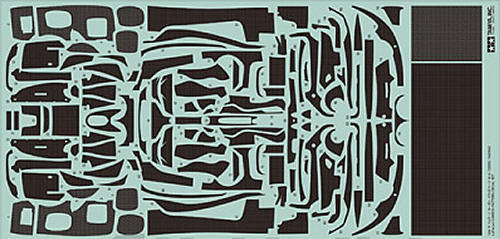
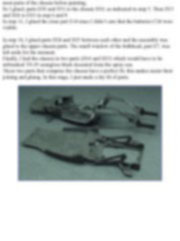
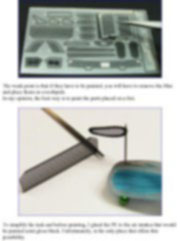
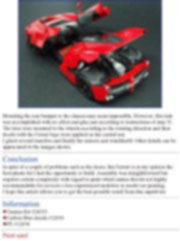
The LaFerrari accelerates from 0-100 km/h in less than 3 seconds and has a top speed exceeding 350 kilometres per hour (220 mph). 499 copies will be produced and sold for an astronomical price more than one million euros, clearly not within everyone’s reach. So, take advantage of this opportunity Tamiya gives us to start building our own LaFerrari…at quite a considerable price… Construction Looking at the instructions, I clearly saw that the engine is enclosed in the chassis and has to be installed at the beginning of the construction. Unfortunately, the decal sheet I received was not the final version and the decals were not correctly correctly trimmed. And most important, the varnish coat over them was too thick in my opinion, considering they should conform to complex surfaces. Perhaps this was fixed in the final version that is today in the market.
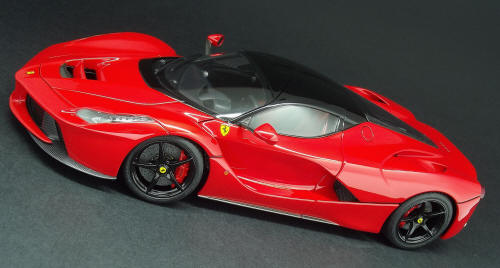
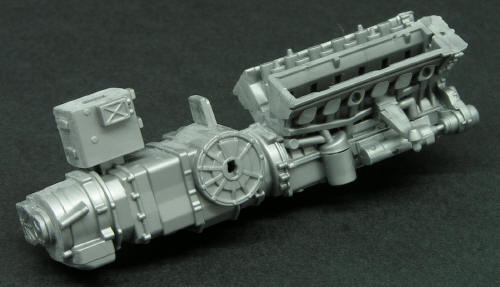
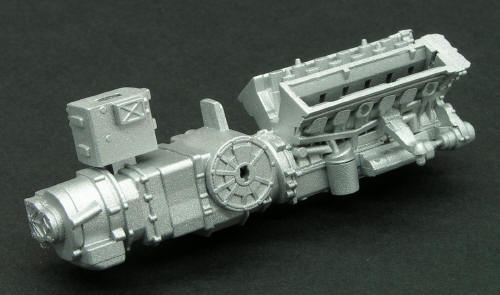
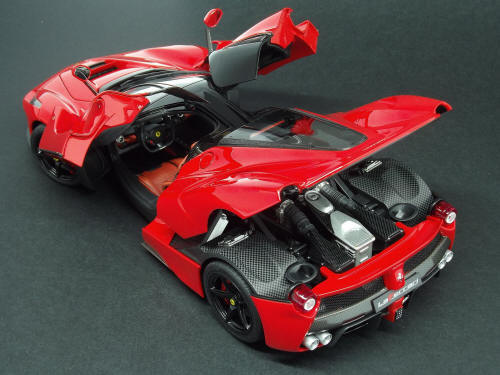
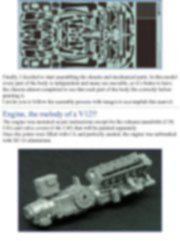
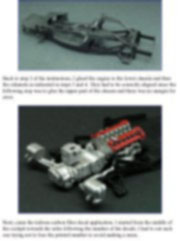
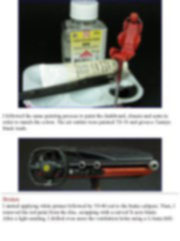
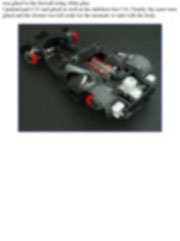
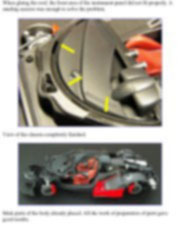
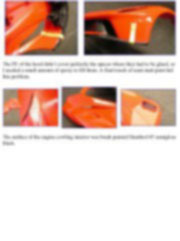
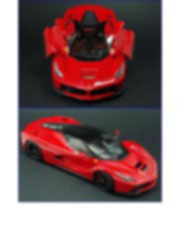
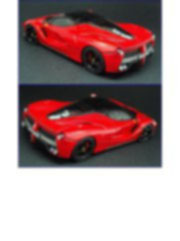
Finally, I decided to start assembling the chassis and mechanical parts. In this model every part of the body is independent and many are movable, so it’s better to have the chassis almost completed to see that each part of the body fits correctly before painting it. I invite you to follow the assembly process with images to accomplish this marvel. Engine, the melody of a V12!! The engine was mounted as per instructions except for the exhaust manifolds (C38, C41) and valve covers (C44, C45) that will be painted separately Once the joints were filled with CA and perfectly sanded, the engine was airbrushed with XF-16 aluminium.
This aticle is offered in PDF format to be read or printed using Acrobat reader, contact our webmaster > Here Includes more than 80 pics, here we show only the text pages.
Esta Nota es ofrecida en formato PDF, el cual puede ser leído o impreso usando el Acrobat reader, contacte a nuestro webmaster > Aquí Incluye más de 80 imágenes, aquí solo mostramos las paginas de texto.
Big size photos are only available in our PDF format. Support us ordering our notes in PDF > Here |
|||||||||||||||||||||||||||||||||||||||||||||||||||||