|
|
||||||||||||||||||||||||||||||||||||||||
|
Formula one |
|
|||||||||||||||||||||||||||||||||||||||
|
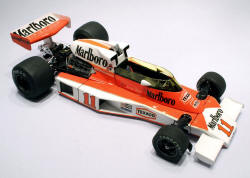
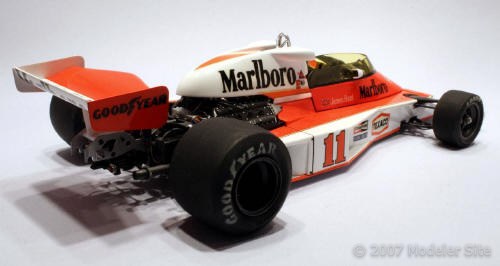
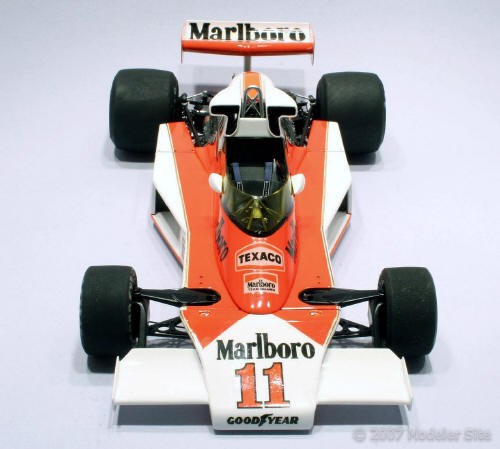
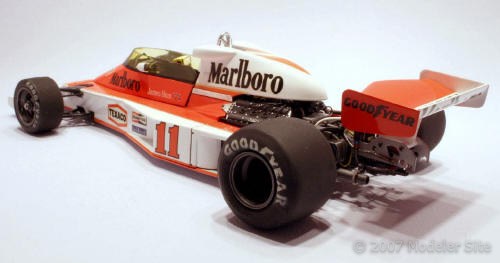
Superdetailing the McLaren M23 Ford Tamiya ref #20002, 1/20 scale |
||||||||||||||||||||||||||||||||||||||||
|
by Guy Golsteyn © 2007 Modeler Site |
||||||||||||||||||||||||||||||||||||||||
|
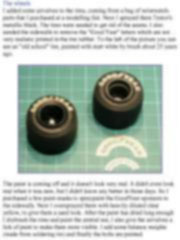
Legal Notice No material from Modeler Site any Web site owned, operated, licensed, or controlled by Damian Covalski may be copied, reproduced, republished, uploaded, posted, transmitted, or distributed in any way, except that you may download one copy of the materials on any single computer for your personal, non-commercial home use only, provided you keep intact all copyright and other proprietary notices. Modification of the materials or use of the materials for any other purpose is a violation of Damian Covalski's copyright and other proprietary rights. Read More here > Legal notice I have been collecting all the 1:20 Tamiya F1 kits since Tamiya started producing them back in 1978, but the McLaren M23 was missing from my collection because I had the clever idea to trade the finished model for a bow and arrows once I finished it. So I have been looking for it since ages, until I discovered Ebay some 25 years later. I paid quite a high price to complete my collection with the one missing kit, but it was the very last that I needed, so what the heck.
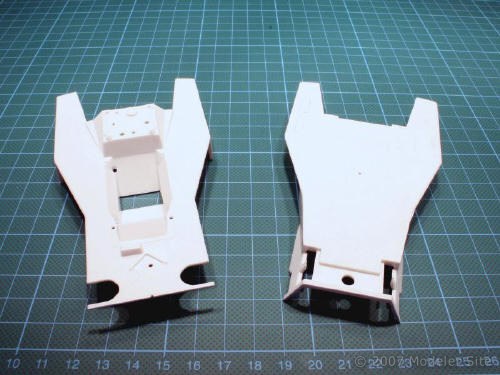
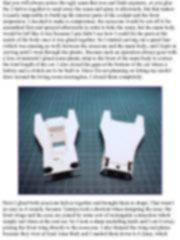
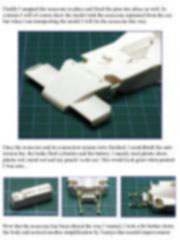
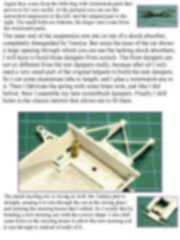
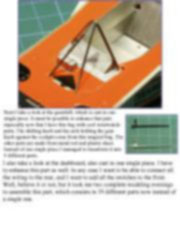
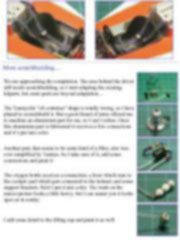
Then I hesitated to start building it. I am aware of the fact that a built model is a lot less valuable than a mint and boxed kit, but then again what is the point of collecting kits without building them? So after a year or so I decided to build it anyway. Building Building a model like this always demands a study of the main bodyparts. I noticed that the body consists mainly of 2 parts, an upper part and a lower part. So far so good, but Tamiya made a big mistake: the separation is totally wrong since the seam simply isn’t there at the real car. The main body consist of a single monocoque, as does the nosecone, which can be detached from the body to be able to work at the parts that are hidden by this nosecone (brake-oil fluid containers, battery, and so on). That has its consequences for the buildup and the spraying of the model. Either you spray the 2 halves first and glue them together afterwards, which would mean that you will always notice the ugly seam that you can't hide anymore, or you glue the 2 halves together to sand away the seam and spray it afterwards, but that makes it nearly impossible to
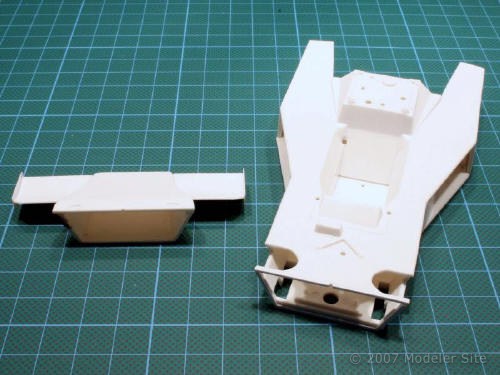
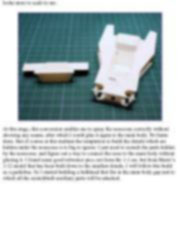
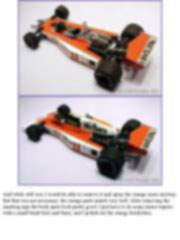
build up the interior parts of the cockpit and the front suspension. I decided to make a compromise: the nosecone would be cut off to be assembled first and sprayed afterwards in order to hide the seam, but the main body would be left like it was because I just didn’t see how I could fix the parts at the inside of the body once it was glued together. So I started carving out a panel line (which was missing as well) between the nosecone and the main body, and I kept on carving until I went through the plastic. Because such an operation always goes with a loss of material I glued some plastic strip to the front of the main body to correct the total length of the car. I also closed the gaps at the bottom of the car where a battery and a switch are to be built in. Since I'm not planning on letting my model drive around the living room steeringless, I closed them
completely.
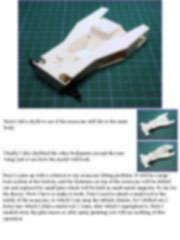
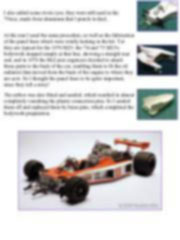
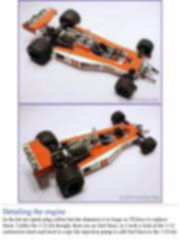
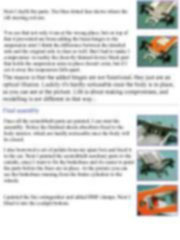
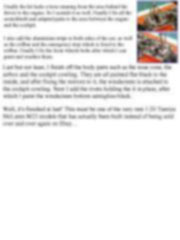
Next I glued both nosecone halves together and brought them in shape. That wasn't as easy as it sounds, because Tamiya took a shortcut when designing the nose: the front wings and the nose are joined by some sort of rectangular connection which simply isn't there at the real car. So I took a sharp modelling knife and I cut it away, joining the front wing directly to the nosecone. I also thinned the wing-end plates because they were at least 1mm thick and I sanded them down to 0.2mm, which looks more to scale to me.
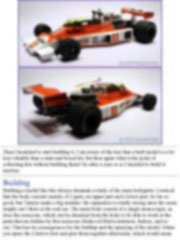
This article is offered in PDF format to be read or printed using Acrobat reader, contact our webmaster > Here Includes more than 100 pics, here we show only the text pages.
Esta Nota es ofrecida en formato PDF, el cual puede ser leído o impreso usando el Acrobat reader, contacte a nuestro webmaster > Aquí Incluye más de 100 imágenes, aquí solo mostramos las paginas de texto.
Big size photos are only available in our PDF format. Support us ordering our notes in PDF > Here |
||||||||||||||||||||||||||||||||||||||||