|
|
|||||||||||||||||||||||||||||||||||||||||||||||
|
Armor/Techniques |
|
||||||||||||||||||||||||||||||||||||||||||||||
|
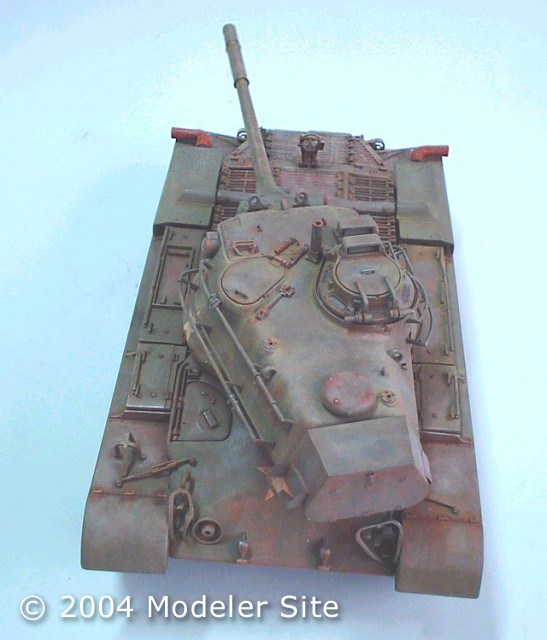
Giving a rusty finishing to military vehicles |
|||||||||||||||||||||||||||||||||||||||||||||||
|
by Pablo Raggi © 2004 Modeler Site |
|||||||||||||||||||||||||||||||||||||||||||||||
|
Legal Notice No material from Modeler Site any Web site owned, operated, licensed, or controlled by Damian Covalski may be copied, reproduced, republished, uploaded, posted, transmitted, or distributed in any way, except that you may download one copy of the materials on any single computer for your personal, non-commercial home use only, provided you keep intact all copyright and other proprietary notices. Modification of the materials or use of the materials for any other purpose is a violation of Damian Covalski's copyright and other proprietary rights. Read More here > Legal notice
Materials
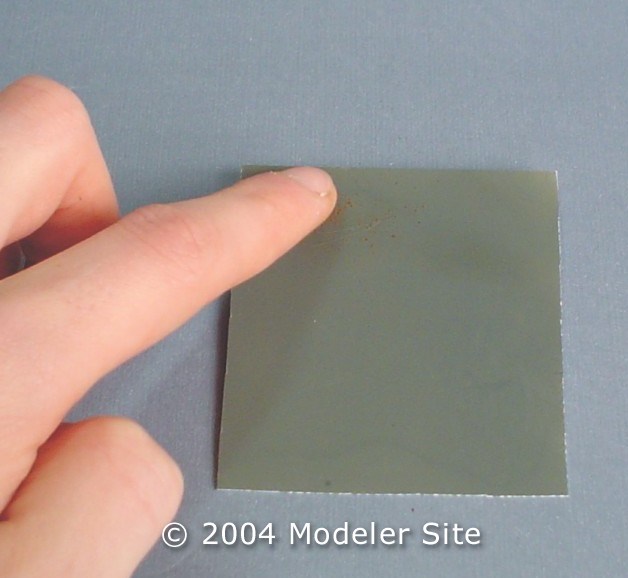
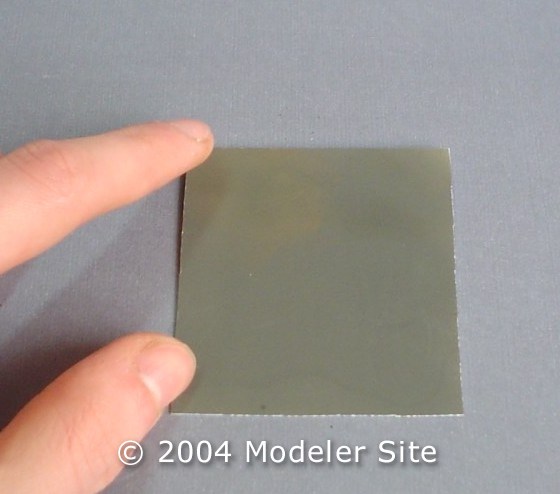
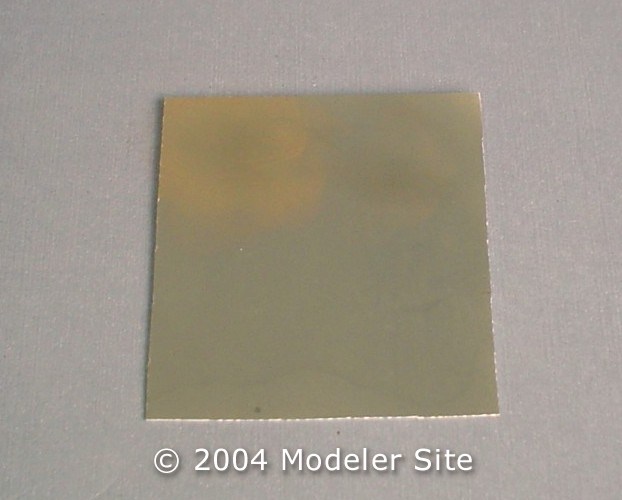
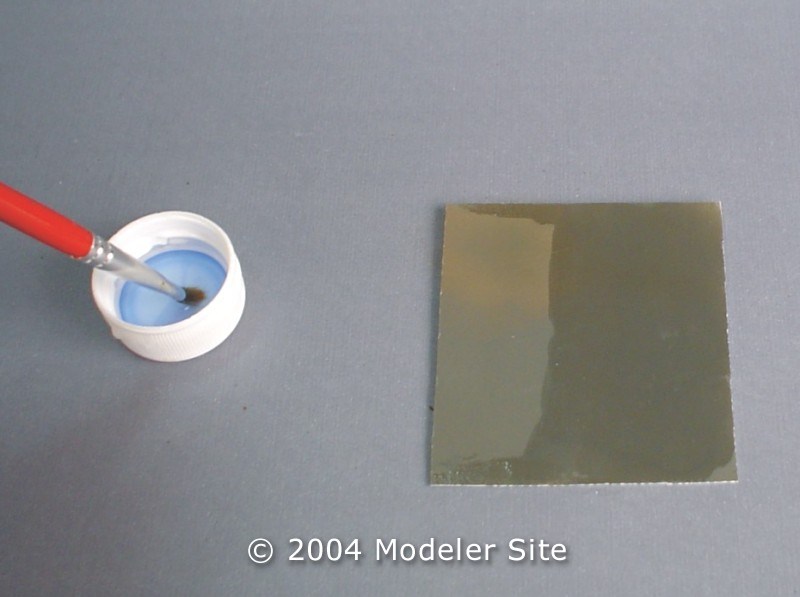
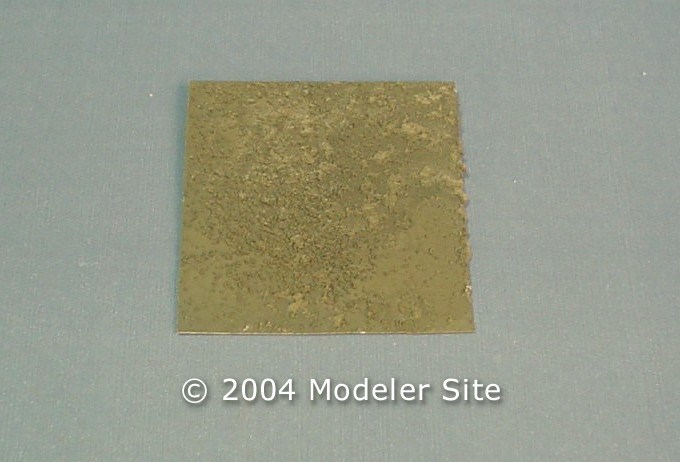
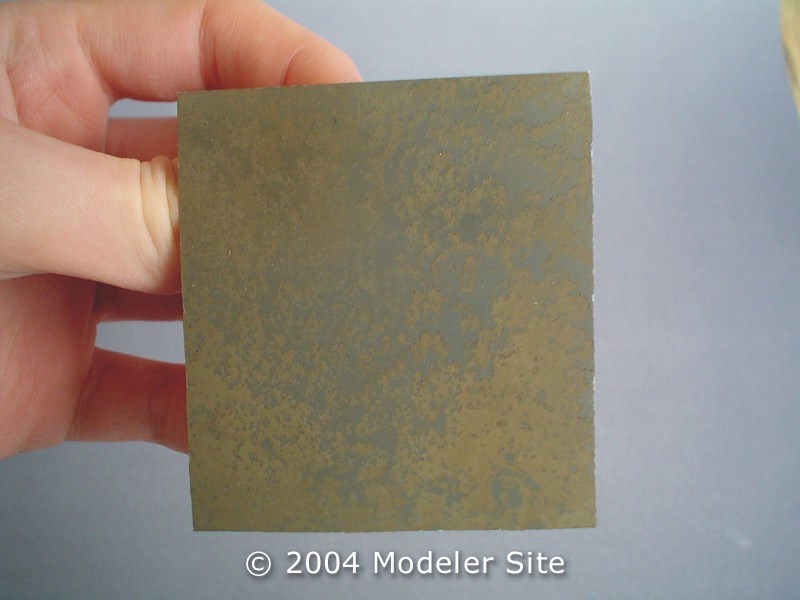
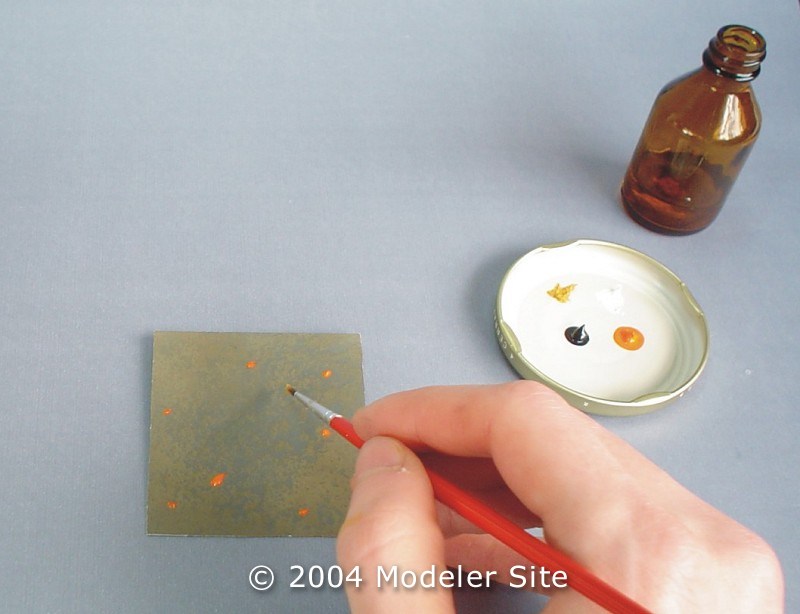
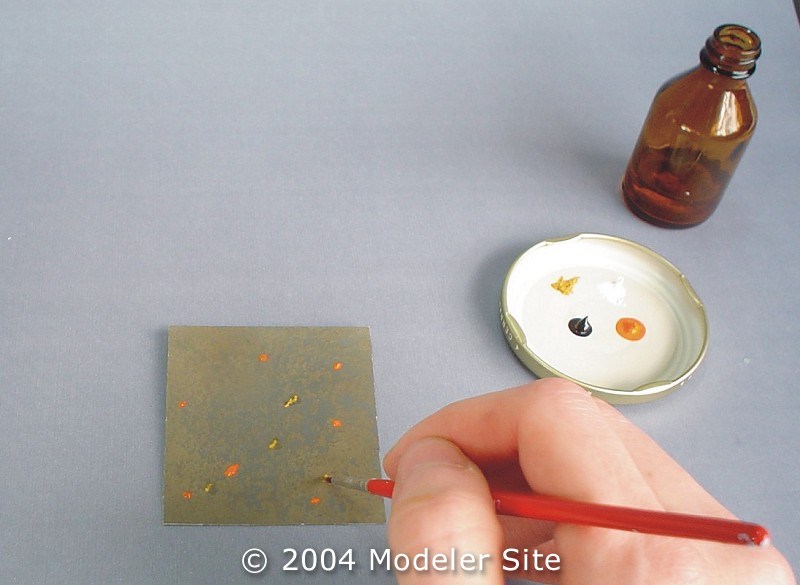
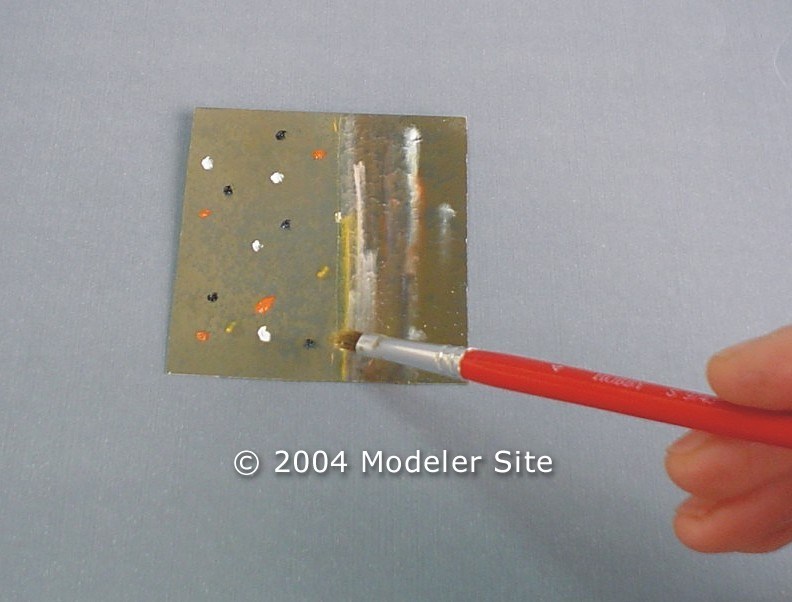
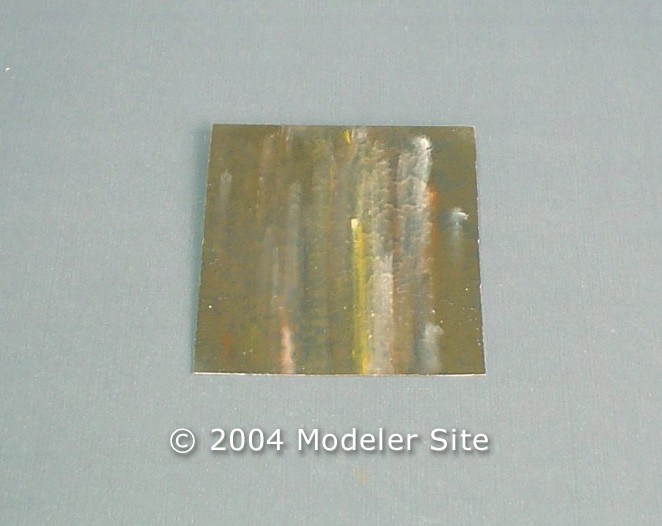
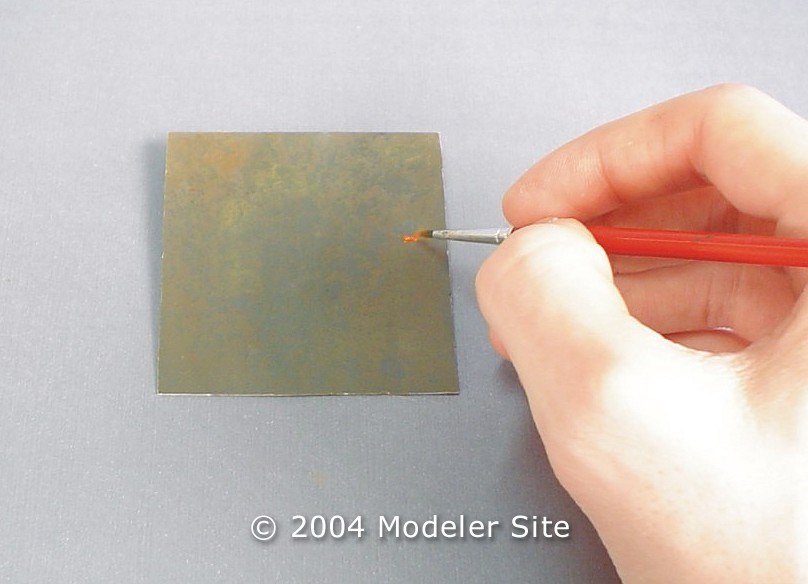
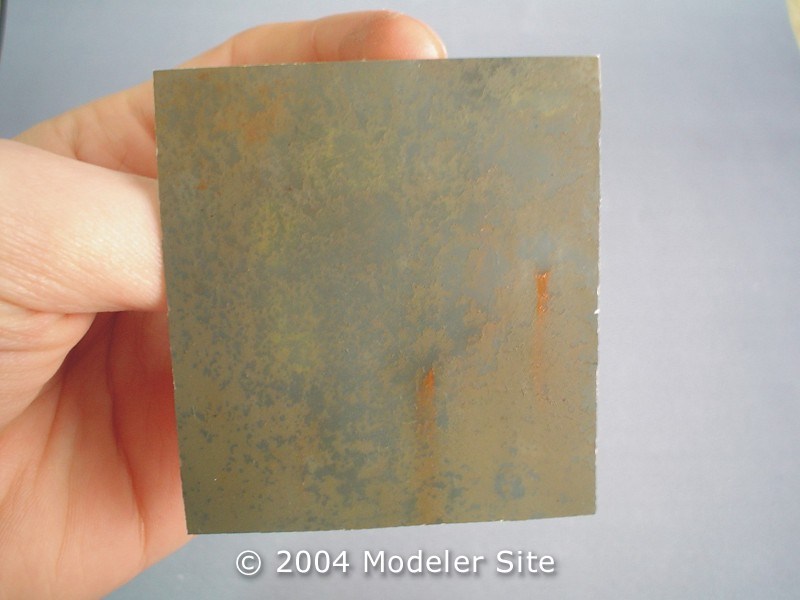
Paint and rusty procedure Step 1 In this case you should apply the base coat Humbrol 66 Matt Olive Drab. If you decide to give a light color to your model, the temporary base coat has to be lighter. But if the color were dark, the base coat should be even darker. Here, we’ll use a dark and dull color within the Olive Drab range. Step 2 Then, you may choose either to use rusty color pigments or real rust scrapped from some iron rod (method used here). Anyway the results will be the same. This dust must be applied to certain areas especially where humidity could get a high grade of concentration, accumulating more rust. This usually happens on horizontal surfaces. Step 3 Here we’ll use the salt technique. You’d rather spread the salt grains smoothly, in small portions. The grains will have to cover just some areas of the rusty dust applied on the previous step. Step 4 Now it’s time to give the model the definitive color. We’ll prepare a mix with definitive color + base color + oil (49%+49%+2%). Mix two exact halves of both colors and add an oil drop. In this case the definitive color is Humbrol 155 Matt Olive Drab. The oil color will depend on the grade of rusty you pursue: ochre, yellow, cadmium orange, etc. I decided to use Cadmium Orange as it gives a slight tone to the paint without changing the color we’re applying. Step 5 Submerge the model in warm water to remove the salt. The excess may be wiped off with a toothbrush. If you’ve worked rightly, the results will be self-evident. The superficial rusts Now to apply the rusts, you’ll have to use oils, blending them straight on the model. Follow this simple procedure: Step 6 Moisten the area with turpentine or Humbrol thinner. Some mineral base solvents (as turpentine) may damage the plastic, so you should test first on a spare part. It would be better to use the same thinner we use for enamels, but don’t forget to leave the paint drying at least from 12 to 24 hours before achieving this task. Step 7 Apply tiny points of titanium white, ochre, burnt sienna onto the wet area, and burnt umber onto the rusty area. Step 8 If you are going to treat a vertical part, pass along the oil point a brush soaked in clean white spirit giving vertical lines. If it’s an horizontal area, you’ll have to paint clouds. This procedure will give semi translucent rusty colors that will let us see the camouflage colors underneath. Step 9 Next, rusty dusts or earthy colored pigments such as browns or greys may be applied throughout the edges simulating dust. Step 10 Lastly, wait until the whole dries. If you want to represent recent rust drained off on a vertical surface, you should repeat step 8 but with a single color without blending this point of color, and dragging down the brush soaked in thinner once. A step by step visual guide
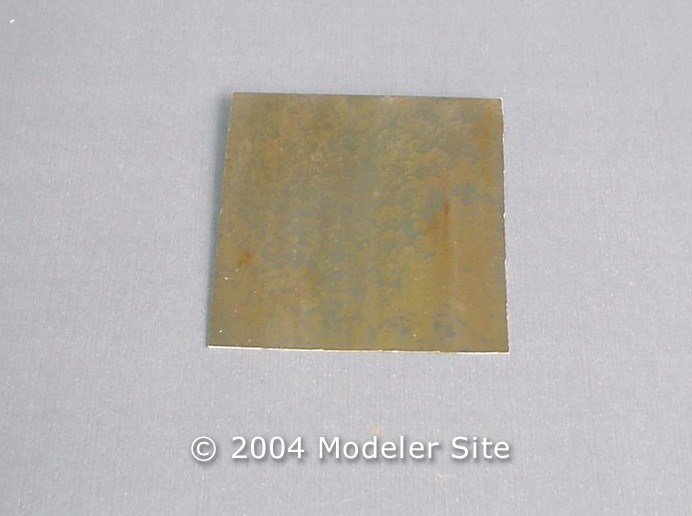
Conclusions To conclude, you’d rather test with all the possible colors, blending them (oils work very well indeed!), getting beige, ochre tones, etc. And…after being applied, if the result is not the expected, you may convert them again to other tones. Actually, you might choose a more variety of colors if you decided to paint a vehicle that is resting or abandoned, that if you wanted to paint one on service. Let’s give these techniques a try by practising and enjoying an armoured vehicle coming to the end of its active duty. Support us ordering our notes in PDF > Here |
|||||||||||||||||||||||||||||||||||||||||||||||