|
|
|||||||||||||
|
Armor |
|
||||||||||||
|
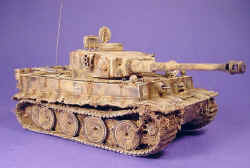
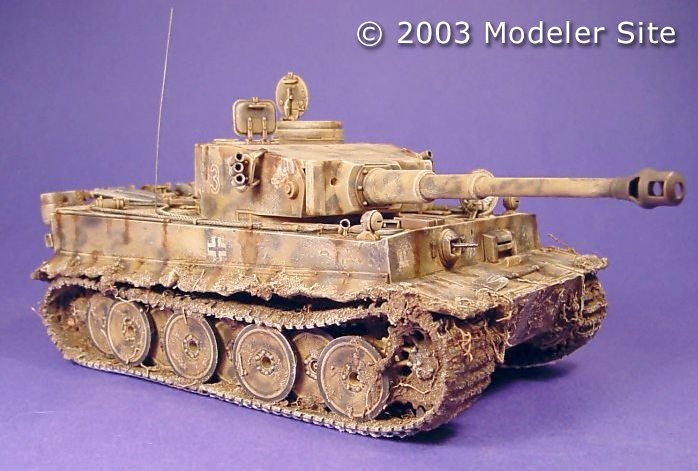
Tiger I, Early Version Academy #1386 |
|||||||||||||
|
by Kelly Zak © Modeler Site |
|||||||||||||
|
Legal Notice No material from Modeler Site any Web site owned, operated, licensed, or controlled by Mario Covalski & Associated may be copied, reproduced, republished, uploaded, posted, transmitted, or distributed in any way, except that you may download one copy of the materials on any single computer for your personal, non-commercial home use only, provided you keep intact all copyright and other proprietary notices. Modification of the materials or use of the materials for any other purpose is a violation of Mario Covalski & Associated's copyright and other proprietary rights. Read More here > Legal notice I did not know what to expect with this kit, as it was the first non Tamiya military kit I have built, but I got it cheap at a swap meet. I was pleasantly surprised at the relative ease of the build.
The upper half of the tank was constructed, and all items attached and glued with Tenax plastic welder. All of the tow cables and tools were left off to paint separately. The fender skirts were moulded as one piece, so I took a knife and cut apart the fenders and took a lighter and a pair of tweezers and severely "damaged" them, by heating the fenders up, and bending them around with the tweezers. At this point, I had the entire lower half and deck completed and assembled, minus the wheels and tracks. There was one problem with the front armor plate, when I inserted the top deck and tried to mate it with the front armor plate, there was a small gap stretching the entire width. This was fixed by adding a thin strip of plastic card and glued in place.
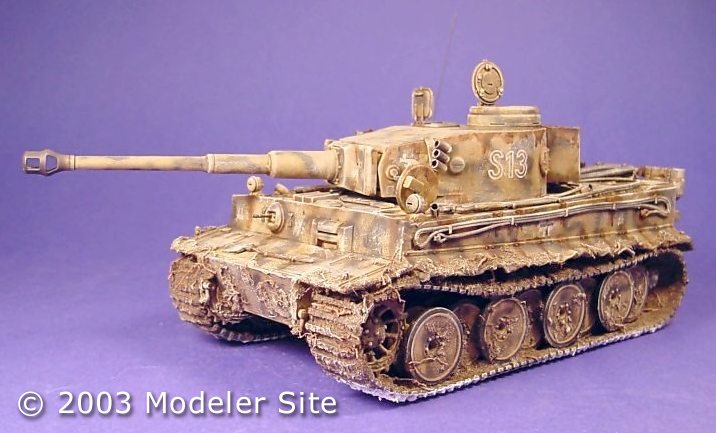
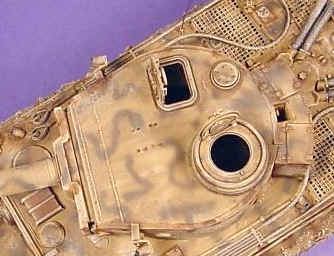
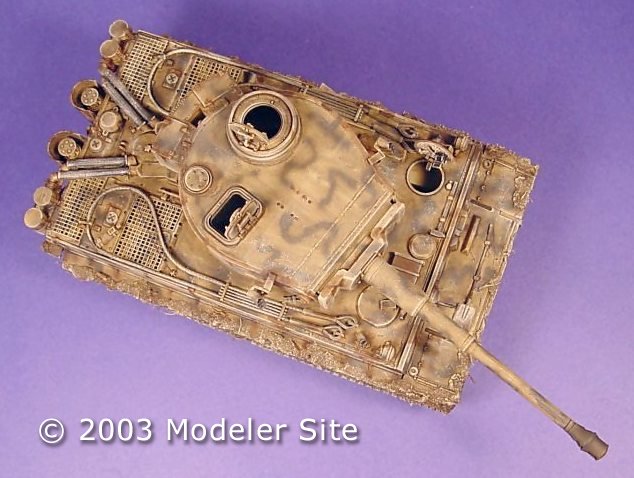
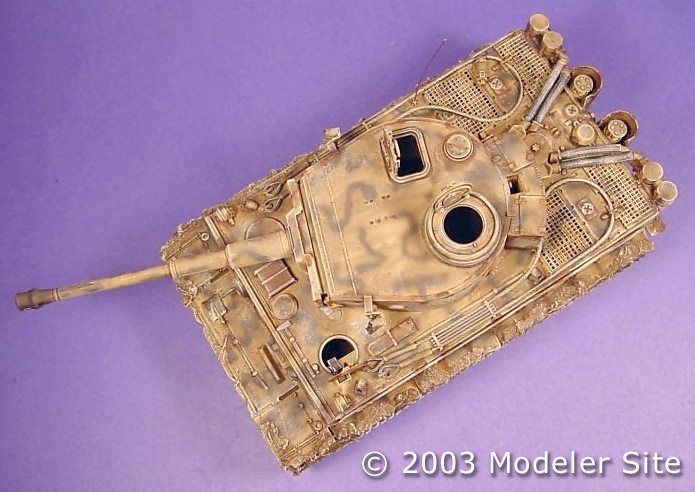
Painting As I stated earlier, I mixed up some dark yellow craft paint and airbrushed four coats to the turret, and hull. After drying, I attached all of the road wheels and found that some of them were a real tight fit. So I coated the inside holes with some baby oil to help the fit, and it worked perfectly. I painted up the tracks, using my method of painting a blue-black base coat, then adding a red-brown wash, followed by drybrushing steel paint. The tracks are one piece vinyl, the kind I prefer. By adding CA to the inside of the track, I pressed the track down onto the wheels and let the glue cure. This way, I get the "track sag" look when the vehicle is stationary. Now I was ready to do some cammo paint.
I mixed up some Tamiya Dark Green acrylic paint, and thinned it down for my airbrush. I was not sure on what type of pattern I wanted to achieve, an after looking at some pictures, I decided on a "squiggle" type of pattern. I applied the pattern all over the tank, including the wheels and turret. I was quite happy with the way the pattern came out, it looked very nice. But all nice things need weathering. I made up a slurry of soil from the back yard and watered down white glue, and started Appling it to the fenders, rear, and the tracks, both inside and out. Next, out came my Burnt Umber/Black oil paint wash mix and I proceeded to give it one coat of wash, and left to dry for a few hours. Once the oil paint was dry to the touch, (about a day later) I started with some drybrushing.
For drybrushing to bring out highlights, I use craft paint. The main colour I use as a start is a colour called Sandstone, which is a very light colour and great for highlighting raised detail. I gave the tank a once over with a 1/2" soft makeup brush "borrowed" from my mother, and the detail started to come back out. By this time I started getting ideas for some extra weathering. I took some raw umber artist's oils and using my smallest paint brush, started adding rust streaks to rivets and where I thought rust may accumulate. What you see is the end result of an afternoon of weathering! I started with the drybrushing and the next thing I know I'm right into it, and adding rust, dirt, etc. I was extremely happy with the way it turned out, so I left it alone. Next...the diorama This Tiger Tank is now sitting in a diorama, one that I call "Off The Line". I really enjoyed building this kit, it was my first Tiger kit, and definitely will not be the last., as I have plans for another diorama featuring another tiger somewhere down the road. Look for pictures and an article on the diorama in which this tiger is situated soon. Editor note: "Off The Line" diorama will be offered in the next month
Support us ordering our notes in PDF > Here |
|||||||||||||