|
|
|||||||||||||||||||||||||||||
|
Airplanes |
|
||||||||||||||||||||||||||||
|
TBF Avenger Accurate Miniatures 1/48th |
|||||||||||||||||||||||||||||
|
by Derek Juszczyszyn |
|||||||||||||||||||||||||||||
|
I have always admired the TBF Avenger, and when Accurate Miniatures came out with several versions of this aircraft, I bought all of them. It is a shame that this company is out of business. The hobby needs manufacturers of this caliber. The good news is that Italeri bought the molds that were used, so we should still be able to get this fine kit in one form or another.
Building
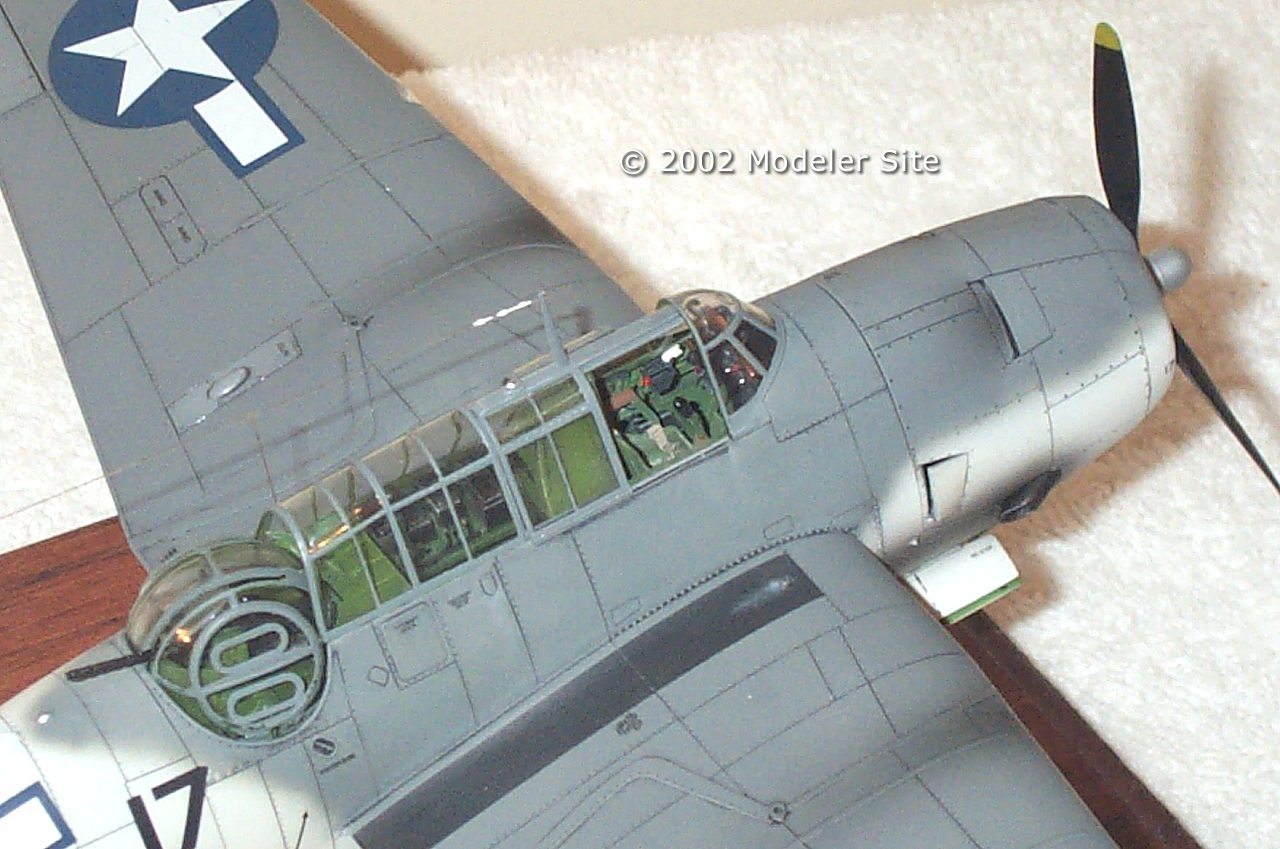
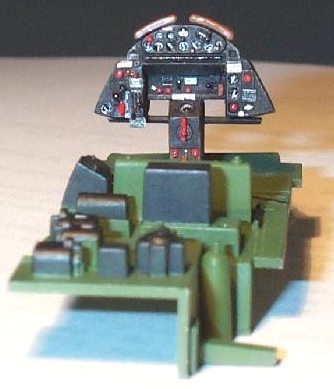
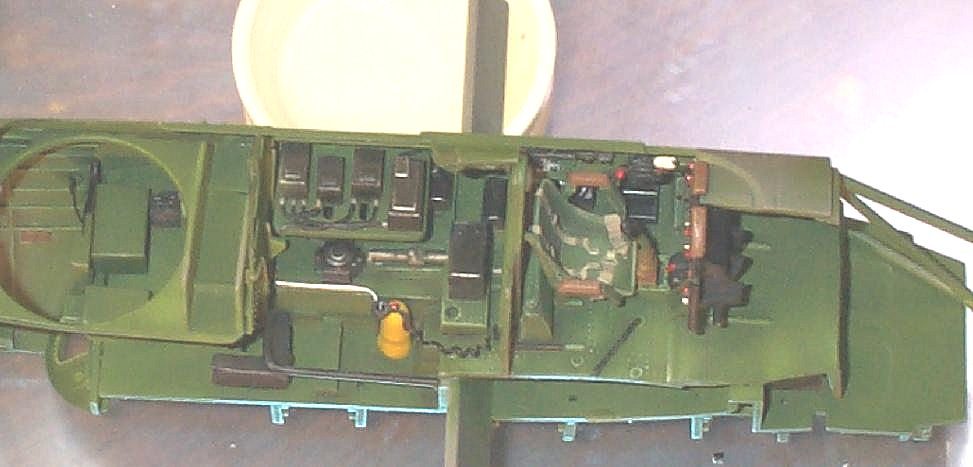
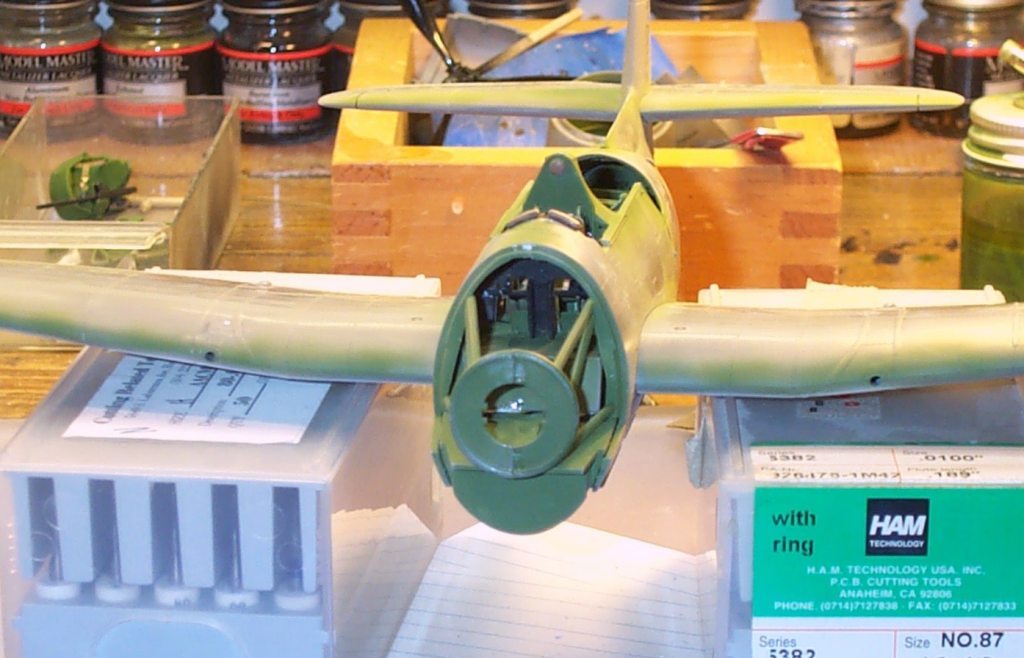
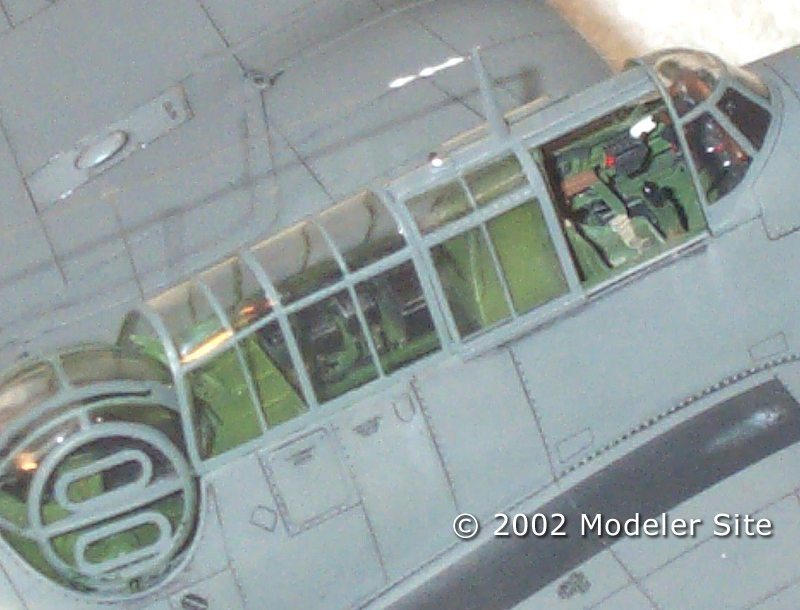
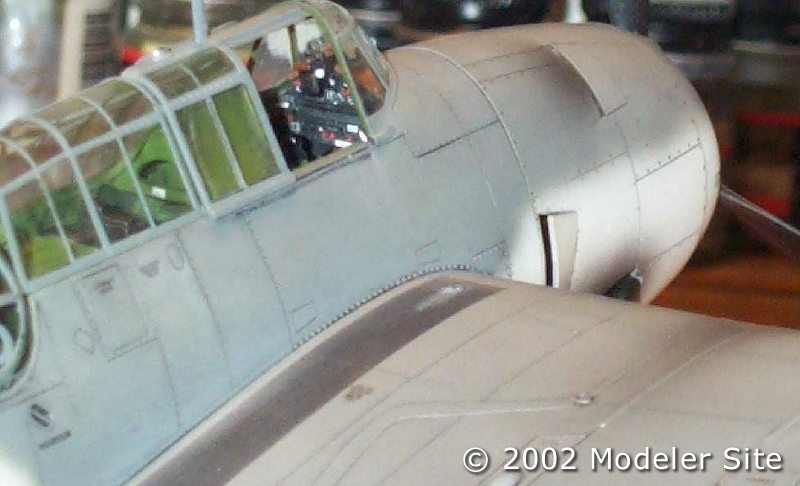
For the instrument panel, I punched out some dials from a Pro Modeler decal sheet and inserted in the panel. I used a Waldron punch set for this. Besides the instruments, I merely painted the panel semi-gloss black, and carefully painted all of the respective switches their appropriate color. I used Squadrons Walkaround series for reference. The Detail and Scale series is another good resource. I scratchbuilt a throttle quadrant, as this can be easily seen from the outside. I also made seatbelts from Waldron's buckle set. The kit provides decals, but due to the greenhouse canopy, the workmanship you apply to the cockpit really shows. Here's a tip. Be careful with part 64. I snapped the top half of this bulkhead almost as soon as I installed it. Note that there are windows on this part, so don't paint over them.
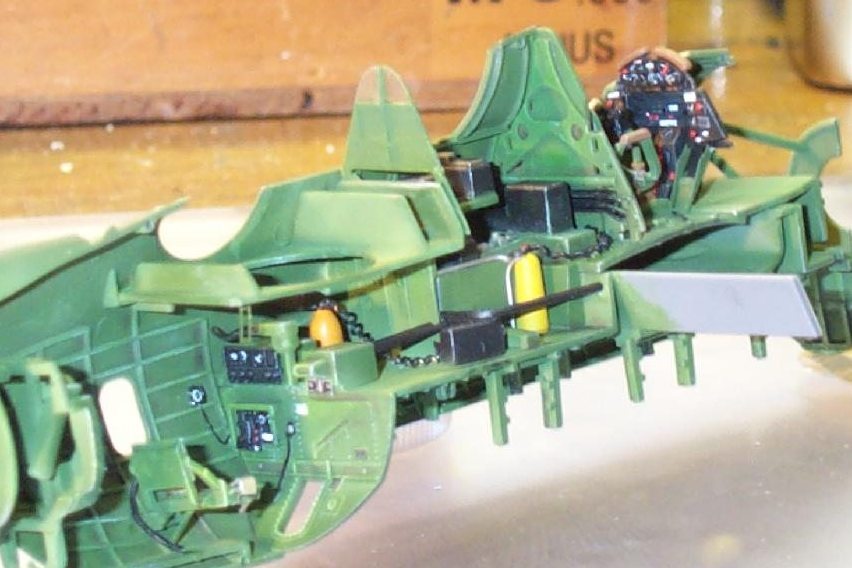
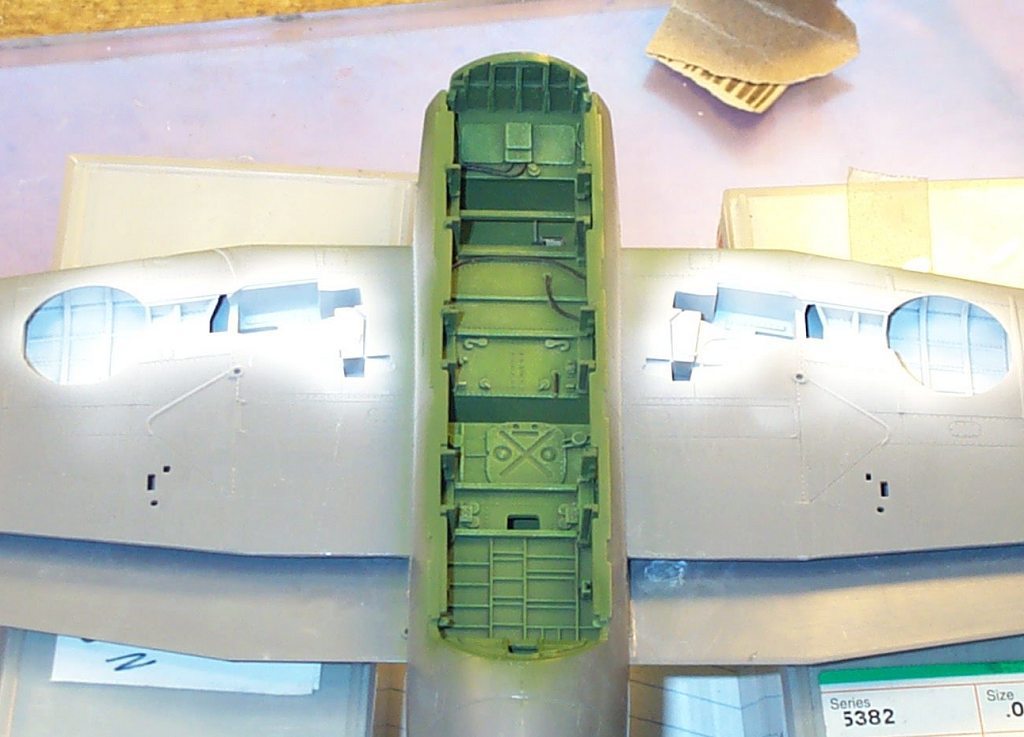
I am a klutz, so I decided to add these parts on later in the assembly. I added some detail here, placing some dial faces on the radio equipment and adding some placards here and there. I added plumbing to the O2 bottle and put an instrument dial on it to simulate a regulator. Speaking of regulators, there are several in the rear section of the interior. I built these using a disk of styrene punched out with the Waldron punch set. I used a round wound guitar string to simulate the hose. Check your reference for placement of the O2 regulators.
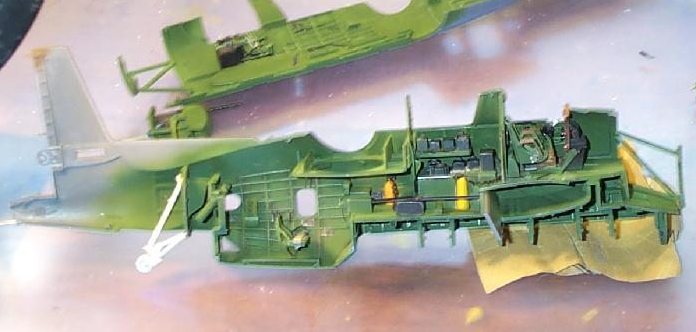
I found out how to better control it. Take your two halves and put a razor in between the halves. Be careful!! Now take your pro weld (with the brush provided) and put some on the razor, letting the capillary action squeeze into the seam. Move the razor along the seam and repeat the process. I sometimes use superglue to "tack" the halves together as I am working. This method is great because when you are done and squeeze the halves together, you get a bead of liquid styrene "goo" along the seam, which can be removed with an Xacto knife, or sandpaper. The seam clean up is definitely reduced using this method. Give it a shot. If you are done with your interior, you can slap her together using the aforementioned technique. Step four is the tail surfaces Basic stuff. The Stabilizer is separate, which is a nice touch. I didn't add the stabilizer till the end of the build, because of the fragile antenna mast.
The part is fragile enough without having to worry about a weak seam. Next put the gunners seat together. Again, let this assembly dry thoroughly. This is where I ran into a problem. I didn't let it dry long enough, and when I proceeded to the next step, it began to come apart. Set it aside (somewhere safe!!)
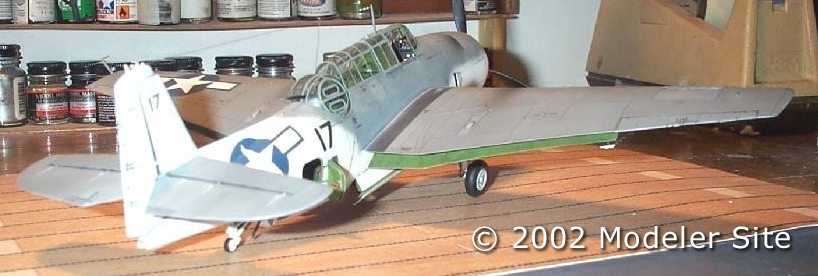
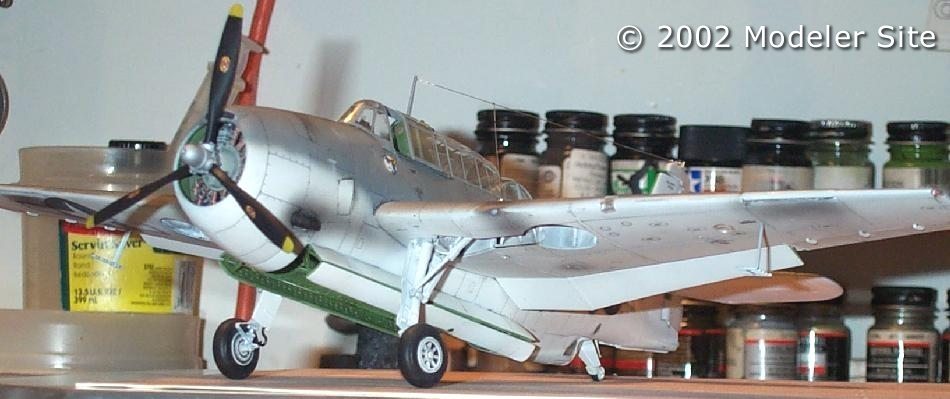
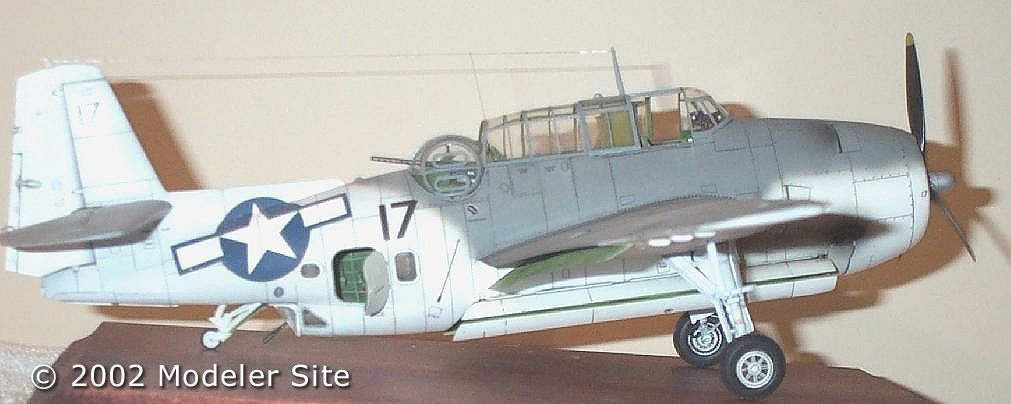
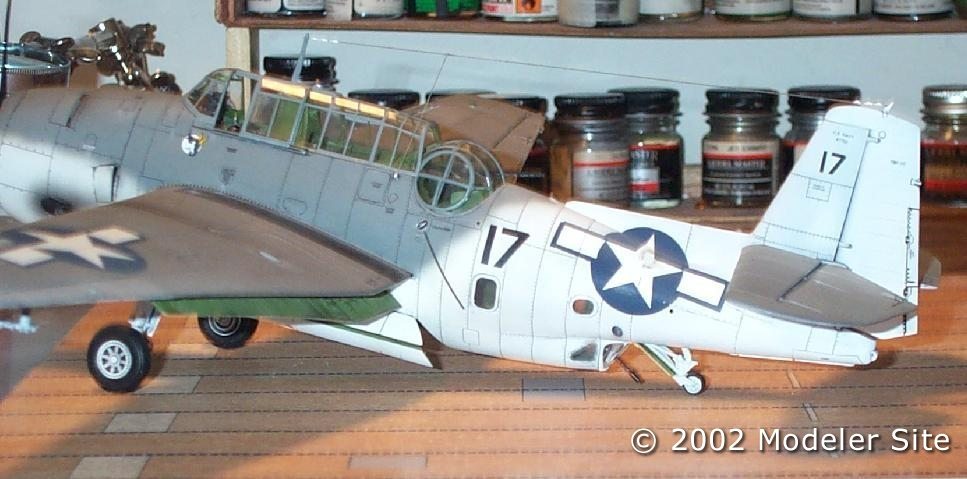
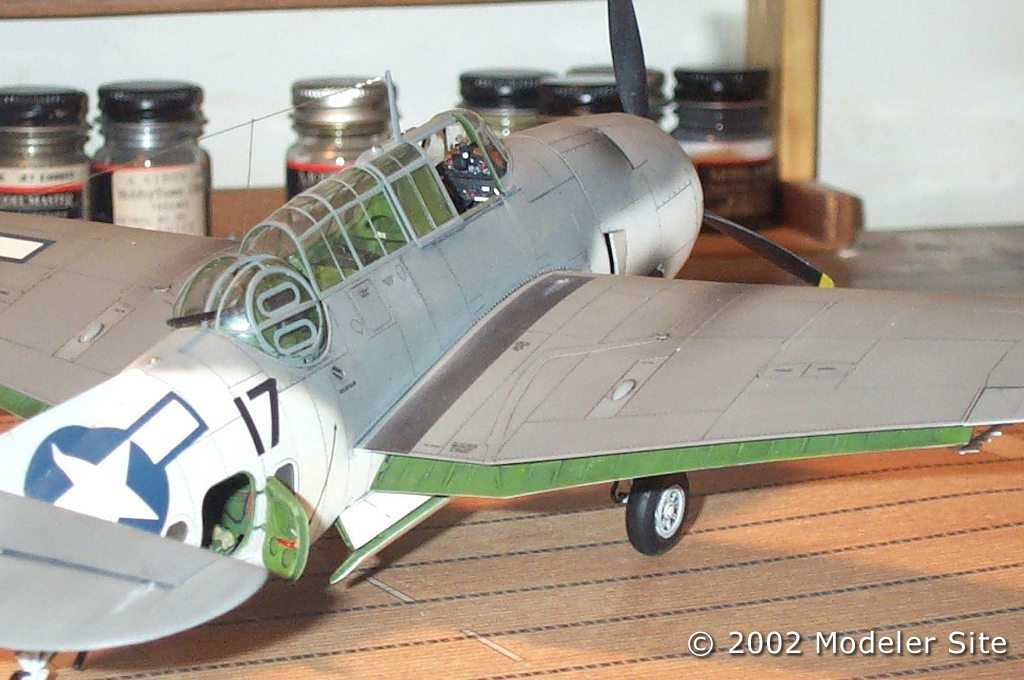
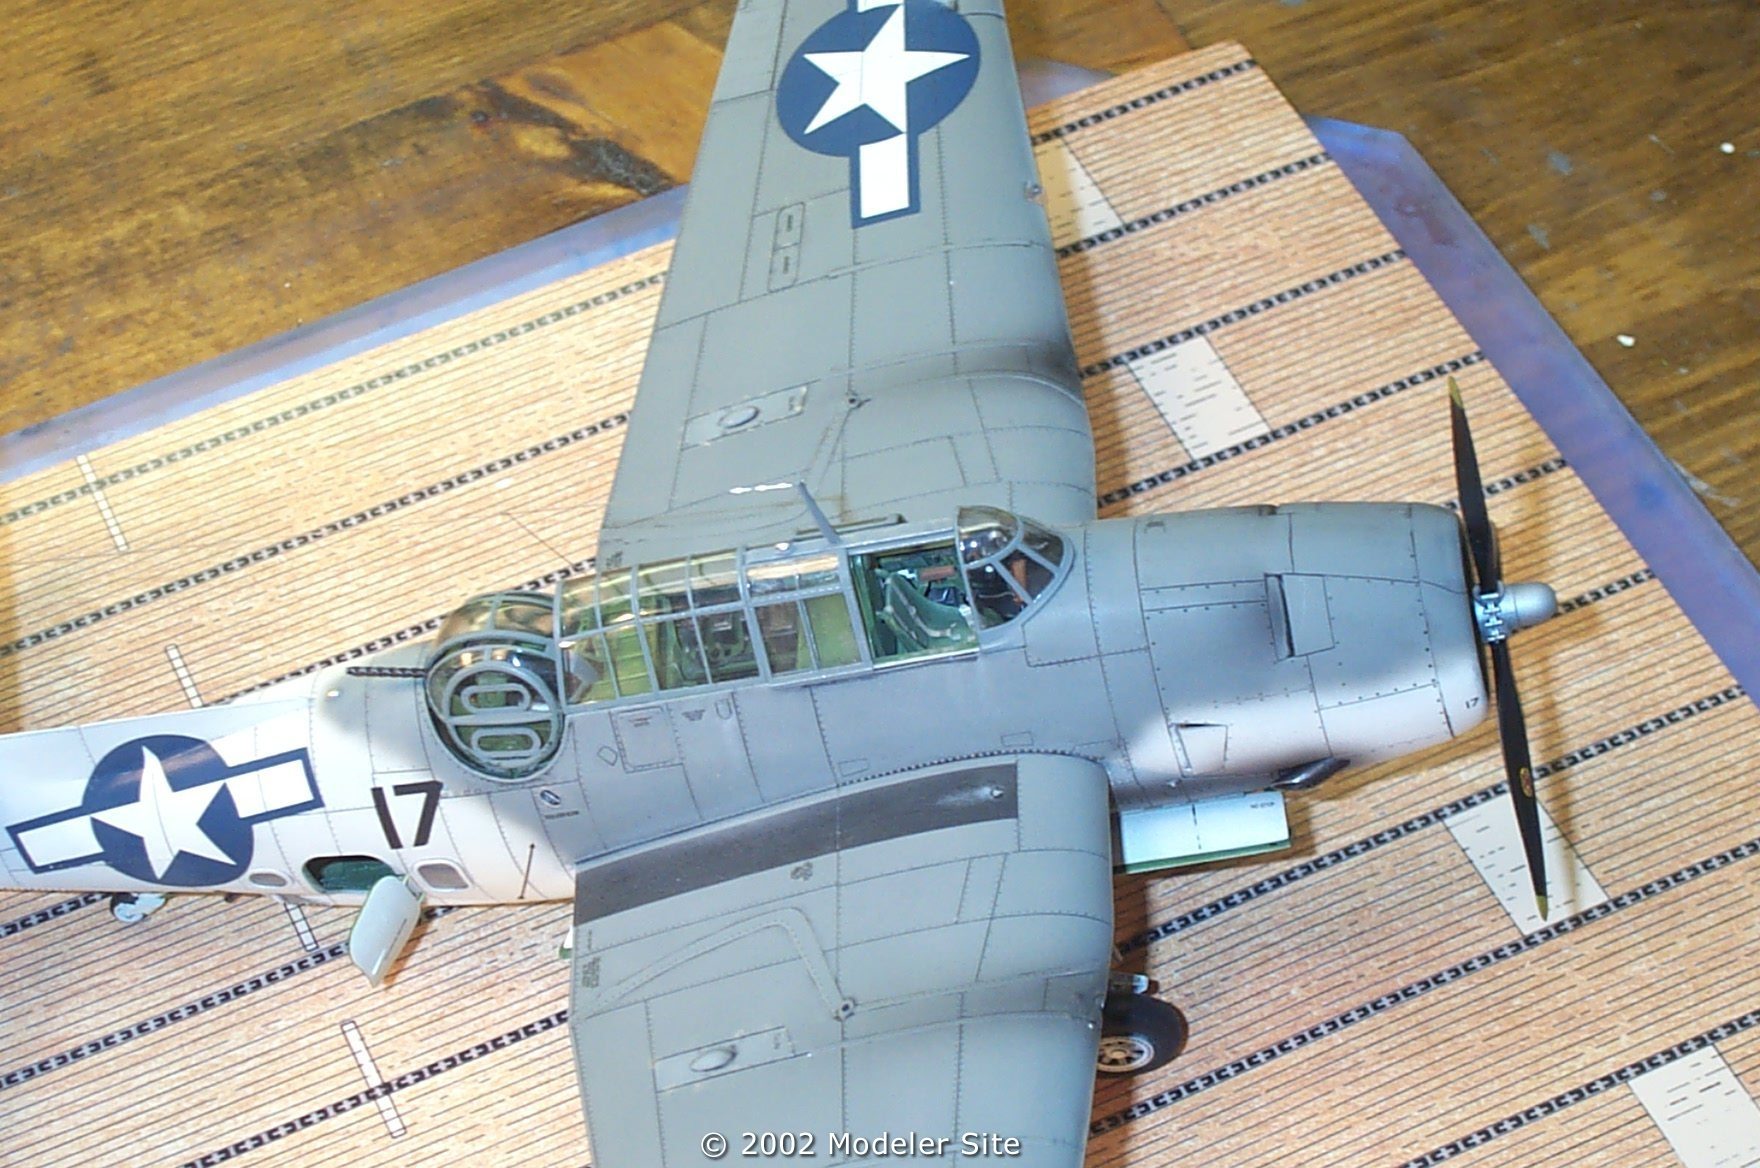
Step seven no comments Step eight deals with all of the glass. I didn't put the canopy on yet, but I did install all of the windows. I think I should mention a new discovery of mine. Express Masks!!! These things are great. Especially with a kit like this. There is a lot of glass on this aircraft, and masking it would have been a nightmare. It takes a fraction of the time, and is worth the investment. I used Eduards Express masks. There was some slight lifting, but I think it is because I didn't burnish it down enough. Be sure to press the masks down with a toothpick. Step nine deals with all the little doo-dads They go on last due to the fact that they are so fragile. I detailed the rear door with a small handle that I made from pulled sprue. Step ten is the ordinance. I would have preferred a torpedo, but they do give you a good selection of Bombs and Depth Charges. They even throw in a Bomb Cart! Painting This aircraft was painted in the Atlantic Scheme, a favorite of mine. I used Model Master enamels for this. The instructions guide you through all of the different parts of the aircraft. Decals I sealed up my paint job with several coats of future. There are a multitude of stencils on this Aircraft, so take your time and use your setting solution. I had a problem with the stencils silvering, but I think it was due to the age and condition of the decals, as I had no problem with AM's Dauntless. I painted the anti-skid stripes rather than use the decals. After decaling, seal it up with another coat of Future.
Weathering I use a method that I picked up in FSM (Fine Scale Modeler magazine). It incorporates a "sludge" wash. Mix some acrylic paint (I used burnt umber darkened with flat black) and some dishwashing soap. There's no scientific ratio here. Go about 50/50. Add a little bit of water. Next, working in sections, use an old brush to slop the mixture into the nooks and crannies of the model. Wait about a minute, then wipe it off with a damp cloth, or Q-tip. The key here is to use the stuff on a glossy surface. It doesn't necessarily have to be Future. You can use the gloss coat of your choice. This, in combination with the detergent make the solution very easy to wipe off, but it will stay in the panel lines. I have forgotten the stuff on overnight, and the next day it came off with no problem. I wouldn't recommend you doing this on purpose, though.
|
|||||||||||||||||||||||||||||