|
|
|||||||||||||||||
|
Armor |
|
||||||||||||||||
|
Sherman B.A.R.V. 1/35 scale |
|||||||||||||||||
|
by Alfredo and Hernan Casciani |
|||||||||||||||||
|
What’s an ARV? These initials mean “Armored Recovery Vehicle”, and what is the purpose of this vehicle? To provide assistance on the battlefield to all disabled tanks, which have suffered mechanical failures or have had other problems in combat. It is important to note that these ARV do not carry any weapons to be used in combat with other units. Their defense weapons are machine guns and, in some cases, antiaircraft weapons. The use of these ARV can be tracked down to the Northern Africa Campaign during World War II, where the Scammel SV/2S was successfully used. These Armored Recovery Vehicles were first constructed by the end of 1942. Several models were evaluated, among them the Covenanter, Crusader, Churchill, and Grant. Modifications were introduced to all of these models at the Arbofield plant (England) and after thorough evaluations the Churchill model was finally selected due to its high performance when compared to its competitors.
But as the USA entered the War, all armored units of the British Army were equipped with Sherman tanks, for which reason this model became the most widely used. Due to the great quantity of Sherman units in service, 2 Shermans were converted into ARV. This work was performed by the R.E.M.E. (Royal Electrical Mechanical Engineers), and the units were given the name Sherman ARV Mk.I
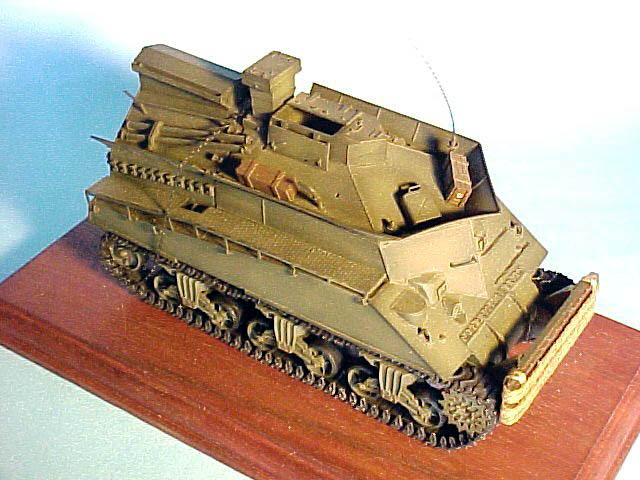
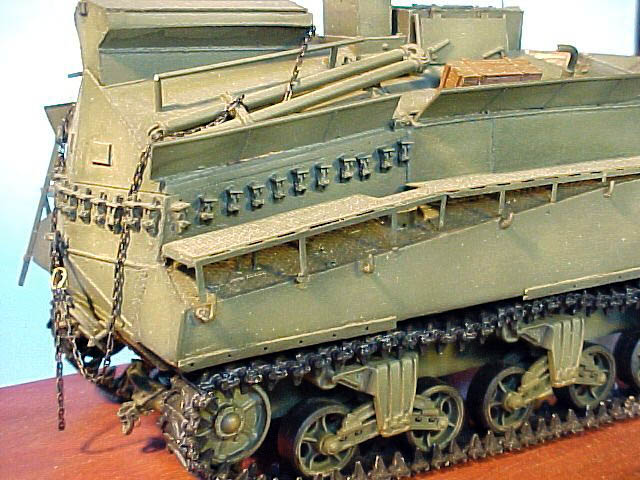
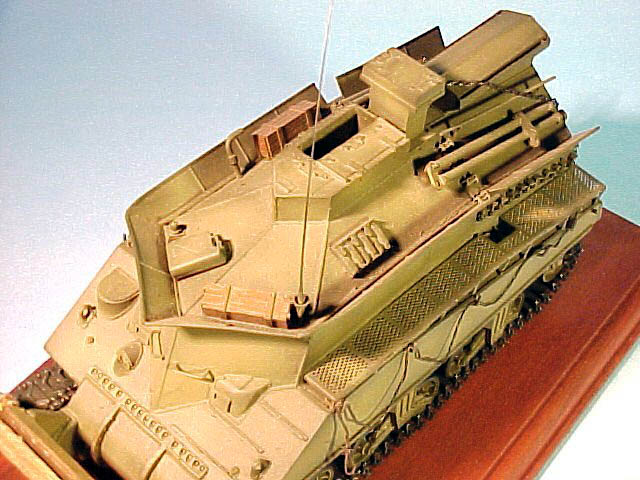
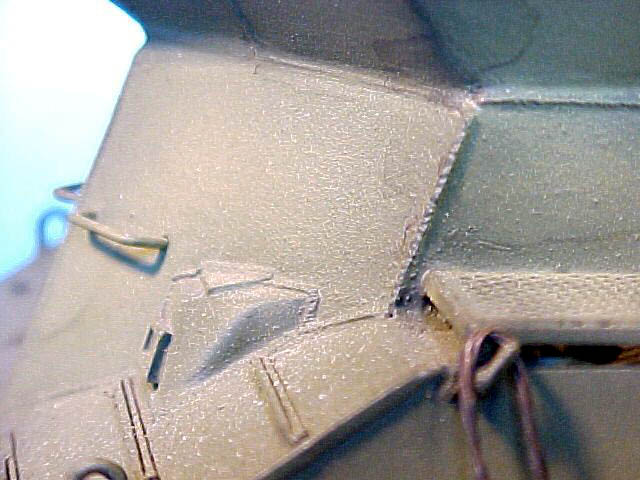
After several improvements had been introduced to these ARV Mk. I, and taking into account the proximity of the “D Day”, it was decided that approximately 50-52 BARV Sherman (Beach Armored Recovery Vehicle) should be prepared. This means that these Sherman units would be in charge of assisting all vehicles which disembarked on the shore to liberate the European continent. Among other features, this Sherman (called B.A.R.V. “Sea Lion”) was able to operate in shallow waters (up to 3 Mts.). These Sherman B.A.R.V. continued in operation for several years after the end of the war, until they were replaced by the Centurion. The Kit The only available model on the market is the 1/35 RESICAST. This is not a common kit, since it is composed of resin and photoetched parts. The type of resin used for this model is not "brittle", but "flexible" and the details are really excellent. The assembly scheme is somewhat confusing, since it shows 4 steps where you can see the model already built and painted with some arrows indicating the different parts and their position. Another thing to be noted is that no insignias are provided - either in the form of decals or transfers- for decoration of this vehicle. Since this is a complex model, we consider that this kit should be built by modelers having previous experience with these materials. Assembly First of all, like in all resin kits, you will have to check for air bubbles. If there are any air bubbles or other imperfections we will have to first solve all problems encountered and then start with the assembly process. You will find that some parts still have the plugs through which the resin was cast. It will be necessary to use a razor saw in order to remove these plugs and avoid damaging the parts.
As we are working with resin and potoetched parts, we will have to use CA. You will probably notice that sometimes it is easier to build a resin kit than a "commercial" model. Why? Because these resin kits don't bring too many parts, or some of them are replaced by photoetched parts, as in this particular case.
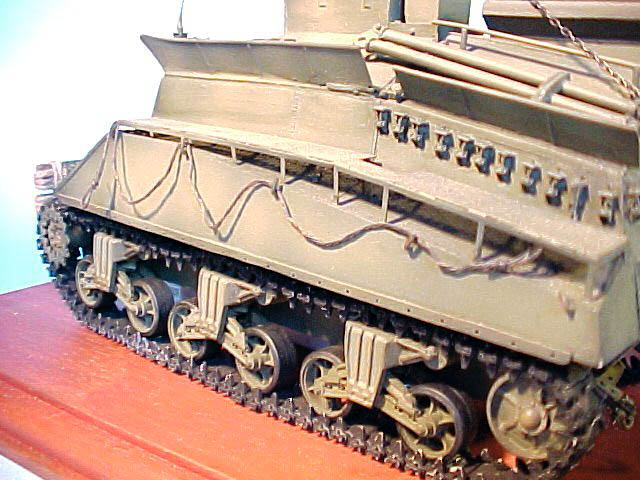
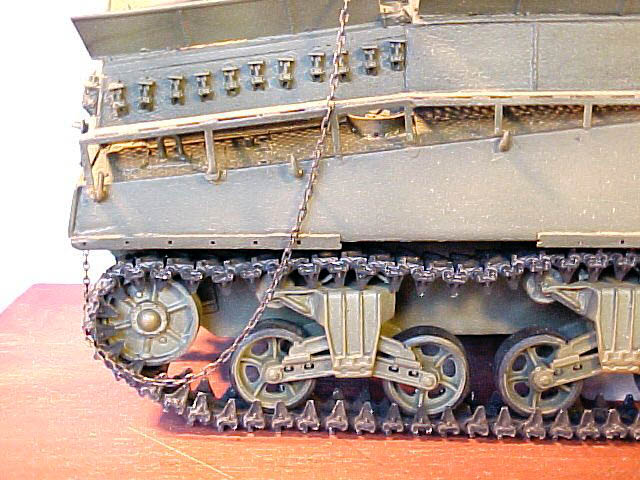
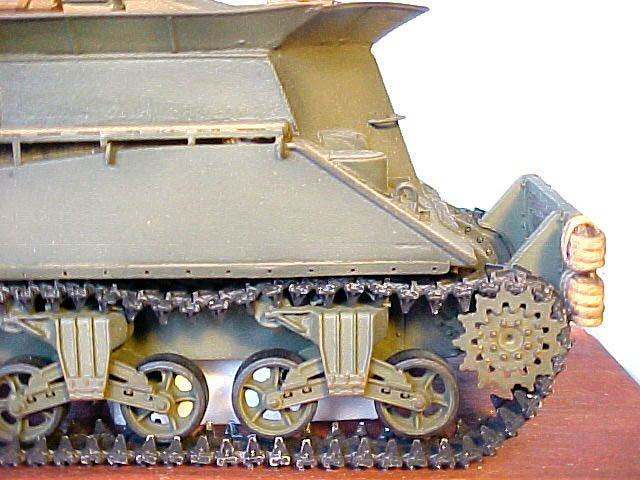
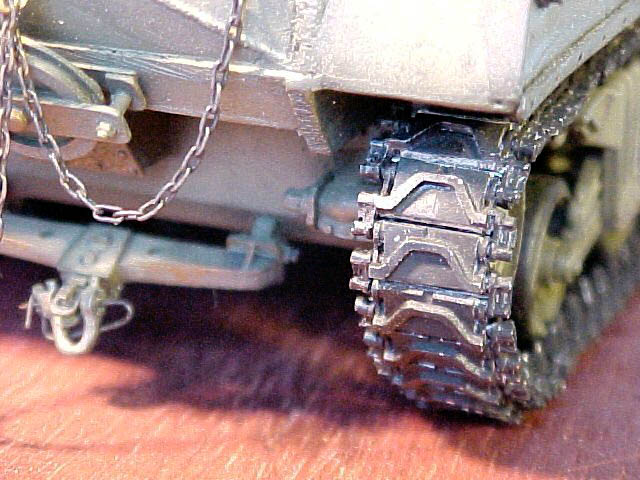
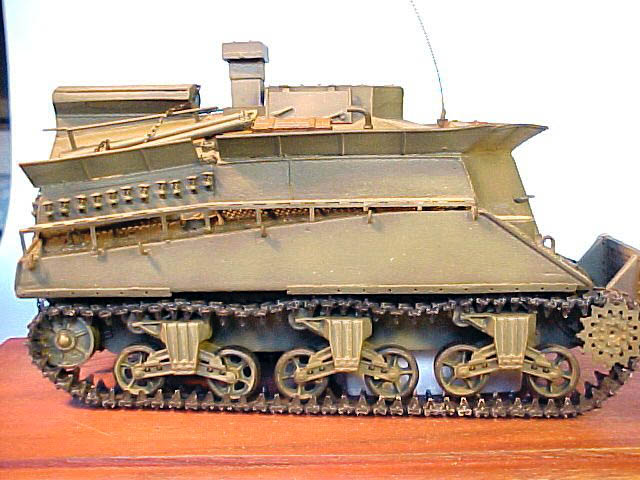
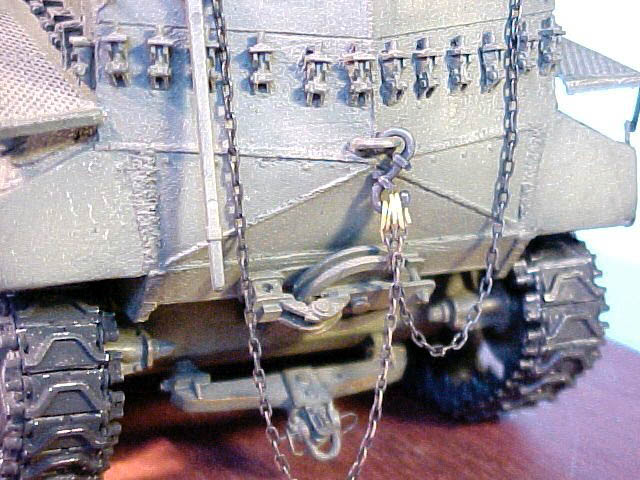
The first two parts to be glued together are the upper and lower hulls. Please check for a perfect joint and always remember to check for imperfections. The next steps are the running gear and finally the upper part of the vehicle. As you may have already noticed, the construction of this kit is quite straightforward; the most difficult part being the painting job. Not only beginners, but also masters will find this painting job and the addition of accessories (boxes, wires, tools, etc.) very challenging.
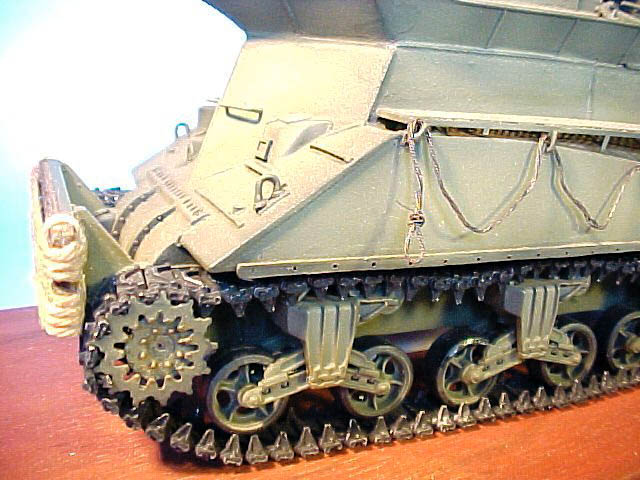
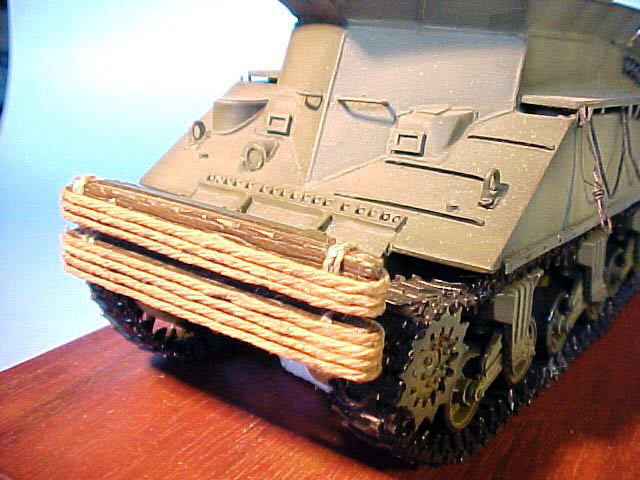
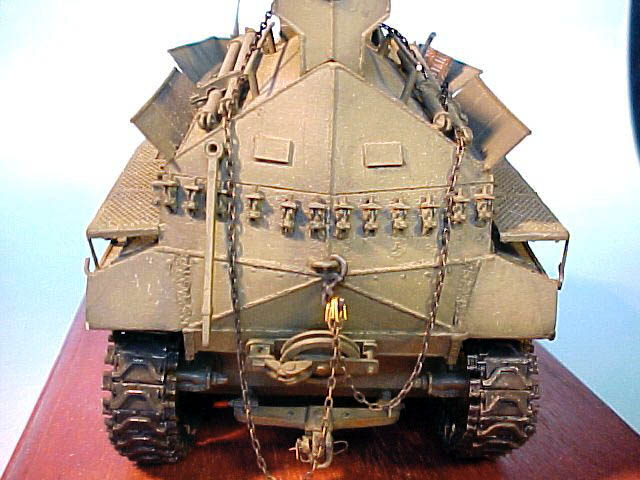
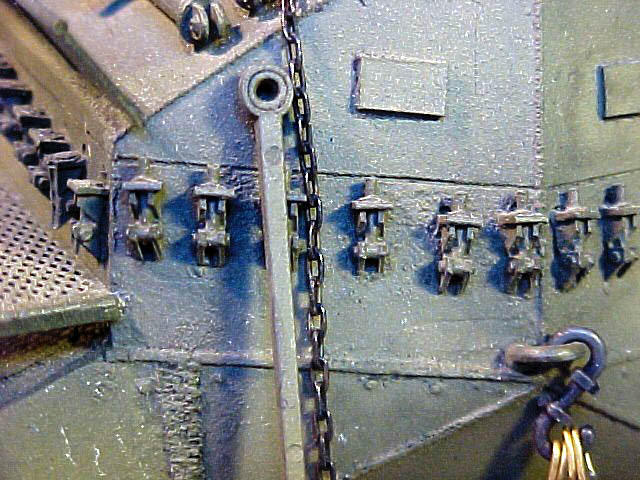
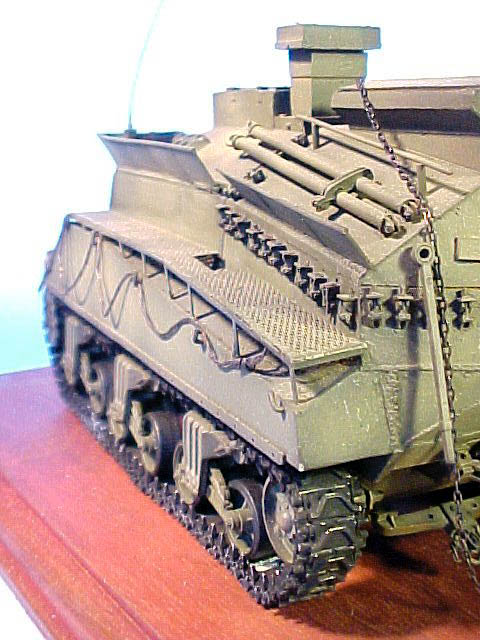
The photoetched sheet should be carefully cut out on a hard, clean and flat surface (like glass) with a cutter because the parts are very delicate (VERY DELICATE) and if they are somewhat damaged they cannot possibly be corrected. Painting In this case we chose a standard paint scheme, although this "family" of vehicles did not offer many alternatives. I used olive green and then applied some "washes" in order to obtain a "weathered" aspect. Remember that these vehicles were used to disembark in Normandy in order to assist those vehicles trapped in the area. Thus the contact with sea water and sand produced a rapid weathered aspect on the paint of these vehicles.
The above mentioned "washes" are the addition of several colors to the base color of the model in order to highlight details (ex. white: for exposed or curved areas, black: to highlight details; different shades of red: to simulate rust). Sources · Military Modeling
|
|||||||||||||||||