|
|
||||||||||||||||||||||||||||||||||||||||||||||||||||||||||||||||||||||||||||||||||||||||||||||||||||||||||||||||||||||||||||||||
|
Cars |
|
|||||||||||||||||||||||||||||||||||||||||||||||||||||||||||||||||||||||||||||||||||||||||||||||||||||||||||||||||||||||||||||||
|
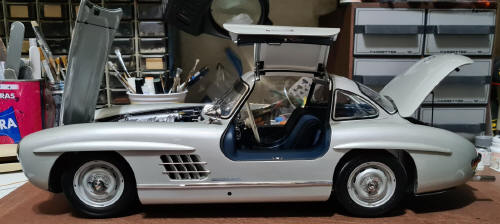
Detailing the Eaglemoss collection Mercedes 300 SL 1/8 scale, photo array |
||||||||||||||||||||||||||||||||||||||||||||||||||||||||||||||||||||||||||||||||||||||||||||||||||||||||||||||||||||||||||||||||
|
by Mario Covalski © Modeler Site |
||||||||||||||||||||||||||||||||||||||||||||||||||||||||||||||||||||||||||||||||||||||||||||||||||||||||||||||||||||||||||||||||
|
Legal Notice No material from Modeler Site any may be copied, reproduced, republished, uploaded, posted, transmitted, or distributed in any way, except that you may download one copy of the materials on any single computer for your personal, non-commercial home use only, provided you keep intact all copyright and other proprietary notices. Modification of the materials or use of the materials for any other purpose is a violation of copyright and other proprietary rights. Read More here > Legal notice A phenomenon that started about 15 years ago was a new way for manufacturers to sell kits, the collections. It involves dividing a kit into assembly phases and delivering it with a magazine, which generally contains assembly instructions and some history related to the model.
These deliveries are called fascicles or in different ways depending on the language, and also "packs" when the 100 divided into 6 or 12 deliveries are offered. In my opinion, this way of selling kits has popularized the sale of high-cost models, and has made models that only reached collectors or modelers with high purchasing power, become popular. It really is a way of selling in “installments” so that those who can pay a few tens of dollars a month can access a model of thousands of dollars… but waiting between 2 and 2 and a half years to complete it.
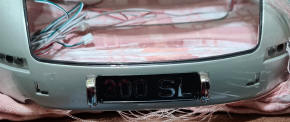
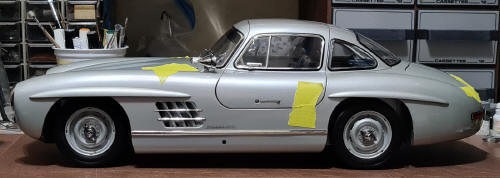
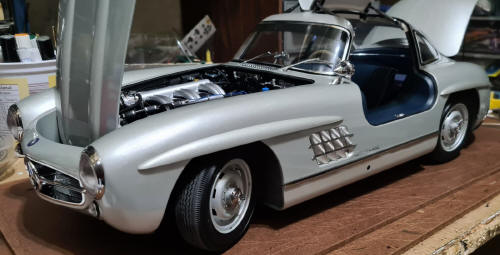
If I remember correctly, in 2017 the Pocher firm promoted what would be its next 1/8 scale kit, after the Lamborghini Huracan, the Mercedes 300SL. A supercar from the 1950s, with unique features that it still maintains, and a very expensive collector's item for car collectors. If you search Youtube you will still find some promotional videos of Pocher promising the 300SL. At that time the owner of Pocher (Pocher had several since the creation of the brand) had problems, Pocher was sold and the model did not see the light under the Pocher brand. The real manufacturer, the Chinese firm IXO, apparently sold the project to Eaglemoss, a firm in the United Kingdom, which in 100 fascicles and in different languages began to offer it around the world. Today Eaglemoss has disappeared and it is not yet known who will put his name to the collection, but IXO announced that as the owner of the molds it will continue to help customers who were left halfway. However, many collections in different countries were completed.
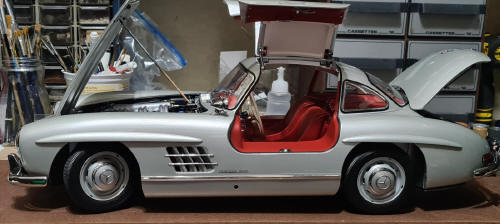
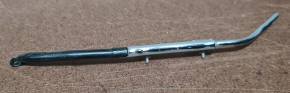
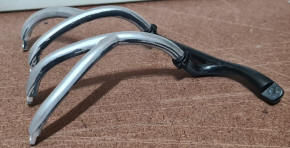
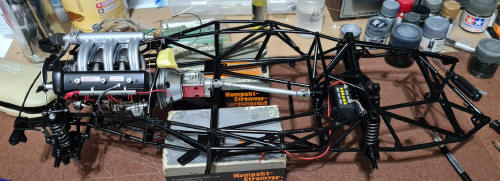
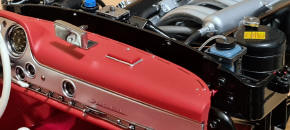
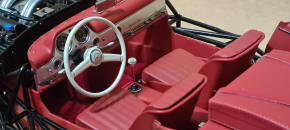
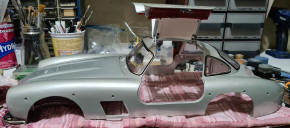
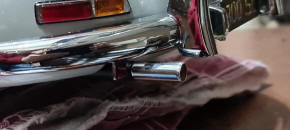
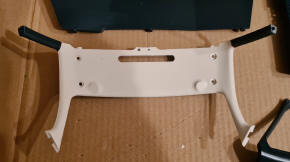
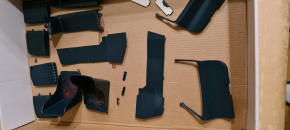
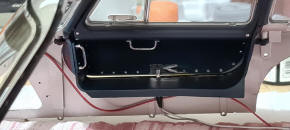
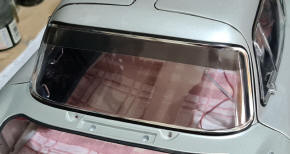
With this photo array (one picture says more than thousand
words sometimes) I share with the reader my experience with the model (I put
together two) adding many missing details, not all, painting parts and applying
plastic modelling techniques to improve the appearance of this expensive model.
Also solving some problems that the kit has and showing tips and tricks to
improve or facilitate its assembly.
I did not follow the order of the stages. Having bought the 100 deliveries together (second-hand), I studied each stage and decided on a different assembly order than the one proposed. No one starts to build a model car for a wheel or the hood or the dashboard, those parts are delivered in that order only for advertising to excite present and future buyers.
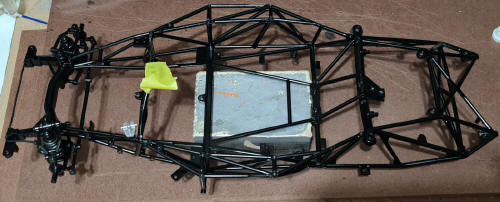
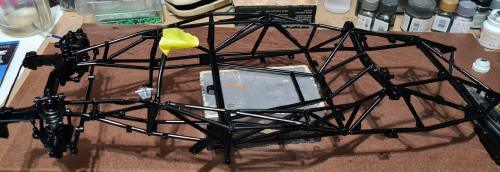
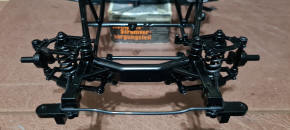
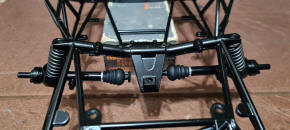
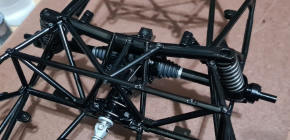
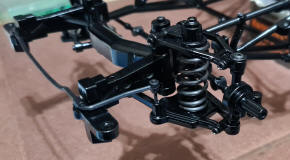
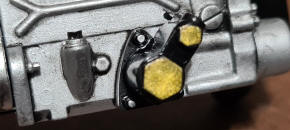
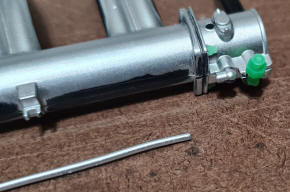
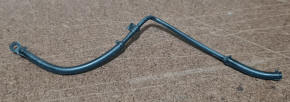
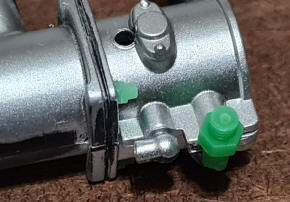
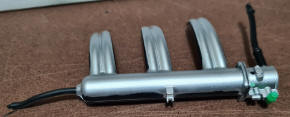
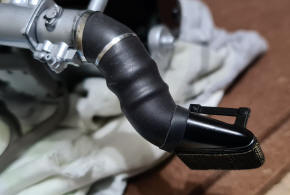
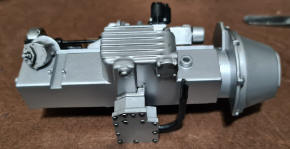
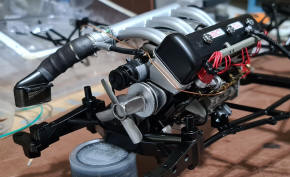
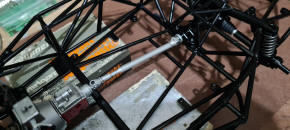
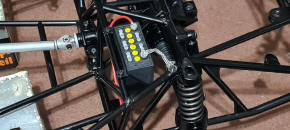
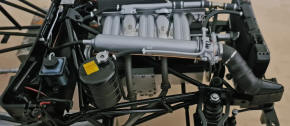
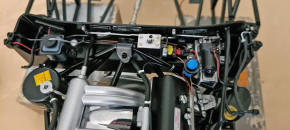
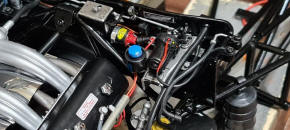
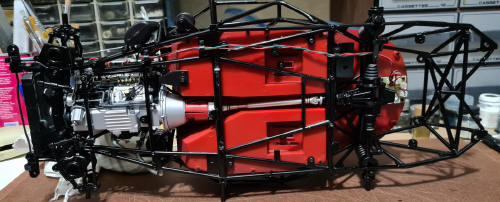
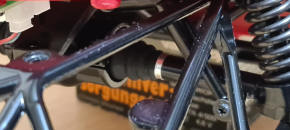
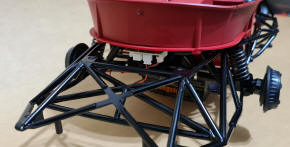
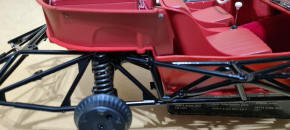
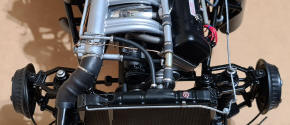
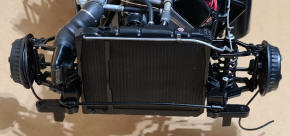
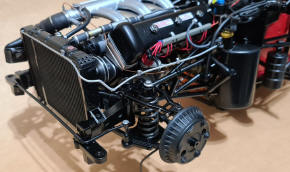
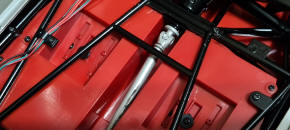
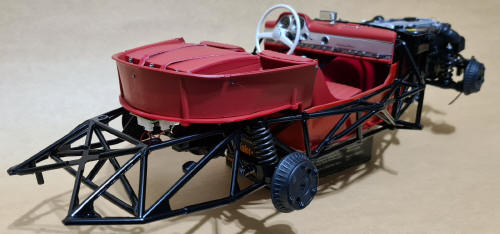
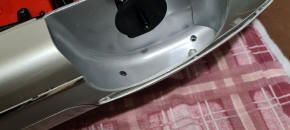
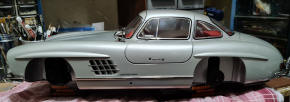
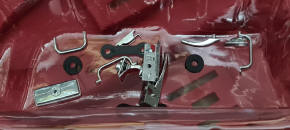
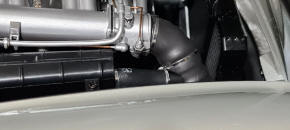
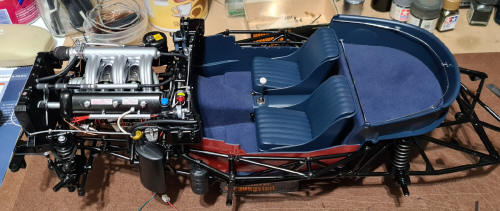
I started with the tubular chassis, which is actually not
tubular on the model. It is built in parts molded in Zamac, an alloy of zinc,
aluminum, magnesium and copper, like all the metal parts of the model.
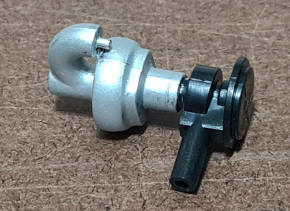
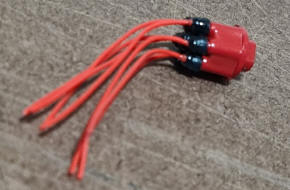
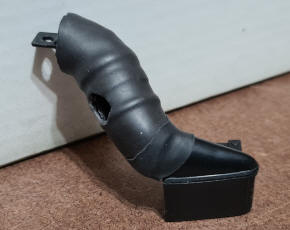
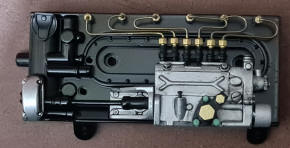
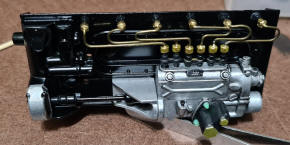
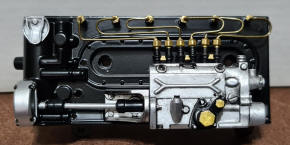
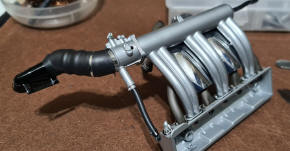
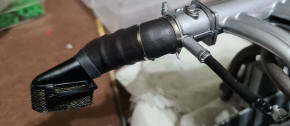
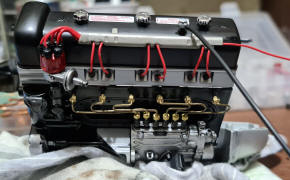
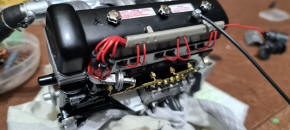
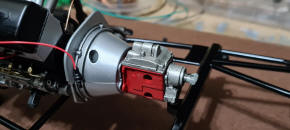
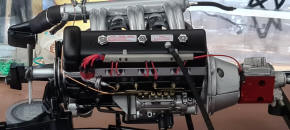
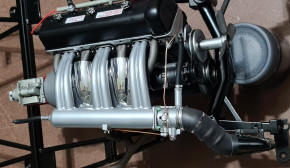
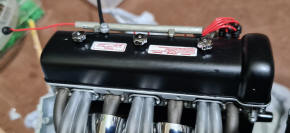
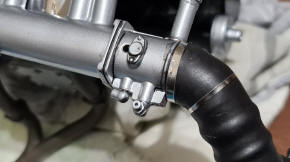
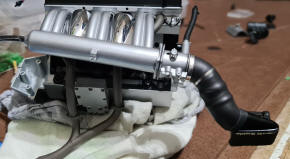
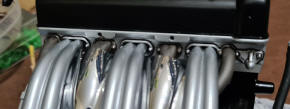
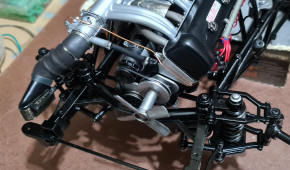
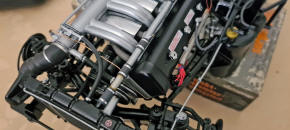
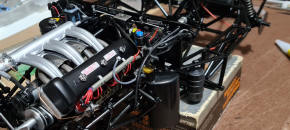
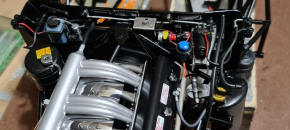
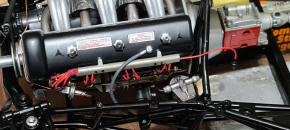
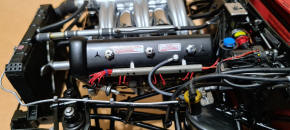
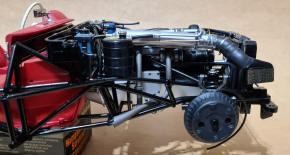
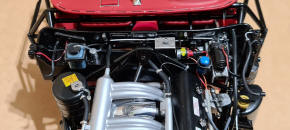
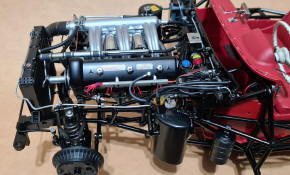
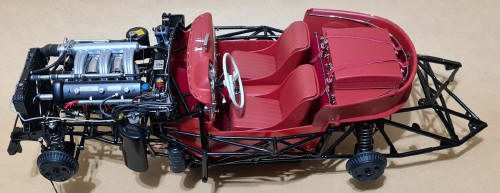
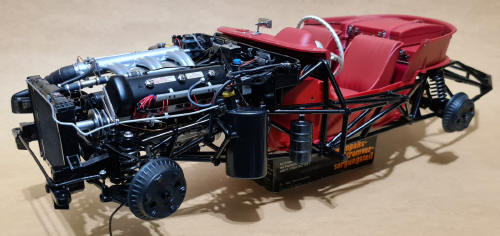
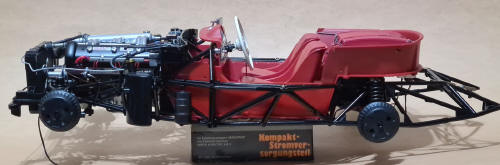
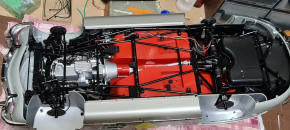
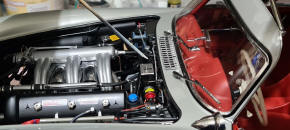
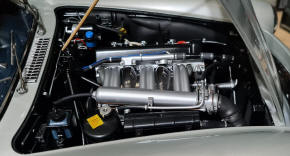
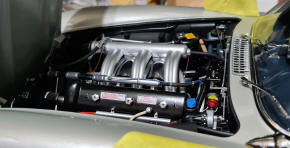
Next the motor
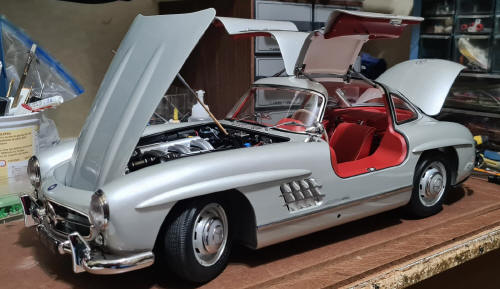
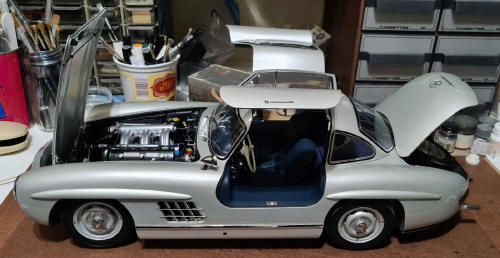
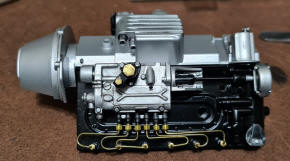
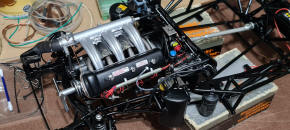
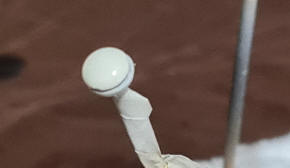
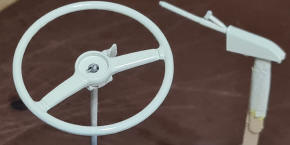
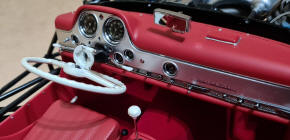
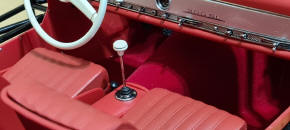
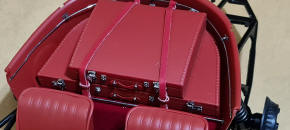
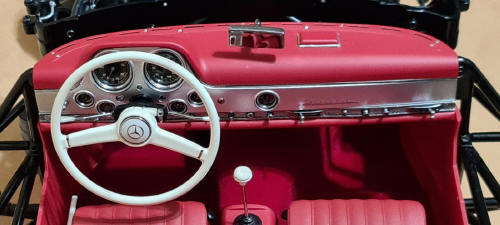
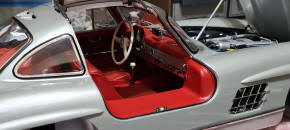
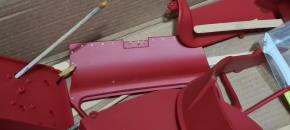
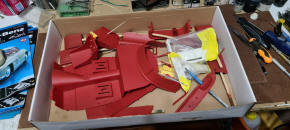
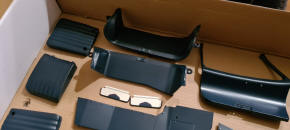
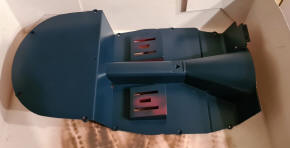
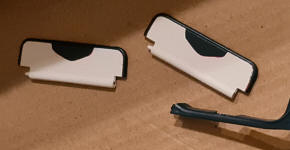
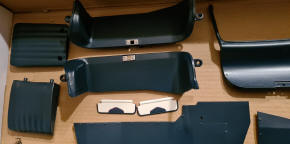
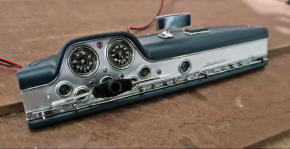
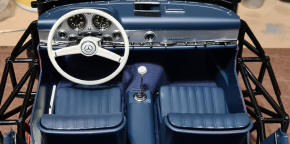
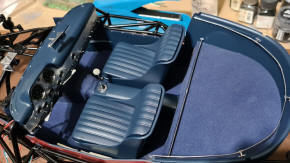
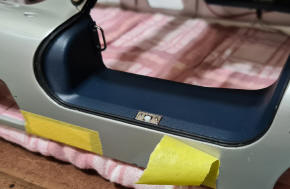
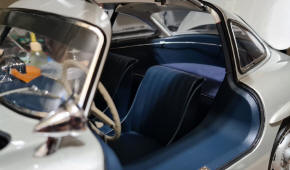
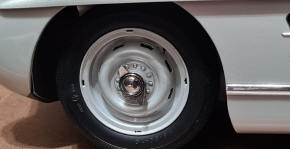
I built two, a 1955 as Eaglemoss offers and a 1954 with blue interior and wingnuts for the wheels instead the wheel hub cup Below the 1955, red interior
The 1954 blue interior
Big size photos are only available in our PDF format. Support us ordering our notes in PDF > Here |
||||||||||||||||||||||||||||||||||||||||||||||||||||||||||||||||||||||||||||||||||||||||||||||||||||||||||||||||||||||||||||||||