|
|
||||||||||||||||||||||||||||||||||||||||||||||||||||||||||||||||||||||||||||||||||||||||||||||||||||||||||||||||||||||||||||||||||||||||||||||||||||||||||||||||||||||||||
|
Armor RC |
|
|||||||||||||||||||||||||||||||||||||||||||||||||||||||||||||||||||||||||||||||||||||||||||||||||||||||||||||||||||||||||||||||||||||||||||||||||||||||||||||||||||||||||
|
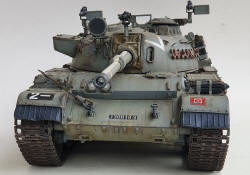
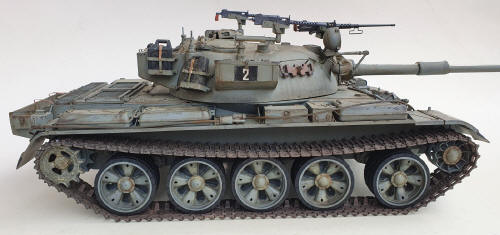
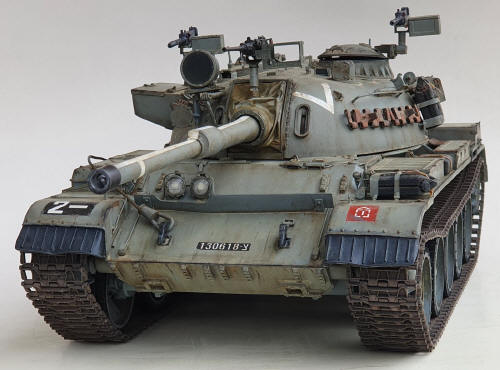
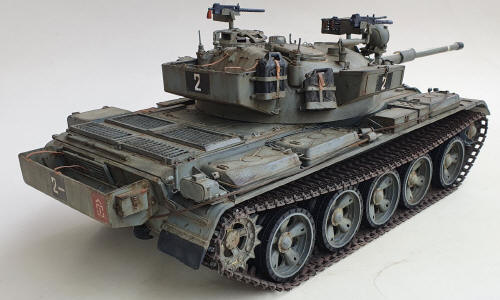
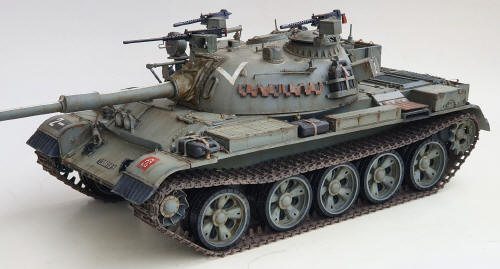
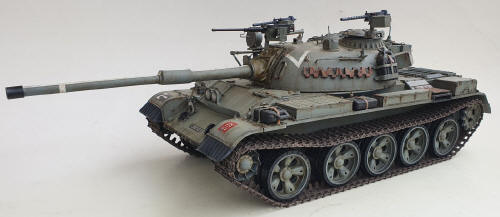
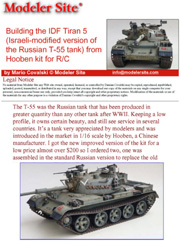
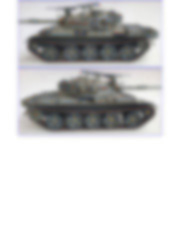
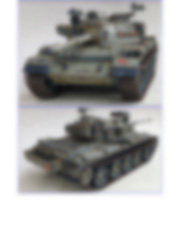
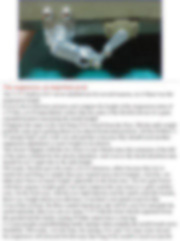
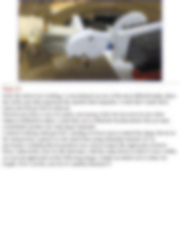
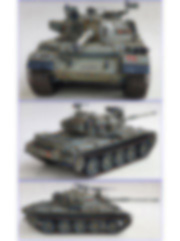
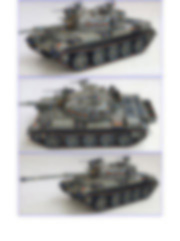
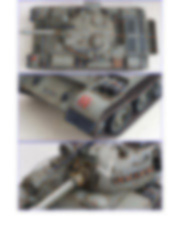
Building the IDF Tiran 5 (Israeli-modified version of the Russian T-55 tank) from Hooben kit for R/C 1/16 scale |
||||||||||||||||||||||||||||||||||||||||||||||||||||||||||||||||||||||||||||||||||||||||||||||||||||||||||||||||||||||||||||||||||||||||||||||||||||||||||||||||||||||||||
|
by Mario Covalski © Modeler Site |
||||||||||||||||||||||||||||||||||||||||||||||||||||||||||||||||||||||||||||||||||||||||||||||||||||||||||||||||||||||||||||||||||||||||||||||||||||||||||||||||||||||||||
|
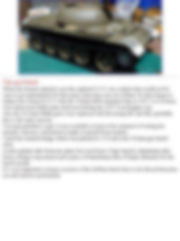
Legal Notice No material from Modeler Site any Web site may be copied, reproduced, republished, uploaded, posted, transmitted, or distributed in any way, except that you may download one copy of the materials on any single computer for your personal, non-commercial home use only, provided you keep intact all copyright and other proprietary notices. Modification of the materials or use of the materials for any other purpose is a violation of copyright and other proprietary rights. Read More here > Legal notice The T-55 was the Russian tank that has been produced in greater quantity than any other tank after WWII. Keeping a low profile, it owns certain beauty, and still see service in several countries. It’s a tank very appreciated by modelers and was introduced in the market in 1/16 scale by Hooben, a Chinese manufacturer. I got the new improved version of the kit for a low price almost over $200 so I ordered two, one was assembled in the standard Russian version to replace the old Hooben in my collection. For the second one I chose the IDF (israeli defence force) Tiran 5 version. After a long search and looking at hundred of pictures and a couple of books, I chose the one represented by Tamiya in the mid 80’s, especially cause I wanted to paint a tank with Sinai Grey.
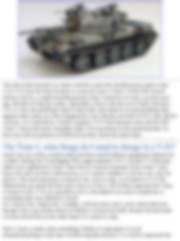
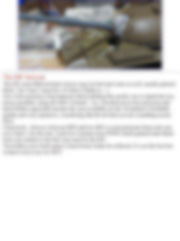
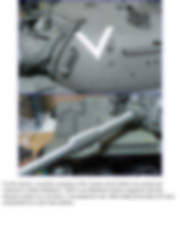
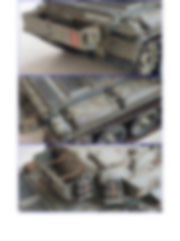
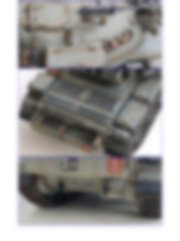
The aim of this tutorial is to share with the reader the modifications made on the 1/16 T-55 from the firm Hooben, to convert it into a Tiran 5 of the IDF (Israeli defence forces), a small modelling project that I wanted to do since several years ago. Besides to help the reader, especially to those who has never built a Hooben T55, to solve the problems I had to deal with, alert them to several problems that appears after some use, like it happened to me with the one built in 2011 (the old kit version). As I said before, I built a regular T-55 of the Russian army and the IDF Tiran 5, but in the basic assembly steps, I’ll concentrate in the general points. So here you will see pictures of different models, about the same topic. The Tiran 5, what things do I need to change in a T-55? Israel was one of the countries that most has reused military equipment obtained in combat. During the Yom Kippur War, approximately 150 T-54 and T-55 Russian tanks were captured by Israel. Thus lots of versions renamed Tiran 4 and 5 were born, but each one have subversions, so it’s quite complex to choose one, only by photos. The most practical, at least for me, was to copy, or at least to a 1/35 kit. Miniart kits are great but they don’t have a Tiran 5, all of them represent the Tiran 4, based on the T-54. It’s possible to do it, but added even more complexity to something that was difficult in itself.
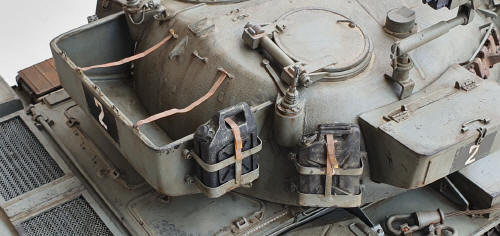
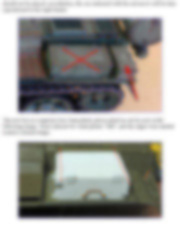
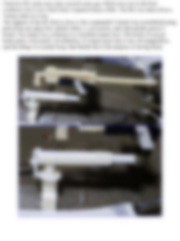
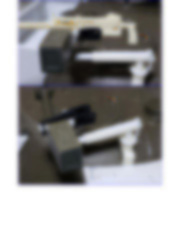
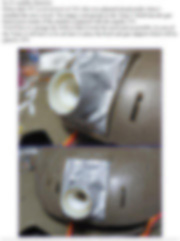
Here I want to make clear something I think it’s important to avoid misunderstandings at the time of following this tutorial. I’ve tried to represent the Tiran 5 to the best of my ability, No aftermarket was used except for a couple of guns I took from my spare box that I had since many years ago. My way at doing modelling is simple and use to take certain “artistic licenses”, so some parts may not be represented, or were realized “sui generis”. However, I’ll alert during the text where to improve and or to add something. Now let’s go ahead without disappointments.
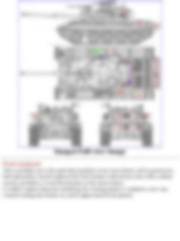
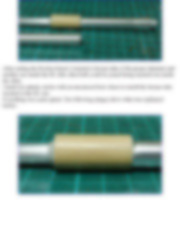
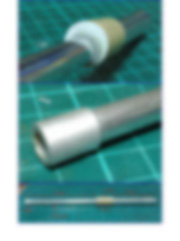
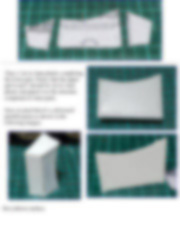
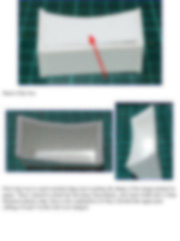
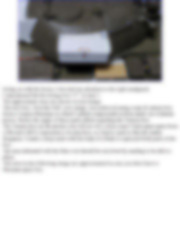
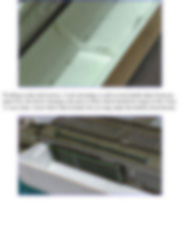
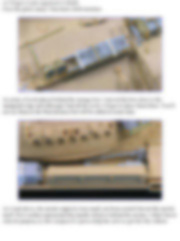
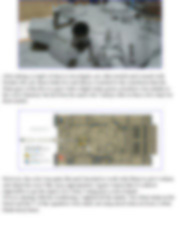
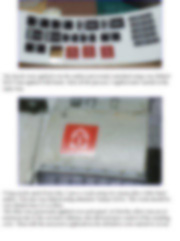
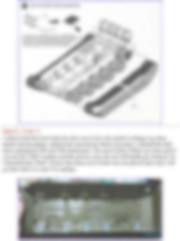
I started getting the Tamiya kit that a friend of mine lent me and I promised to return it. I scanned the views of the instructions and printed them in 1/16 scale using the Adobe Illustrator. It’s simple, you only have to measure one part, for instance the turret length transferring it to the scale of the image to print.
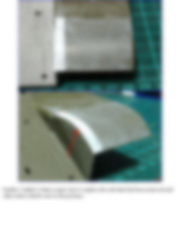
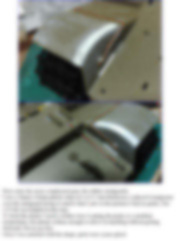
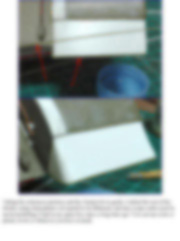
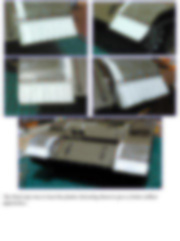
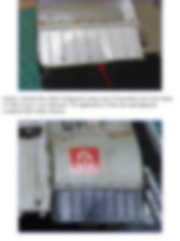
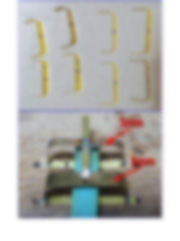
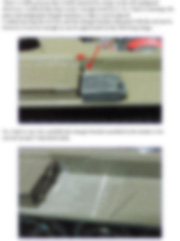
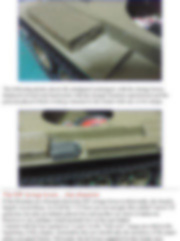
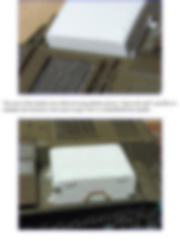
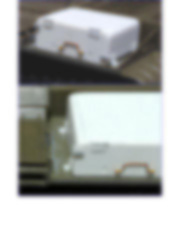
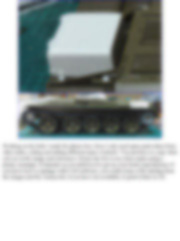
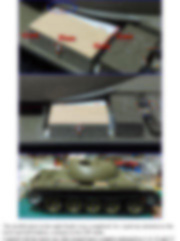
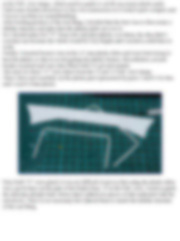
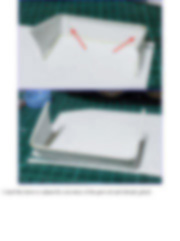
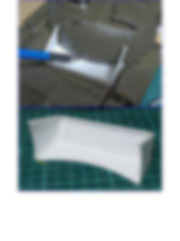
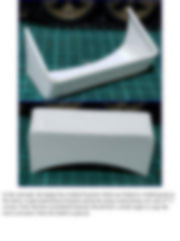
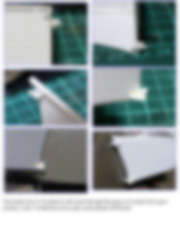
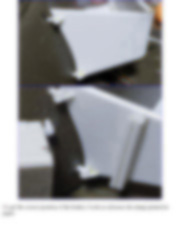
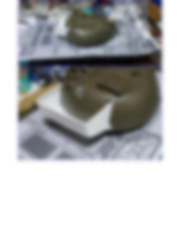
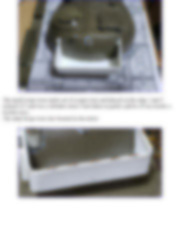
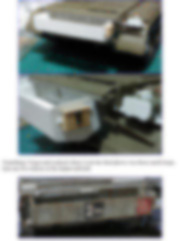
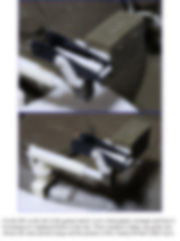
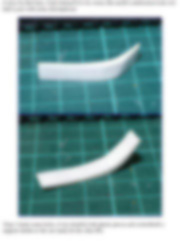
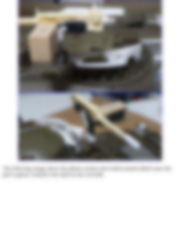
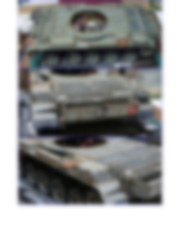
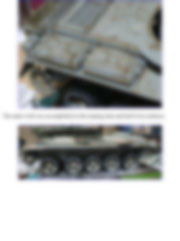
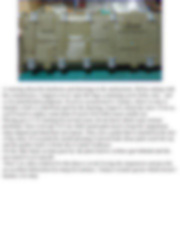
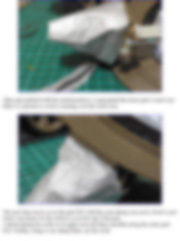
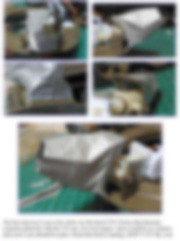
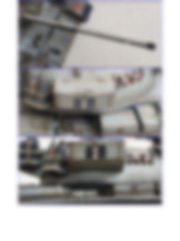
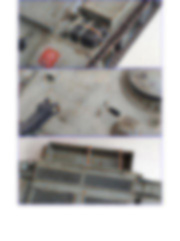
The basic modifications needed to build the Tiran 5 starting from the T-55 are to my understanding the following :
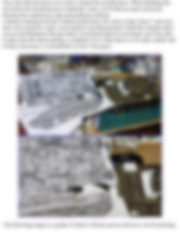
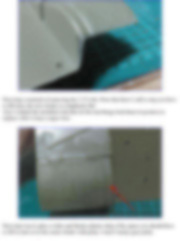
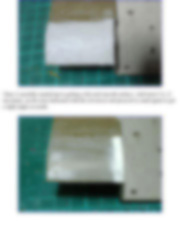
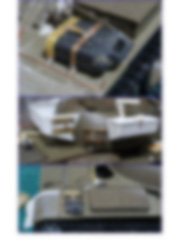
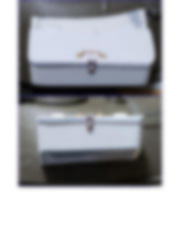
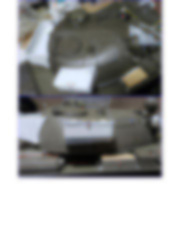
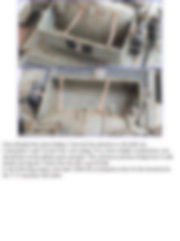
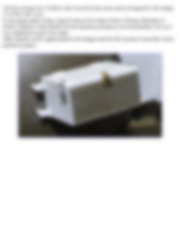
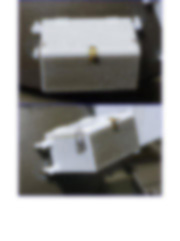
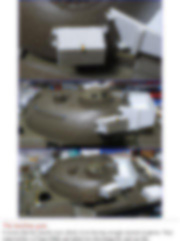
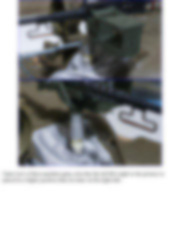
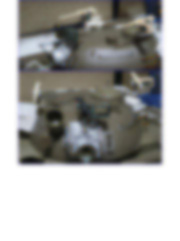
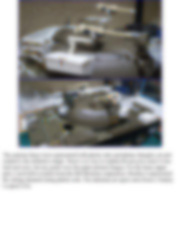
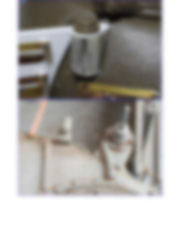
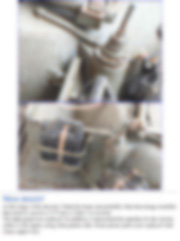
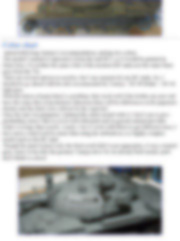
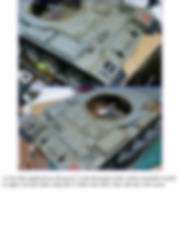
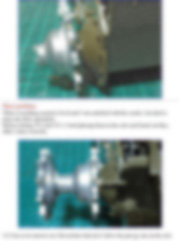
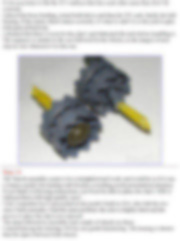
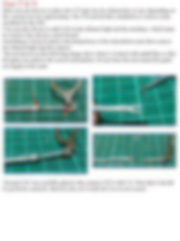
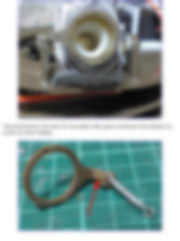
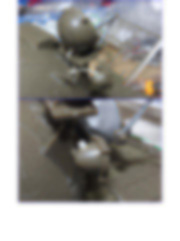
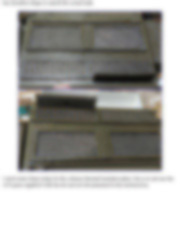
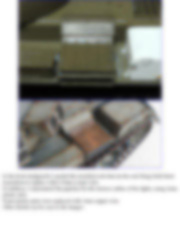
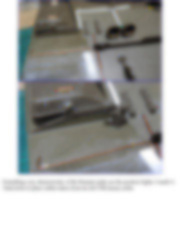
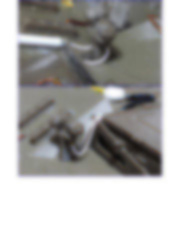
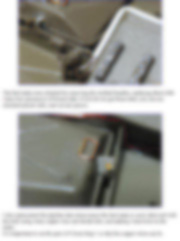
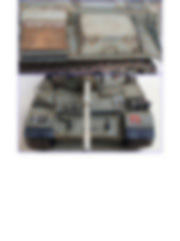
Building the Tiran 5 Once the hull and turret were built, I started the modification. When finishing the text about the modifications to build the Tiran, you’ll find an annex about the Hooben kit construction, tips and problems solution. This tutorial is offered in PDF format to be read or printed using Acrobat reader, contact our webmaster > Here Includes more than 339 pics, here we show only the text pages.
Esta Nota es ofrecida en formato PDF, el cual puede ser leído o impreso usando el Acrobat reader, contacte a nuestro webmaster > Aquí Incluye más de 339 imágenes, aquí solo mostramos las paginas de texto.
Big size photos are only available in our PDF format. Support us ordering our notes in PDF > Here |
||||||||||||||||||||||||||||||||||||||||||||||||||||||||||||||||||||||||||||||||||||||||||||||||||||||||||||||||||||||||||||||||||||||||||||||||||||||||||||||||||||||||||