|
|
|||||||||||||||||||||||||||||
|
Armor |
|
||||||||||||||||||||||||||||
|
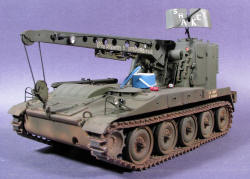
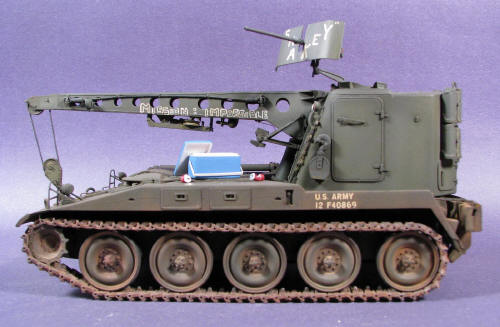
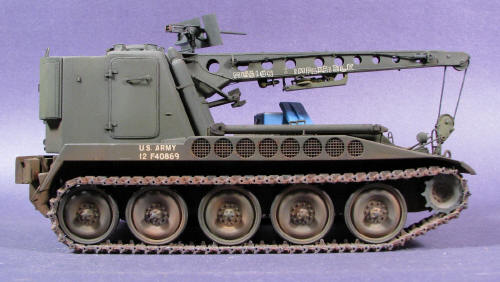
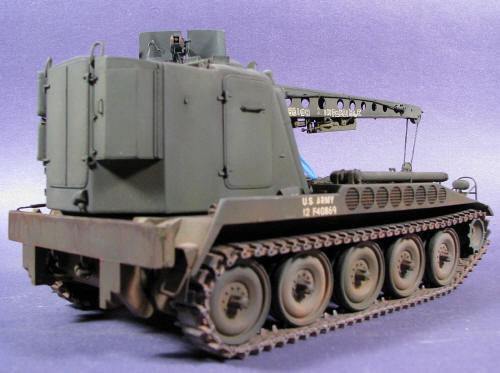
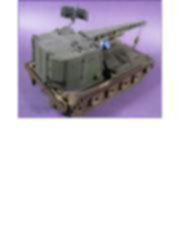
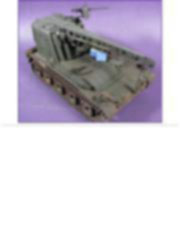
Improving the M578 ARV Italeri 1/35 scale |
|||||||||||||||||||||||||||||
|
by Eduardo Andreoli © Modeler Site |
|||||||||||||||||||||||||||||
|
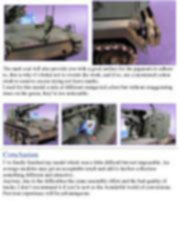
Legal Notice No material from Modeler Site any Web site owned, operated, licensed, or controlled by Damian Covalski may be copied, reproduced, republished, uploaded, posted, transmitted, or distributed in any way, except that you may download one copy of the materials on any single computer for your personal, non-commercial home use only, provided you keep intact all copyright and other proprietary notices. Modification of the materials or use of the materials for any other purpose is a violation of Damian Covalski's copyright and other proprietary rights. Read More here > Legal notice I’ve always wanted to build a vehicle of this kind, unfortunately, there are not many available to choose. The only chance was to try the Verlinden conversion, a new reissue but somewhat old; this was what made me doubt about its quality. But as it always happens in this hobby, when we want to build a certain model, we don’t think about the consequences and then we’ve to face the problems. Luckily, this was not the case.
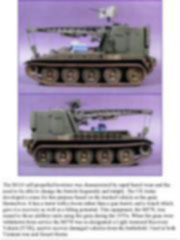
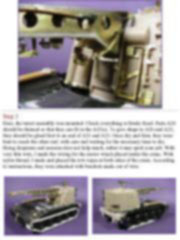
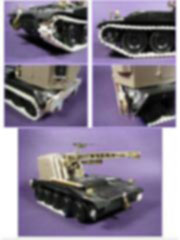
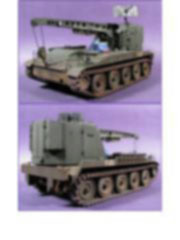
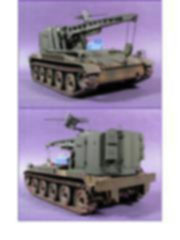
The M110 self propelled howitzer was characterized by rapid barrel wear and the need to be able to change the barrels frequently and simply. The US Army developed a crane for this purpose based on the tracked vehicle as the guns themselves. It has a turret with a boom rather than a gun barrel, and a winch which gave it a recovery as well as a lifting potential. This equipment, the M578, was issued to those artillery units using the guns during the 1970s. When the guns were withdrawn from service the M578 was re-designated a Light Armored Recovery Vehicle [VTR], used to recover damaged vehicles from the battlefield. Used in both Vietnam war and Desert Storm. For this conversion I used:
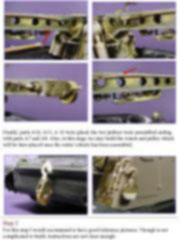
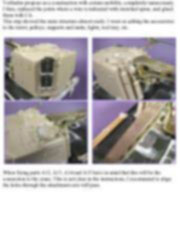
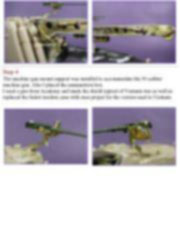
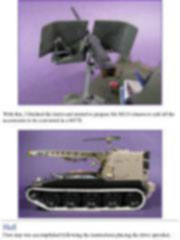
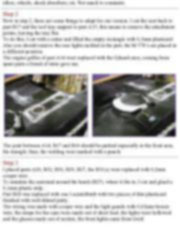
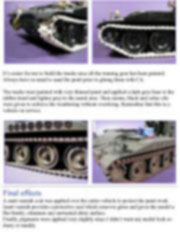
The kit I started with the turret, which seemed to me the most difficult part of the construction. First of all, I assembled the crane boom comprising a lot of etched parts. I could have chosen a better option: to copy all the plastic parts instead of using the etched ones taking them as guide, but unfortunately, I realized about this once it was entirely built. To attach etched parts there are two types of glue you can use: Cyanoacrylate glue (superglue), or epoxy glue, a two component glue, which must be blended (use gloves) before use, and then applied. Only blend as much as you will need at a time. Is has, as opposed to superglue, no 'bite' on plastic, thus giving a weaker bond (the bond will rarely be stressed, though, so this is unimportant). For very small and complex parts, it is good, as it is sticky enough to hold the part in place. Another way to attach PE parts could be soldering them. Well, I chose to use two components epoxy 10 minutes dry time, thinking it would allow a better alignment of the crane. This article is offered in PDF format to be read or printed using Acrobat reader, contact our webmaster > Here Includes more than 70 pics, here we show only the text pages.
Esta Nota es ofrecida en formato PDF, el cual puede ser leído o impreso usando el Acrobat reader, contacte a nuestro webmaster > Aquí Incluye más de 70 imágenes, aquí solo mostramos las paginas de texto.
Big size photos are only available in our PDF format. Support us ordering our notes in PDF > Here |
|||||||||||||||||||||||||||||