|
|
|||||||||||||||||||||||||||||||
|
Motorcycles |
|
||||||||||||||||||||||||||||||
|
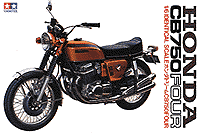
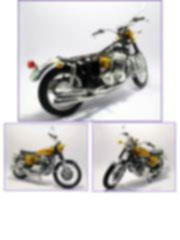
Building the Tamiya Honda CB750 Four: step by step 1/6 scale |
|||||||||||||||||||||||||||||||
|
by Guy Golsteyn © 2007 Modeler Site |
|||||||||||||||||||||||||||||||
|
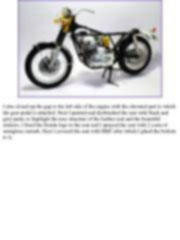
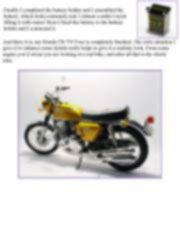
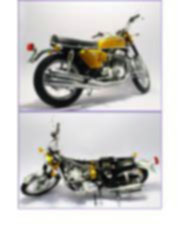
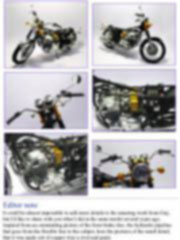
Legal Notice No material from Modeler Site any Web site owned, operated, licensed, or controlled by Damian Covalski may be copied, reproduced, republished, uploaded, posted, transmitted, or distributed in any way, except that you may download one copy of the materials on any single computer for your personal, non-commercial home use only, provided you keep intact all copyright and other proprietary notices. Modification of the materials or use of the materials for any other purpose is a violation of Damian Covalski's copyright and other proprietary rights. Read More here > Legal notice In the year 1970, when I set my first footsteps in the modelling world, Tamiya started producing this huge 1:6 motorbike kit. It's #1 kit in the "Big Scale Series", the very first of a long list of 1:6 motorbikes. At that time this milestone in modelling history didn't attract my attention, in fact it would take another 15 years before I would build my first Tamiya kit ever.
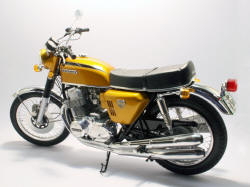
To me, even the real 1:1 Honda CB750 Four is the mother of all modern motorbikes. When my brother and I were just little boys and we saw a Honda CB750 come by, we always admired this Japanese wonder of technical superiority. As if I needed yet another reason to build this model, my brother and I were given a Polistil diecast motorbike back in 1970 as a gift by my parents. I received a Harley Davidson and my brother a ... Honda CB750 Four. We both still have that model, in good condition as well!
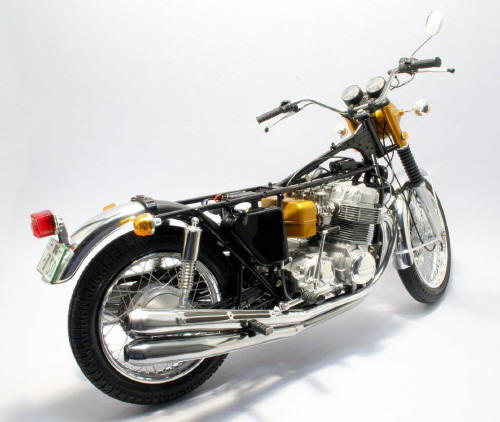
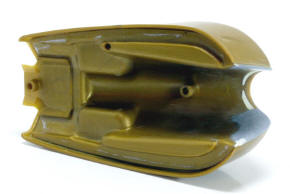
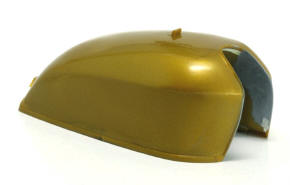
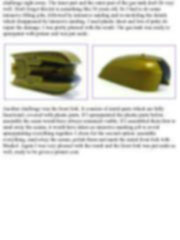
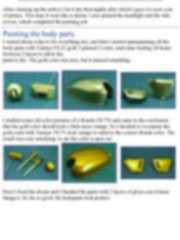
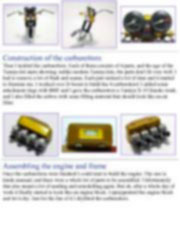
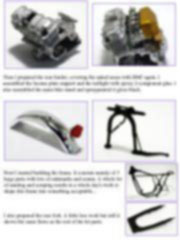
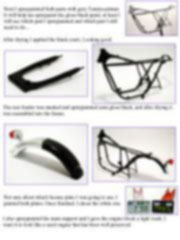
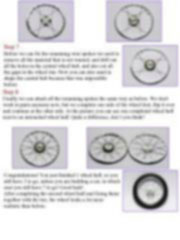
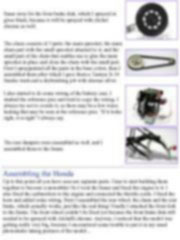
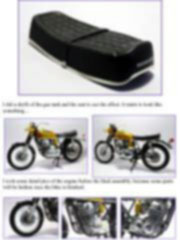
Getting started So here we go. First I cut all the “body” parts from the sprue, which just have to be spraypainted in the famous gold color in my opinion. That means the gas tank, the top front fork covers, the headlight, the airbox and the side covers. This meant a challenge right away. The inner part and the outer part of the gas tank don't fit very well. Don't forget this kit is something like 36 years old. So I had to do some intensive filling jobs, followed by intensive sanding and re-modeling the details which disappeared by intensive sanding. I used plastic sheet and lots of putty do repair the damage. I was pretty pleased with the result. The gas tank was ready to spraypaint with primer and was put aside.
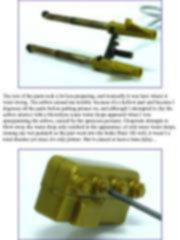
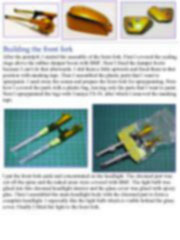
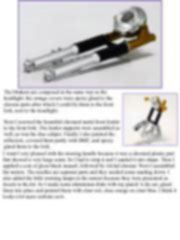
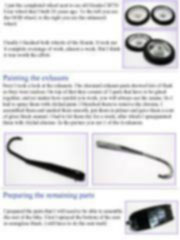
Another challenge was the front fork. It consists of metal parts which are fully functional, covered with plastic parts. If I spraypainted the plastic parts before assembly the seam would have always remained visible. If I assembled them first to sand away the seams, it would have taken an intensive masking job to avoid spraypainting everything together. I chose for the second option: assemble everything, sand away the seams, polish them and mask the metal front fork with Maskol. Again I was very pleased with the result and the front fork was put aside as well, ready to be given a primer coat. This article is offered in PDF format to be read or printed using Acrobat reader, contact our webmaster > Here Includes more than 88 pics, here we show only the text pages.
Esta Nota es ofrecida en formato PDF, el cual puede ser leído o impreso usando el Acrobat reader, contacte a nuestro webmaster > Aquí Incluye más de 88 imágenes, aquí solo mostramos las paginas de texto.
Big size photos are only available in our PDF format. Support us ordering our notes in PDF > Here |
|||||||||||||||||||||||||||||||