|
|
||||||||||||||||||||||||||
|
Motorcycles/Techniques |
|
|||||||||||||||||||||||||
|
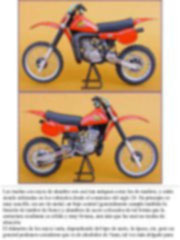
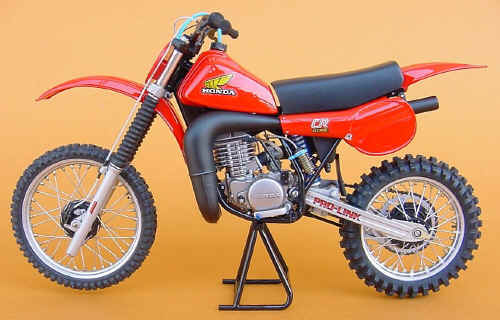
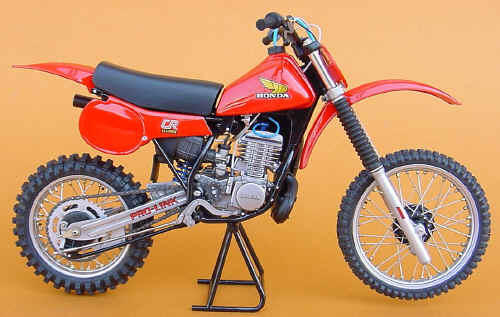
Realistic wire wheels for 1/12 scale motorcycles |
||||||||||||||||||||||||||
|
by Mario Covalski © 2003 Modeler Site |
||||||||||||||||||||||||||
|
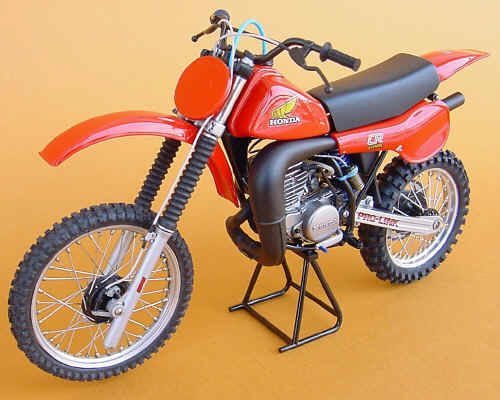
Legal Notice No material from Modeler Site any Web site owned, operated, licensed, or controlled by Mario Covalski & Associated may be copied, reproduced, republished, uploaded, posted, transmitted, or distributed in any way, except that you may download one copy of the materials on any single computer for your personal, non-commercial home use only, provided you keep intact all copyright and other proprietary notices. Modification of the materials or use of the materials for any other purpose is a violation of Mario Covalski & Associated's copyright and other proprietary rights. Read More here > Legal notice One of the biggest challenges for a modeler who builds motorcycles in 1/12 scale, is to modify a wire wheel and make it look realistic; specially without having to buy an aftermarket kit. Anyway, there are no kits for this kind of modification (except for one of the Acu-stion for the Tamiya XV1600 kit), so it's not possible to get one. So any modeler attempting to do this task must rely in his/her ability in order, to get a good result.
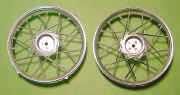
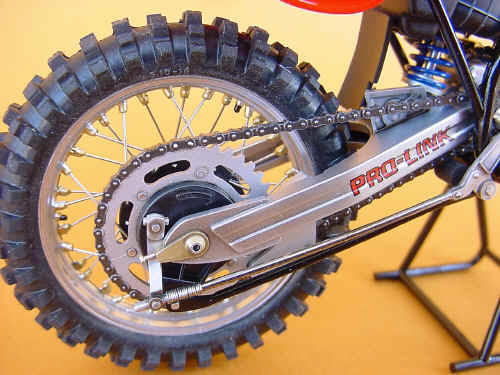
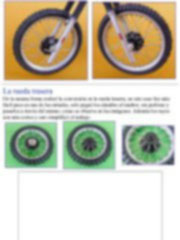
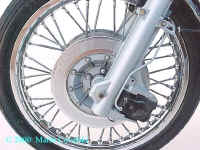
Wire wheels are nearly as old as wooden ones, and vehicles have been using them from the beginning of the 20th century. Essentially, they are very simple: a metal rim, a center hub that generally acts as a brake drum, and steel wires placed in such a way, that, their structure turns out more solid than the new alloy wheels
This note aims at explaining a step by step procedure on how to modify a plastic wheel adding wire spokes, using simple materials and no special tools. Previous considerations
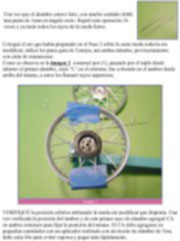
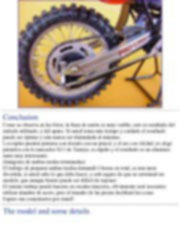
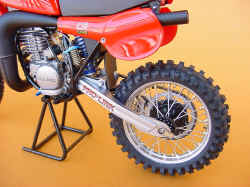
There are two kinds of wire wheels, those using drum brakes, and the ones using disk brakes. The Tamiya kit provides each wheel in two halves, making the detailing task a little bit easier, but at the same time it's difficult to get a nice finishing, as we'll see at the end of this note.
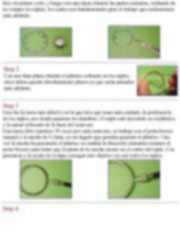
There are two basic ways of working
1) To cut away all the plastic spokes, glue both wheel halves, drill all the parts and thread the new metal spokes. It sounds simple, but it's not so, you should make a jig for this purpose (like the one used when building the real wheels because you lose all the references once you cut the plastic spokes), the jig will keep an accurate wheel alignment.
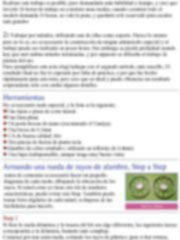
2) Nevertheless, it's hard to get a nice job and you will have to be very careful not only when joining both halves once finished, but also at the moment of painting the ring. To illustrate this note, I decided to carry out this second and easier method. The final result wasn't the expected, because of the lack of practice, and because I was eager to write this note. Anyway, I think this method is ideal, and you'll get a surprising result, just by paying attention to some details. Tools Here's the list, nothing special:
Esta Nota es ofrecida en formato PDF, el cual puede ser leído o impreso usando el Acrobat reader, contacte a nuestro webmaster > Aquí Incluye más de 50 imágenes, aquí solo mostramos las paginas de texto.
This article is offered in PDF format to be read or printed using Acrobat reader, contact our webmaster > Here Includes more than 50 pics, here we show only the text pages.
Big size photos are only available in our PDF format. Support us ordering our notes in PDF > Here |
||||||||||||||||||||||||||
 A scissors or side cutter for plastic