|
|
|||||||||||||||||||||||||||||||||||||||||||||||||||||||||||||||
|
Cars |
|
||||||||||||||||||||||||||||||||||||||||||||||||||||||||||||||
|
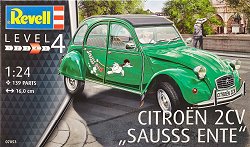
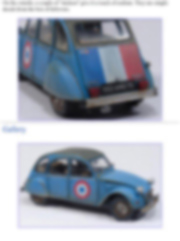
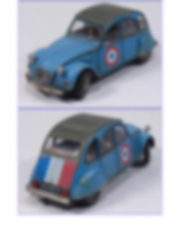
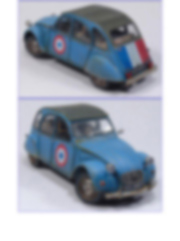
Customizing the Revell Citröen 2CV 1/24 scale |
|||||||||||||||||||||||||||||||||||||||||||||||||||||||||||||||
|
by David Guardia © Modeler Site |
|||||||||||||||||||||||||||||||||||||||||||||||||||||||||||||||
|
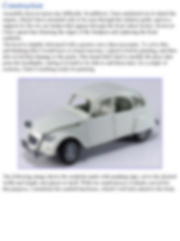
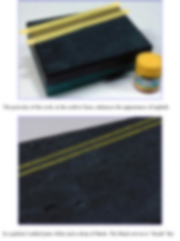
Legal Notice No material from Modeler Site any may be copied, reproduced, republished, uploaded, posted, transmitted, or distributed in any way, except that you may download one copy of the materials on any single computer for your personal, non-commercial home use only, provided you keep intact all copyright and other proprietary notices. Modification of the materials or use of the materials for any other purpose is a violation of copyright and other proprietary rights. Read More here > Legal notice The Citroën 2 CV was born back in 1939 with more than 200 prototypes, with the idea that when the end of the war that was coming to Europe came to an end, this could be an affordable vehicle for everyone. Simple and with rounded lines, it caused the ridicule of the most critical in the auto show in 1948, but, nevertheless, the general public loved it. The last 2CV was manufactured on July 27, 1990 at the Portuguese plant in Mangualde, marking the end of 2CV production. More than 3,800,000 units had been manufactured!
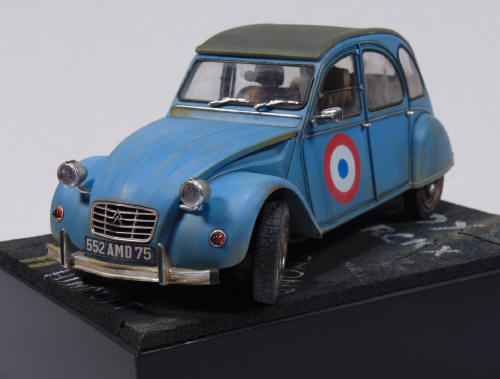
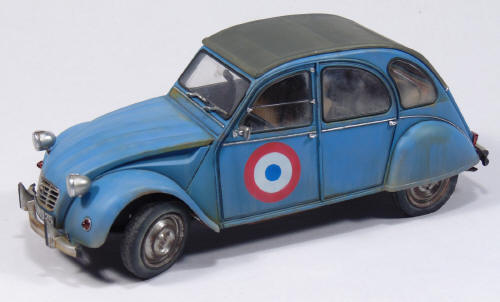
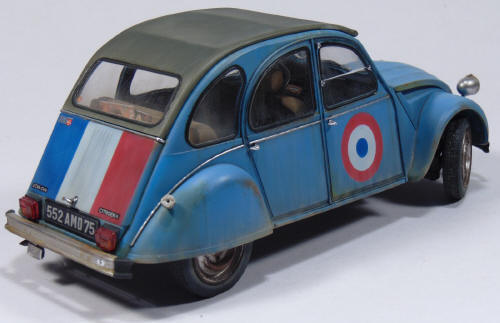
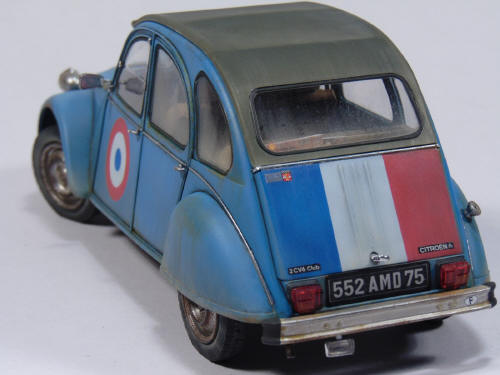
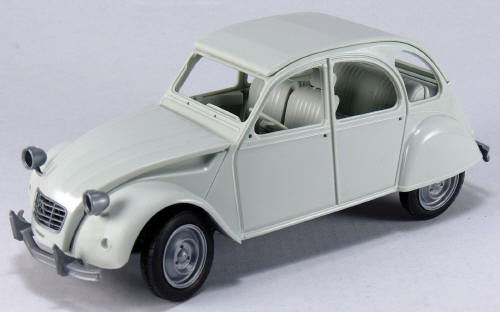
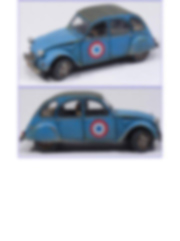
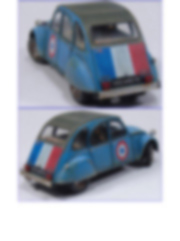
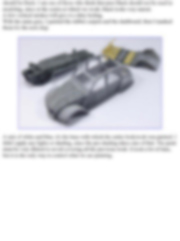
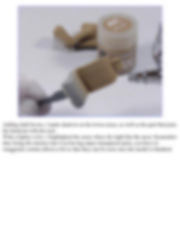
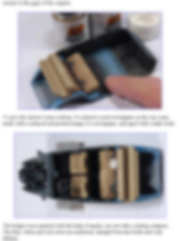
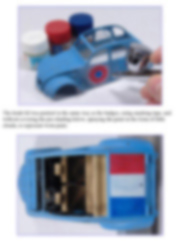
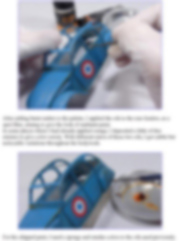
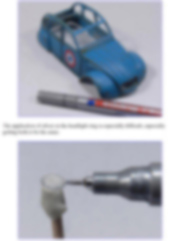
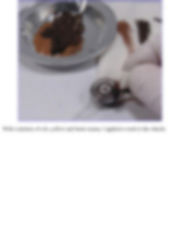
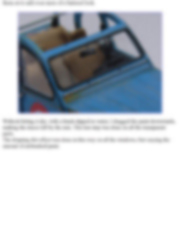
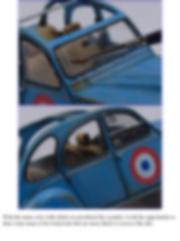
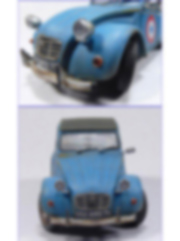
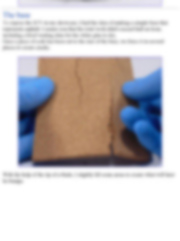
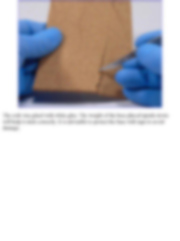
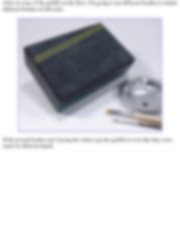
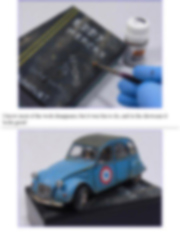
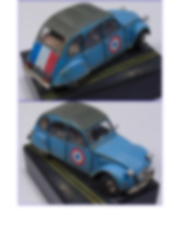
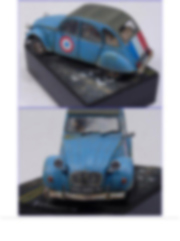
The detail is good, with an engine that can be used as base for super detailing or mounting it straight out of the box, and with a very decent interior except for the seat belts, which are too thick for my liking. Obviously the kit is designed for a general public, covering all levels. In fact, this model is highly recommended for all those who want to start their modeling adventure and opt for cars. The paint scheme I have chosen is based on a World War II plane belonging to the Armée de l'air. The Dewoitine with its beautiful blue color, and the French national flag on the tail. Model building, aviation and classic cars, all in one! The goal of this tutorial is to share the work of making a weathered vehicle in an obvious way, but without getting to what is used nowaday, models that represent destroyed subjects ready for scrap. In addition, the decoration, as if it were a fighter plane, needed abuse effects, but without going to the extreme. Construction Assembly does not pose any difficulty. In addition, I have
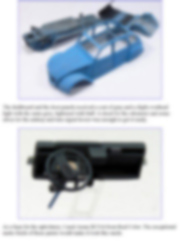
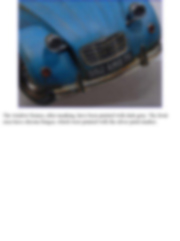
preferred not to detail the engine, which I have mounted only to be seen through
the radiator grille, and as a support for the two air intakes that appear
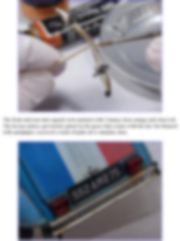
through the front wheel arches. However I have spent time thinning the edges of
the bumpers and replacing the front seatbelts.
This tutorial is offered in PDF format to be read or printed using Acrobat reader, contact our webmaster > Here Includes more than 90 pics, here we show only the text pages.
Esta Nota es ofrecida en formato PDF, el cual puede ser leído o impreso usando el Acrobat reader, contacte a nuestro webmaster > Aquí Incluye más de 90 imágenes, aquí solo mostramos las paginas de texto.
Big size photos are only available in our PDF format. Support us ordering our notes in PDF > Here |
|||||||||||||||||||||||||||||||||||||||||||||||||||||||||||||||