|
|
||||||||||||||||||||||||||||||||||||||||||||||||||||||||||||||||||||||||||||||||||||||||||||||||||||||||||||||||||||
|
Motorcycles |
|
|||||||||||||||||||||||||||||||||||||||||||||||||||||||||||||||||||||||||||||||||||||||||||||||||||||||||||||||||||
|
Building and customizing the Tamiya Kawasaki Ninja H2R #14131 1/12 scale |
||||||||||||||||||||||||||||||||||||||||||||||||||||||||||||||||||||||||||||||||||||||||||||||||||||||||||||||||||||
|
by Ricardo Gonzalez © Modeler Site |
||||||||||||||||||||||||||||||||||||||||||||||||||||||||||||||||||||||||||||||||||||||||||||||||||||||||||||||||||||
|
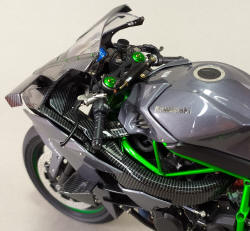
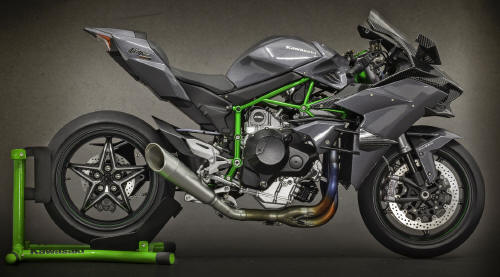
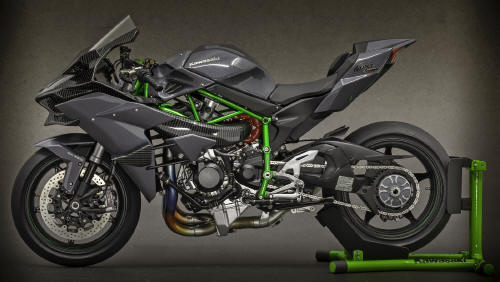
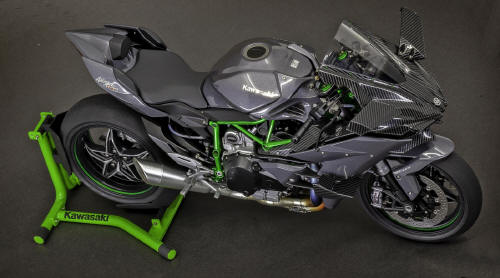
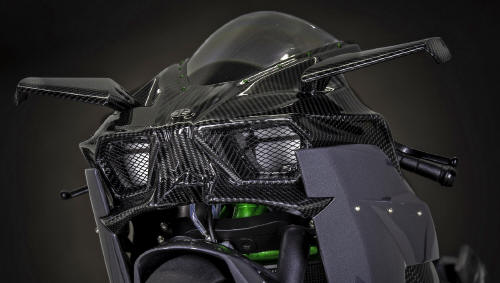
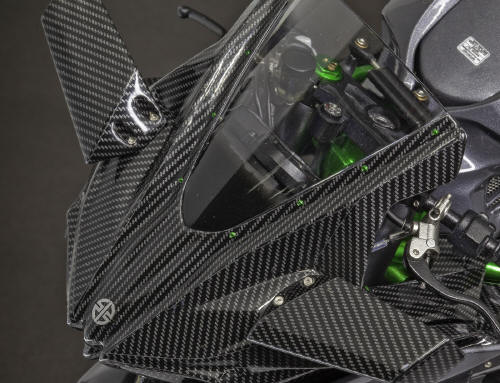
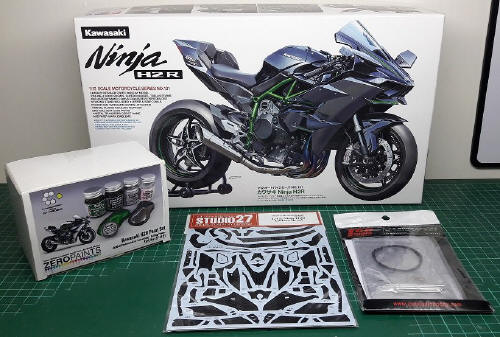
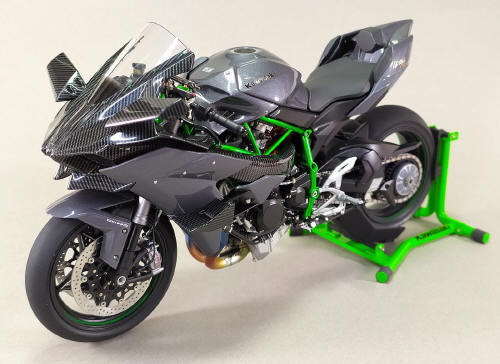
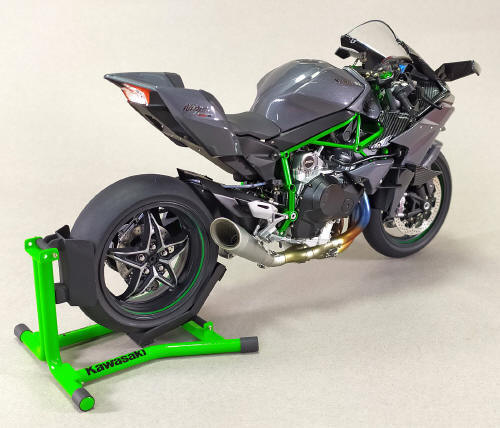
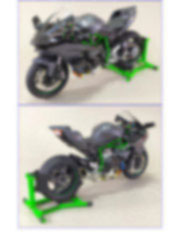
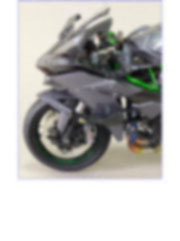
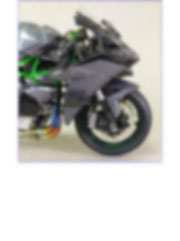
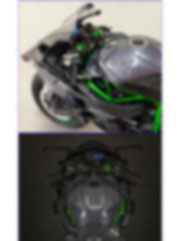
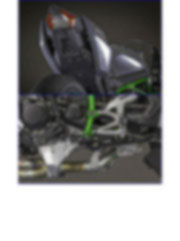
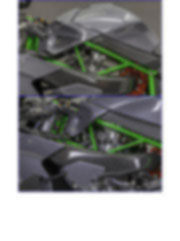
Legal Notice No material from Modeler Site any Web site may be copied, reproduced, republished, uploaded, posted, transmitted, or distributed in any way, except that you may download one copy of the materials on any single computer for your personal, non-commercial home use only, provided you keep intact all copyright and other proprietary notices. Modification of the materials or use of the materials for any other purpose is a violation of copyright and other proprietary rights. Read More here > Legal notice I decided to build, superdetail and customize this Tamiya kit, due to this subject beautifulness. A stunning futuristic motorcycle where great part of the engine and other structures are exposed which allow modelers show all those details we spent many hours on without the frustration that later will be hidden under the fairing. Thus, it’s possible to present the built model showing all the work made without having to separate the body to appreciate all the details added during the construction
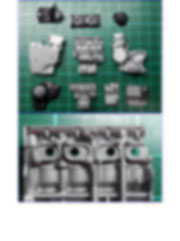
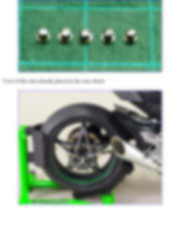
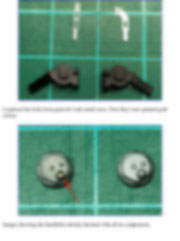
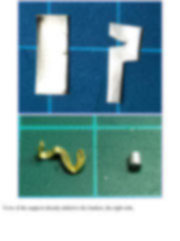
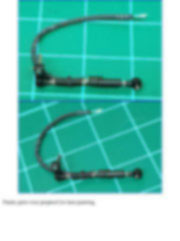
As I use to do with the models I’m more excited with, I decided to super detail it adding all the aftermarket I could get, plus scratchbuilt, and much work, using elements that everybody has in his workshop, for instance a small Allen key to represent nuts, as I’ll explain later. So, this tutorial aims at sharing with the reader my work, using at base all the pictures taken during the process that took many months, discounting some basic assembly steps, trying not to fill pages and pages of text concentrating myself in what the images show. I hope it’s useful and likes you. So here we go! Construction Next a list of details sets added and other materials.
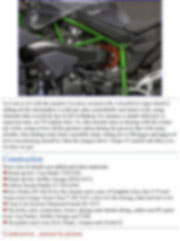
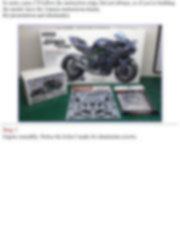
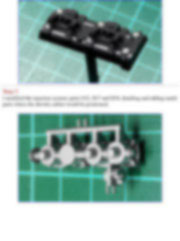
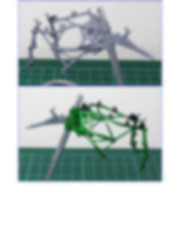
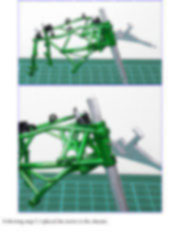
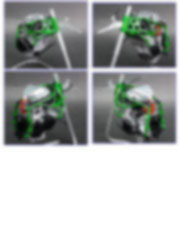
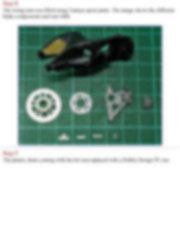
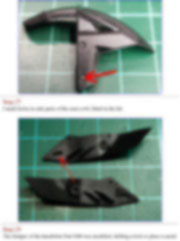
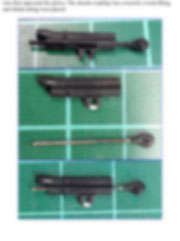
Construction…picture by picture In some cases, I’ll follow the instruction steps, but not always, so if you’re building the model, have the Tamiya instructions handy. Kit presentation and aftermarket
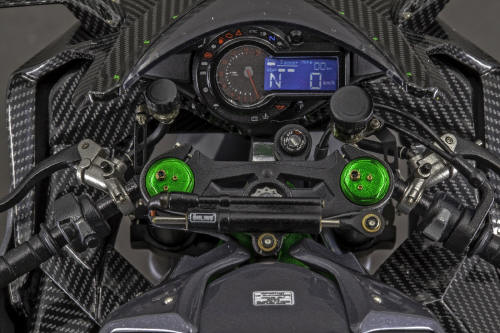
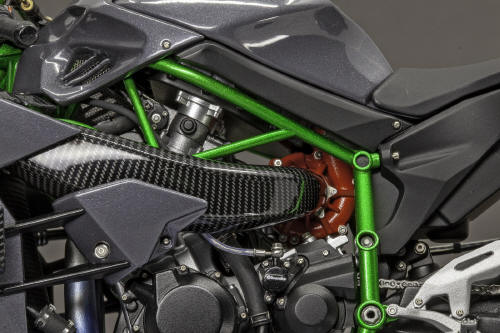
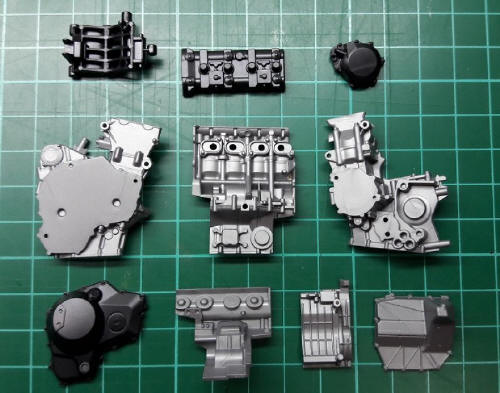
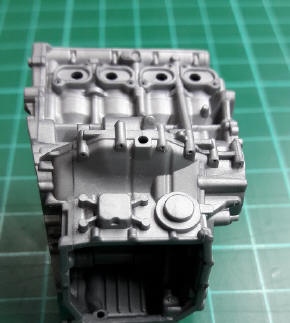
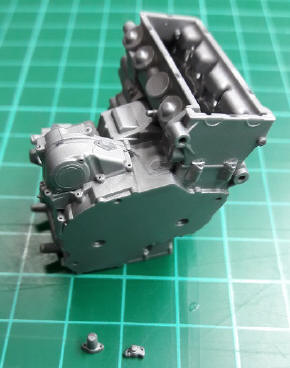
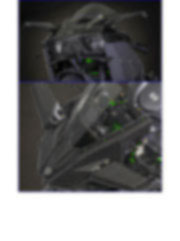
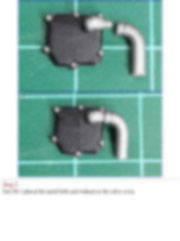
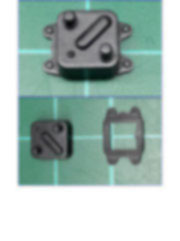
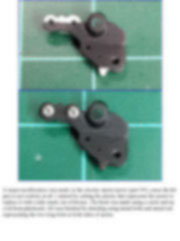
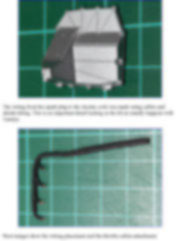
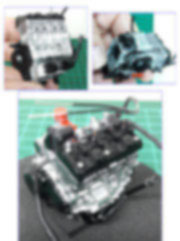
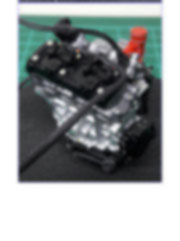
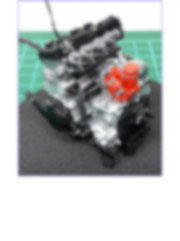
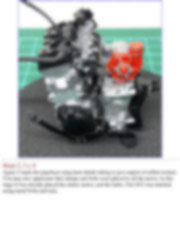
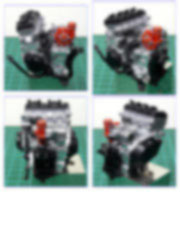
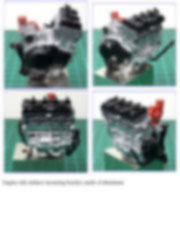
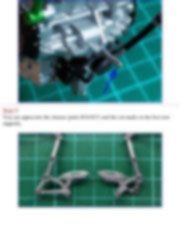
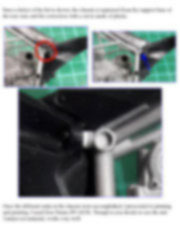
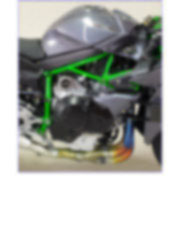
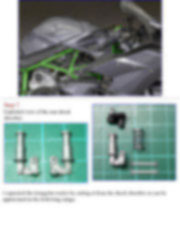
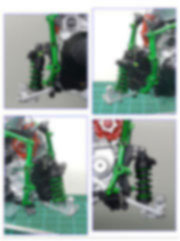
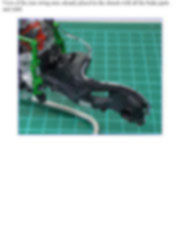
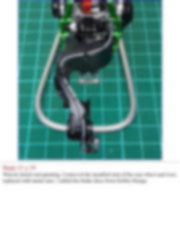
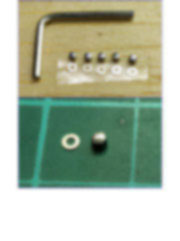
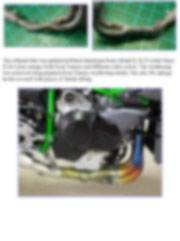
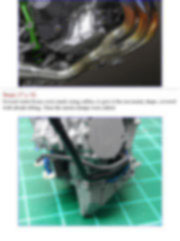
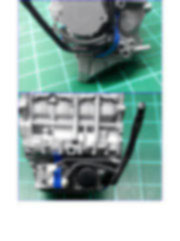
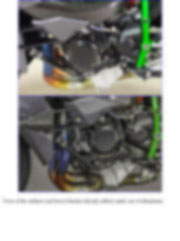
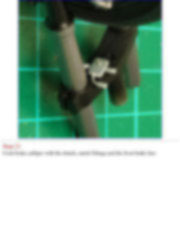
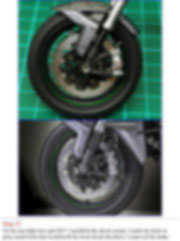
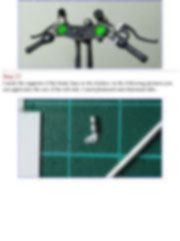
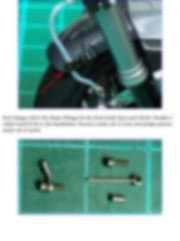
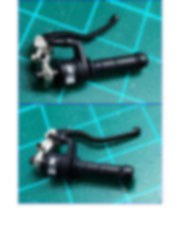
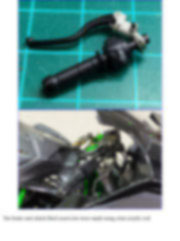
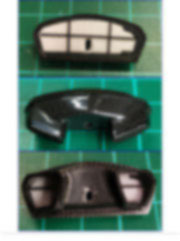
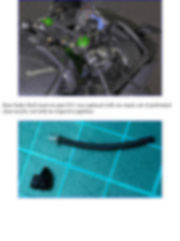
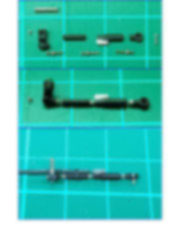
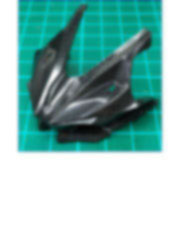
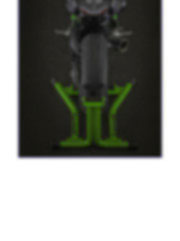
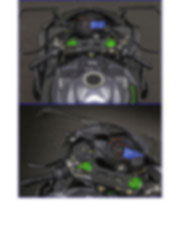
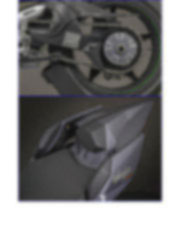
Step 1 Engine assembly. Notice the holes I made for aluminium screws.
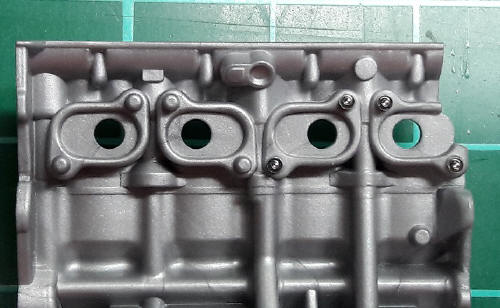
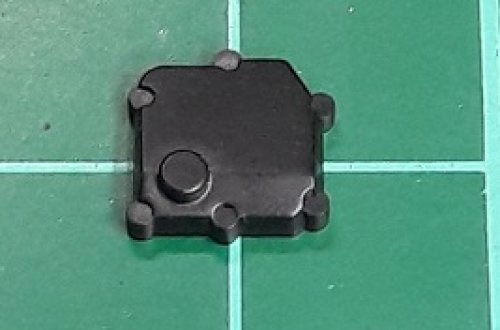
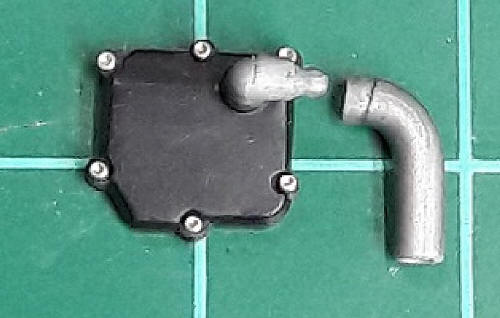
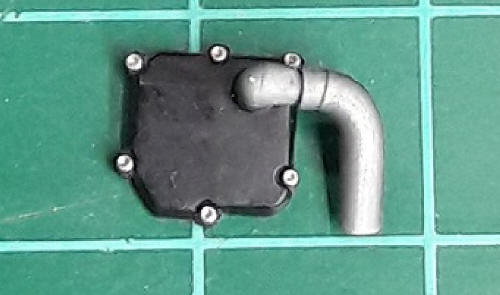
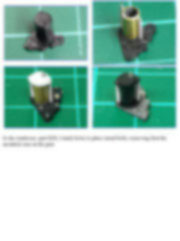
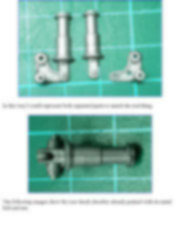
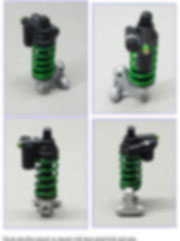
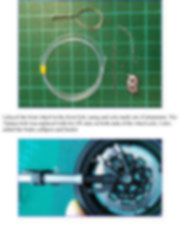
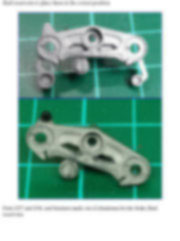
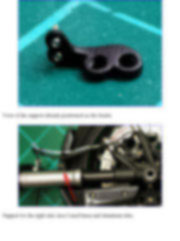
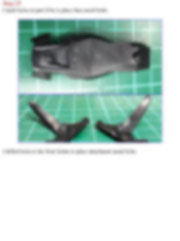
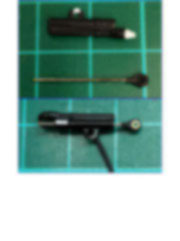
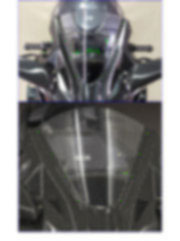
I detailed part D30. using a piece of sprue, plastic tube and metal bolts.
This tutorial is offered in PDF format to be read or printed using Acrobat reader, contact our webmaster > Here Includes more than 200 pics, here we show only the text pages.
Esta Nota es ofrecida en formato PDF, el cual puede ser leído o impreso usando el Acrobat reader, contacte a nuestro webmaster > Aquí Incluye más de 200 imágenes, aquí solo mostramos las paginas de texto.
Big size photos are only available in our PDF format. Support us ordering our notes in PDF > Here |
||||||||||||||||||||||||||||||||||||||||||||||||||||||||||||||||||||||||||||||||||||||||||||||||||||||||||||||||||||