|
|
|||||||||||||||||||||||||||||||||||||
|
Cars |
|
||||||||||||||||||||||||||||||||||||
|
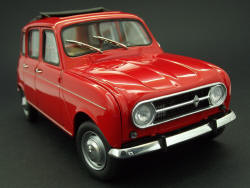
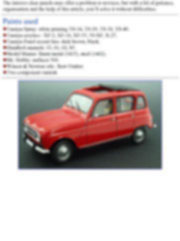
Building the Ebbro Renault 4L #25002 - 1/24 scale |
|||||||||||||||||||||||||||||||||||||
|
by Fabrice Marechal © Modeler Site |
|||||||||||||||||||||||||||||||||||||
|
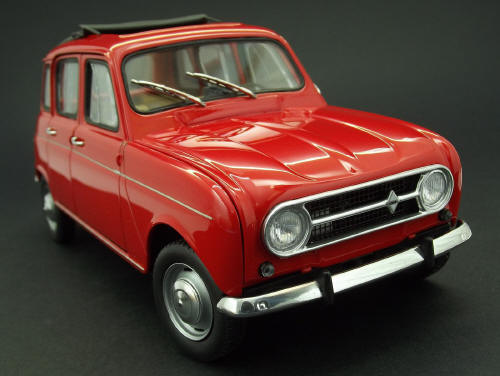
Legal Notice No material from Modeler Site any Web site may be copied, reproduced, republished, uploaded, posted, transmitted, or distributed in any way, except that you may download one copy of the materials on any single computer for your personal, non-commercial home use only, provided you keep intact all copyright and other proprietary notices. Modification of the materials or use of the materials for any other purpose is a violation of copyright and other proprietary rights. Read More here > Legal notice Produced since 1961, the popular 4L, debuted at the 1961 Paris Show and ran in production for more than 31 years in France only, and later in neighbouring countries with the only aim to compete with the also famous Citroen 2CV without which, the 4L perhaps, would have never existed! In the 1990 decade, Renault was obliged to resign the production of the 4L, for their inability to adapt to the new European rules against contamination. With more than 8 million units, the 4L is still the best-seller French car. This article aims at sharing with the reader the modifications and improvements I made during the construction of the Ebbro kit.
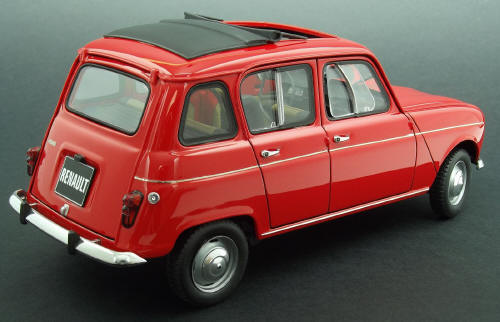
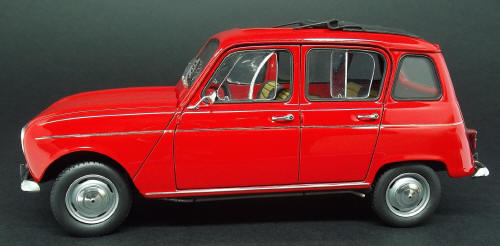
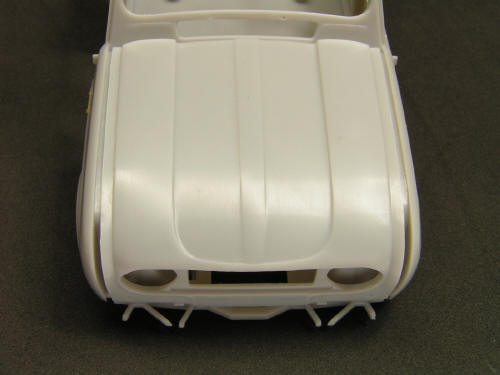
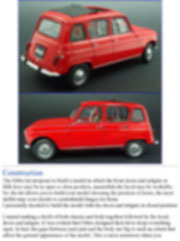
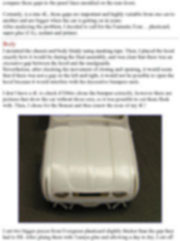
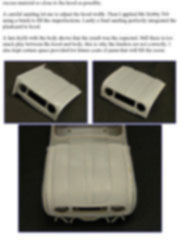
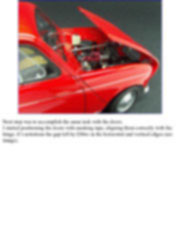
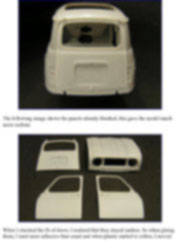
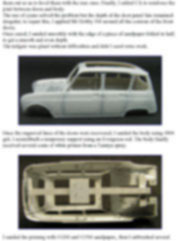
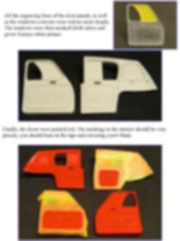
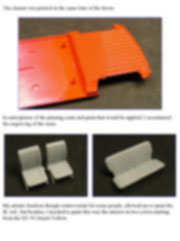
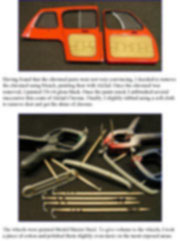
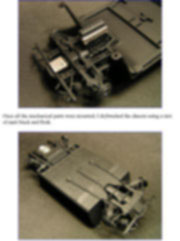
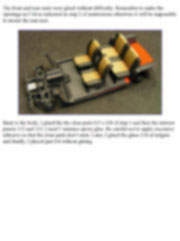
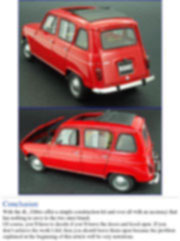
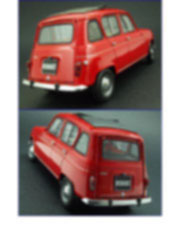
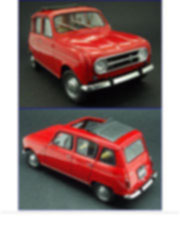
Construction The Ebbro kit proposes to build a model in which the front doors and tailgate or fifth door may be in open or close position, meanwhile the hood may be workable. So, the kit allows you to build your model choosing the position of doors, the most skilful may even decide to scratchbuild hinges for them. I personally decided to build the model with the doors and tailgate in closed position I started making a dryfit of both chassis and body together followed by the hood, doors and tailgate. It was evident that Ebbro designed their kit to keep everything open. In fact, the gaps between each part and the body are big to such an extent that affect the general appearance of the model. This is more notorious when you compare these gaps to the panel lines moulded on the rear doors. Certainly, is a true 4L, these gaps are important and highly variable from one car to another and are bigger when the car is getting on in years. After analyzing the problem, I decided to call for the Fantastic Four… plasticard, super glue (CA), sealant and primer. Body I mounted the chassis and body firmly using masking tape. Then, I placed the hood exactly how it would be during the final assembly, and was clear that there was an excessive gap between the hood and the mudguards. Nevertheless, after checking the movement of closing and opening, it would seem that if there was not a gap on the left and right, it would not be possible to open the hood because it would interfere with the decorative bumpers ends. I don’t have a 4L to check if Ebbro chose the bumper correctly, however there are pictures that show the car without those ears, so it was possible to cut them flush with. Then, I chose for the Bonsai and thus renew the nose of my 4L!
This article is offered in PDF format to be read or printed using Acrobat reader, contact our webmaster > Here Includes more than 57 pics, here we show only the text pages.
Esta Nota es ofrecida en formato PDF, el cual puede ser leído o impreso usando el Acrobat reader, contacte a nuestro webmaster > Aquí Incluye más de 57 imágenes, aquí solo mostramos las paginas de texto.
Big size photos are only available in our PDF format. Support us ordering our notes in PDF > Here |
|||||||||||||||||||||||||||||||||||||