|
|
||||||||||||||||||||||||||||||||||||
|
Cars |
|
|||||||||||||||||||||||||||||||||||
|
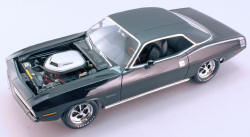
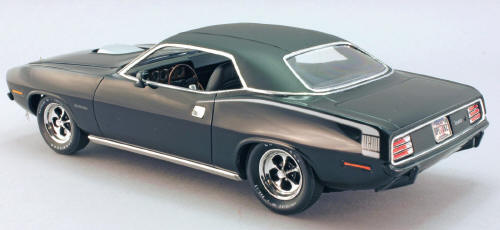
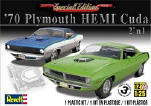
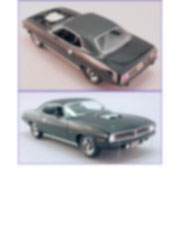
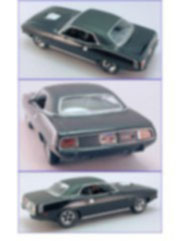
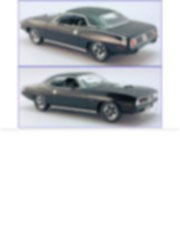
Improving the Revell 1970 Plymouth Hemi Cuda 1/25 scale |
||||||||||||||||||||||||||||||||||||
|
by Marcos Cruz © Modeler Site |
||||||||||||||||||||||||||||||||||||
|
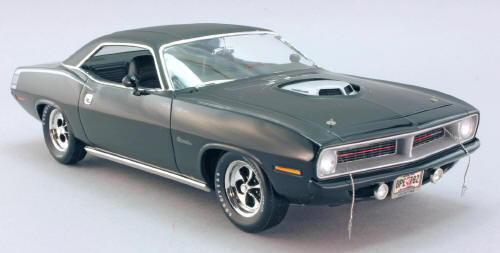
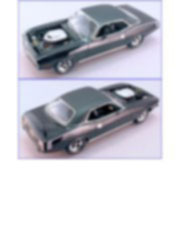
Legal Notice No material from Modeler Site any Web site owned, operated, licensed, or controlled by Damian Covalski may be copied, reproduced, republished, uploaded, posted, transmitted, or distributed in any way, except that you may download one copy of the materials on any single computer for your personal, non-commercial home use only, provided you keep intact all copyright and other proprietary notices. Modification of the materials or use of the materials for any other purpose is a violation of Damian Covalski's copyright and other proprietary rights. Read More here > Legal notice We all have our favourite automotive genres and subjects when it comes to building models and while I consider myself to be pretty versatile, nothing pumps me more than having a Muscle Car on my table as my next project. The newly released Revell Hemi 'Cuda is one of those eagerly awaited kits and one that I just had to build once it became available. The kit offers two different build options, one is a street machine version and the other is a factory stock version. I decided to go with the factory stock version but opted to use different tires and wheels.
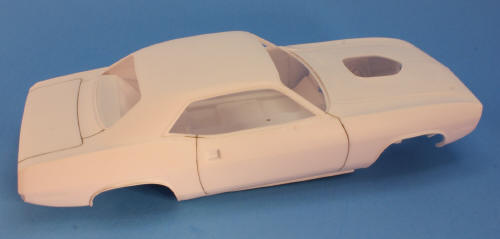
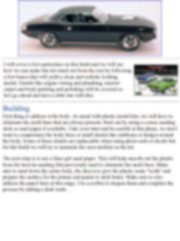
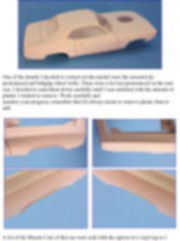
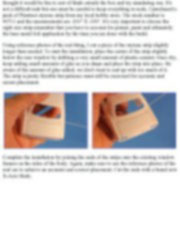
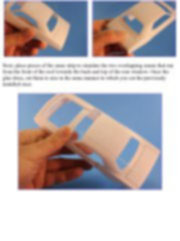
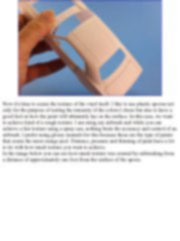
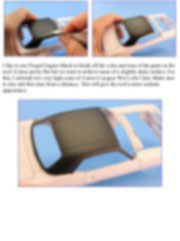
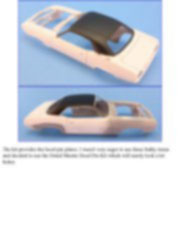
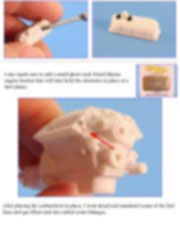
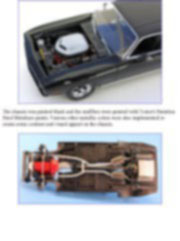
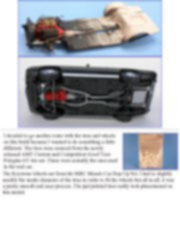
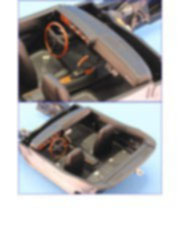
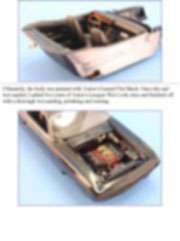
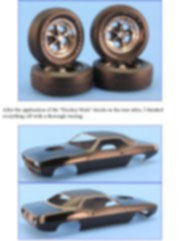
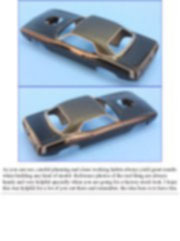
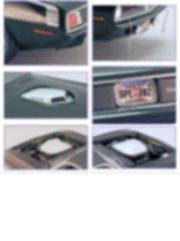
Building First thing to address is the body. As usual with plastic model kits, we will have to eliminate the mold lines that are always present. Start out by using a coarse sanding stick or sand paper if available. Take your time and be careful at this phase, we don't want to compromise the body lines or small details like emblems or badges around the body. Some of these details are replaceable when using photo-etch or decals but for this build we will try to maintain the ones molded on the kit. The next step is to use a finer grit sand paper. This will help smooth out the plastic from the heavier sanding film previously used to eliminate the mold lines. Make sure to sand down the entire body, the idea is to give the plastic some "tooth" and prepare the surface for the primer and paints to stick better. Make sure to also address the panel lines at this stage. Use a scriber to deepen them and complete the process by adding a dark wash.
This note is offered in PDF format to be read or printed using Acrobat reader, contact our webmaster > Here Includes more than 80 pics, here we show only the text pages.
Esta Nota es ofrecida en formato PDF, el cual puede ser leído o impreso usando el Acrobat reader, contacte a nuestro webmaster > Aquí Incluye más de 80 imágenes, aquí solo mostramos las paginas de texto.
Big size photos are only available in our PDF format. Support us ordering our notes in PDF > Here |
||||||||||||||||||||||||||||||||||||