|
Legal Notice
No material from Modeler Site any Web site owned, operated, licensed, or controlled by Damian Covalski may be copied, reproduced, republished, uploaded, posted, transmitted, or distributed in any way, except that you may download one copy of the materials on any single computer for your personal, non-commercial home use only, provided you keep intact all copyright and other proprietary notices. Modification of the materials or use of the materials for any other purpose is a violation of Damian Covalski's copyright and other proprietary rights.
Read More here > Legal notice
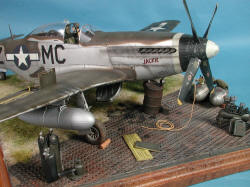
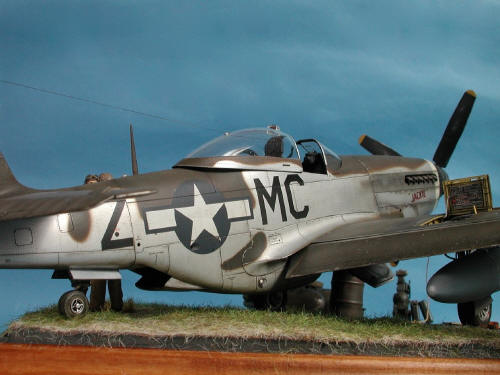
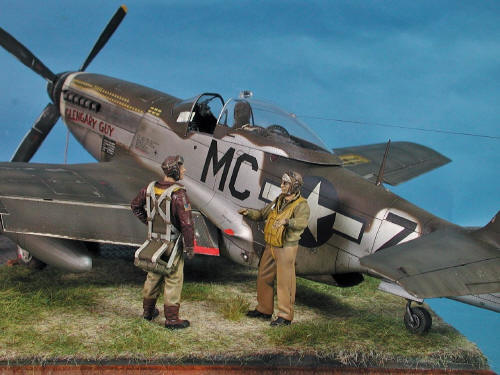
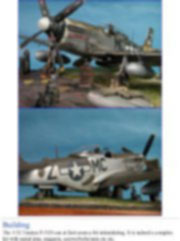
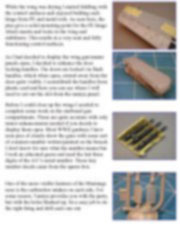
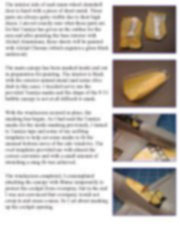
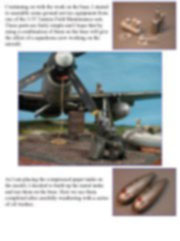
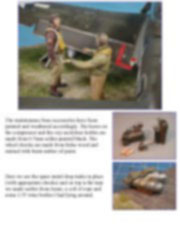
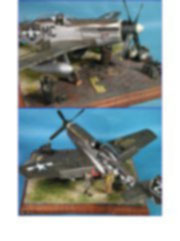
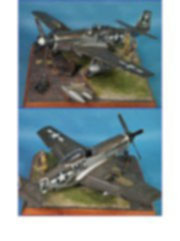
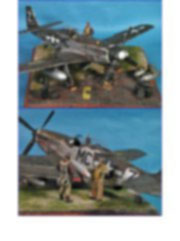
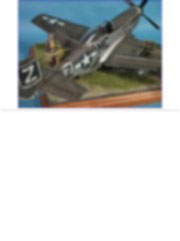
The glorious Tamiya P-51D in 1/32. This model was started immediately after I finished my battle with the Dragon P-51D. As you would expect there is no comparison between the two as this kit from Tamiya almost builds itself. Having said that, this is not a simple kit to build. It is overly complex in my opinion but I applaud Tamiya for giving us what will be for a long time to come the ultimate P-51 in any scale. The pilot figures are from Ultracast and Verlinden.
Building
The 1/32 Tamiya P-51D can at first seem a bit intimidating. It is indeed a complex kit with metal pins, magnets, screws/bolts/nuts etc etc.
|
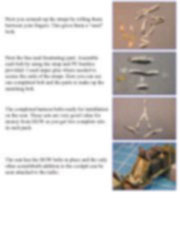
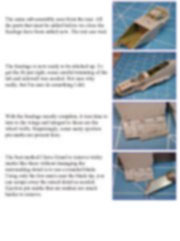
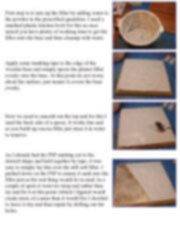
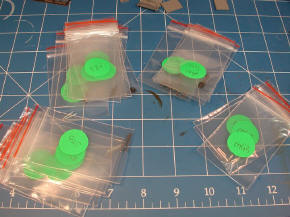
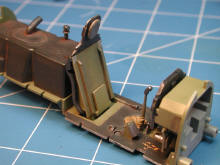
My first order of business was to sort all these items into their own bags and label them for when I needed them during the build. In hindsight, this was a very good idea (hint).
|
 |
|
 |
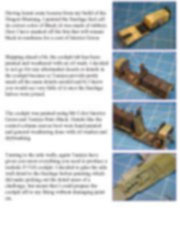
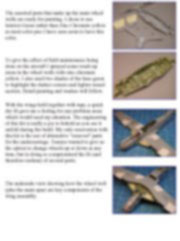
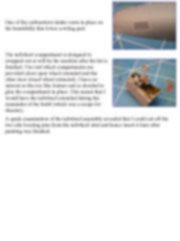
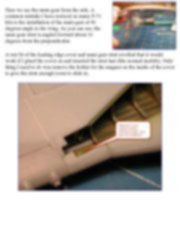
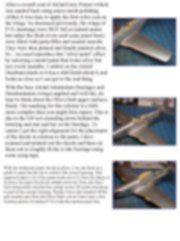
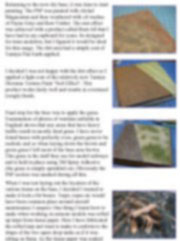
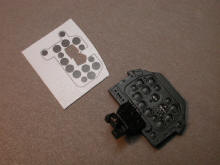
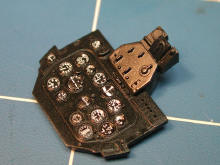
Tamiya has designed the instrument panel in an interesting way. The dials are molded in clear (for the glass effect) and the dial faces a single piece "reverse" decal. What I mean by reverse is that the decal detail is on the sticky side (ie facing down on the paper).
|
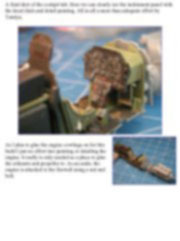
You are meant to glue the decal to the rear of the clear part and hence when u look thru the clear part, see the dials. I did not like this idea as I felt the dial face would be too far back behind the glass as the clear parts are quite thick. So I cut each dial decal out and placed them on the panel sticky side up. I was not sure how this would work, but thankfully with setting solution etc they seemed to stick well enough. Once dry, they were sealed below a coat of Future. |
 |
|
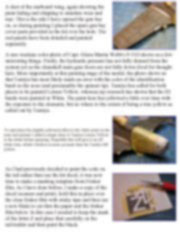
After about 30 mins of work the dials are all in place and look much better than placing them behind the thick clear glass parts. |
 |
|
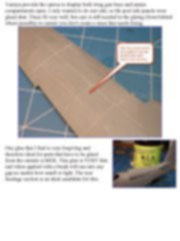
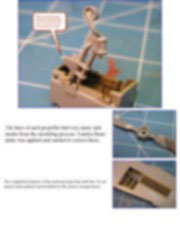
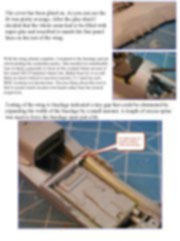
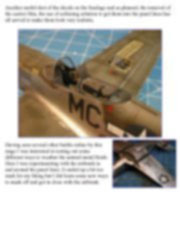
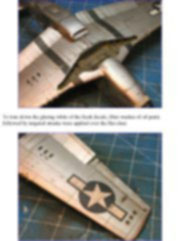
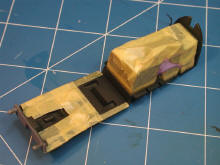
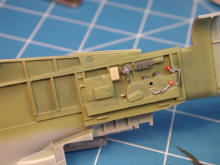
Having learnt some lessons from my build of the Dragon Mustang, I painted the fuselage fuel cell its correct color of Black (it was made of rubber). Here I have masked off the bits that will remain black in readiness for a coat of Interior Green |
 |
|
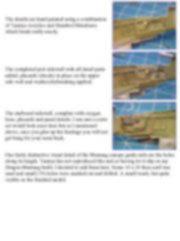
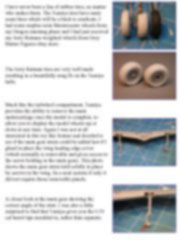
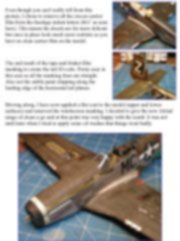
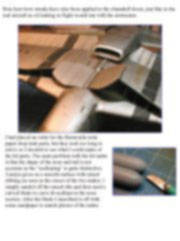
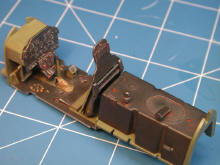
Skipping ahead a bit, the cockpit tub has been painted and weathered with an oil wash. I decided to not go for any aftermarket decals or details in the cockpit because a) Tamiya provide pretty much all the main details needed and b) I knew you would see very little of it once the fuselage halves were joined. |
 |
|
The cockpit was painted using Mr Color Interior Green and Tamiya Nato Black. Details like the control column canvas boot were hand painted and general weathering done with oil washes and drybrushing. |
 |
|
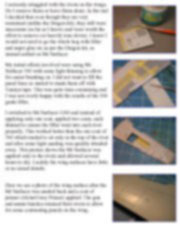
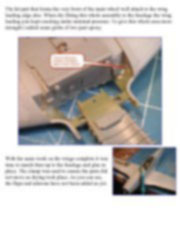
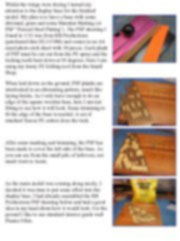
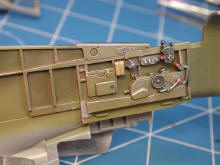
Turning to the side walls, again Tamiya have given you most everything you need to produce a realistic P-51D cockpit. I decided to glue the side wall detail to the fuselage before painting which did make picking out the detail more of a challenge, but meant that I could prepare the cockpit sill to my liking without damaging paint etc. |
 |
|
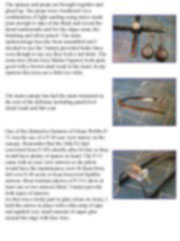
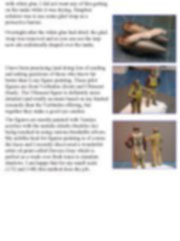
The details are hand painted using a combination of Tamiya Acrylics and Humbrol Metalisers which brush really nicely. |
 |
|
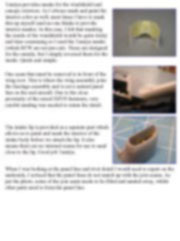
The completed port sidewall with all detail parts added, placards (decals) in place on the upper side wall and washes/drybrushing applied. |
 |
|
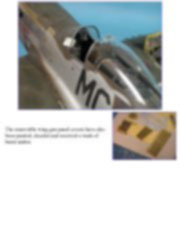
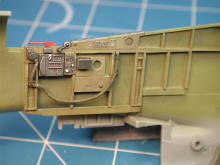
The starboard sidewall, complete with oxygen hose, placards and panel details. I am sure a resin set would look nicer here but as I mentioned above, once you glue up the fuselage you will not get bang for your resin buck. |
 |
This note is offered in PDF format to be read or printed using Acrobat reader, contact our webmaster > Here
Includes more than 144 pics, here we show only the text pages.
Esta Nota es ofrecida en formato PDF, el cual puede ser leído o impreso usando el Acrobat reader, contacte a nuestro webmaster > Aquí
Incluye más de 144 imágenes, aquí solo mostramos las paginas de texto.
Big size photos are only available in our PDF format.
Support us ordering our notes in PDF > Here
|