|
|
|||||||||||||||||||||||||||||||||||
|
Armor |
|
||||||||||||||||||||||||||||||||||
|
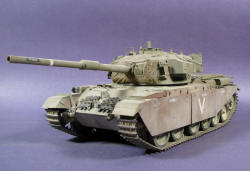
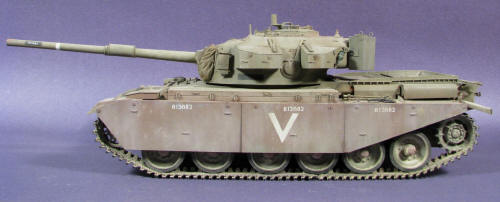
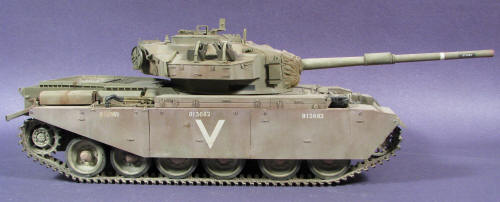
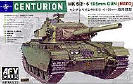
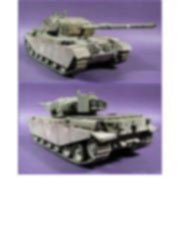
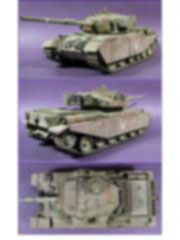
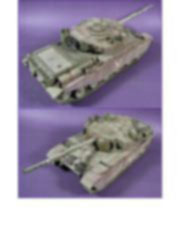
Building the Centurion Mk 5/2 AFV Club #35122 1/35 scale |
|||||||||||||||||||||||||||||||||||
|
by Pablo Raggi © 2009 Modeler Site |
|||||||||||||||||||||||||||||||||||
|
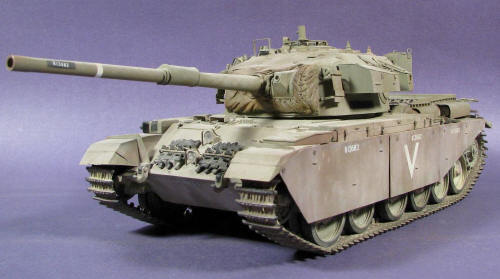
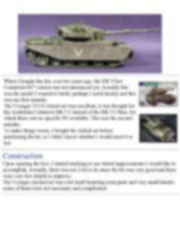
Legal Notice No material from Modeler Site any Web site owned, operated, licensed, or controlled by Damian Covalski may be copied, reproduced, republished, uploaded, posted, transmitted, or distributed in any way, except that you may download one copy of the materials on any single computer for your personal, non-commercial home use only, provided you keep intact all copyright and other proprietary notices. Modification of the materials or use of the materials for any other purpose is a violation of Damian Covalski's copyright and other proprietary rights. Read More here > Legal notice According to my criteria, this is perhaps one of the most attractive vehicles with regard to its design. The quality of its casting is superb. The aftermarkets are excellent and superdetailed. Then, Why did it take me almost two years to get it finished? Hobby mysteries!! Here I offer you a guide of the things you don’t have to do when you buy a good kit.
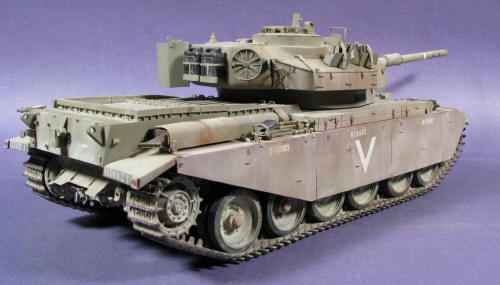
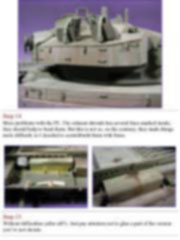
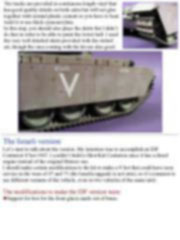
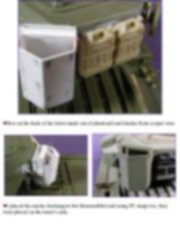
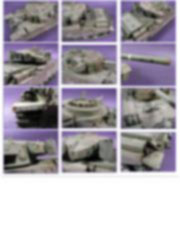
Construction Upon opening the box, I started studying to see which improvements I would like to accomplish. Actually, there was not a lot to do since the kit was very good and there were very few details to improve. The Voyager etched set was a kit itself featuring resin parts and very small details, some of them were not necessary and complicated. Steps 1 & 2 I started with the hull assembly, the point, here, is to be careful when gluing the bogies, since the kit supplies them to be movable, but they don’t look well, the connecting rear rods of the bogies can give problems when being mounted. I recommend to leave everything glued and fixed. This note is offered in PDF format to be read or printed using Acrobat reader, contact our webmaster > Here Includes more than 77 pics, here we show only the text pages.
Esta Nota es ofrecida en formato PDF, el cual puede ser leído o impreso usando el Acrobat reader, contacte a nuestro webmaster > Aquí Incluye más de 77 imágenes, aquí solo mostramos las paginas de texto.
Big size photos are only available in our PDF format. Support us ordering our notes in PDF > Here |
|||||||||||||||||||||||||||||||||||