|
|
|||||||||||||||||||||||||||||||||||||||||||||||||||
|
Formula one |
|
||||||||||||||||||||||||||||||||||||||||||||||||||
|
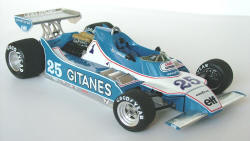
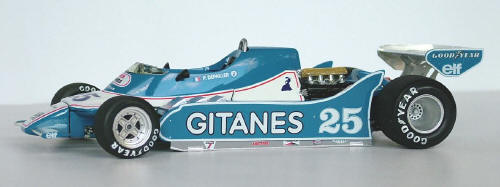
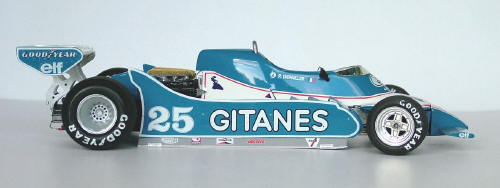
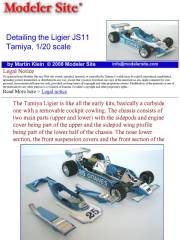
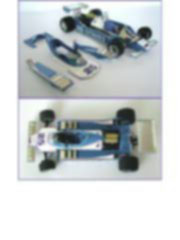
Detailing the Ligier JS11 Tamiya, 1/20 scale |
|||||||||||||||||||||||||||||||||||||||||||||||||||
|
by Martin Klein © Modeler Site |
|||||||||||||||||||||||||||||||||||||||||||||||||||
|
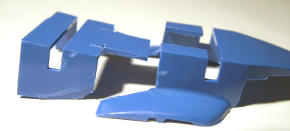
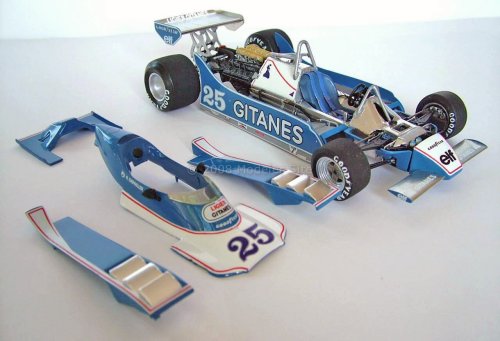
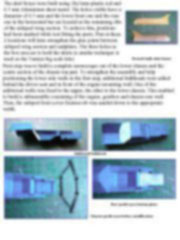
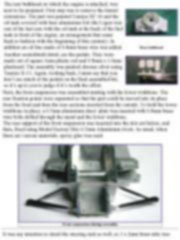
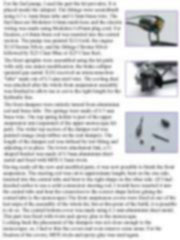
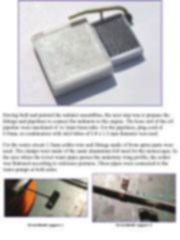
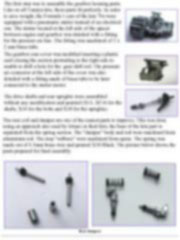
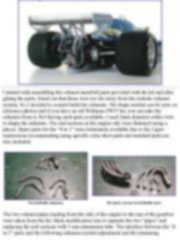
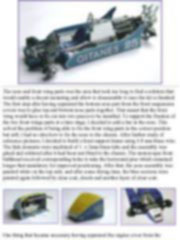
Legal Notice No material from Modeler Site any Web site owned, operated, licensed, or controlled by Damian Covalski may be copied, reproduced, republished, uploaded, posted, transmitted, or distributed in any way, except that you may download one copy of the materials on any single computer for your personal, non-commercial home use only, provided you keep intact all copyright and other proprietary notices. Modification of the materials or use of the materials for any other purpose is a violation of Damian Covalski's copyright and other proprietary rights. Read More here > Legal notice The Tamiya Ligier is like all the early kits, basically a curbside one with a removable cockpit cowling. The chassis consists of two main parts (upper and lower) with the sidepods and engine cover being part of the upper and the sidepod wing profile being part of the lower half of the chassis. The nose lower section, the front suspension covers and the front section of the monocoque are also integrated in one part. Before starting the kit, I was planning to detail it with removable front wing, sidepods and engine cover and with movable skirts, so the first step was to check my books and magazines looking for reference pictures. The result was pretty poor, so, I decided to surf the net, and this was a great success.
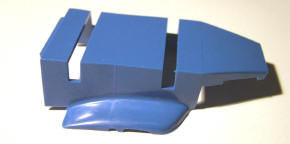
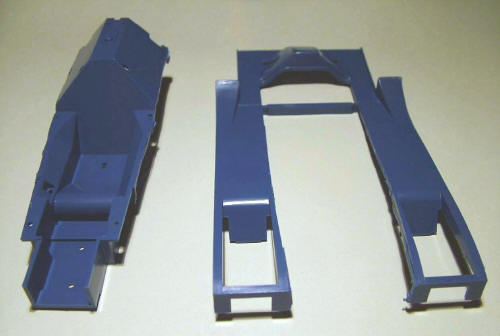
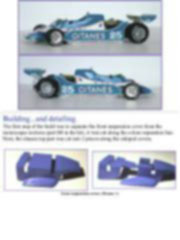
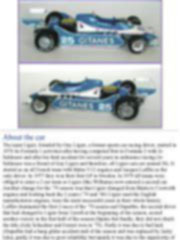
Building...and detailing The first step of the build was to separate the front suspension cover from the monocoque sections (part B8 in the kit), it was cut along the colour separation line. Next, the chassis top part was cut into 2 pieces along the sidepod covers.
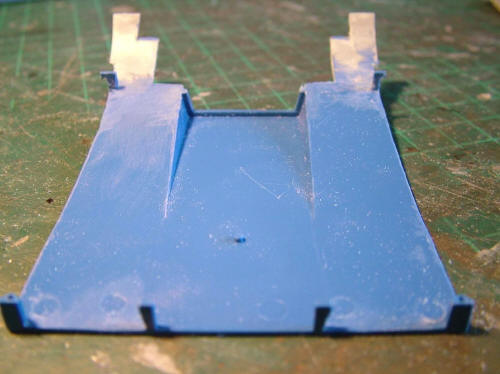
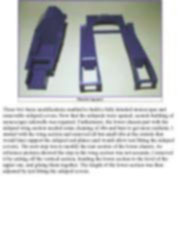
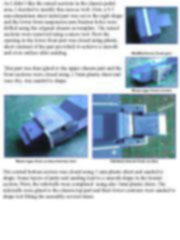
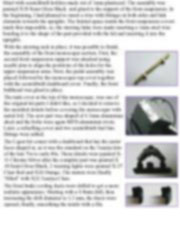
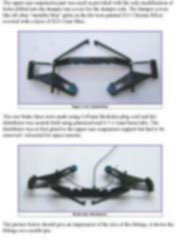
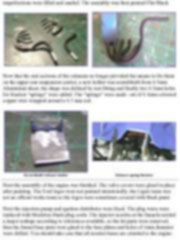
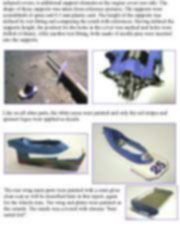
These two basic modifications enabled to build a fully detailed monocoque and removable sidepod covers. Now that the sidepods were opened, scratch building of monocoque sidewalls was required. Furthermore, the lower chassis part with the sidepod wing section needed some cleaning of ribs and bars to get more realism. I started with the wing section and removed all but small ribs at the outside that would later support the sidepod end plates (and would allow test fitting the sidepod covers). The next step was to modify the rear section of the lower chassis. As reference pictures showed the step in the wing section was not accurate, I removed it by cutting off the vertical section, bending the lower section to the level of the upper
one, and gluing them together. The length of the lower section was then adjusted by test fitting the sidepod
covers.
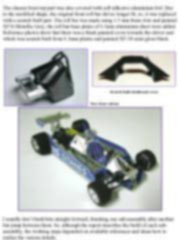
This article is offered in PDF format to be read or printed using Acrobat reader, contact our webmaster > Here Includes more than 126 pics, here we show only the text pages.
Esta Nota es ofrecida en formato PDF, el cual puede ser leído o impreso usando el Acrobat reader, contacte a nuestro webmaster > Aquí Incluye más de 126 imágenes, aquí solo mostramos las paginas de texto.
Big size photos are only available in our PDF format. Support us ordering our notes in PDF > Here |
|||||||||||||||||||||||||||||||||||||||||||||||||||