|
|
|||||||||||||||||||||||||||
|
Motorcycles |
|
||||||||||||||||||||||||||
|
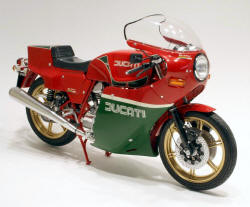
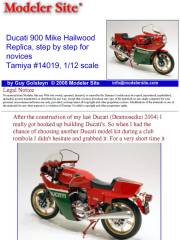
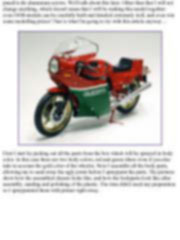
Ducati 900 Mike Hailwood Replica, step by step for novices Tamiya #14019, 1/12 scale |
|||||||||||||||||||||||||||
|
by Guy Golsteyn © Modeler Site |
|||||||||||||||||||||||||||
|
Legal Notice No material from Modeler Site any Web site owned, operated, licensed, or controlled by Damian Covalski may be copied, reproduced, republished, uploaded, posted, transmitted, or distributed in any way, except that you may download one copy of the materials on any single computer for your personal, non-commercial home use only, provided you keep intact all copyright and other proprietary notices. Modification of the materials or use of the materials for any other purpose is a violation of Damian Covalski's copyright and other proprietary rights. Read More here > Legal notice After the construction of my last Ducati (Desmosedici 2004) I really got hooked up building Ducati's. So when I had the chance of choosing another Ducati model kit during a club tombola I didn't hesitate and grabbed it. For a very short time it disappeared into my to-do stockpile, only to be released a few weeks later when I finished another project I had been working on. The urge to start building this bike was just too big…
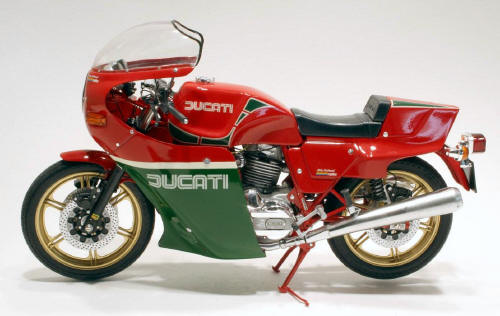
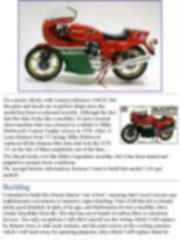
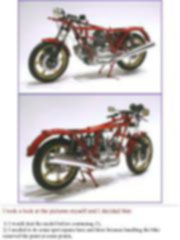
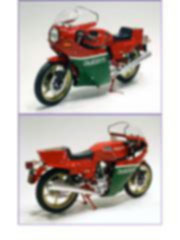
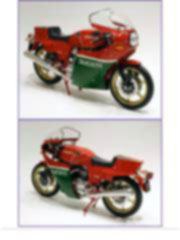
The Ducati looks a lot like Mike's legendary racebike, but it has been tamed and adapted to normal street conditions. Building I intended to build this Ducati almost “out of box”, meaning that I won't execute any sophisticated conversions or intensive super detailing. First of all this kit is already pretty good detailed, in spite of its age, and furthermore it's not a racebike, but a classic streetbike from the ‘80s that has never heard of carbon fiber or electronic devices. The only exceptions I will allow myself are the wiring which I will replace by thinner wires to add some realism, and the joint screws at the cowling exterior, which I will sand away for spraying purposes, after which I will replace them by punch'n die aluminium screws. We'll talk about this later. Other than that I will not change anything, which doesn't mean that I will be rushing this model together: even OOB-models can be carefully built and detailed extremely well,
and even win some modelling prizes! That is what I'm going to try with this article anyway…
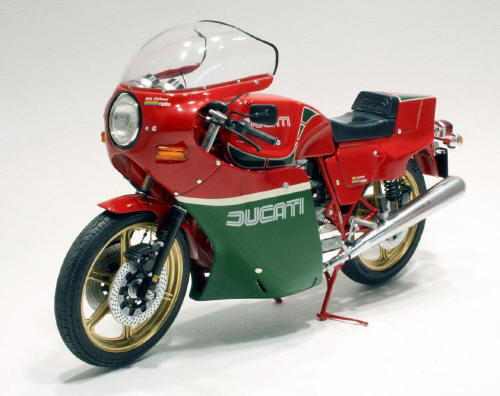
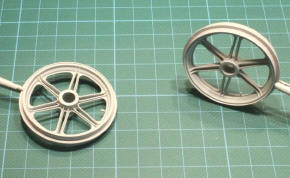
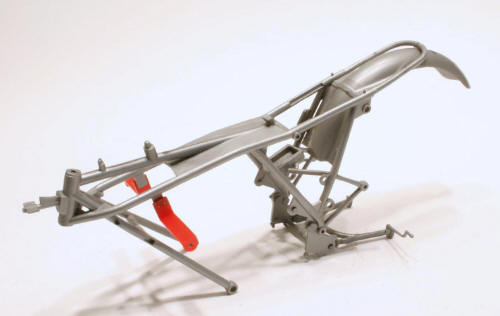
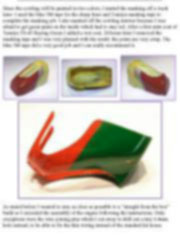
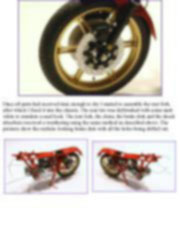
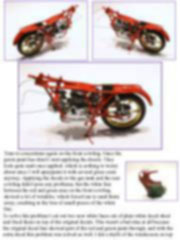
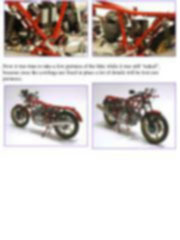
First I start by picking out all the parts from the box which will be sprayed in body color. In this case there are two body colors, red and green (three even if you also take in account the gold color of the wheels). Next I assemble all the body parts, allowing me to sand away the ugly joints before I spraypaint the parts. The pictures show how the assembled chassis looks like, and how the bodyparts look like after assembly, sanding and polishing of the plastic. The rims didn't need any preparation so I spraypainted them with primer right away.
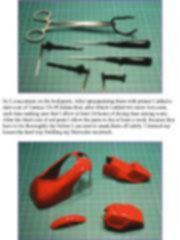
The exhaust parts in the kit are pre-chromed which isn't a very good idea, because it's impossible to glue the halves together without an ugly cement joint showing through. So I decide to strip the chromed parts, to be able to assemble them properly and to spraypaint them with Alclad II chrome. That way I can also sand off all the small pins where the parts were attached to the frame. So I throw the chromed parts into a jar of oven cleaner, which works very well since the chrome has disappeared completely after just a few minutes. Next I assemble all the parts and I carefully sand off the joints, after which I spray a coat of primer. I allow the parts to dry for 24 hours and then I spray on a coat of gloss black enamel, serving as the basic coat for the Alclad II chrome paint. Next I put the parts aside to allow them to dry. ( Working with Alclad2 "natural metal finishes" ) This article is offered in PDF format to be read or printed using Acrobat reader, contact our webmaster > Here Includes more than 41 pics, here we show only the text pages.
Esta Nota es ofrecida en formato PDF, el cual puede ser leído o impreso usando el Acrobat reader, contacte a nuestro webmaster > Aquí Incluye más de 41 imágenes, aquí solo mostramos las paginas de texto.
Big size photos are only available in our PDF format. Support us ordering our notes in PDF > Here |
|||||||||||||||||||||||||||