|
|
|||||||||||||
|
Armor/Diorama |
|
||||||||||||
|
Sherman dozer in France |
|||||||||||||
|
by Russ Sharp © 2004 Modeler Site |
|||||||||||||
|
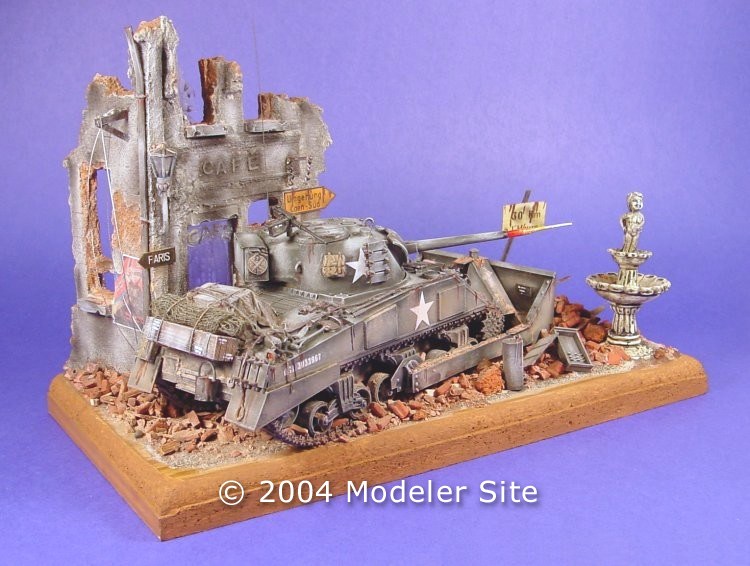
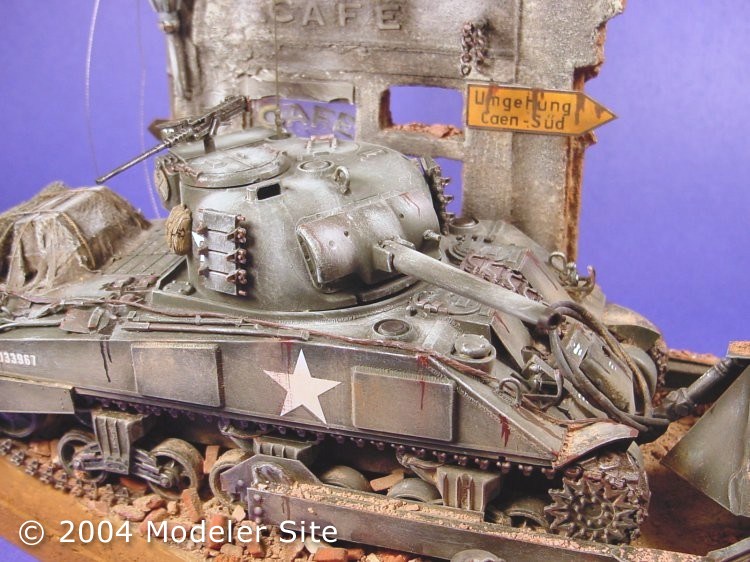
Legal Notice No material from Modeler Site any Web site owned, operated, licensed, or controlled by Mario Covalski & Associated may be copied, reproduced, republished, uploaded, posted, transmitted, or distributed in any way, except that you may download one copy of the materials on any single computer for your personal, non-commercial home use only, provided you keep intact all copyright and other proprietary notices. Modification of the materials or use of the materials for any other purpose is a violation of Mario Covalski & Associated's copyright and other proprietary rights. Read More here > Legal notice In 1943, Dozerblades along with D8 Cat hydraulic hoists were fitted to Shermans for the Italian campaign. These proved so successful, that a new design was drawn up, and standardised in 1944. A wider blade version was also made for the HVSS Shermans. The Engineer Corps had turret-less Shermandozers.
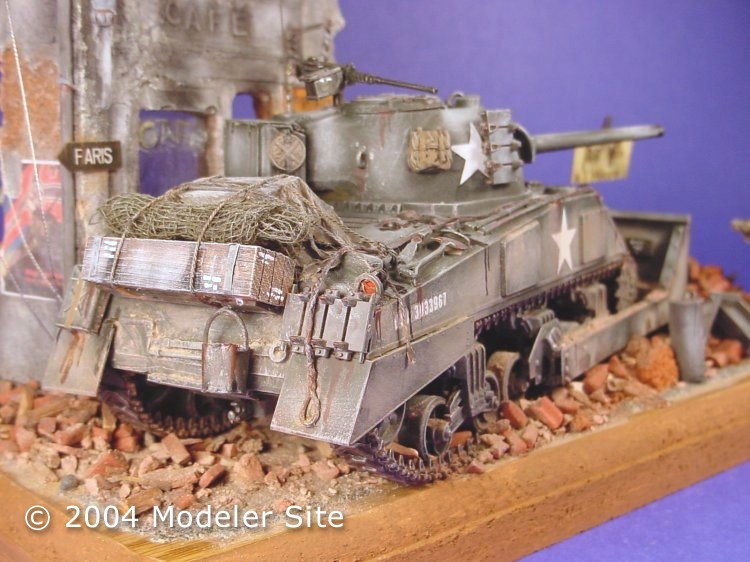
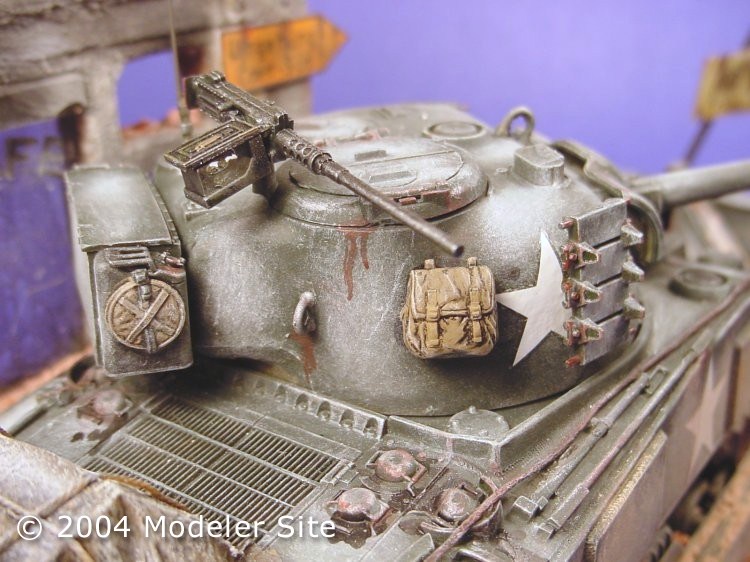
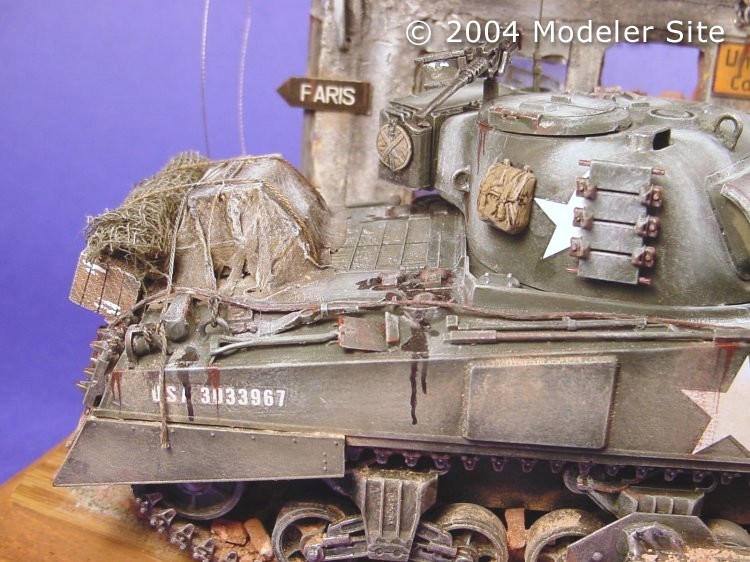
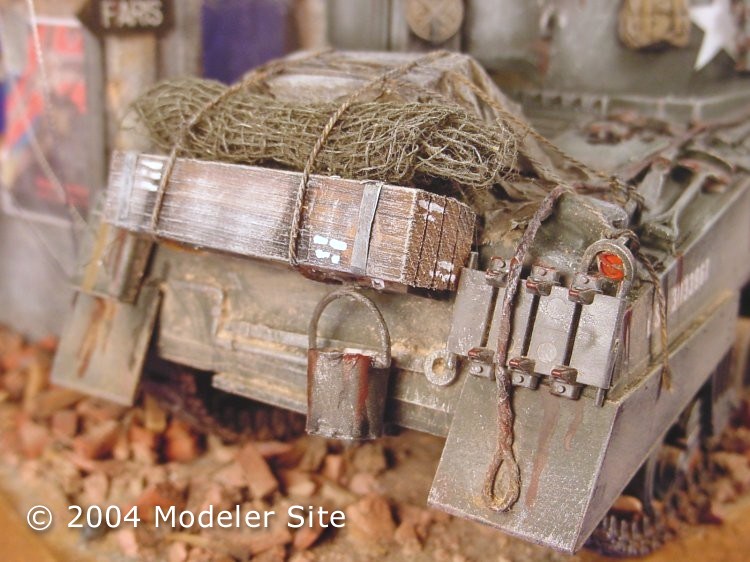
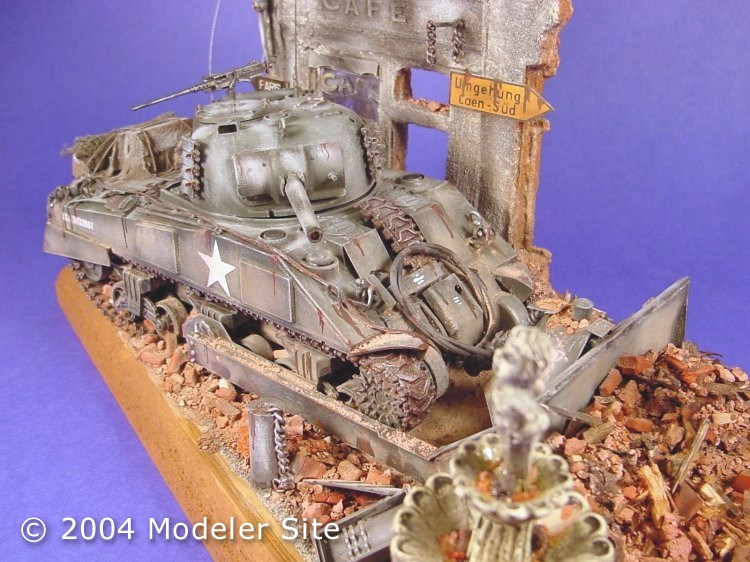
The model I had a lot left over Sherman parts from other kits, including a resin upper hull from Verlinden, so the idea was born to put together a Sherman, and a scratch-build a dozer blade to go with it. The vehicle was built as per the standard Sherman kit instructions from Tamiya, and the dozer blade was built after much searching for information and drawings, using plastic sheet stock. The paint used for this project was from Vallejo, #889 US Olive Drab. The spares box was raided for extra stowage, and the tarped stowage on the engine deck is made from arranged resin box shaped sprue pieces, saved especially for this purpose. The painting of the extra gear was done with Vallejo #873 US Field Drab. A black wash was used overall and then was drybrushed with a light sandstone colour. Pastels were used to give the tank that dusty look, and MiG weathering pigments were used on the lower hull, bogies and blade to simulate even more dust.
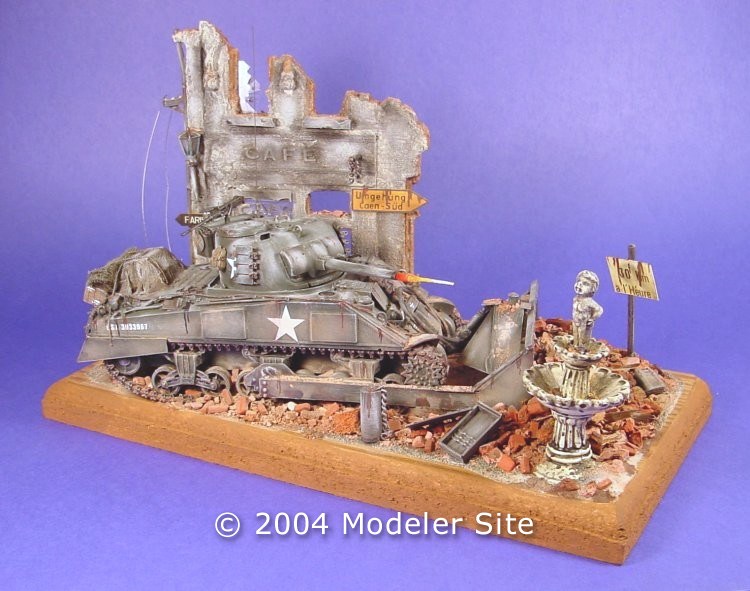
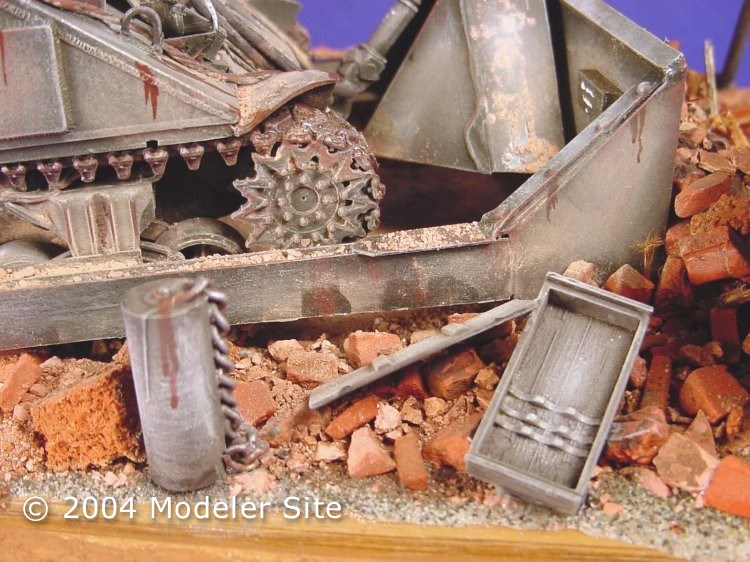
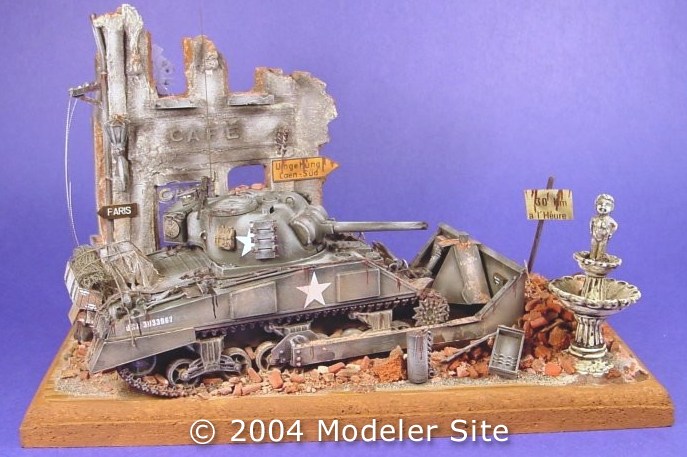
Diorama The building was a casting experiment from Kelly Zak, which came out a little rougher than he expected, but turned out to be perfect for my purposes. I detailed the building by adding window sills, upper floor, glass, light and hydro fixtures. The building was then white-glued to the wood base after it was determined where everything would be placed. The brick rubble was again made by Kelly Zak, and was placed up to, around, and on the building. To simulate an even more war-torn building, a stucco type acrylic paint was used, first a light brown/brick colour was applied to the edges, and a grey on the front and side of the building. The paints went on very nicely after some required Stirring, as they are quite thick. They are called Decoart Sandstones. They come in four colours that I know of, and work quite well for diorama buildings. A dark grey acrylic was used for the windowsills. After everything was painted, the building was given a black wash to tone down the colours. Orange was drybrushed on the exposed brick edges, and a light sandstone colour drybrushed overall. Broken window panes and signs were added, as were confetti letters to make up the word “CAFÉ” on the building and on the front window. The tank was added to the base and glued down, and more rubble added around the tracks and blade. The water fountain was found at a local hobby craft store and added. Not too much had to be done to the fountain, just a black wash was given to highlight the details.
Summary Lastly, as you will notice, there are no figures in this diorama, I wanted the action to come from the tank. As an experiment, and just for fun, Kelly took and stretched some clear sprue, and I painted it to simulate the firing of the gun. It was made to fit into the gun barrel and be removed if so desired.
Support us ordering our notes in PDF > Here |
|||||||||||||