|
|
||||||||||||||||||||||||||||||||||||||||||||||
|
Formula one |
|
|||||||||||||||||||||||||||||||||||||||||||||
|
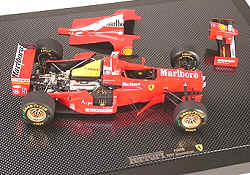
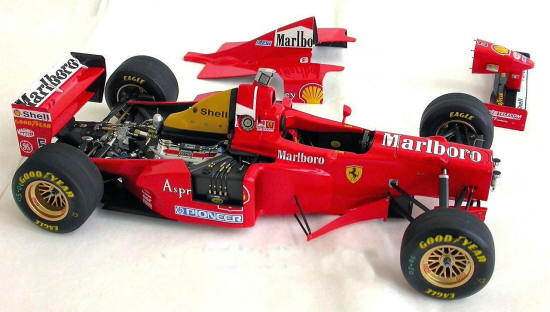
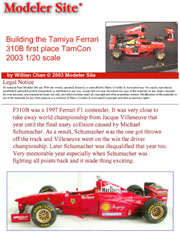
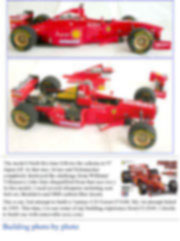
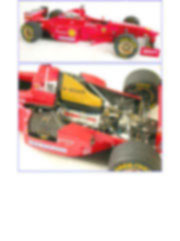
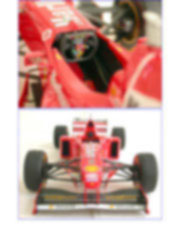
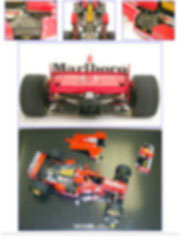
Building the Tamiya Ferrari 310B first place TamCon 2003 1/20 scale |
||||||||||||||||||||||||||||||||||||||||||||||
|
by Willian Chan © 2003 Modeler Site |
||||||||||||||||||||||||||||||||||||||||||||||
|
Legal Notice No material from Modeler Site any Web site owned, operated, licensed, or controlled by Mario Covalski & Associated may be copied, reproduced, republished, uploaded, posted, transmitted, or distributed in any way, except that you may download one copy of the materials on any single computer for your personal, non-commercial home use only, provided you keep intact all copyright and other proprietary notices. Modification of the materials or use of the materials for any other purpose is a violation of Mario Covalski & Associated's copyright and other proprietary rights. Read More here > Legal notice F310B was a 1997 Ferrari F1 contender. It was very close to take away world championship from Jacque Villeneuve that year until the final nasty collision caused by Michael Schumacher. As a result, Schumacher was the one got thrown off the track and Villeneuve went on the win the driver championship. Later Schumacher was disqualified that year too. Very memorable year especially when Schumacher was fighting all points back and it made thing exciting.
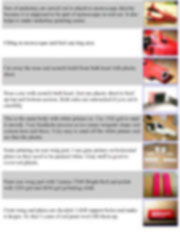
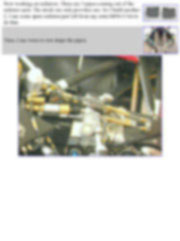
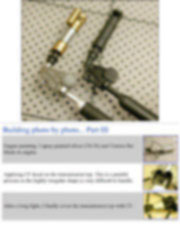
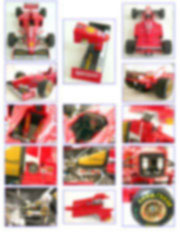
This is my 2nd attempt to build a Tamiya 1/20 Ferrari F310B. My 1st attempt failed in 1999. This time, I re-use some of my building experience from F1-2000. I decide to build one with removable nose cone. Building photo by photo
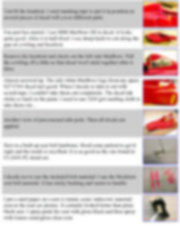
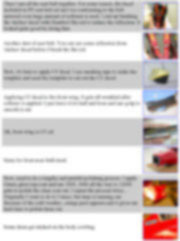
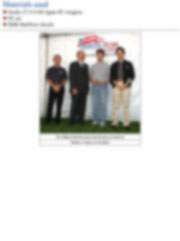
This tutorial is offered in PDF format to be read or printed using Acrobat reader, contact our webmaster > Here Includes more than 150 pics, here we show only the text pages.
Esta nota es ofrecida en formato PDF, el cual puede ser leído o impreso usando el Acrobat reader, contacte a nuestro webmaster > Aquí Incluye más de 150 imágenes, aquí solo mostramos las paginas de texto.
Big size photos are only available in our PDF format. Support us ordering our notes in PDF > Here |
||||||||||||||||||||||||||||||||||||||||||||||