|
|
|||||||||||||||||||||||||||||||||||||||||||||||||||||||||||||||||||||||||||||
|
Formula one |
|
||||||||||||||||||||||||||||||||||||||||||||||||||||||||||||||||||||||||||||
|
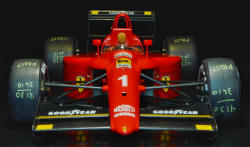
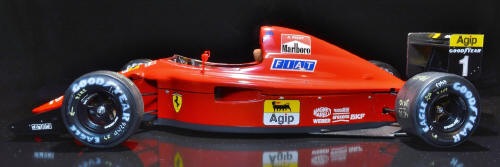
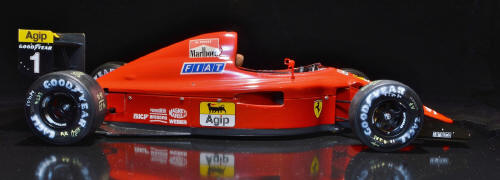
Kitbashing the Tamiya Ferrari 641 1/12 scale |
|||||||||||||||||||||||||||||||||||||||||||||||||||||||||||||||||||||||||||||
|
by Mark Laird © Modeler Site |
|||||||||||||||||||||||||||||||||||||||||||||||||||||||||||||||||||||||||||||
|
Legal Notice No material from Modeler Site any Web site may be copied, reproduced, republished, uploaded, posted, transmitted, or distributed in any way, except that you may download one copy of the materials on any single computer for your personal, non-commercial home use only, provided you keep intact all copyright and other proprietary notices. Modification of the materials or use of the materials for any other purpose is a violation of copyright and other proprietary rights. Read More here > Legal notice
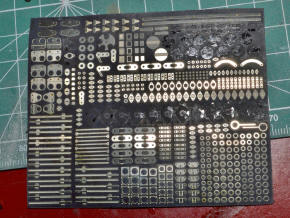
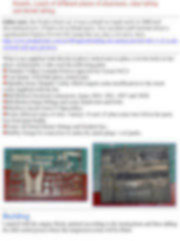
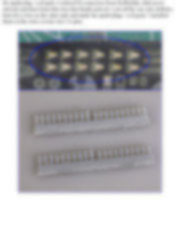
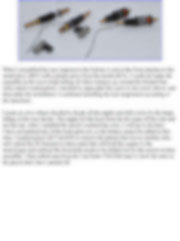
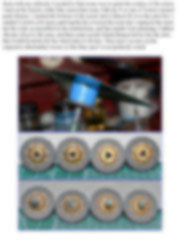
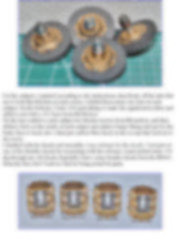
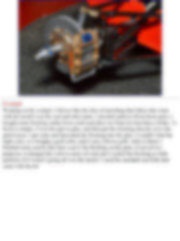
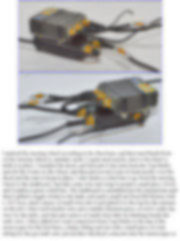
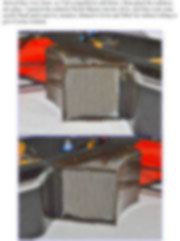
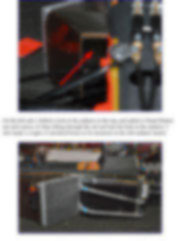
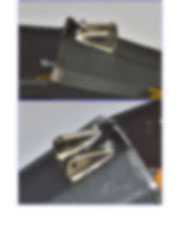
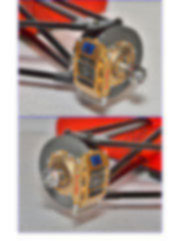
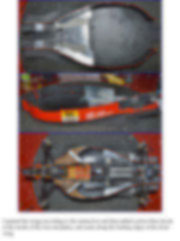
I got this model back in the 90s for less than 100 US dollars. Although I do not have the “Perfect Parts” detail set for this model, I purchased the Thunder Valley Essentials detail set, which is two photo etched frets, a resin airbox, aluminum funnels, a pack of different pieces of aluminum, clear tubing and shrink tubing. Editor note: the Perfect Parts set, it was a detail set made early in 2000 and discontinued now. It had a lot of detail parts. You can find a full tutorial about a suprdetailed Tamiya Ferrari 641 using this set, plus a lot more. here. http://www.modelersite.com/en/80/superdetailing-the-tamiya-ferrari-641-1-12-scale-revised-with-new-pictures What is not supplied with this kit is photo etched nuts to place over the holes in the photo etched parts. I also used the following parts
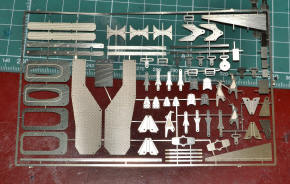
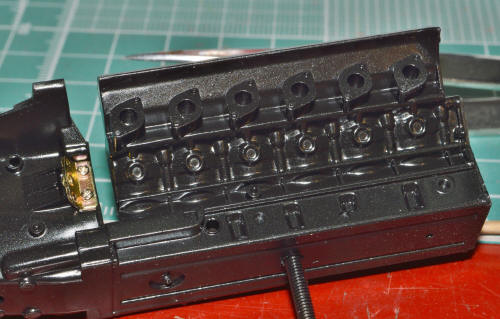
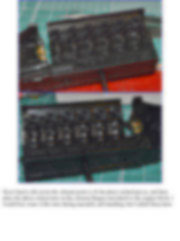
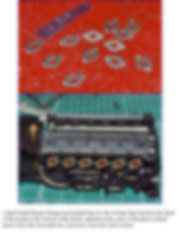
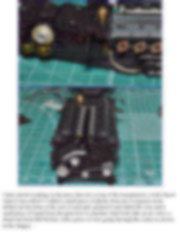
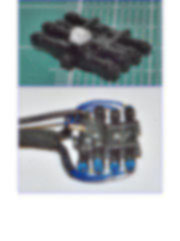
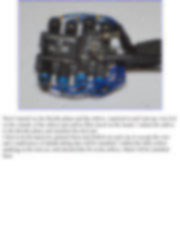
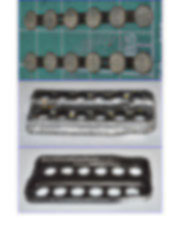
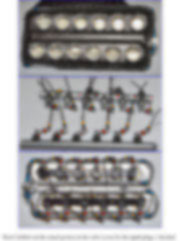
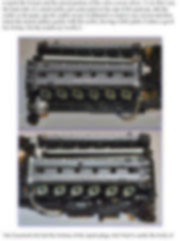
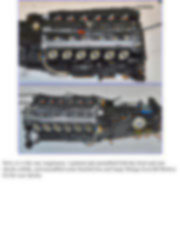
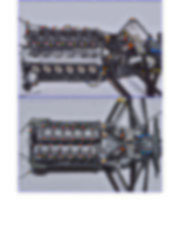
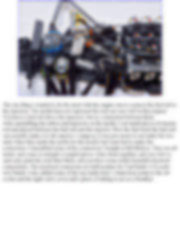
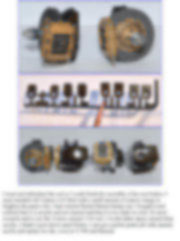
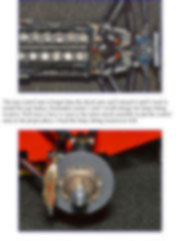
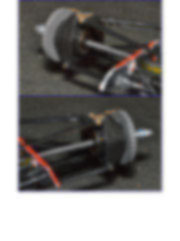
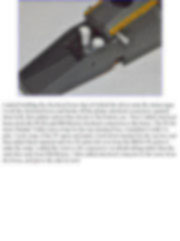
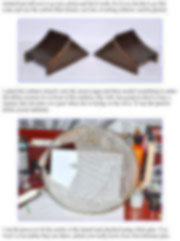
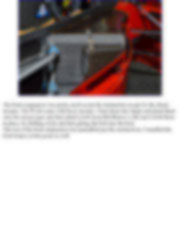
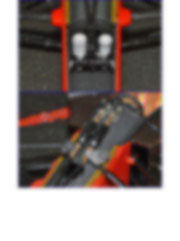
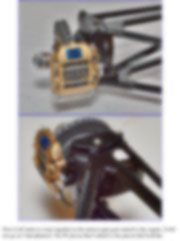
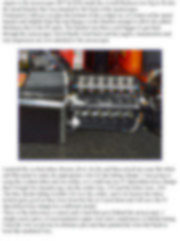
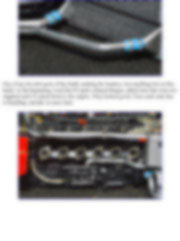
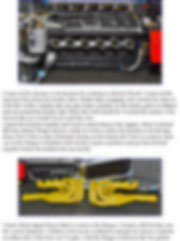
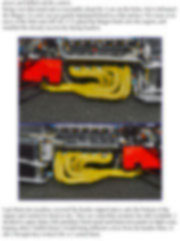
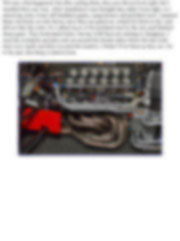
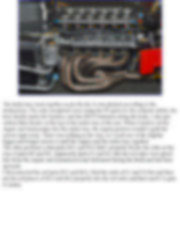
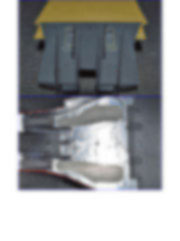
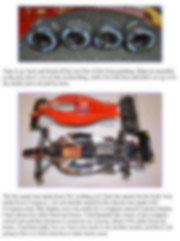
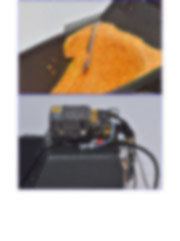
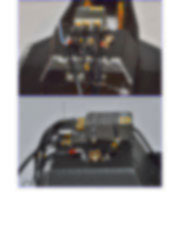
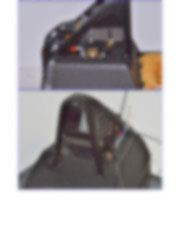
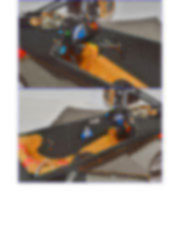
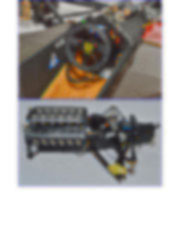
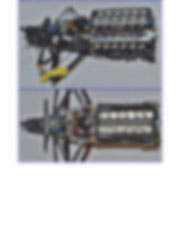
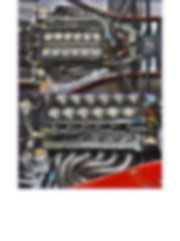
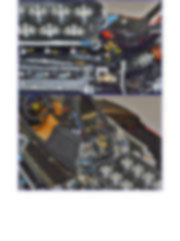
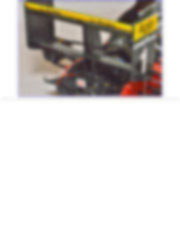
Building I started with the engine block, painted according to the instructions and then adding the little metal pieces where the suspension arms will be fitted.
This tutorial is offered in PDF format to be read or printed using Acrobat reader, contact our webmaster > Here Includes more than 135 pics, here we show only the text pages.
Esta Nota es ofrecida en formato PDF, el cual puede ser leído o impreso usando el Acrobat reader, contacte a nuestro webmaster > Aquí Incluye más de 135 imágenes, aquí solo mostramos las paginas de texto.
Big size photos are only available in our PDF format. Support us ordering our notes in PDF > Here |
|||||||||||||||||||||||||||||||||||||||||||||||||||||||||||||||||||||||||||||