|
|
|||||||||||||||||||||||||||||||||||
|
Airplanes |
|
||||||||||||||||||||||||||||||||||
|
Building the AV-8B Harrier II Plus VMA – 223 ‘Bulldogs’ Hasegawa 1/48 scale |
|||||||||||||||||||||||||||||||||||
|
by Fausto Muto © 2011 Modeler Site |
|||||||||||||||||||||||||||||||||||
|
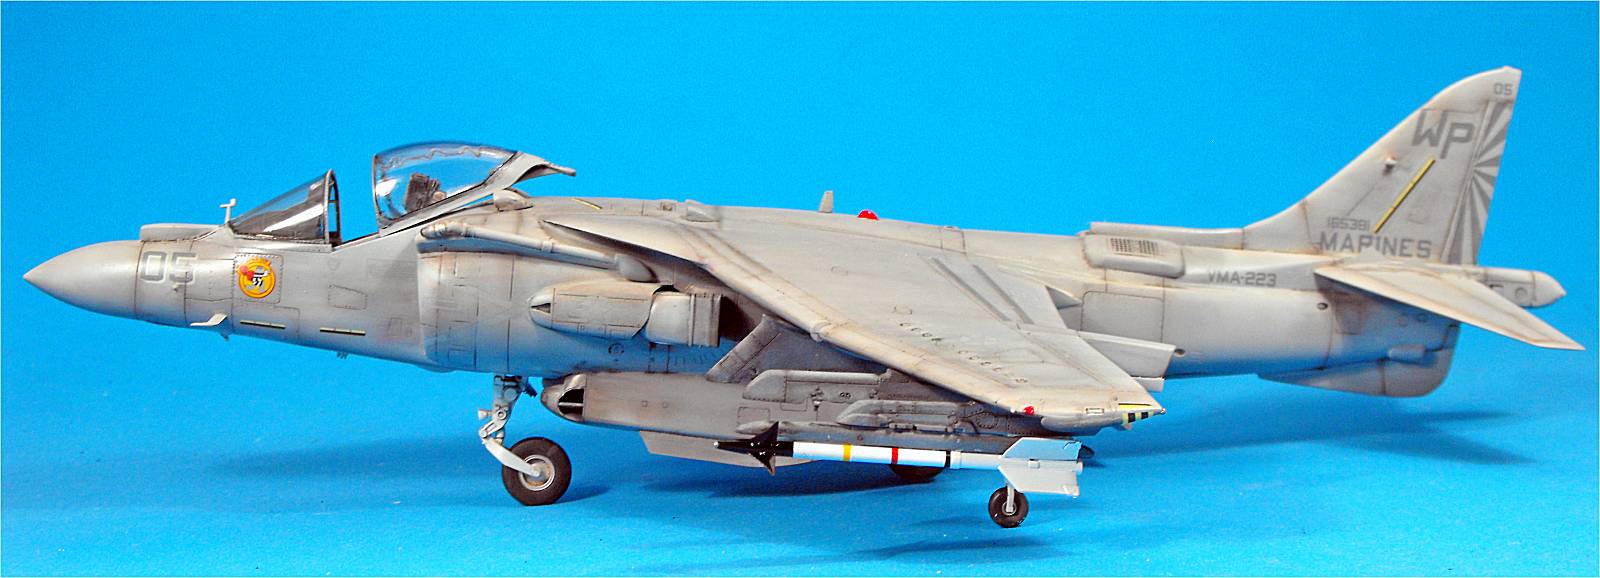
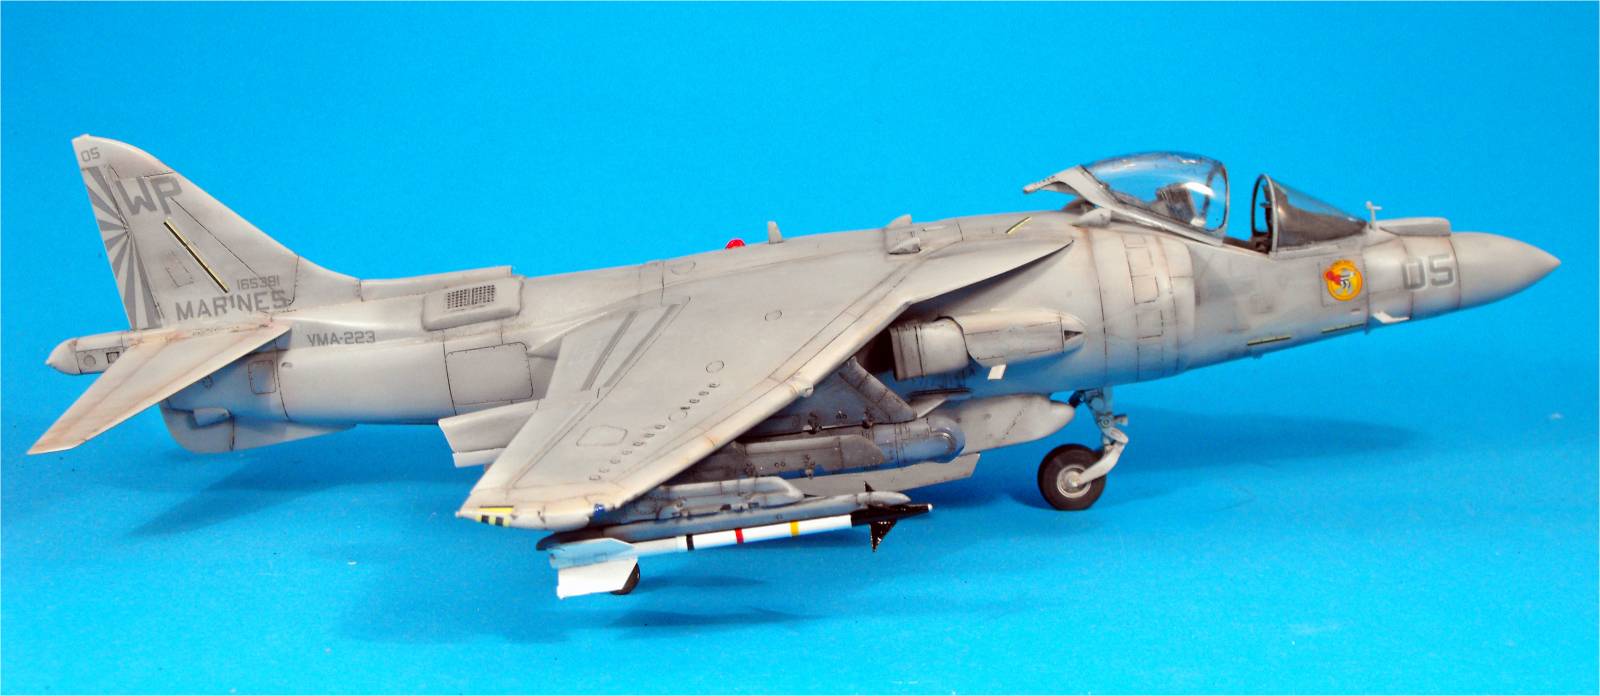
Legal Notice No material from Modeler Site any Web site owned, operated, licensed, or controlled by Damian Covalski may be copied, reproduced, republished, uploaded, posted, transmitted, or distributed in any way, except that you may download one copy of the materials on any single computer for your personal, non-commercial home use only, provided you keep intact all copyright and other proprietary notices. Modification of the materials or use of the materials for any other purpose is a violation of Damian Covalski's copyright and other proprietary rights. Read More here > Legal notice VMA-223 flew combat missions over Afghanistan in the beginning phases of Operation Enduring Freedom in 2001–2002. In January 2003, the squadron deployed onboard the USS Kearsarge ) (LHD-3 as part of the 2nd Marine Expeditionary Brigade (2nd MEB). After arriving in the Northern Persian Gulf it cross decked to USS Bataan (LHD-5) and began flying combat missions in support of the 2003 invasion of Iraq. During this time, the squadron surpassed 50,000 mishap-free flight hours.
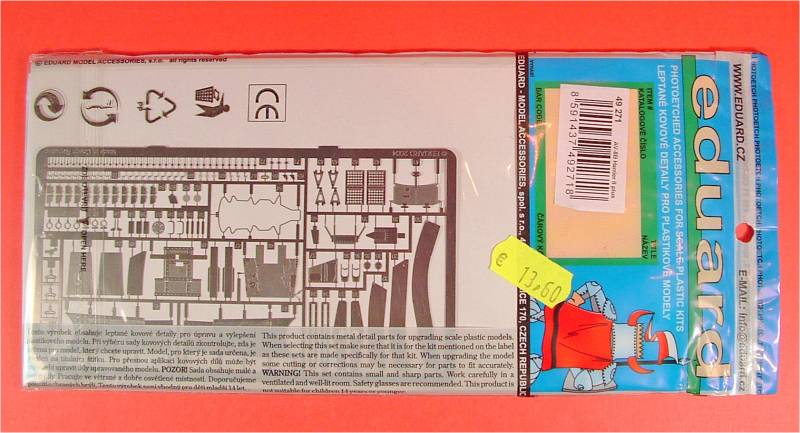
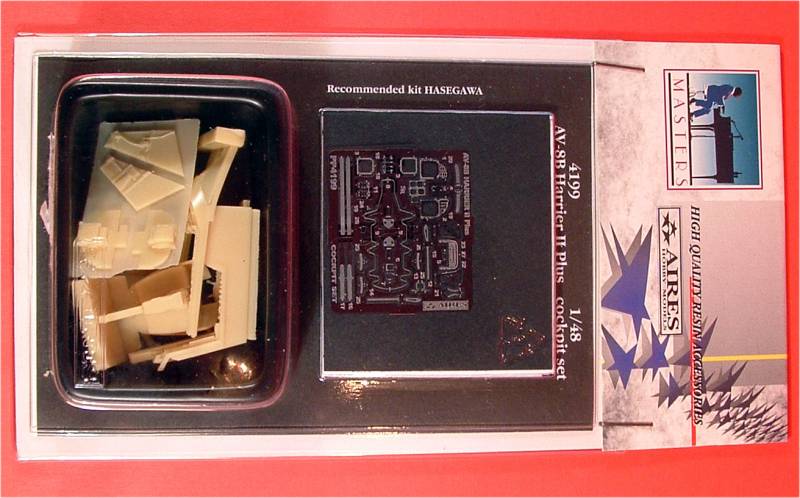
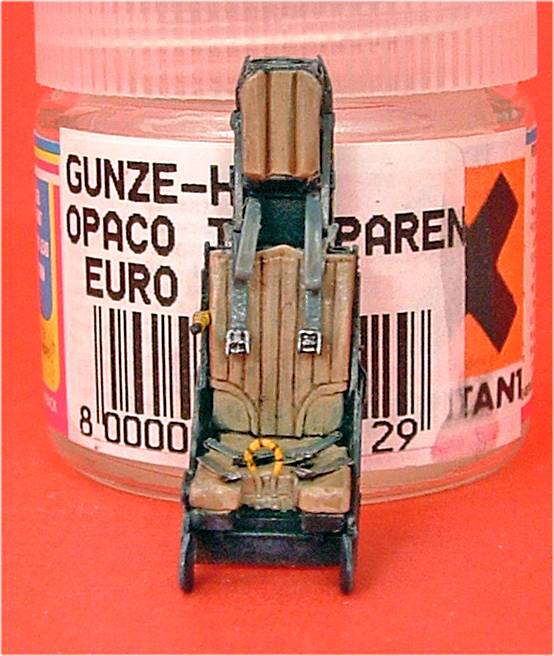
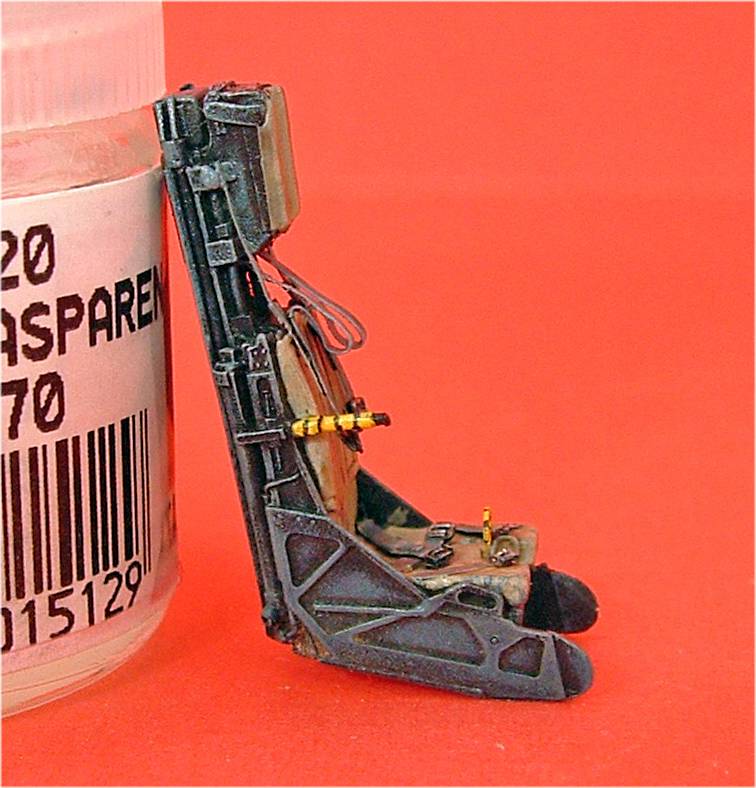
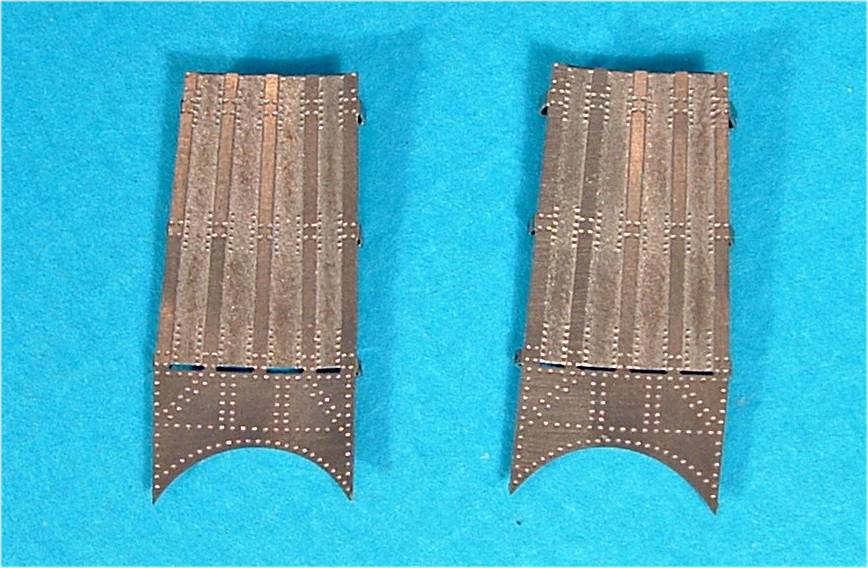
VMA-223 deployed to Iraq late in the summer of 2005 in support of Operation Iraqi Freedom. During a combat mission over Iraq on February 10, 2006 the squadron surpassed the 60,000 Class A mishap-free hours mark. This milestone is even more impressive considering the maintenance and safety issues associated with the AV-8B aircraft. Construction To complicate my life a little bit, I decided to use two detail sets: the Eduard #49271 PE and the Aires #4199 resin one which also includes a small etched fret.
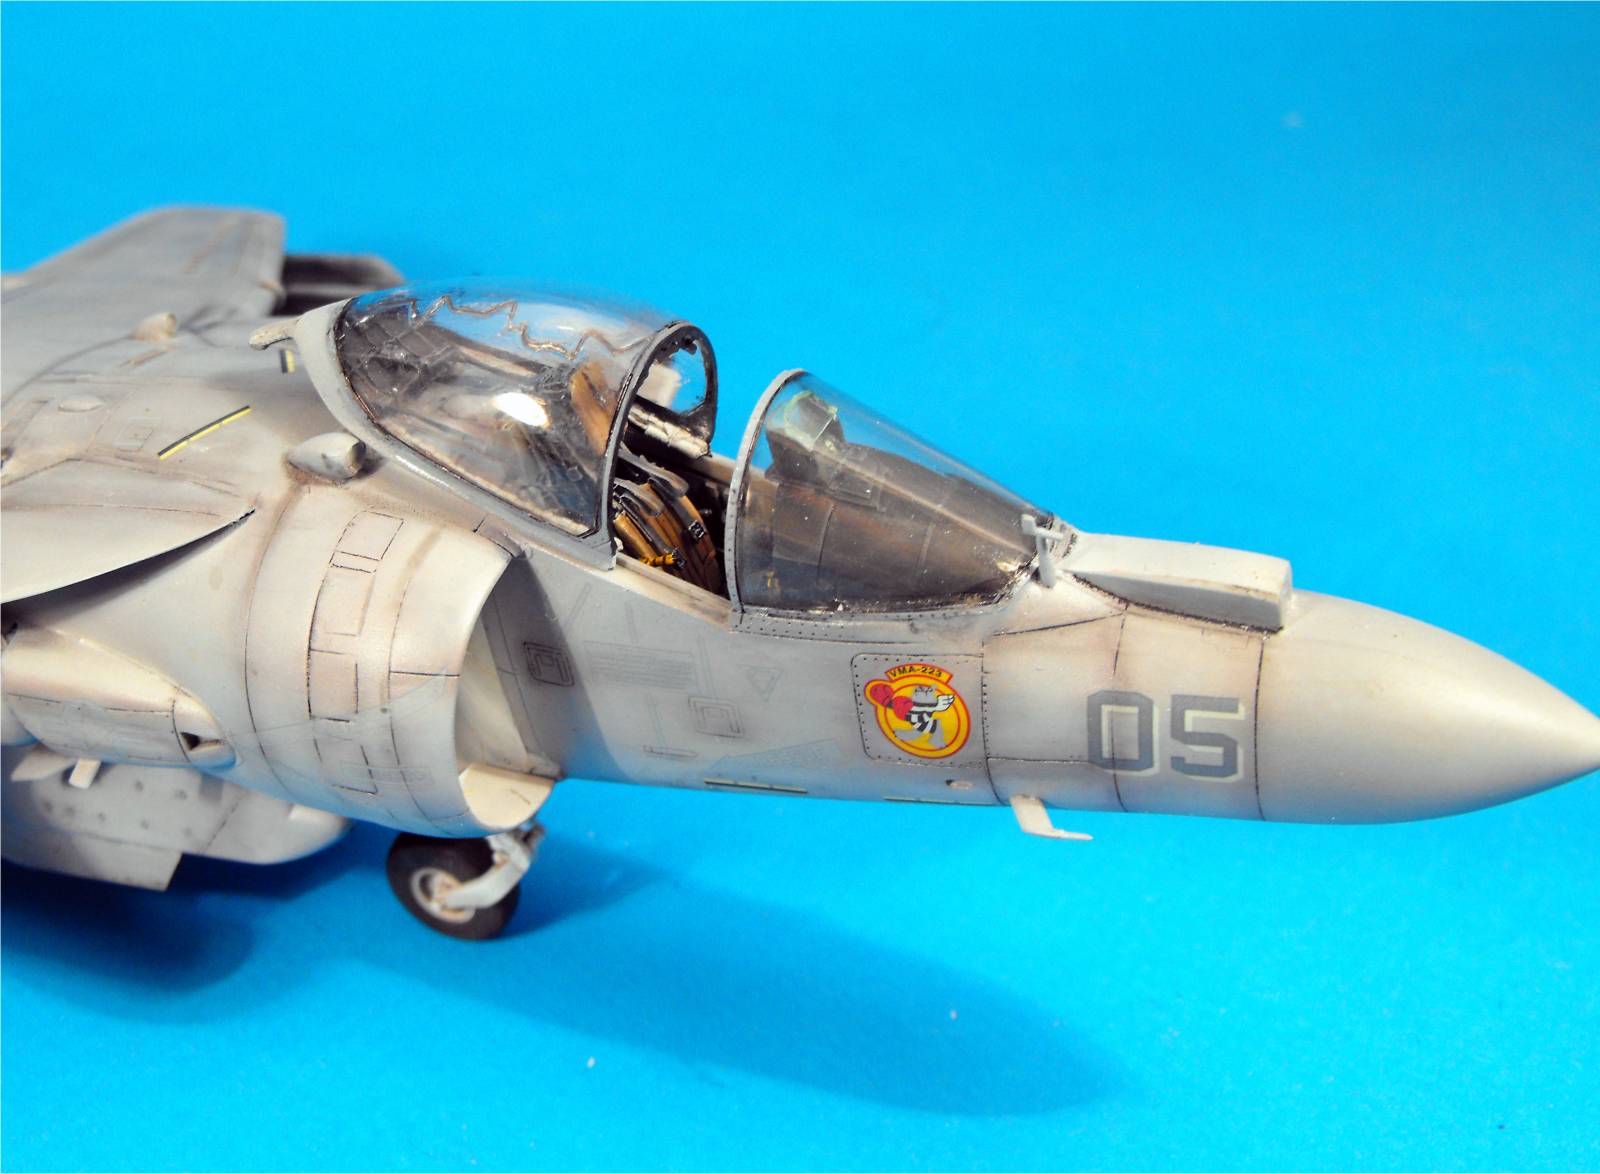
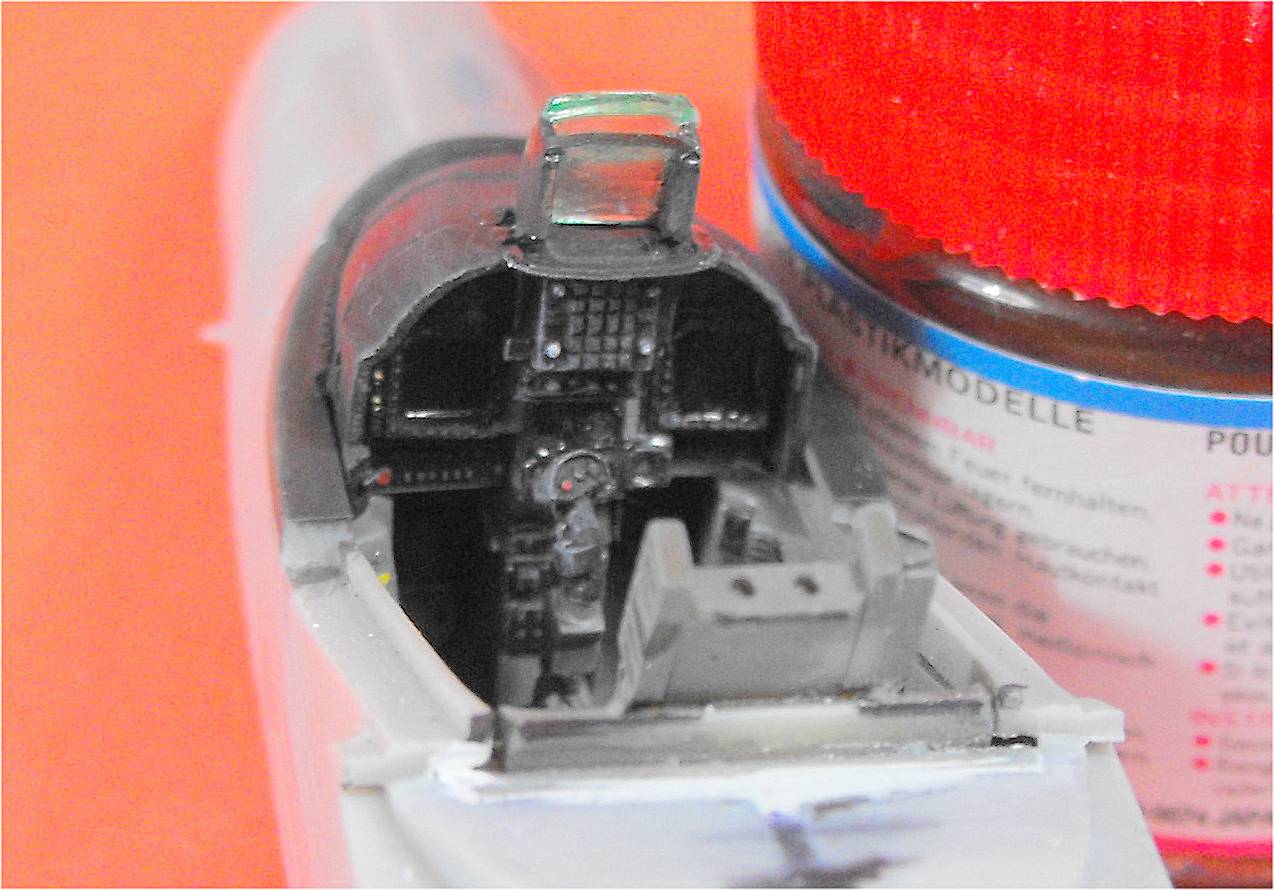
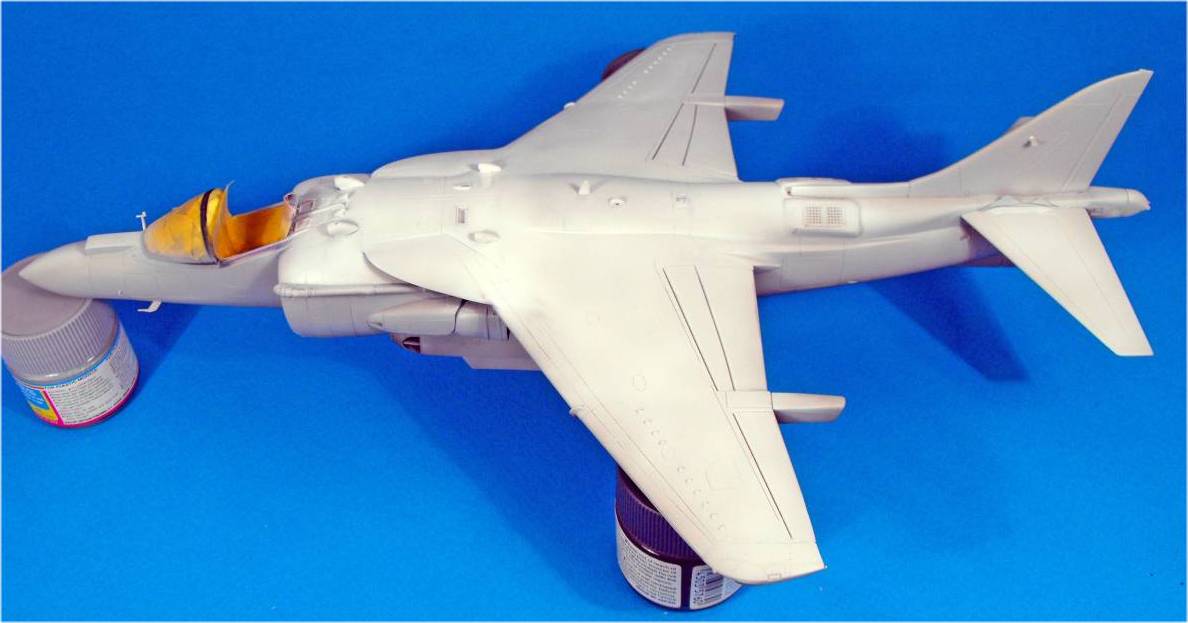
When you open the box, you are surprised by the great number of sprues with parts it comprises. The panel lines and rivets are a work of art,. In spite of the best effort Hasegawa made, those nice panel lines will look ruined due to the complicated construction which will need a large amount of putty that obviously will hide all details. Problems started when assembling the air intake that has to be fitted to the upper fuselage and wings assembly, incredibly made up of three parts, I tried to follow the instructions which were confusing. After the Aires resin parts were carefully cleaned, I completed the beautiful SJU-4/7A set with the etched details painting with Lifecolor and Gunze.
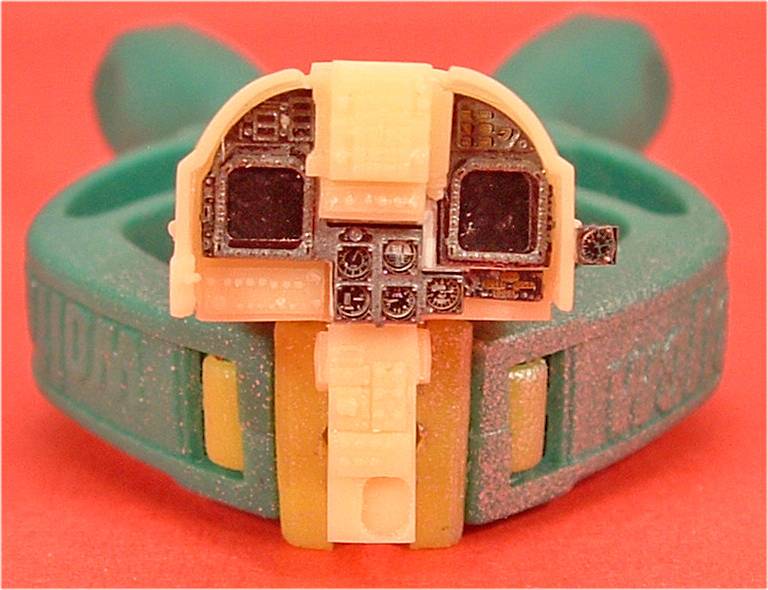
As the image shows, the Aires set includes etched parts, the instruments panel in the cockpit, especially the screens and the area of the digital displays highly detailed. Once the assembly was built, I applied gloss varnish over the acetate to get the crystal effect.
The panel nozzles were replaced with the Eduard parts which were airbrushed Tamiya Gun Metal. Then, I gave an oil brown wash followed by drybrushing with Humbrol Aluminum.
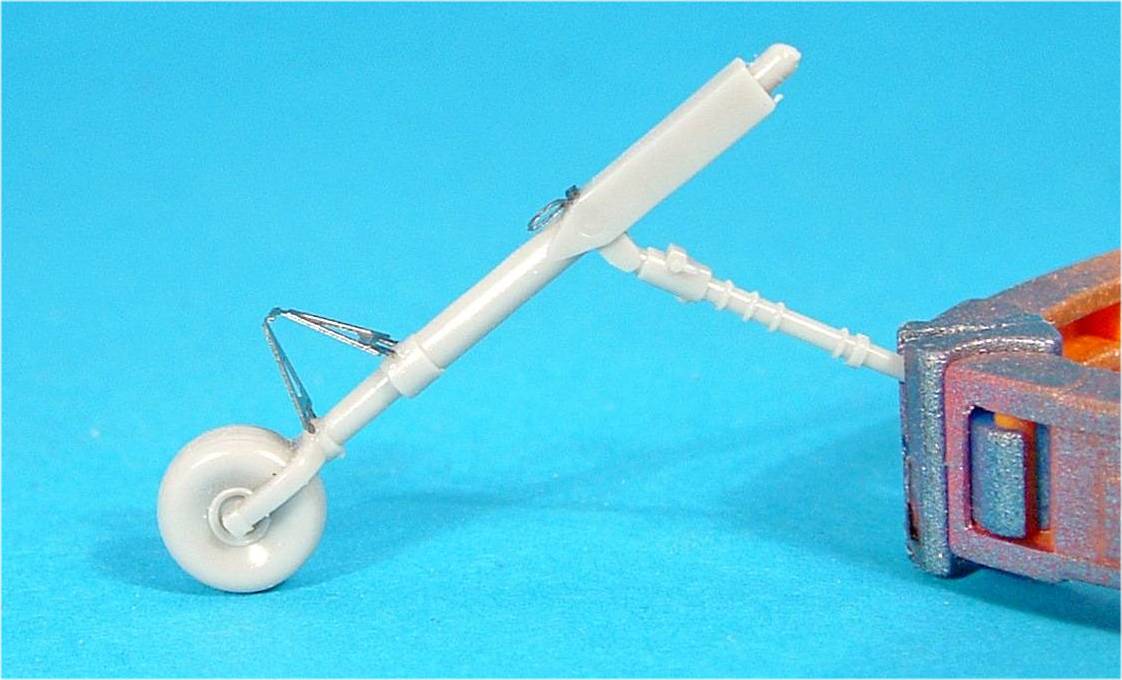
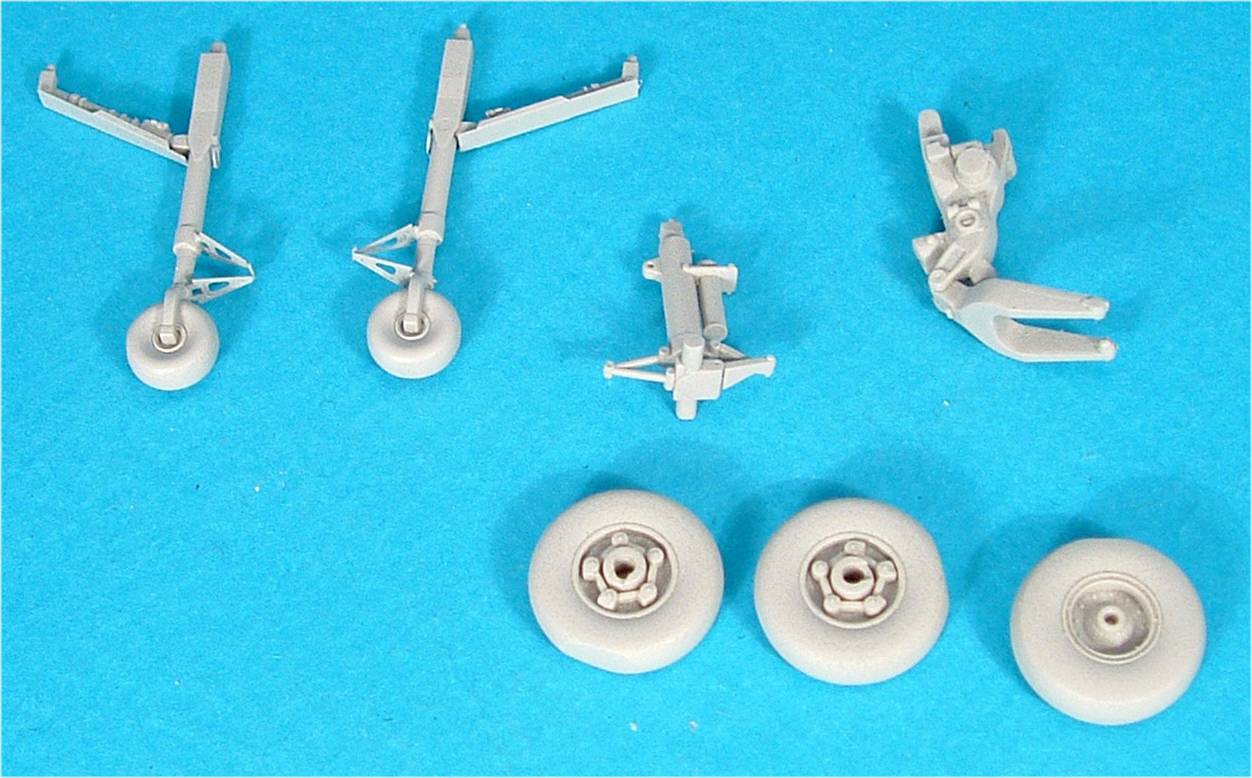
Then I devoted my attention to the undercarriage, cleaned carefully the plastic parts and detailed with etched parts from the Eduard set. Tamiya primer was applied.
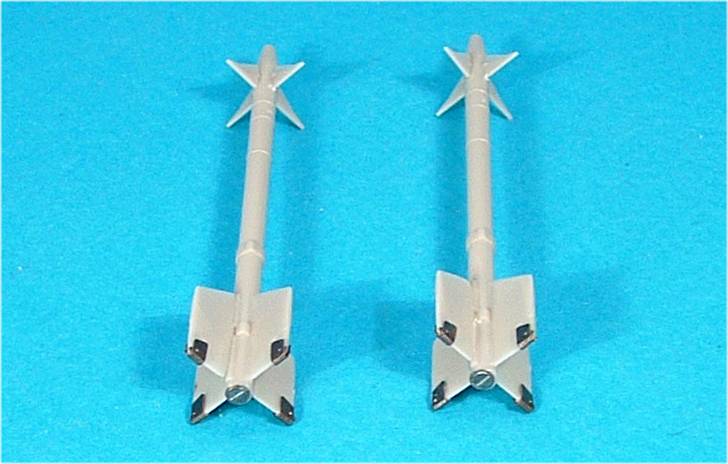
Sidewinder missiles received the same treatment.
The landing gears were sprayed with Tamiya TS26, then received a light dark brown wash and the edges were scraped with a soft (2B) pencil. The tires were painted Lifecolor Dark Grey followed by black washes until getting the expected tone.
Joining both cockpit halves offered no difficulties since the Aires set fits perfectly and no adjustment was needed. The interiors were airbrushed with Gunze and washes were followed by medium grey drybrushing.
The cockpit anti glare panel was treated in the same way as the tires. The weak point of the Aires set was the head-up display. During the dry-fit I found that the etched support was too high and didn’t allow to place the front cockpit canopy. This was a problem difficult to solve and at last decided to use the part provided with the Hasegawa kit. Finally, the head-up display was painted Clear Green.
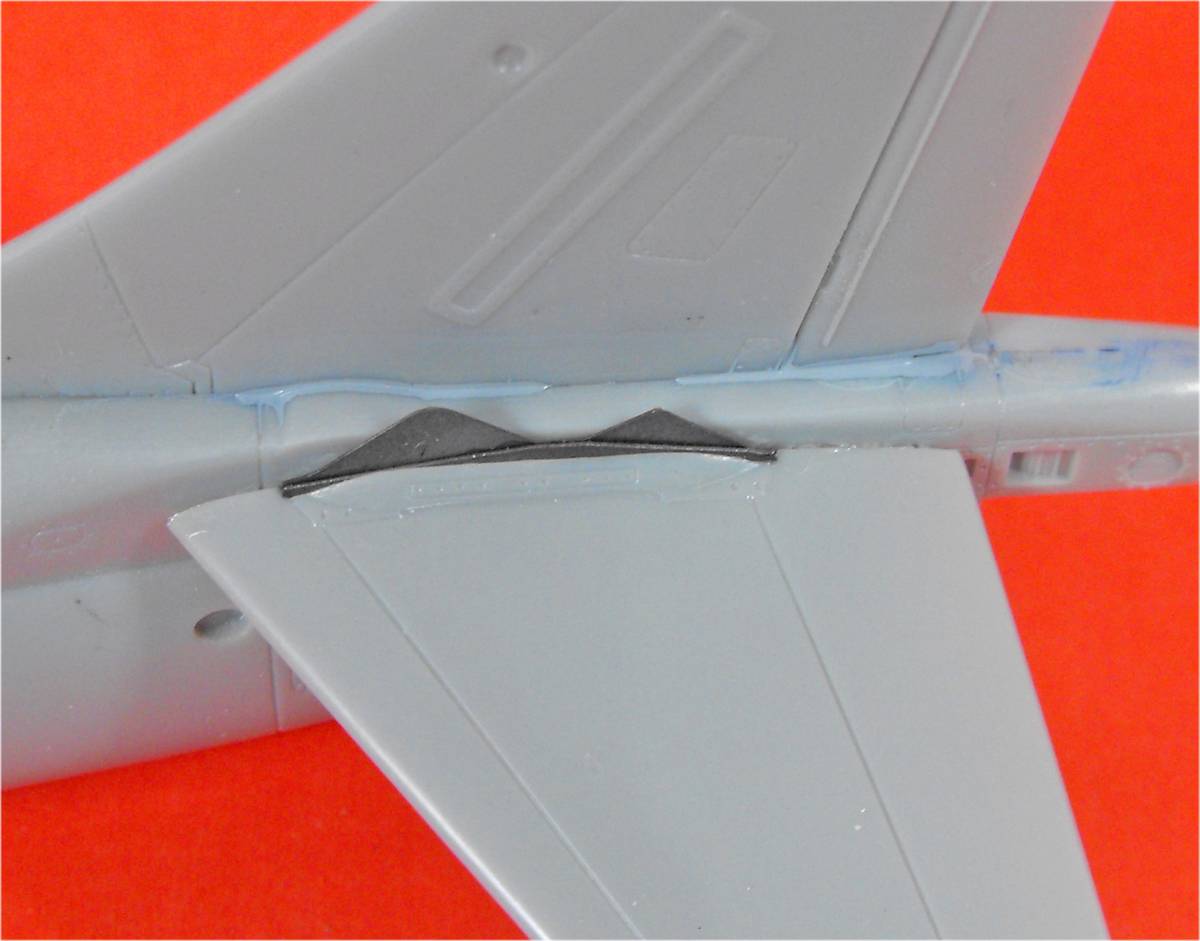
The Eduard PE parts give the elevators a more realistic appearance.
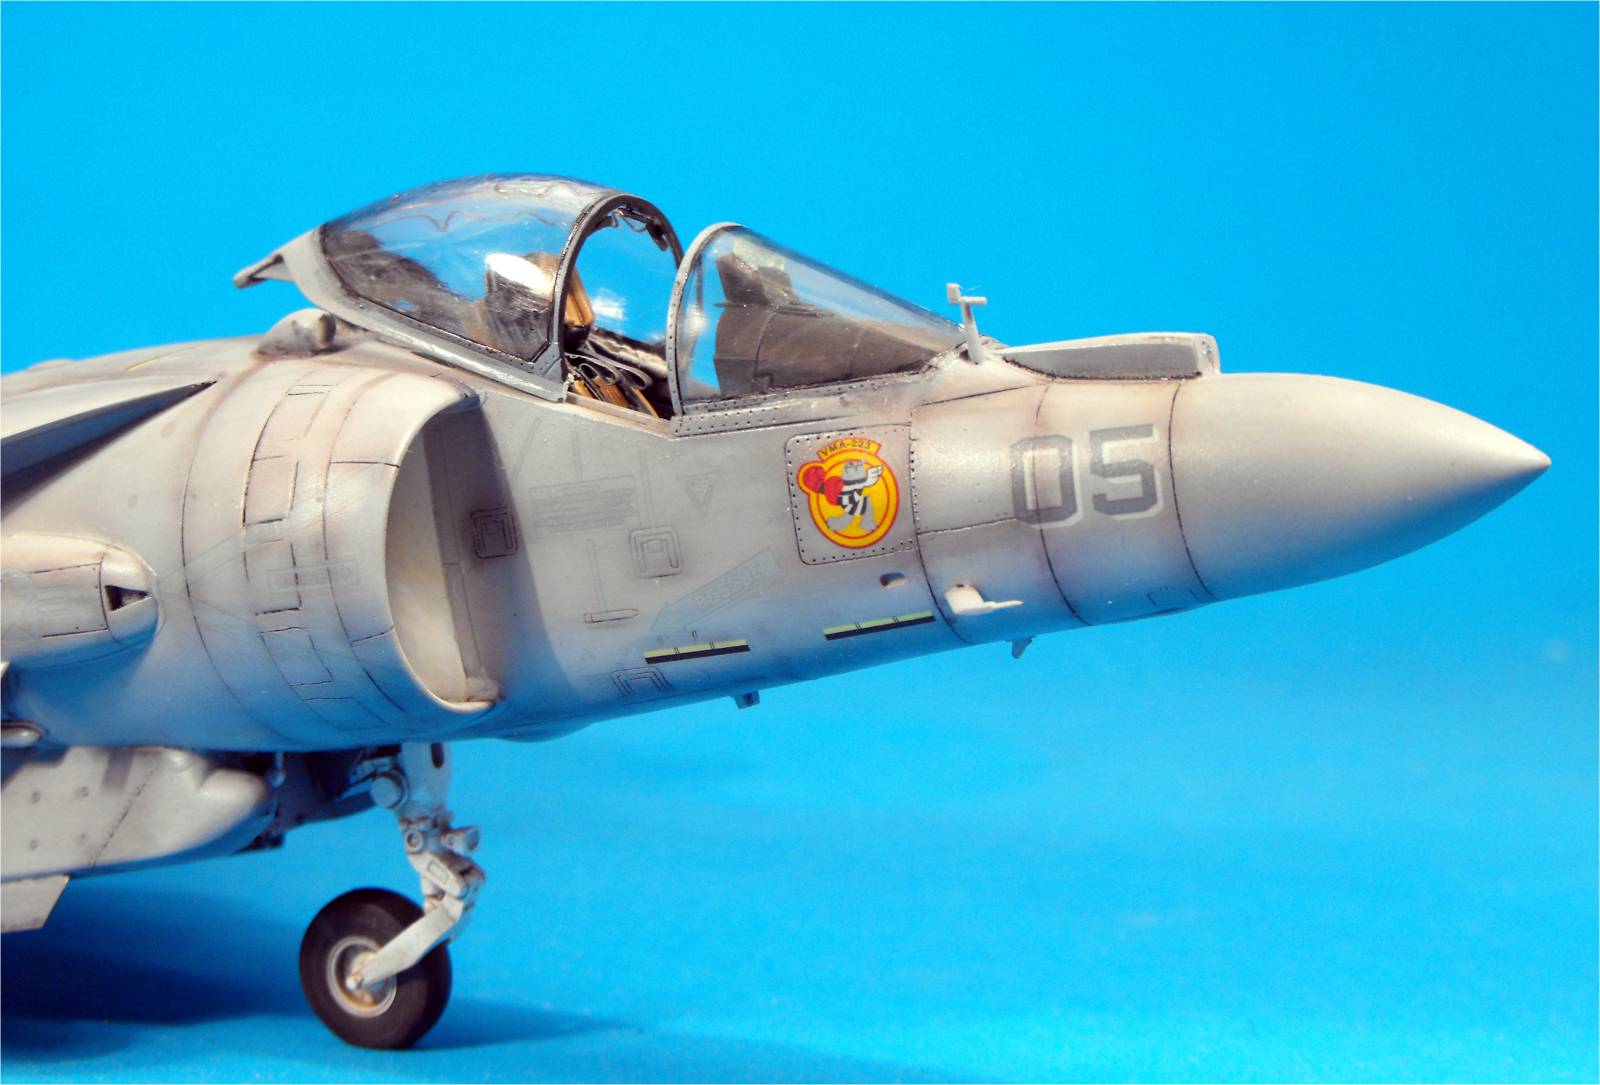
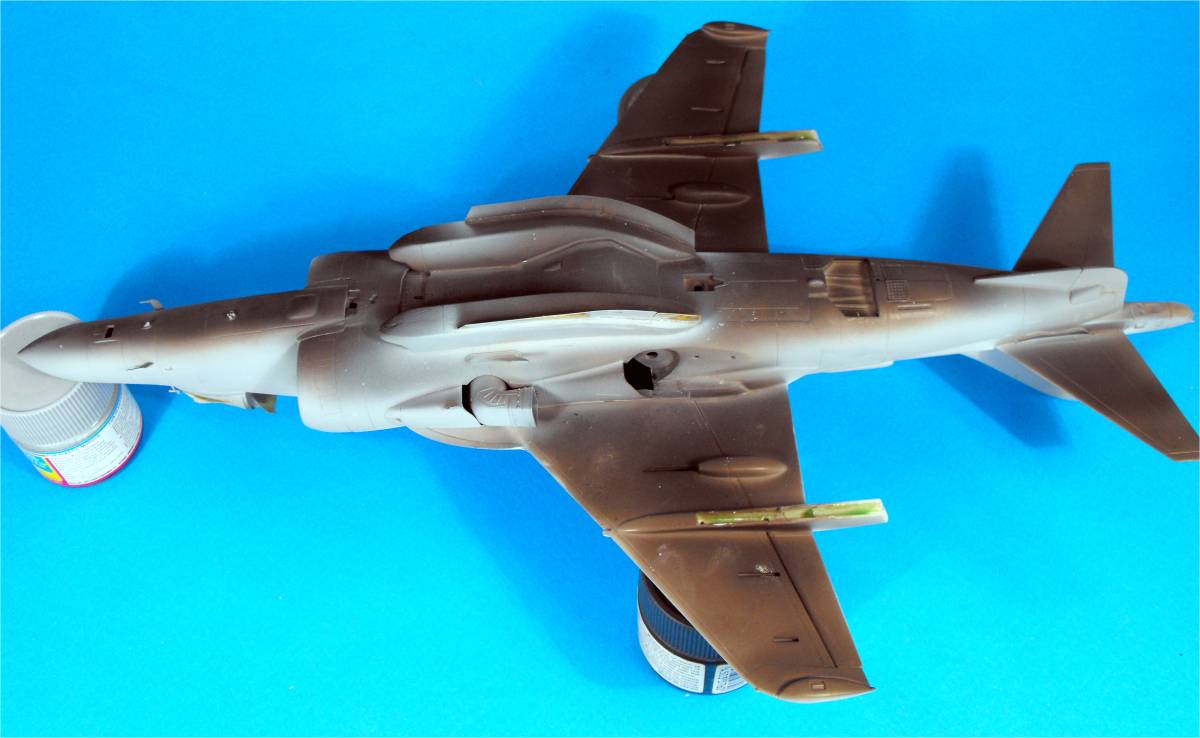
Painting I applied Tamiya Grey primer to the entire model. Next step was airbrushing with black the lower area, this preshading was important to give shades to later coats.
Next I subtly airbrushed with very light grey and well diluted to the central panels surfaces to give them highlights.
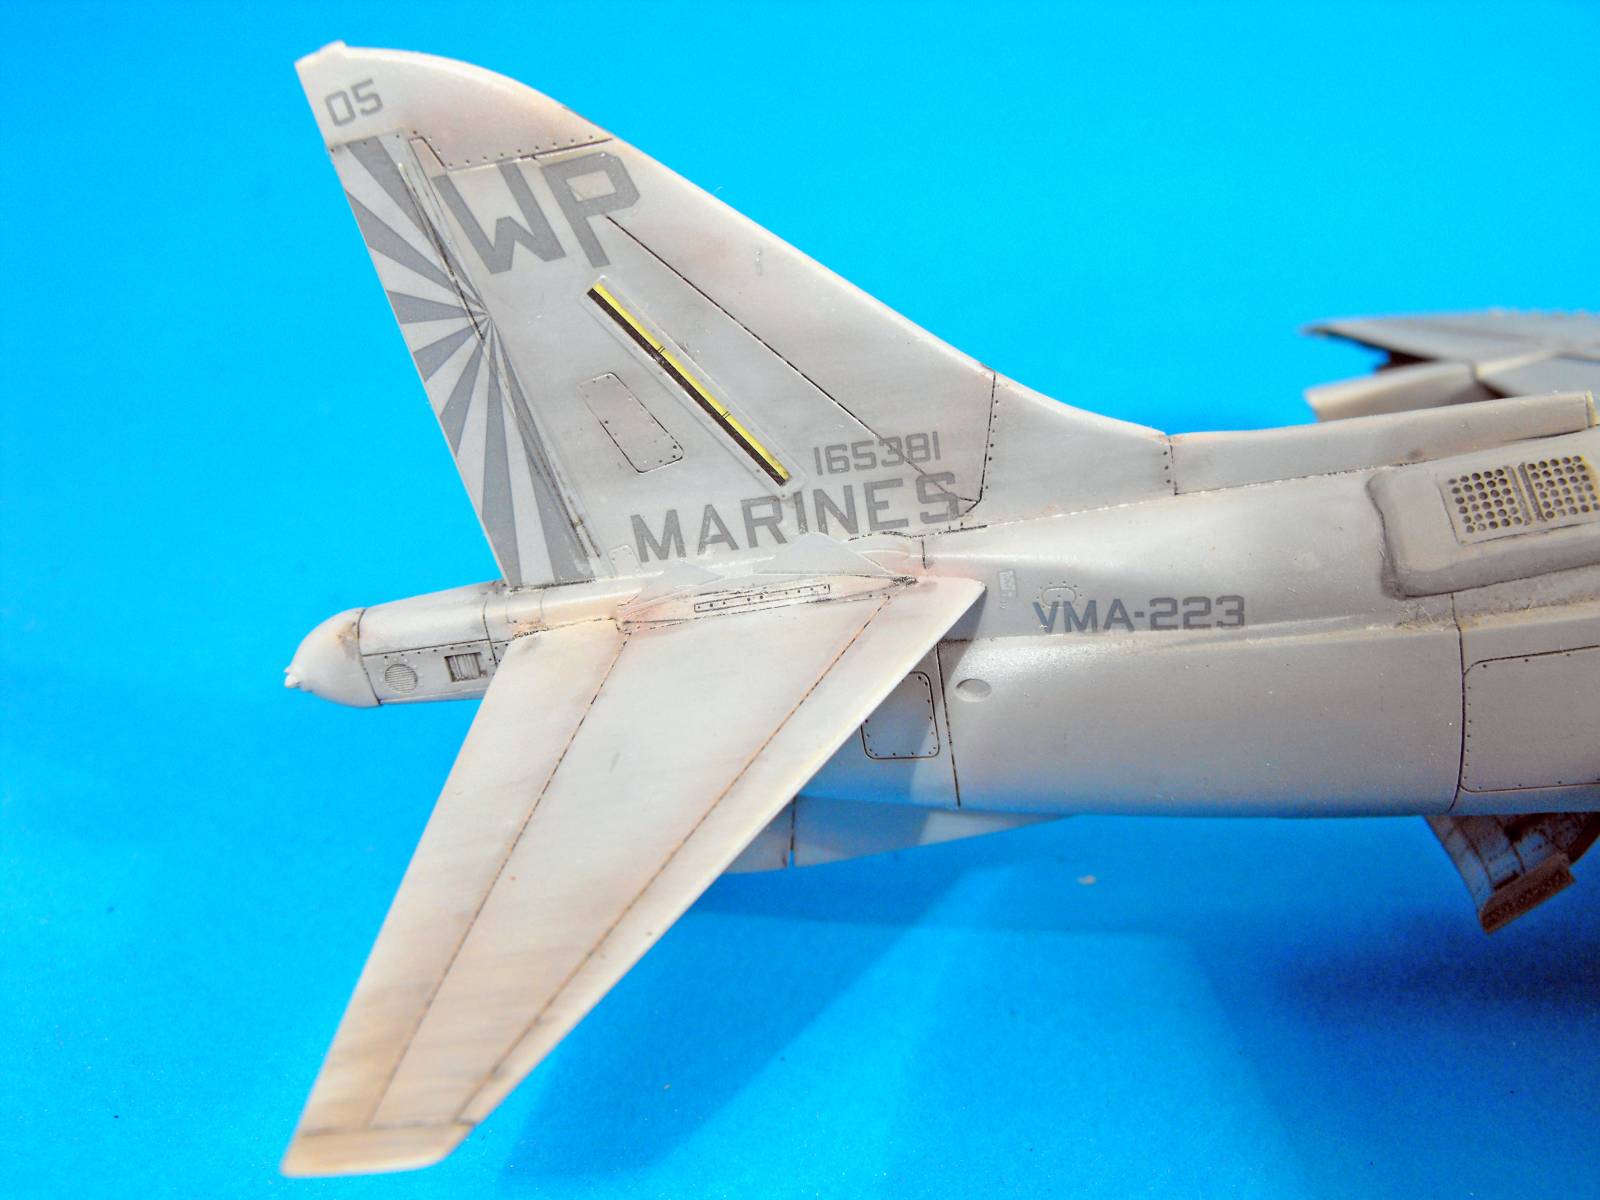
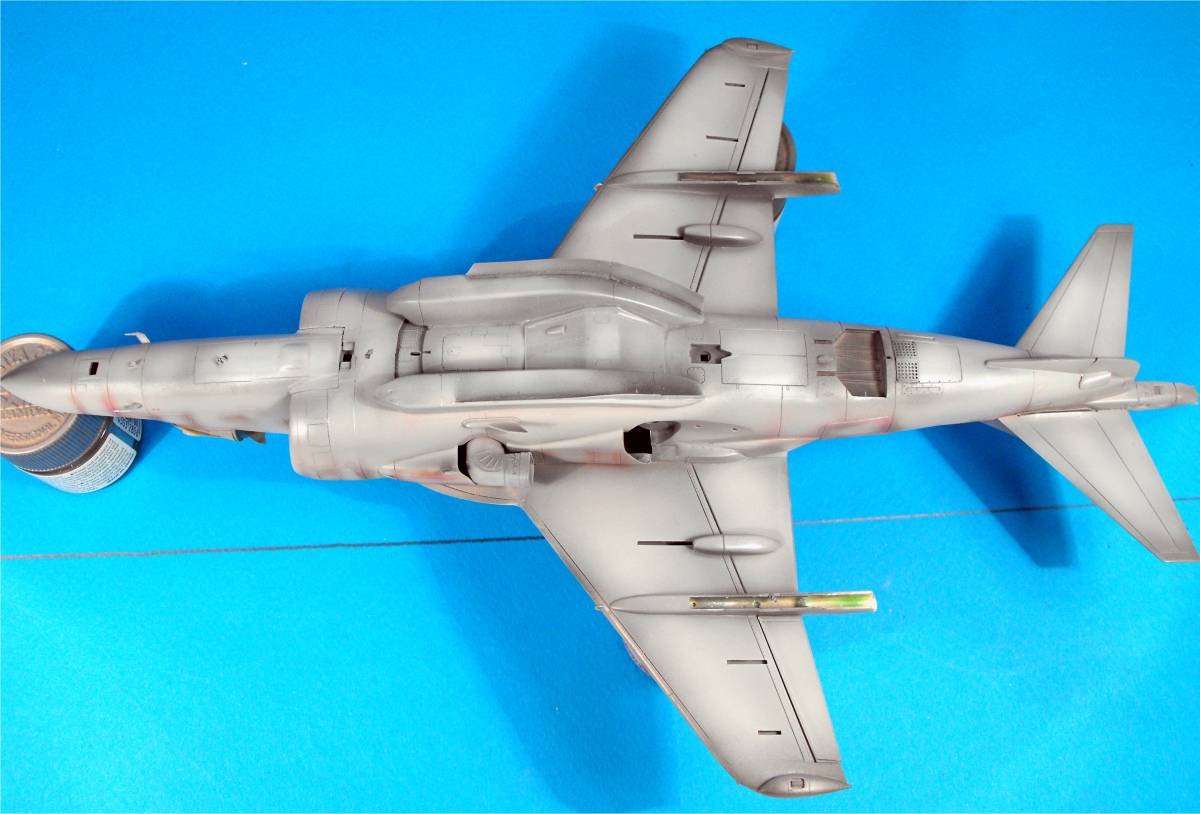
All the upper surfaces of the model were airbrushed Tamiya White. I did preshading of the panels with light brown as can be appreciated in the image.
Finally, I applied the basic color of the model according to instructions. It’s very important that the paint is diluted almost at 90% and applied in successive coats in order to control the transparency and let the preshading noticeable.
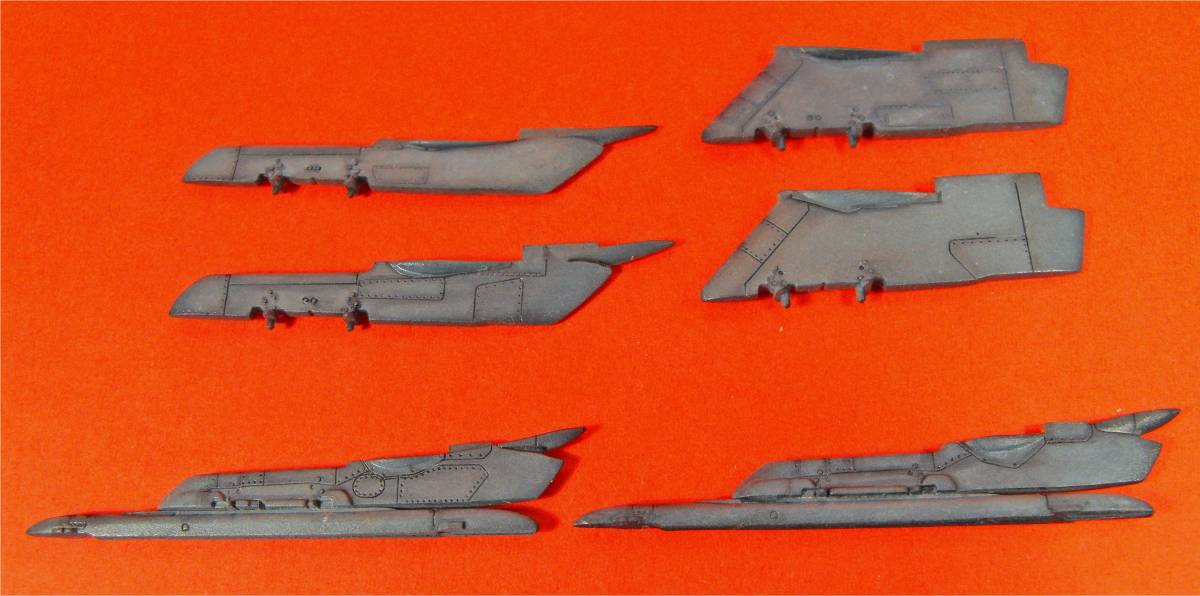
This weathering technique used for the entire model is also applied to the weapon pods.
I allowed the paint to dry for several days, to give gloss varnish thin coats, this left the model ready to apply decals and the oils that would give it a worn out appearance. The decals were applied with the help of Gunze decal setting solution.
Weathering
With a clean and wide brush, I applied the oils at random, paying special attention to the central panel areas. Once finished, I removed the excess with a dry cloth. The weathering process ends by giving washes just to the panels lines using very dark grey oil.
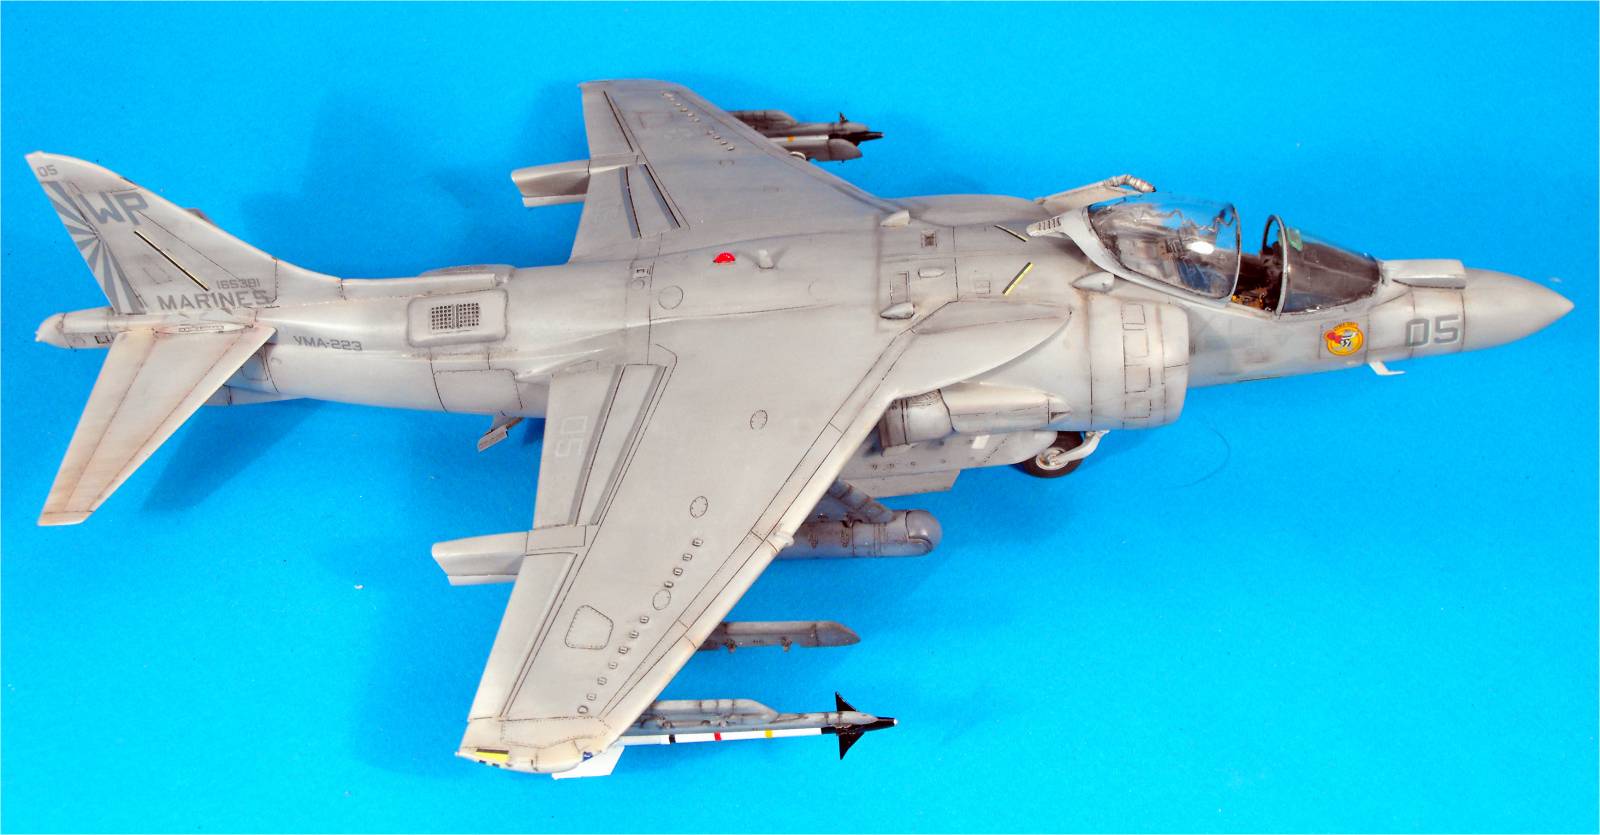
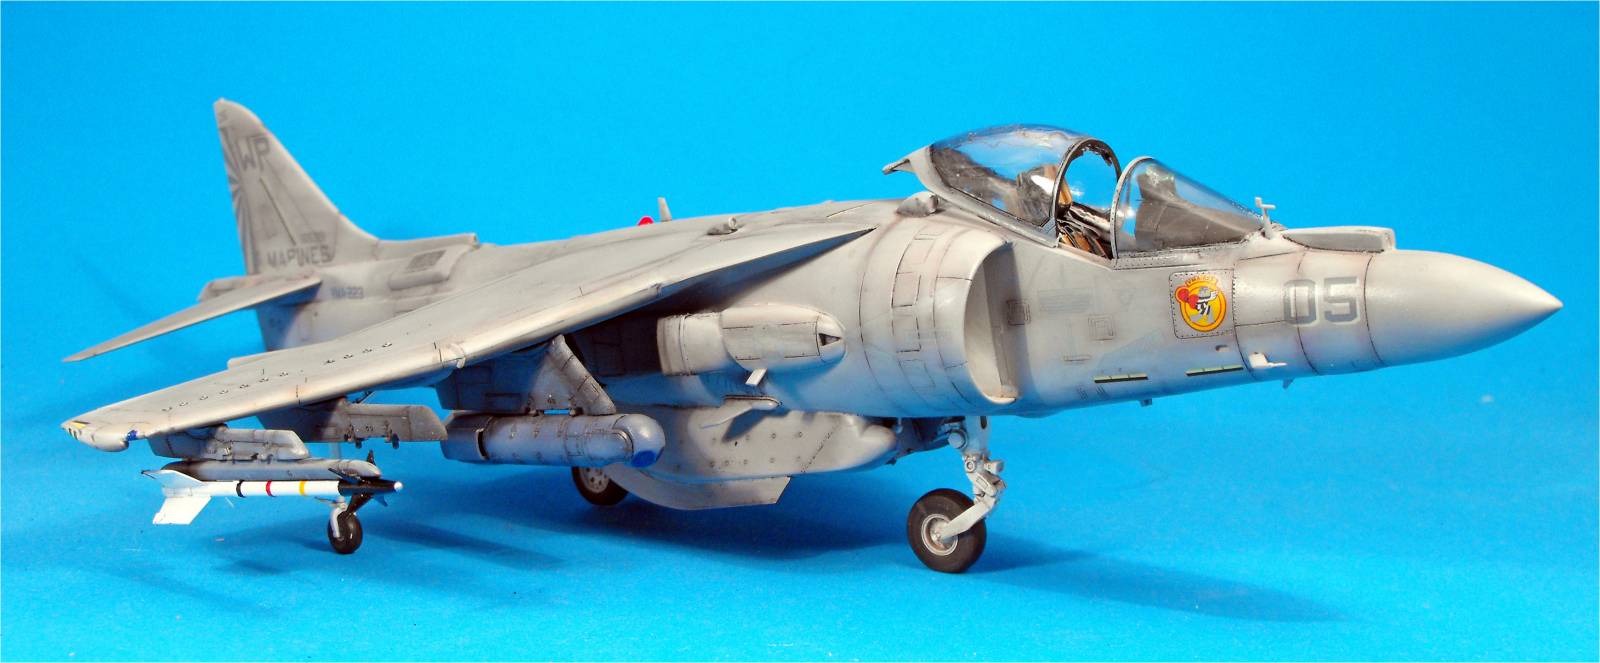
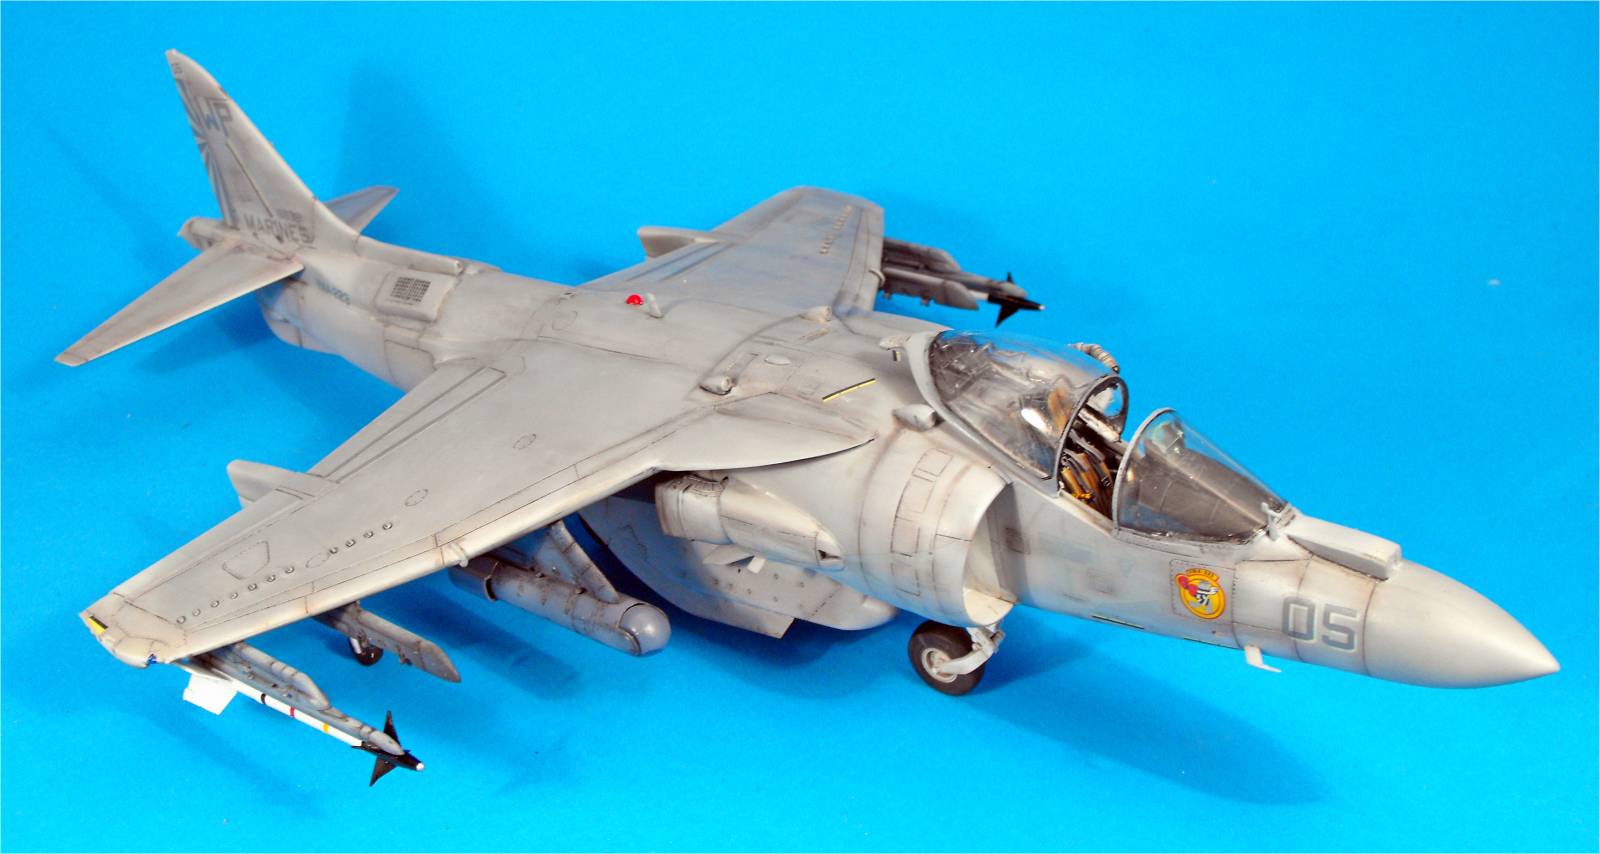
Conclusion The final stage was to apply several matt varnish coats, place the antennas, the landing gears, weapon pods ……etc and the model was ready. Overall, like all Harriers, construction of this model is complex, and the grey flat color is a challenge at the time of getting a worn look but without overdoing it. Improvement sets and references
Big size photos are only available in our PDF format. Support us ordering our notes in PDF > Here |
|||||||||||||||||||||||||||||||||||