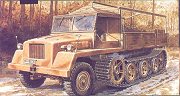
In 1942 the Werhmatch military command ordered the German industry a halftrack to replace the three and five tons ones that were already in service, for combat and cargo purposes.
Bussing Nag company won the contract, beginning with the production about the middle of 1943.
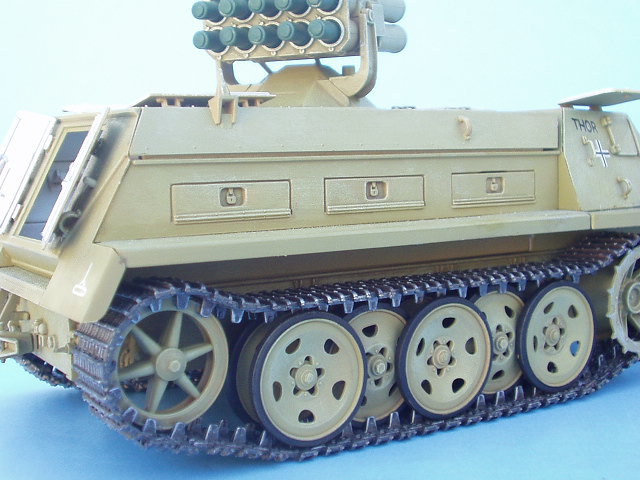
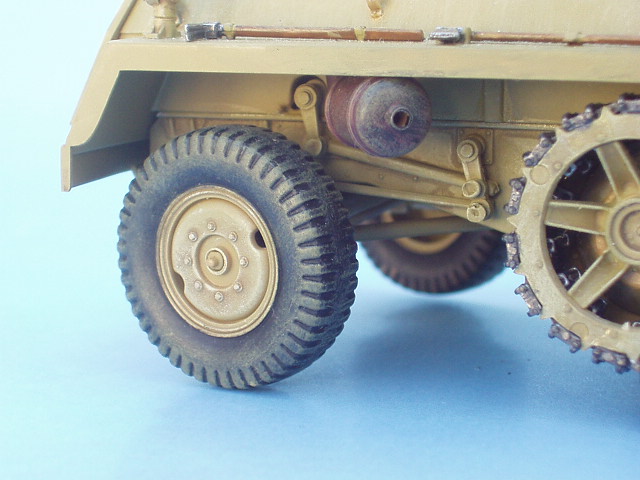
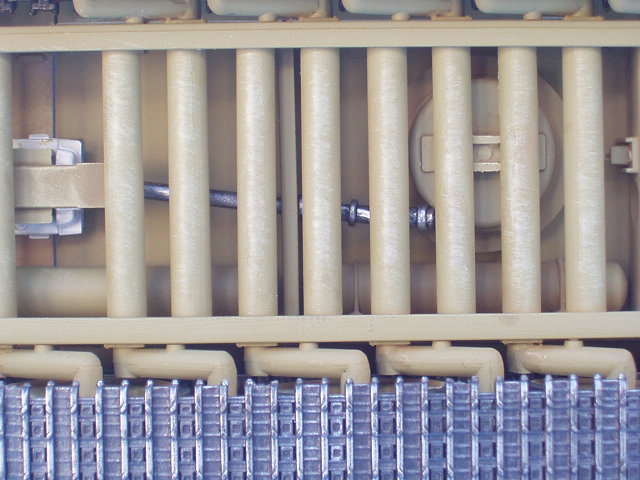
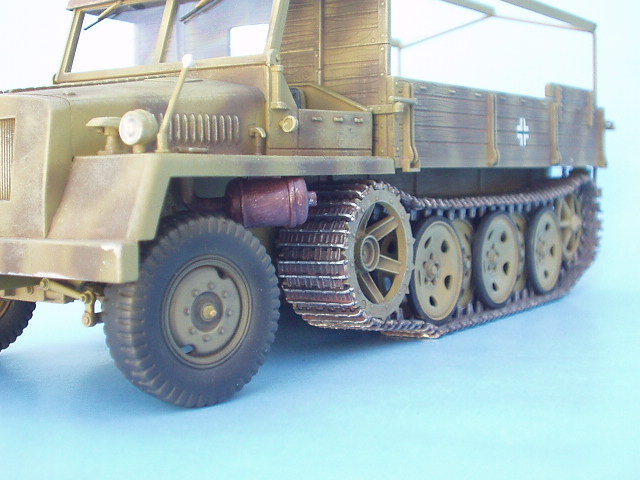
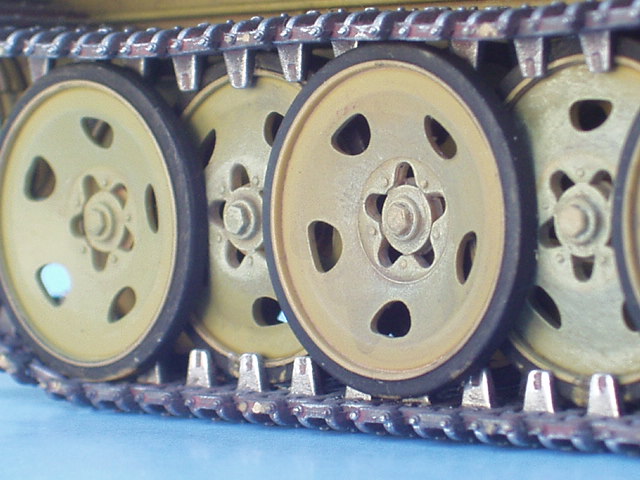
These halftracks had a new design, with a running train, using torsion bars. This looked like the Panther ones and the links of the track were wider than the ones any halftrack had ever used.
To sum up 825 vehicles in three types were built: transport without armor, rocket launcher "Panzer Werfer" and 37mm antiaircraft, these last heavily armored
The kits
|
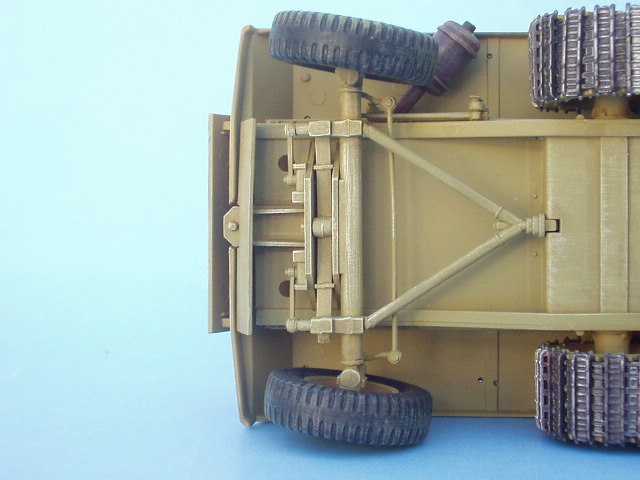
Both kits are from Italeri, they're very good detailed and of great quality. The chassis and the torsion bar system are provided with the most important parts, including the windlass and the speed reduction unit. To assemble the first part of the kit is a very complex task, as it contains more than 60 parts, which must have to be perfectly aligned to guarantee that the wheels rest on the surface where the model will be settled.
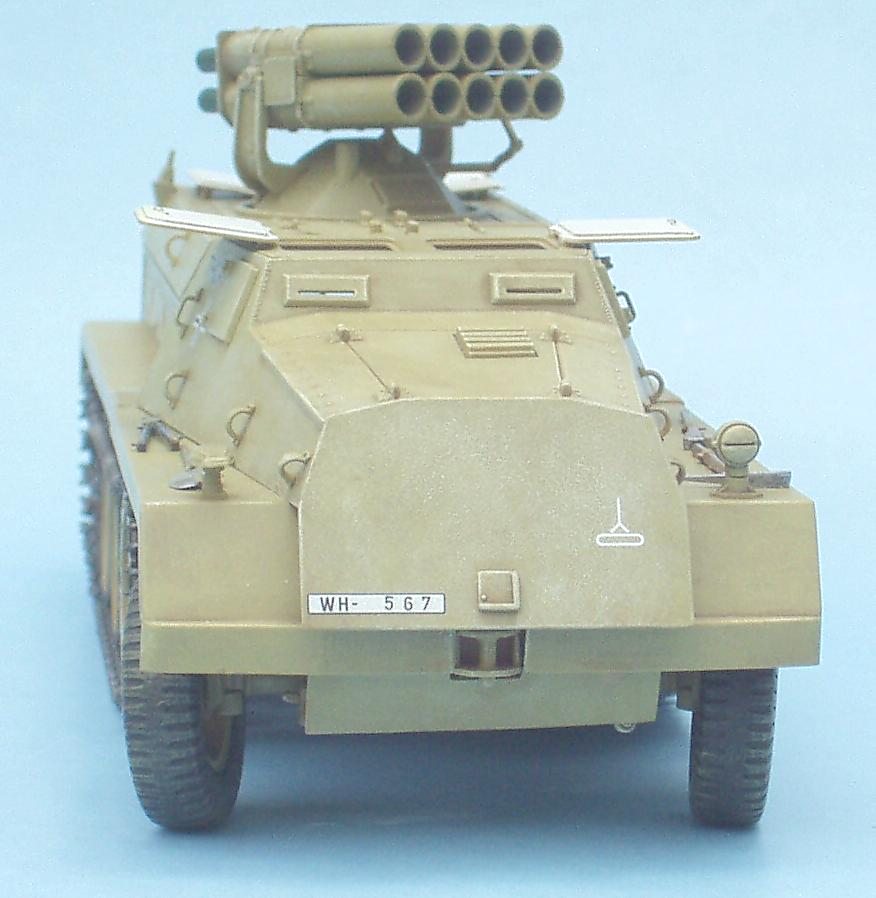
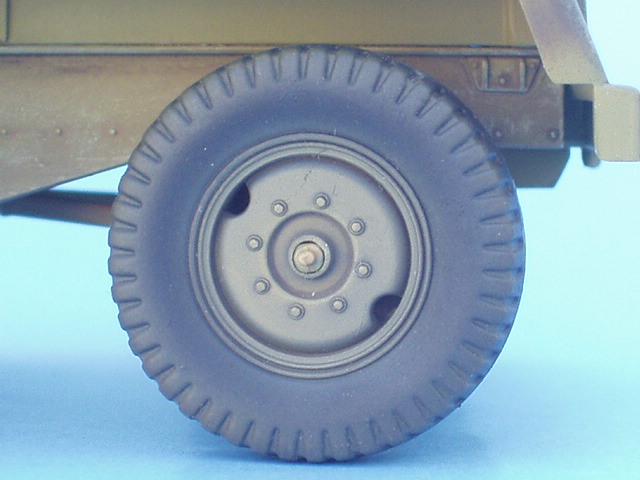
Regarding to the front train, It's excellent. The steering is worm type gear and includes on its left side the working mechanisms which are also directional.
The links that compound the tracks are individual and provided by sections. They're made of injected plastic and fit perfectly.
|
|
|
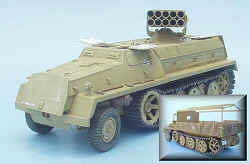
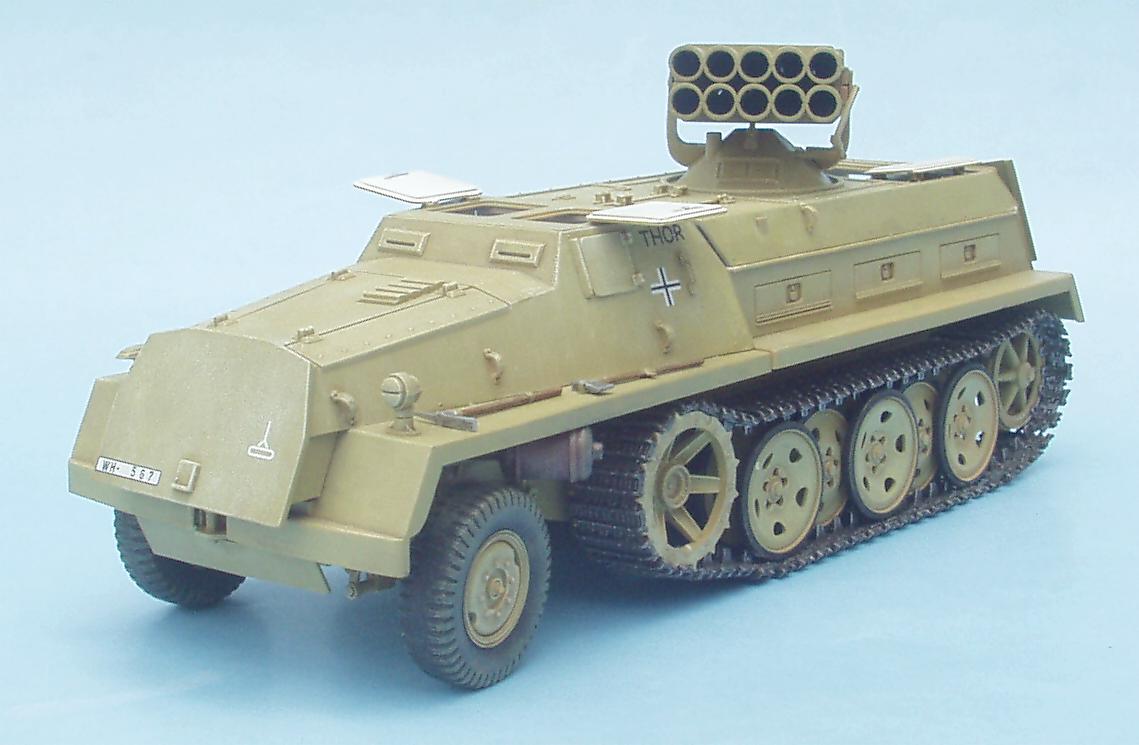
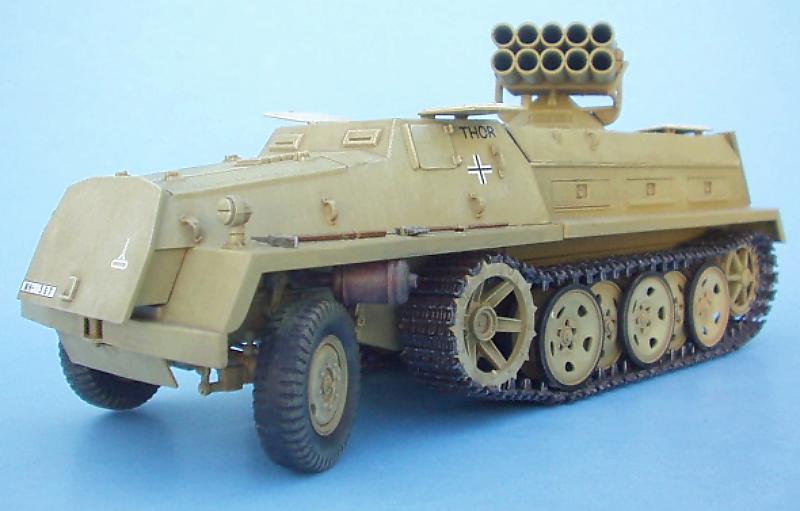
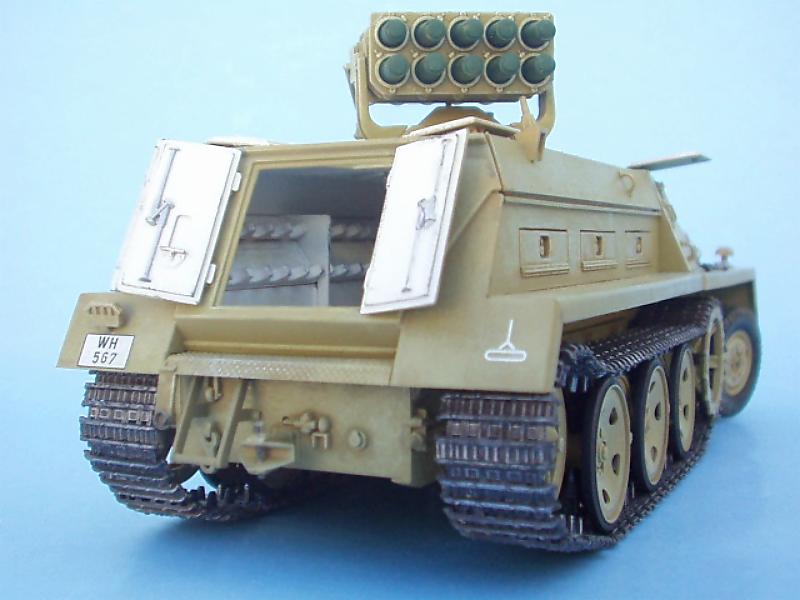
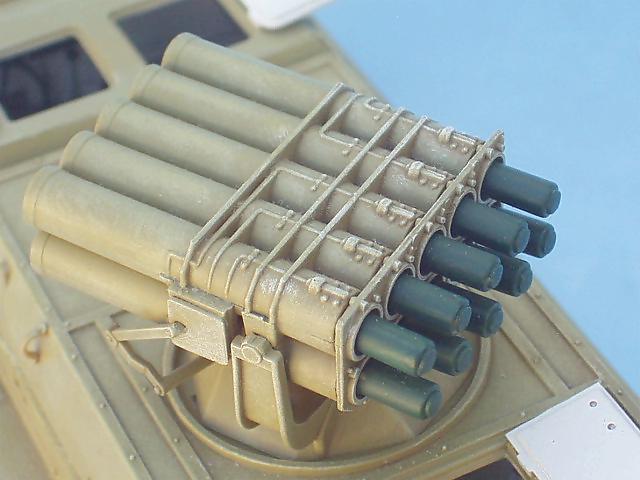
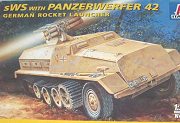
SWS (Gerat 71) with Panzerwerfer ref. 356
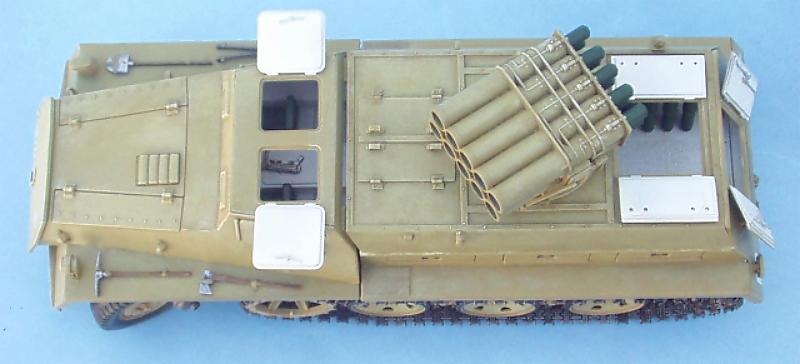
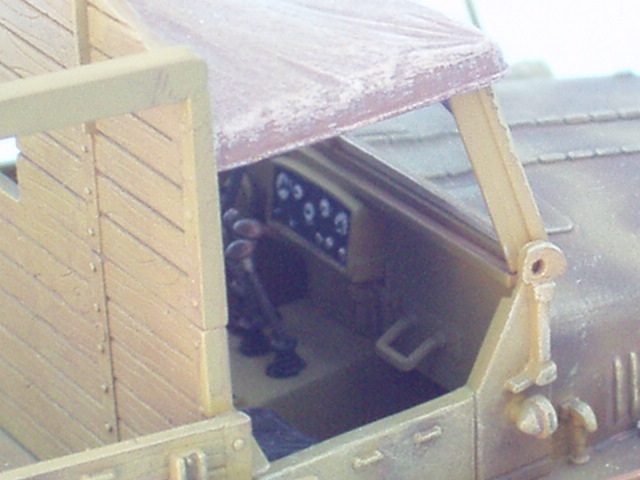
The SWS (Gerat 71) with the Panzerwerfer, had a strongly armored structure very well achieved by Italeri. It has a simple but very detailed driving station.
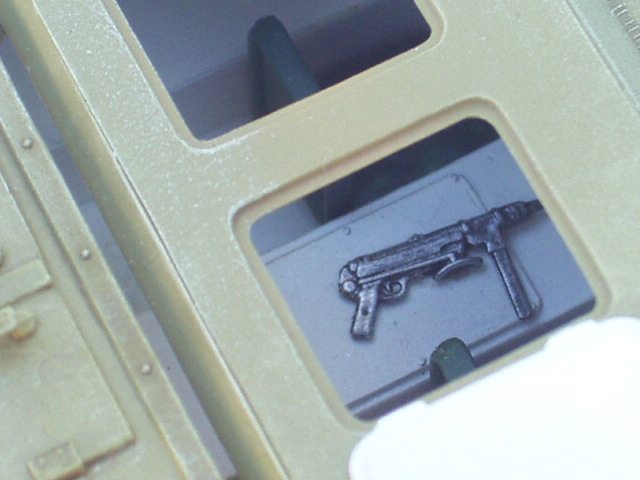
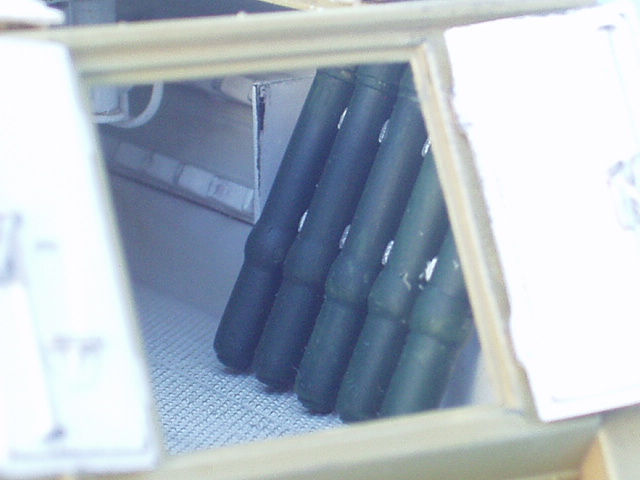
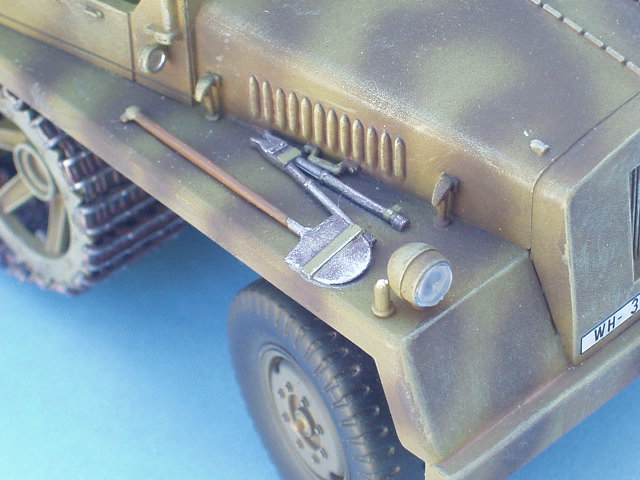
The plate of the "Panzerwerfer" includes the supports for the ammunition. On the racks inside, I placed some rockets, to give the whole assembly a not so nude look. All hatches and entrances can be placed in open or close position as well as the toolboxes which are outside
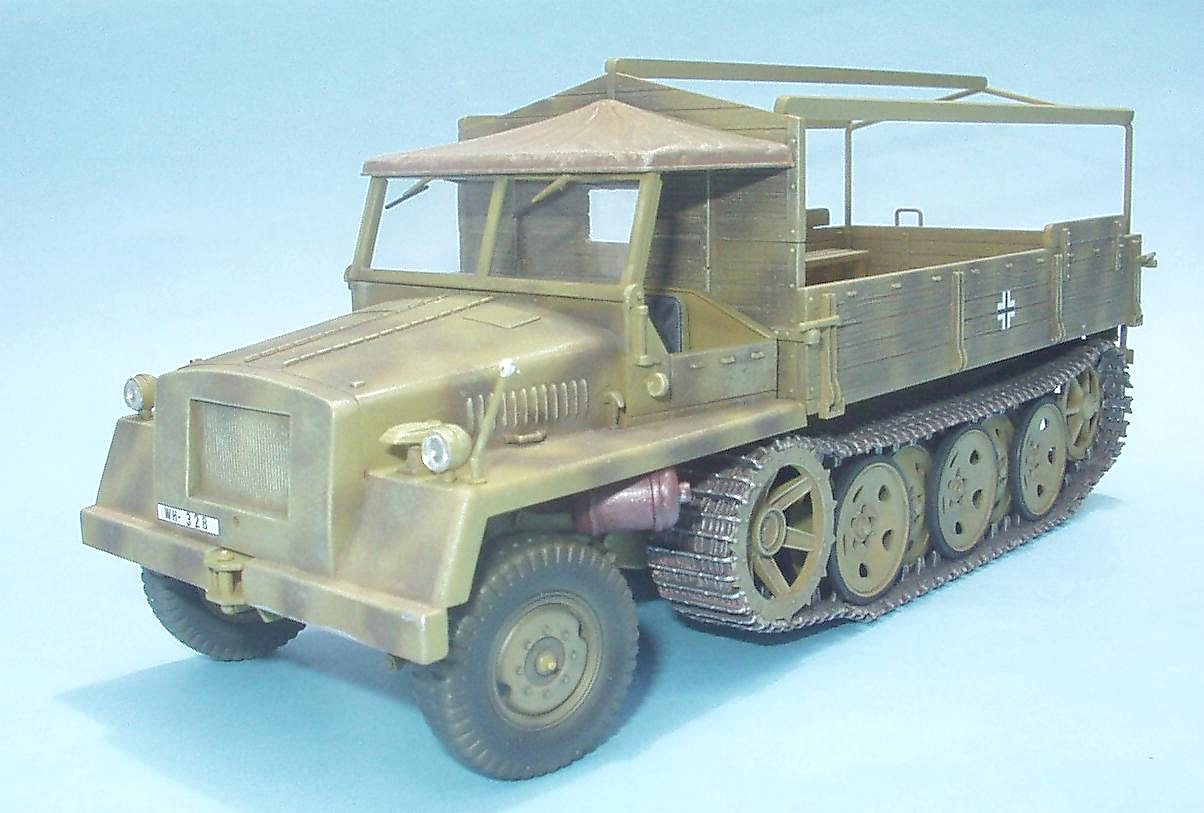
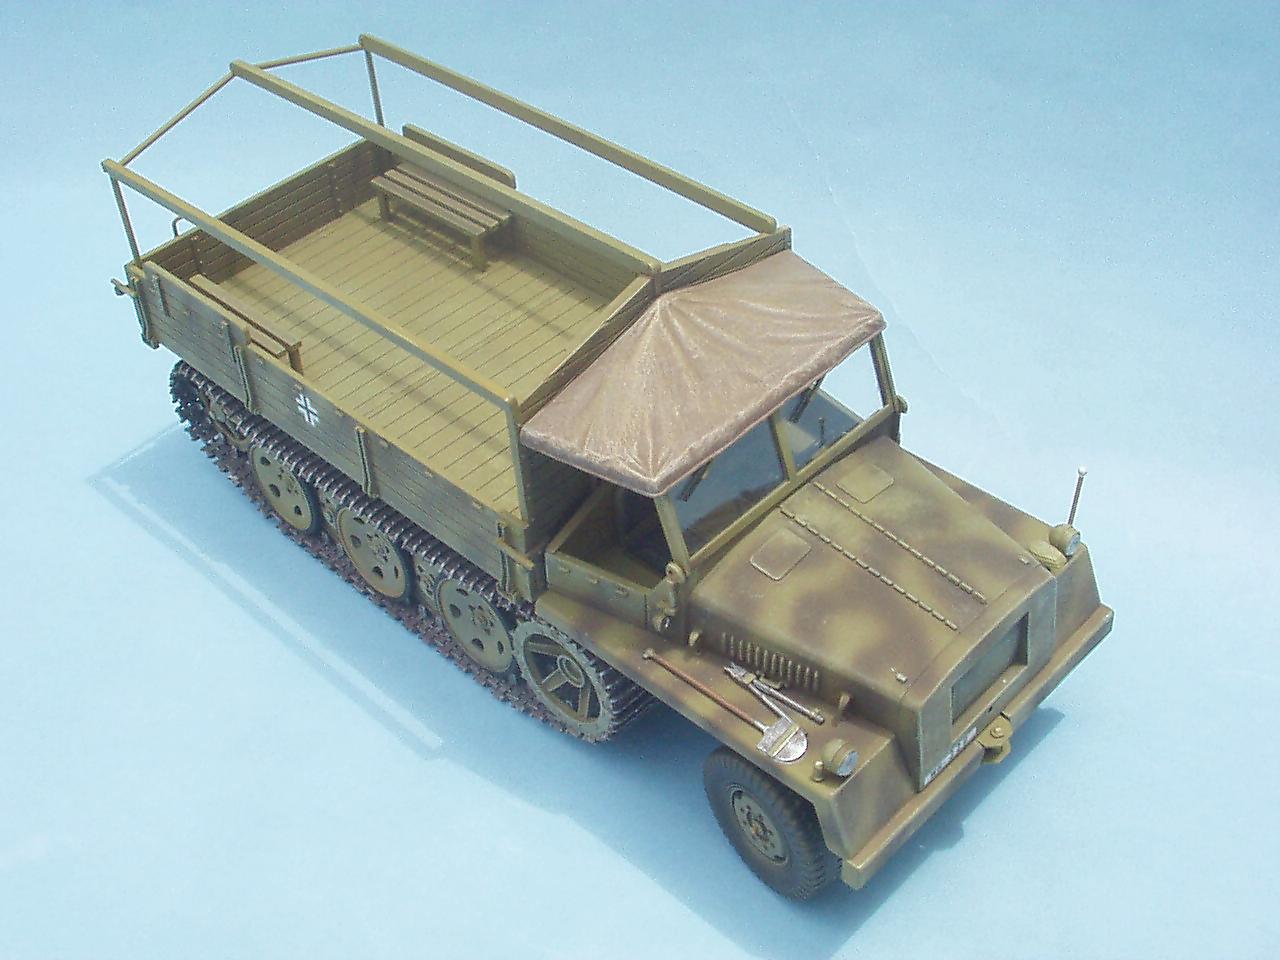
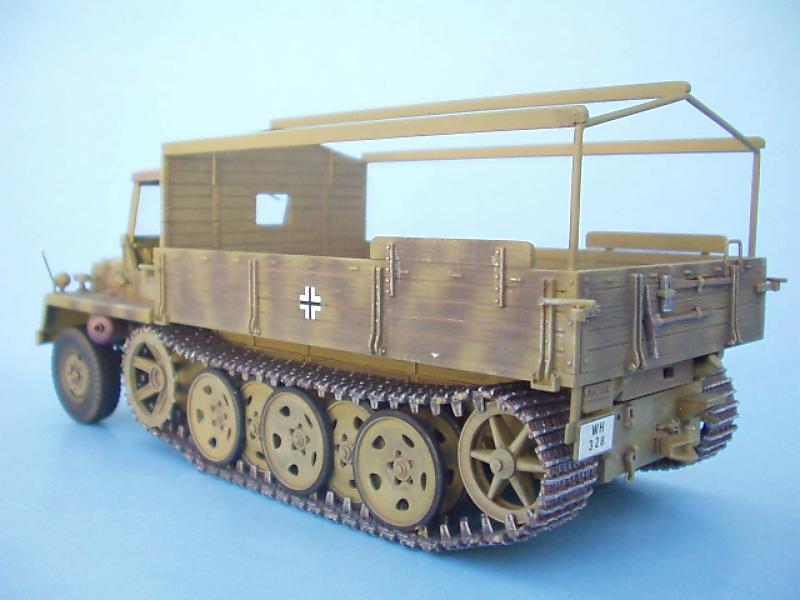
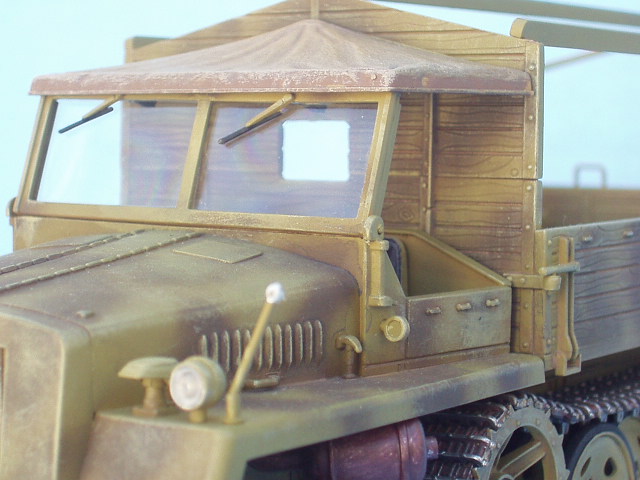
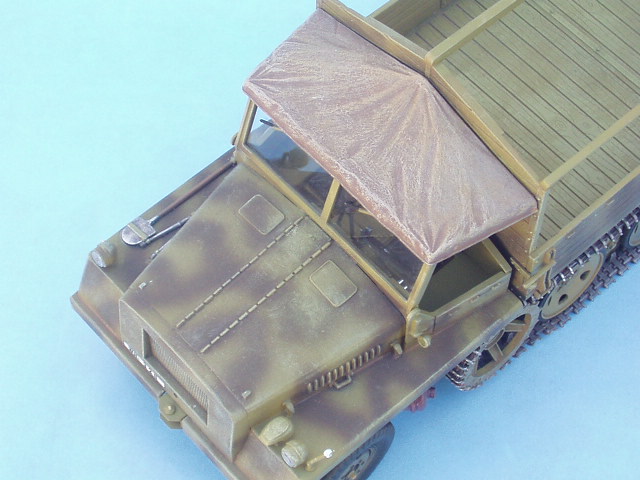
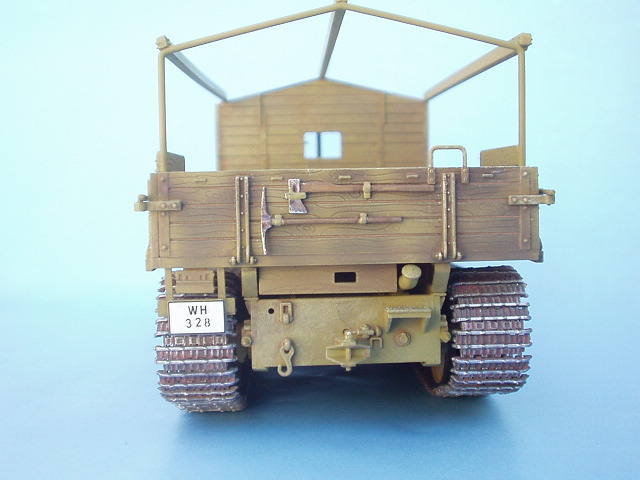
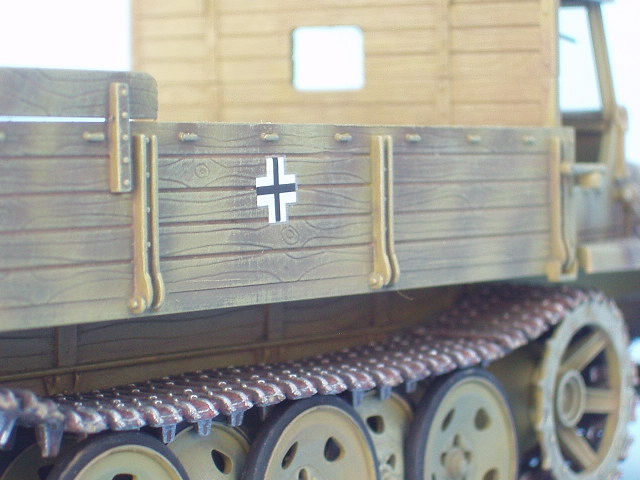
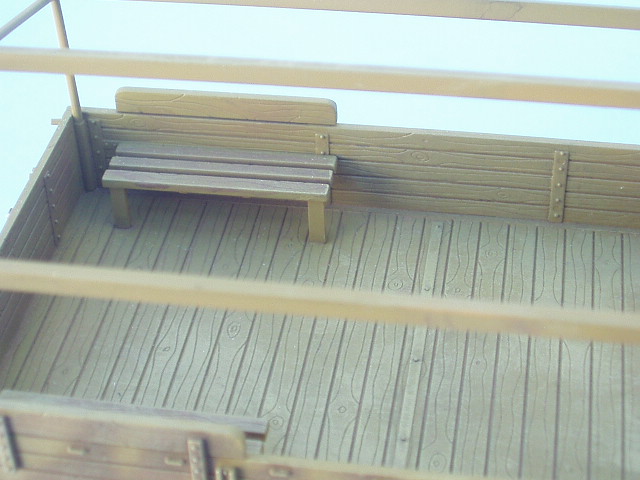
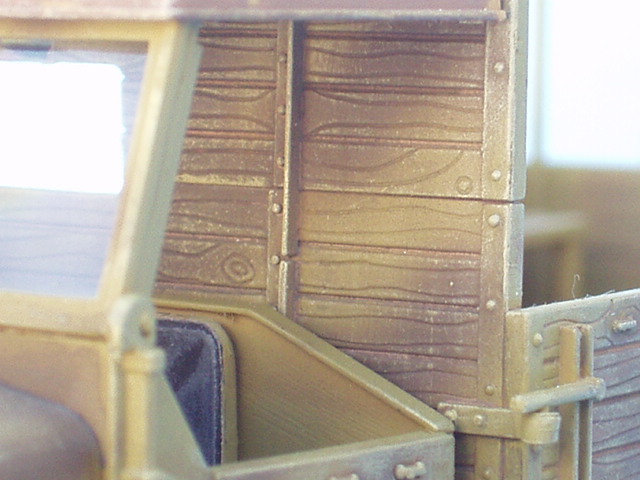
The SWS Cargo was different from the Gerat 71 specially for its upper structure which was made of wood, except for the cabin that was usually covered with a canvas as protection.
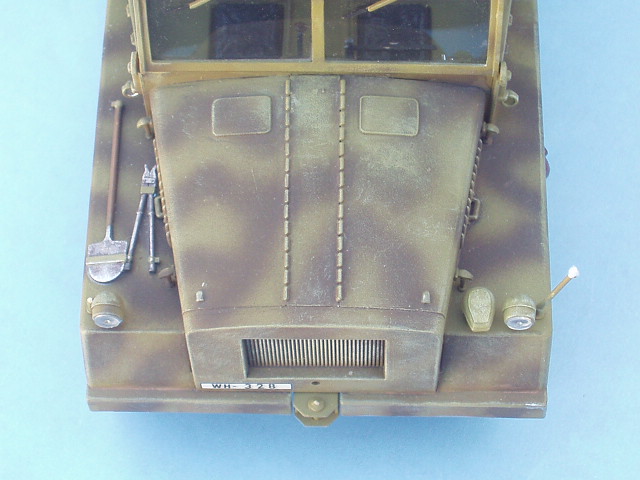
We can say that the fitting of the parts in this model is excellent; the weak point is the lack of tools and supports.
Decoration
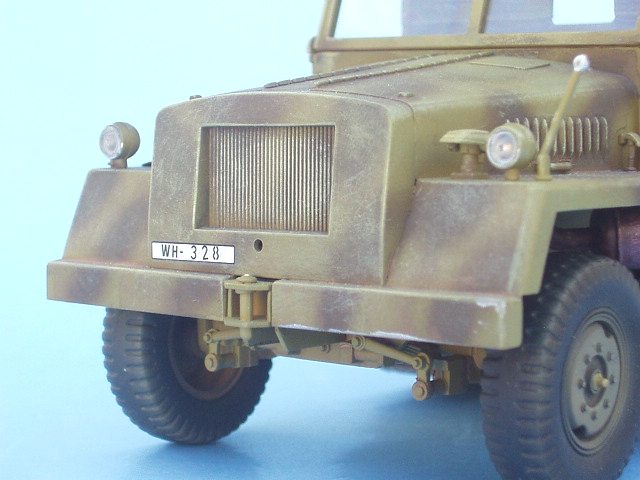
I painted both vehicles following the instructions Italeri provides, using sand yellow from Model Master, besides, the SWS Cargo has a camouflage with reddish brown spots.
After giving a wash with brown and black acrylics, I a very subtle dry brush using the same sand color mixed with a bit of white.
After letting it dry, I began with the filters; this easy task consists on applying a similar tone of paint but very subtly, so that it looks transparent and the filters seem to be melted giving in this way a real appearance. This process contribute to give a wide chromatic spectrum, also used to simulate dust, fading of the paint, weathering, etc. I applied this technique airbrushing some areas and hand painting others, to give the look of wood by deepening the veins and different planks.
To paint the filters, I used water color painting (in tubes) which is very easy to be applied. Other advantage of water colors is that if we're not satisfied with the result or effect, or we just put paint excessively, we can remove it from the model using a piece of cotton moistened in water
Once the filters job was very well dry, I overcoated with satin varnish, then I applied the decals and finally I applied a last coat of flat varnish. Overcoating with flat varnish let you to get a flat surface, but also to match all those painting jobs you did, like filters weathering, chipped paint.. etc.
|