|
|
||||||||||||||||||||||||||||||||||||||||||||||||||||||||||||||||||||||||||||||||||||||||||||||||||||||||||||||||
|
Formula one |
|
|||||||||||||||||||||||||||||||||||||||||||||||||||||||||||||||||||||||||||||||||||||||||||||||||||||||||||||||
|
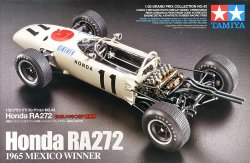
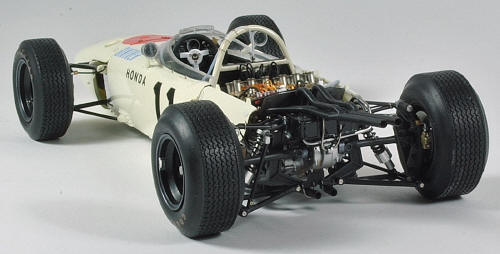
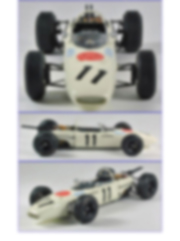
Superdetailing the Tamiya Honda RA272 1/20 scale |
||||||||||||||||||||||||||||||||||||||||||||||||||||||||||||||||||||||||||||||||||||||||||||||||||||||||||||||||
|
by Antonio Busciglio © Modeler Site |
||||||||||||||||||||||||||||||||||||||||||||||||||||||||||||||||||||||||||||||||||||||||||||||||||||||||||||||||
|
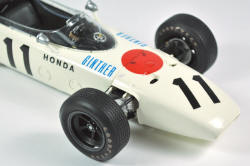
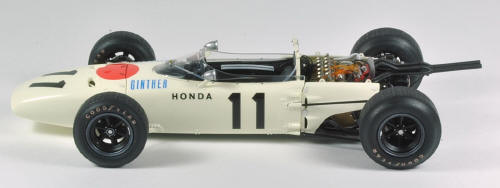
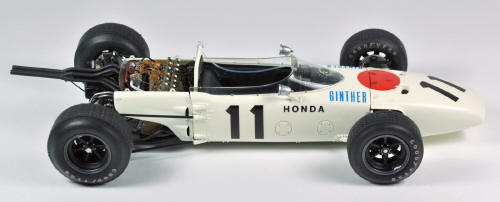
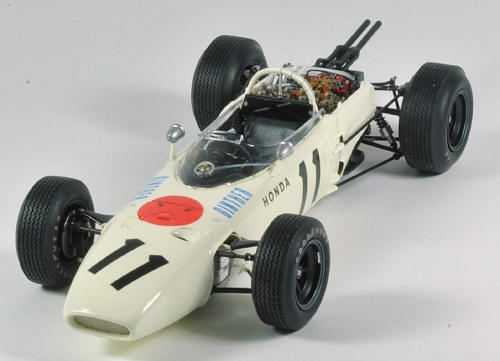
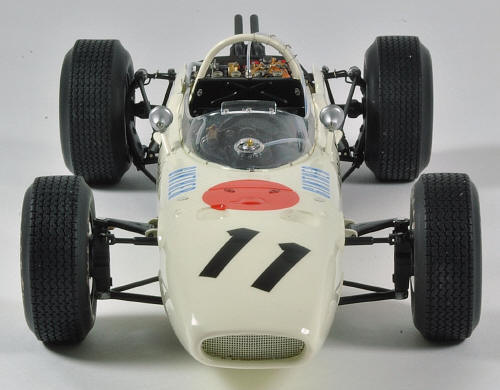
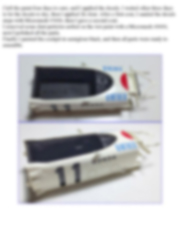
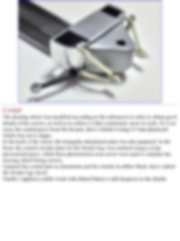
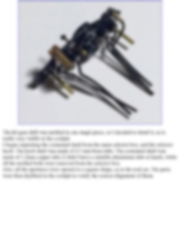
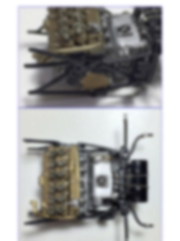
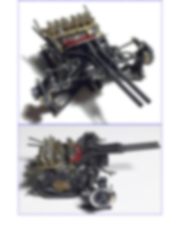
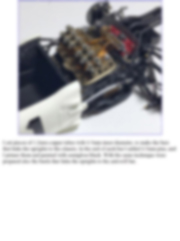
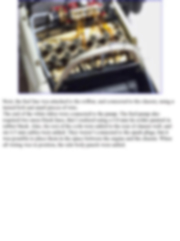
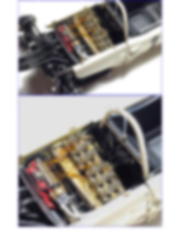
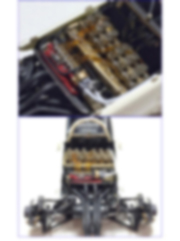
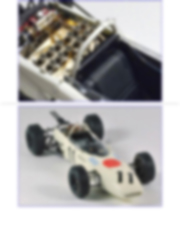
Legal Notice No material from Modeler Site any Web site may be copied, reproduced, republished, uploaded, posted, transmitted, or distributed in any way, except that you may download one copy of the materials on any single computer for your personal, non-commercial home use only, provided you keep intact all copyright and other proprietary notices. Modification of the materials or use of the materials for any other purpose is a violation of copyright and other proprietary rights. Read More here > Legal notice The model nicely reproduces the shape of the car, but most of the details are missing, or oversimplified due to production and technology issues. On this basis, I decided to build this model adding as much detail as possible for my skills. As an additional difficulty, there are nearly no detail sets for this kit, so it would be necessary to add them from scratch. In particular, I used a large number of resin rivets and bolts, some turned bolts, leftover photoetched from my spare box and a lot of scratch-building. In this tutorial I’ll describe all the building process in detail. I hope you’ll enjoy building this model as I did.
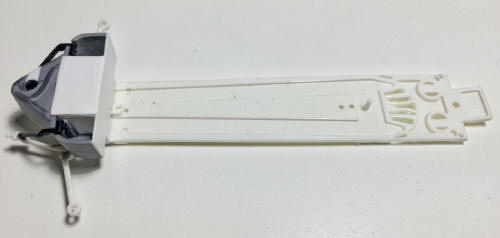
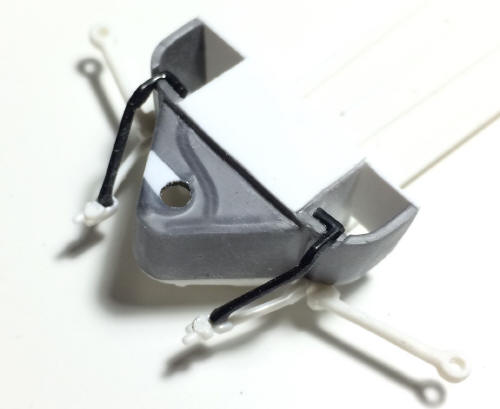
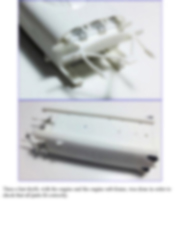
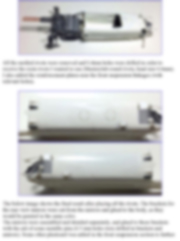
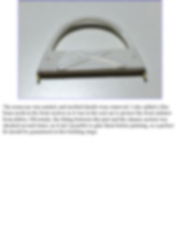
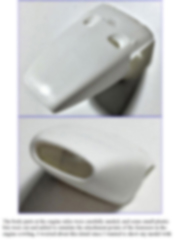
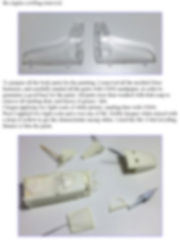
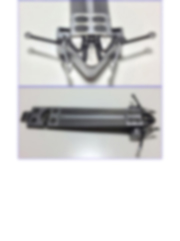
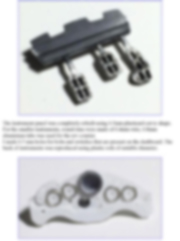
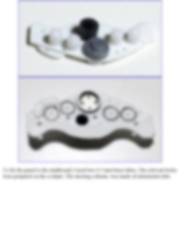
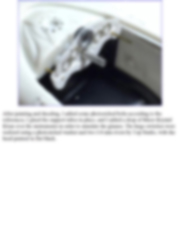
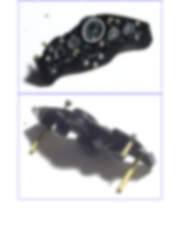
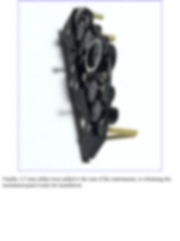
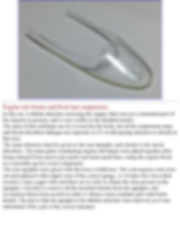
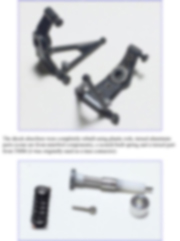
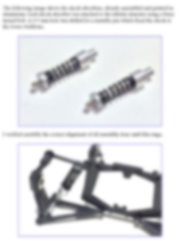
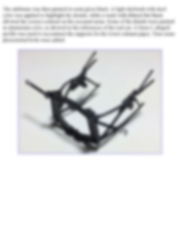
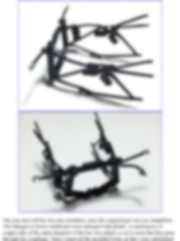
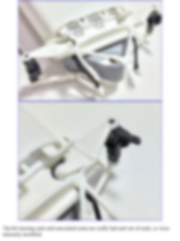
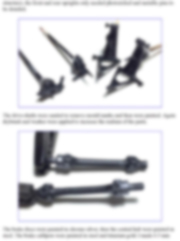
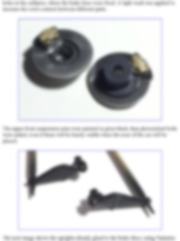
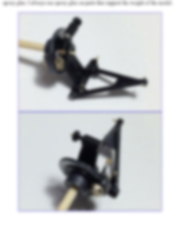
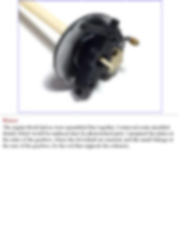
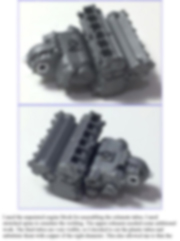
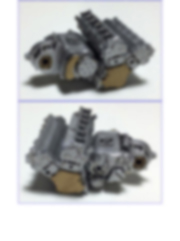
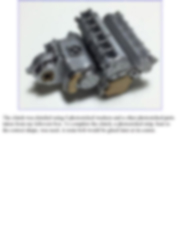
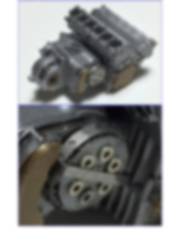
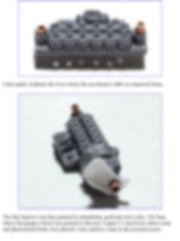
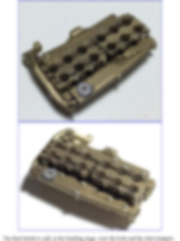
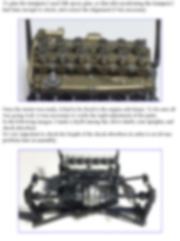
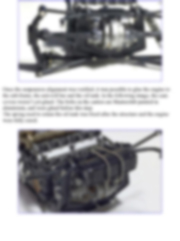
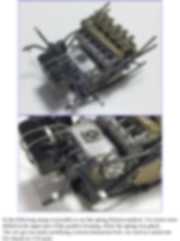
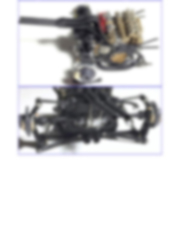
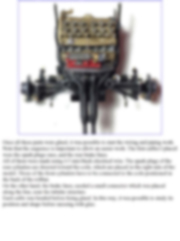
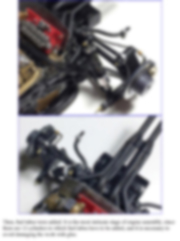
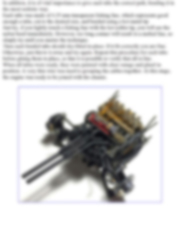
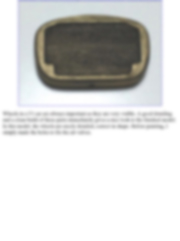
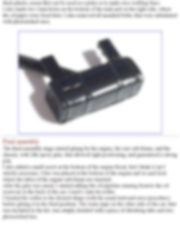
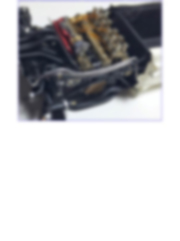
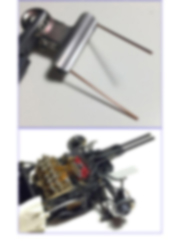
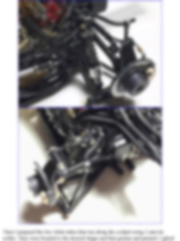
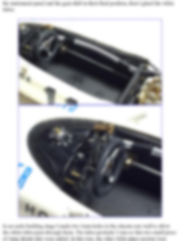
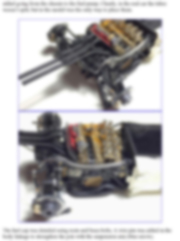
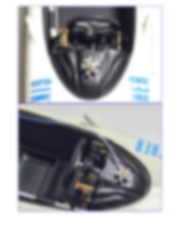
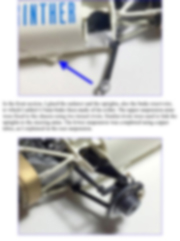
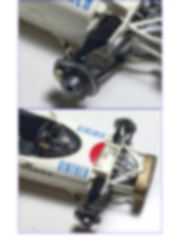
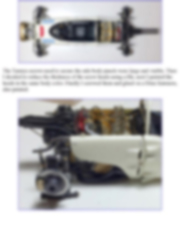
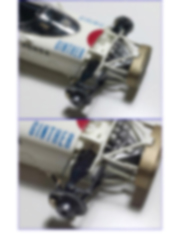
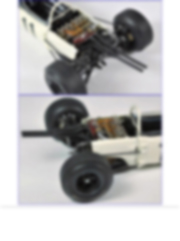
Building Body and chassis The kit parts that reproduce the chassis and the car bottom needed to be slightly modified in order to achieve a good-looking result. One problem I saw immediately it was that the bottom kit part has molded a portion of the lower side body (I mean the lower area at the sides of the chassis). This implies that during the final assembly, the joint line between the bottom and the rest of the body would be clearly visible, no matter how well and precise I did. In addition, the bottom piece includes the lower suspension wishbone, with the linkage to the body molded in it. Again, this would result in unacceptable joint lines in the finished model. To overcome all these problems, the lateral strips of the bottom were cut, as well as part of the lower front wishbones. The front tank was glued and carefully puttied, and some of the chassis walls were reconstructed using plasticard. The molded pipes and plug in the front tank were removed, as they would be later reproduced in a more realistic way. It is however worth mentioning that the car will be displayed with the nosecone placed, so I didn’t spend too much work on a part that will not be visible.
This tutorial is offered in PDF format to be read or printed using Acrobat reader, contact our webmaster > Here Includes more than 170 pics, here we show only the text pages.
Esta Nota es ofrecida en formato PDF, el cual puede ser leído o impreso usando el Acrobat reader, contacte a nuestro webmaster > Aquí Incluye más de 170 imágenes, aquí solo mostramos las paginas de texto.
Big size photos are only available in our PDF format. Support us ordering our notes in PDF > Here |
||||||||||||||||||||||||||||||||||||||||||||||||||||||||||||||||||||||||||||||||||||||||||||||||||||||||||||||||